How to Manage Documents?
The Document Management section allows administrators and managers to upload, store, and monitor important staff-related files such as certifications, ID proofs, health records, and training documents. This feature helps ensure compliance, easy access to staff credentials, and timely updates before document expiration dates.
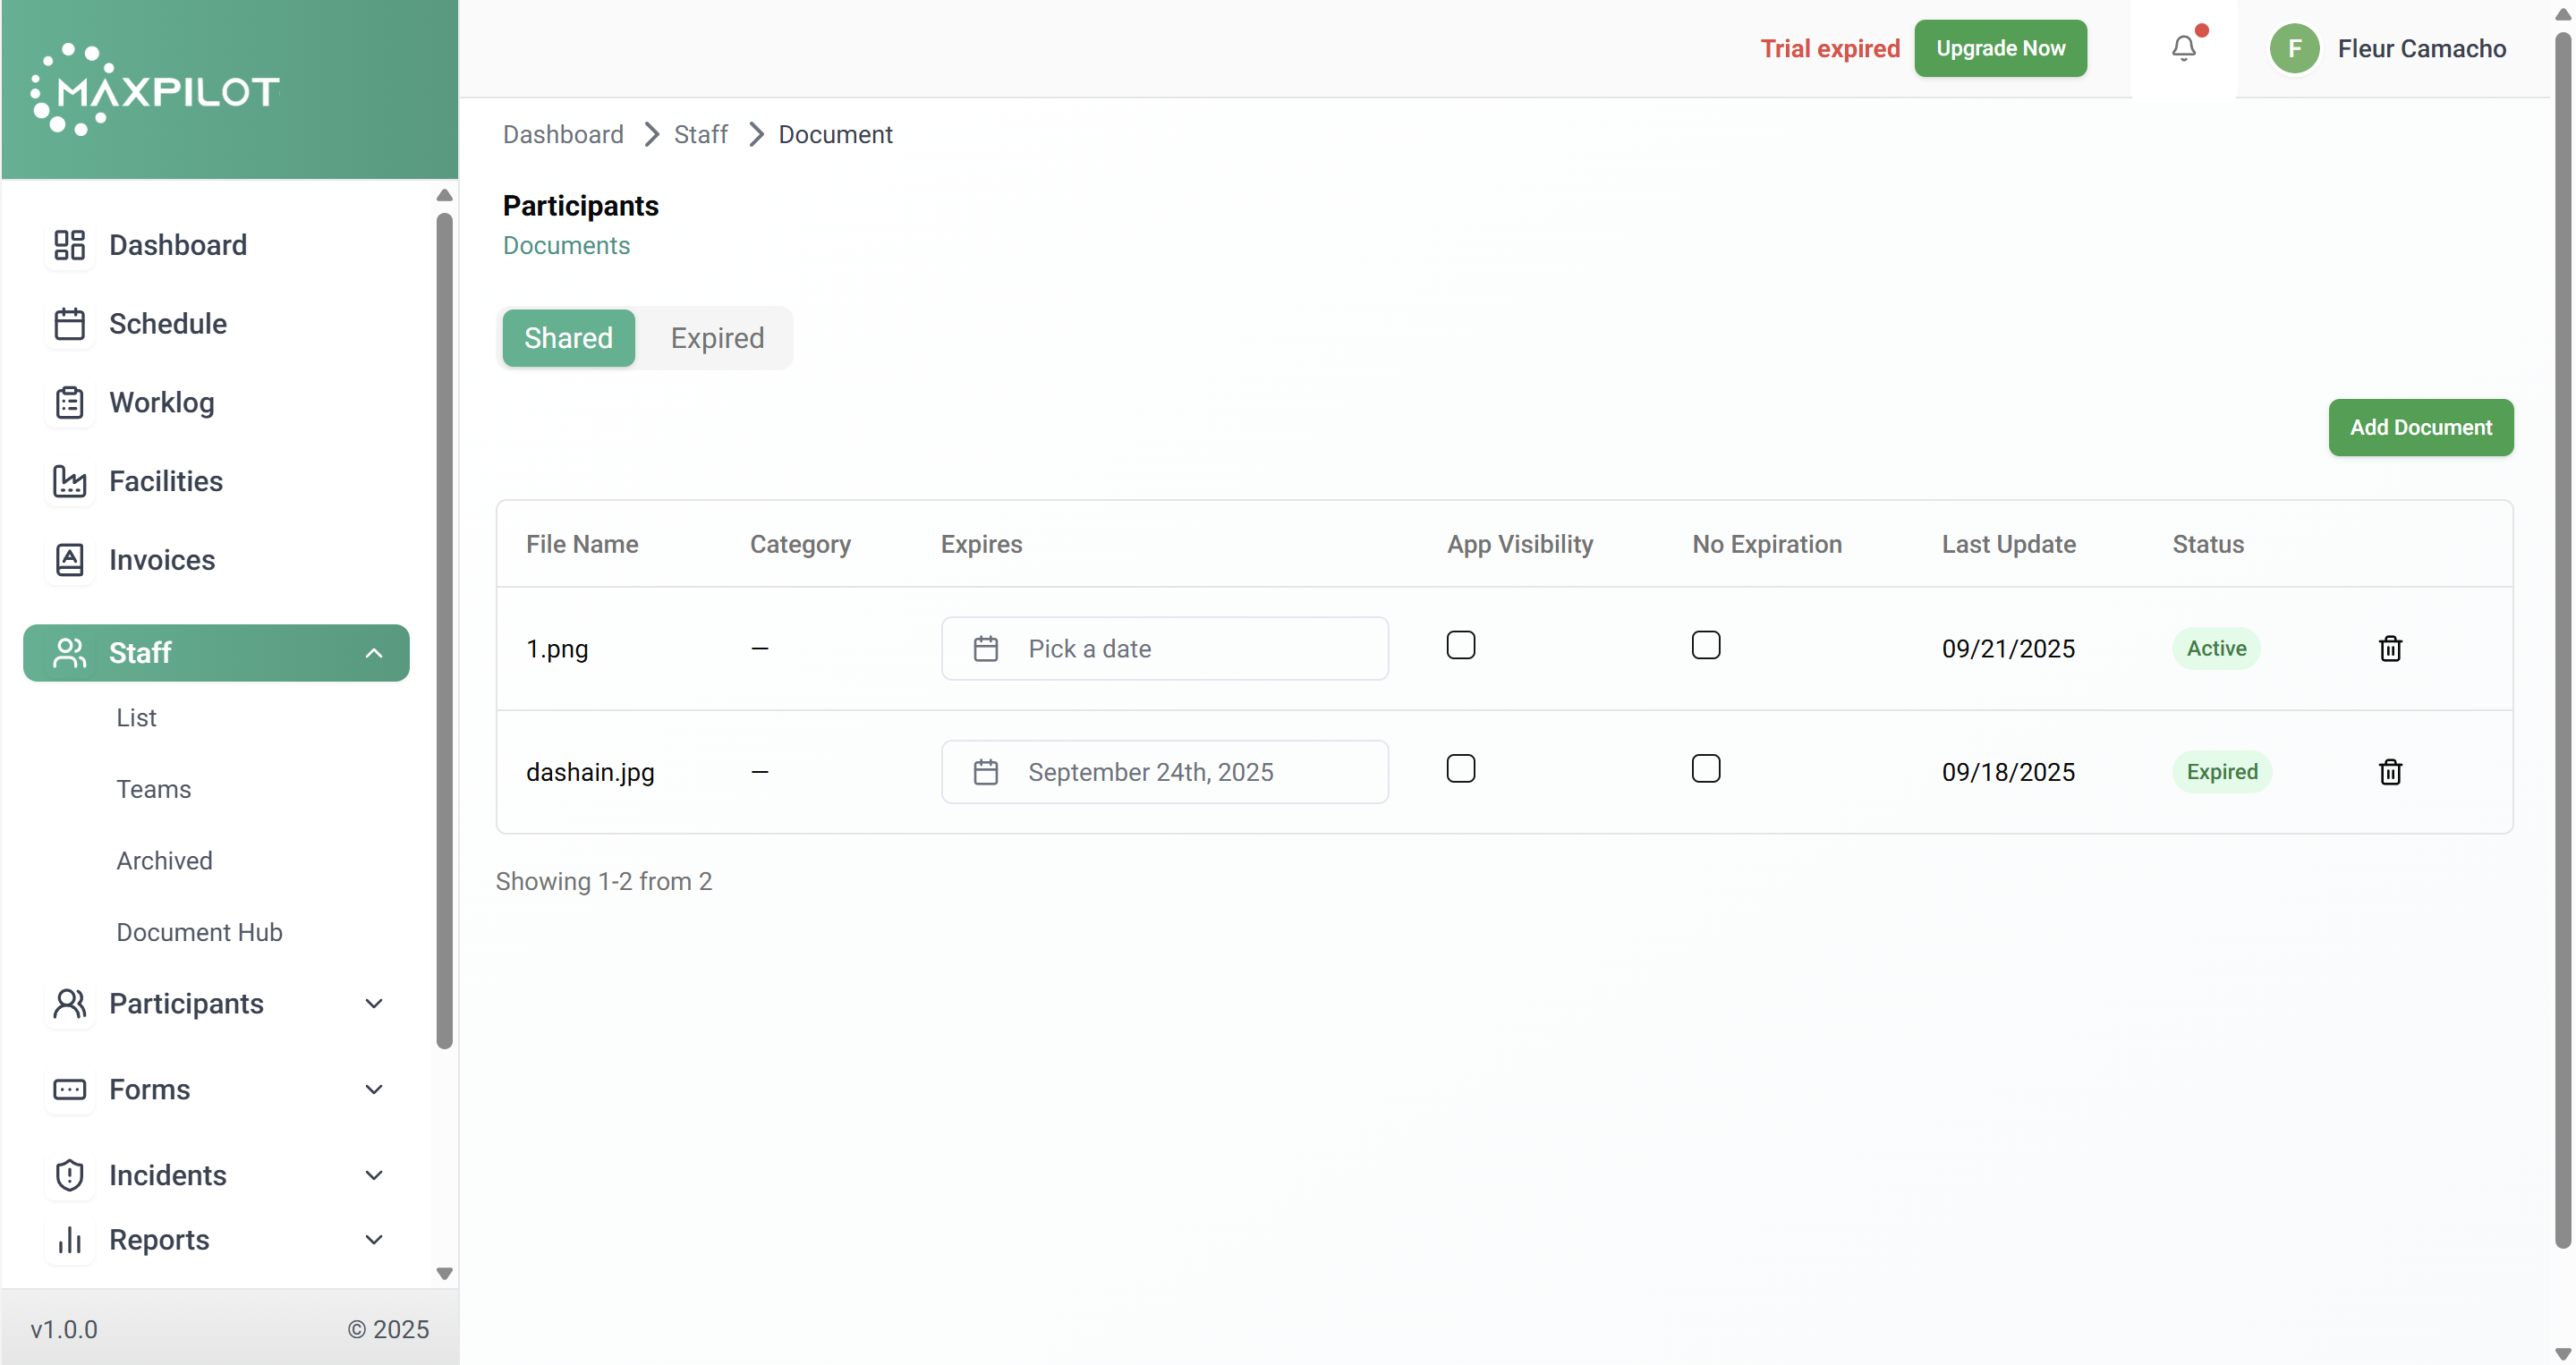
Step 1: Navigate to the Document Hub
From the left sidebar, click on Staff → Document Hub.
You will be directed to the Participants Documents page, where two tabs are displayed: Shared and Expired.
This layout helps maintain organized document management by clearly separating active and outdated files.
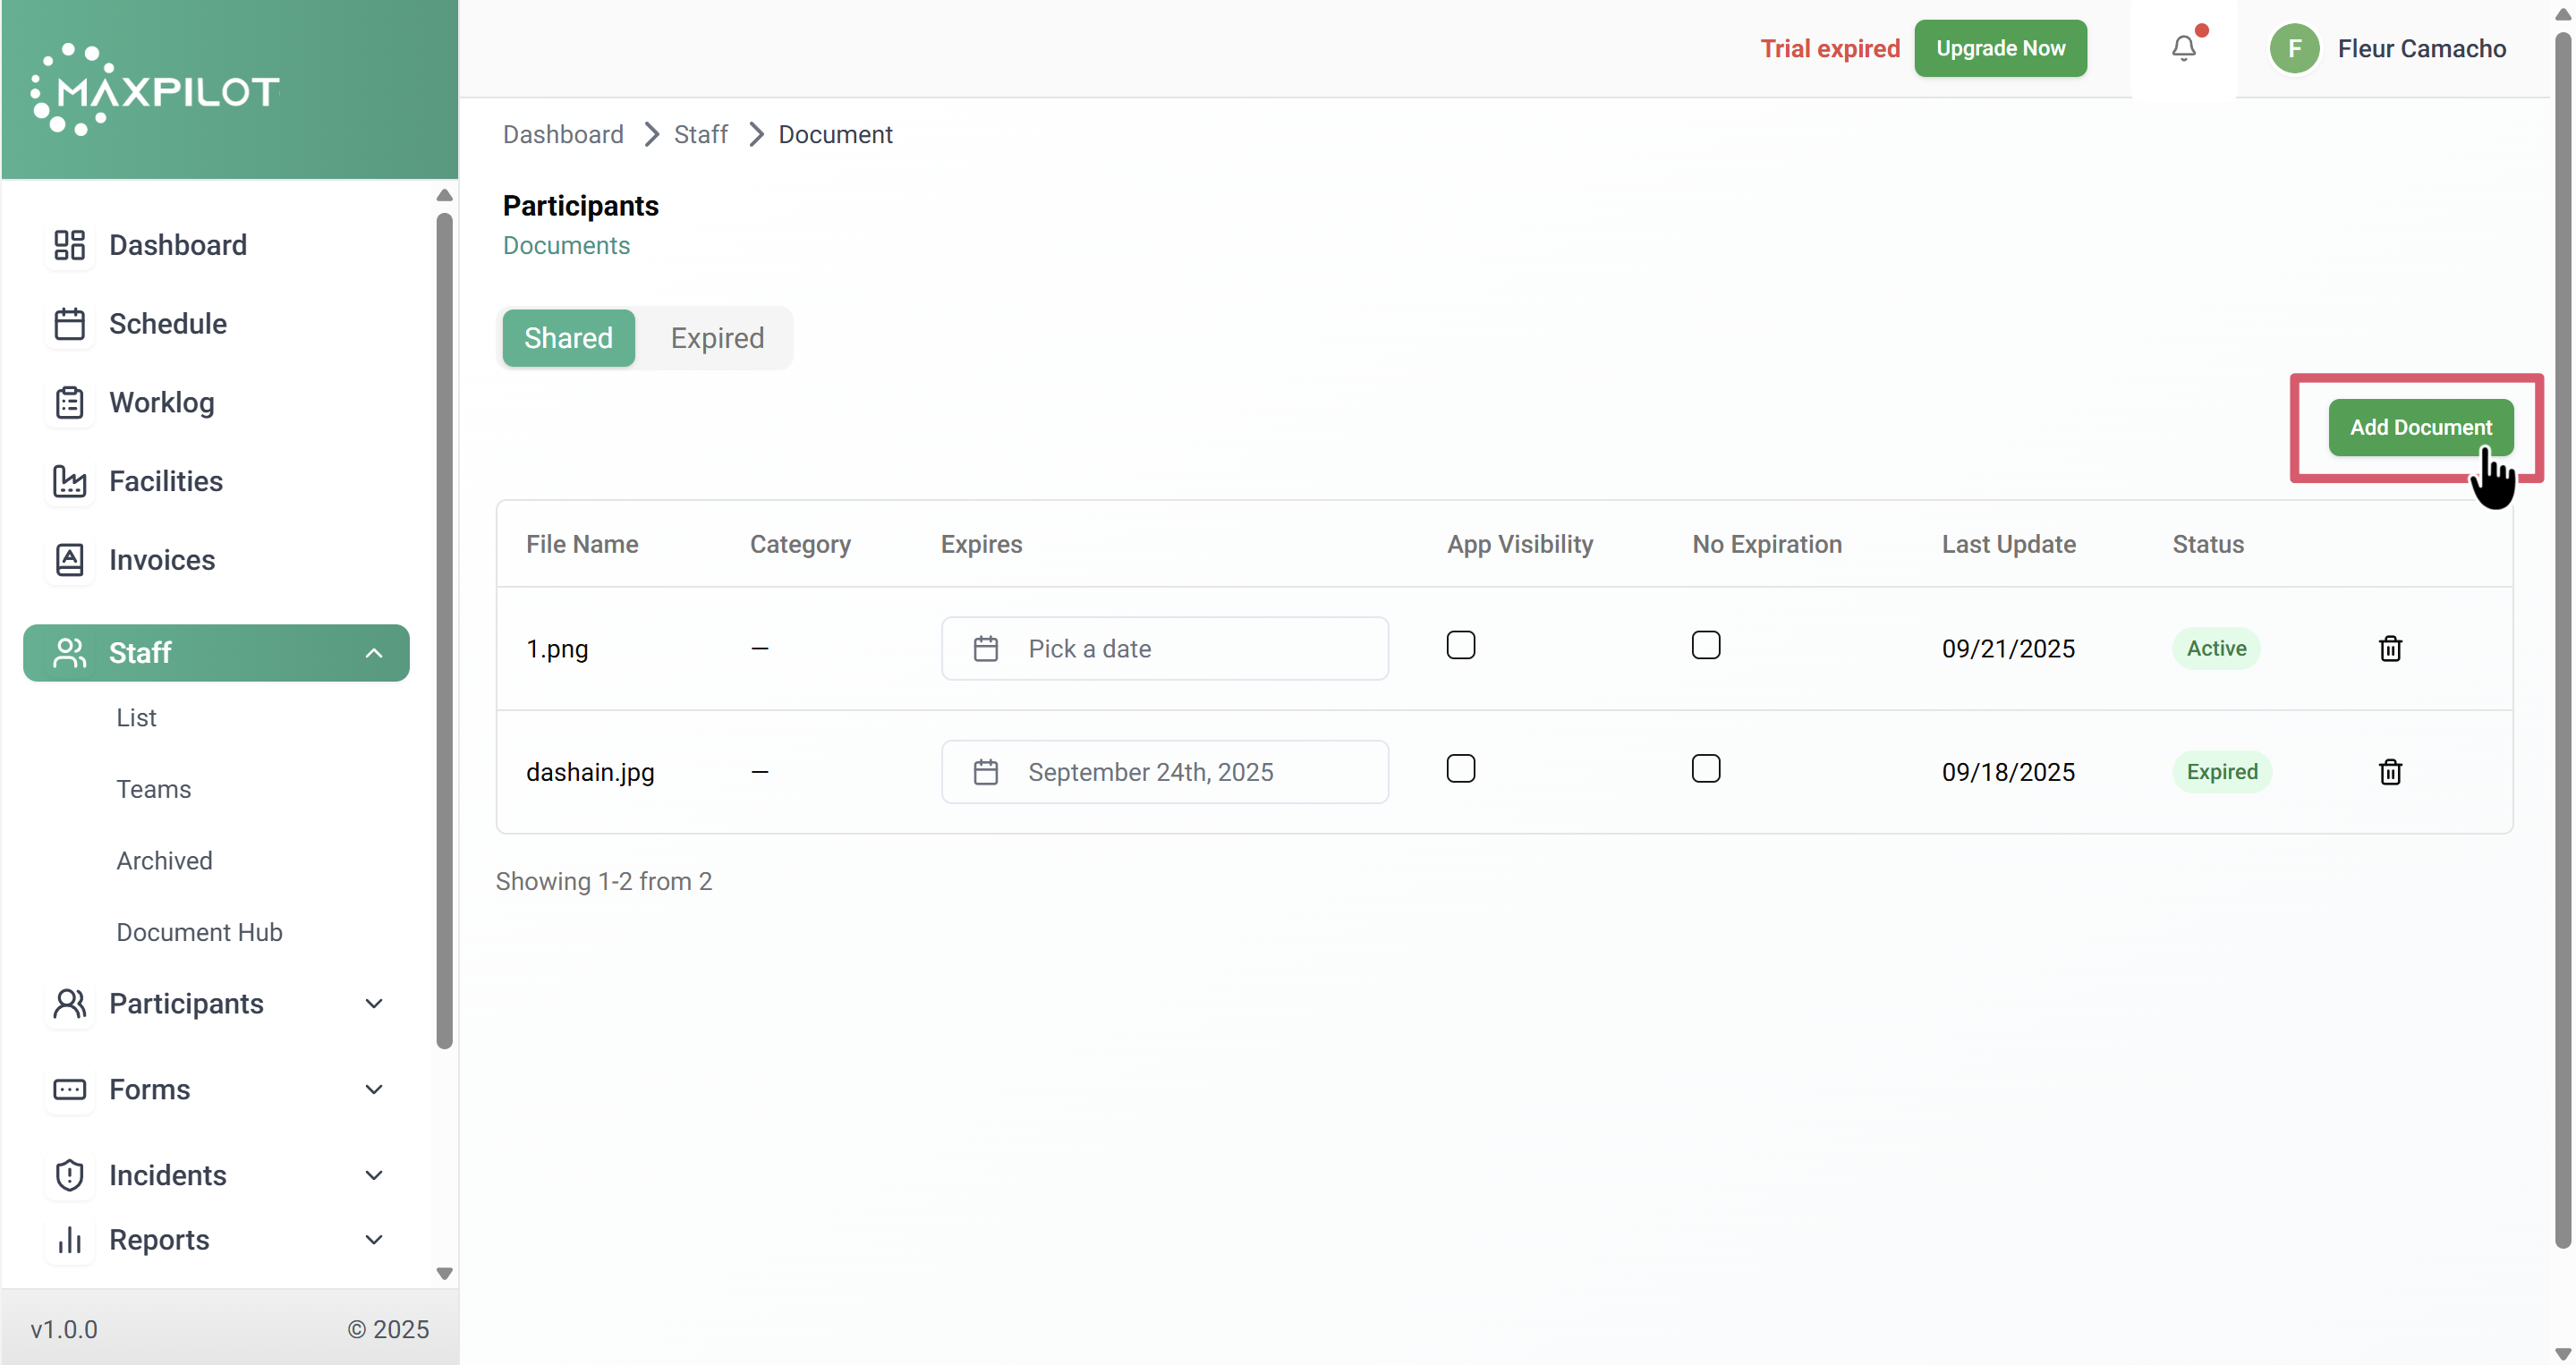
Step 2: Click the “Add Document” Button
On the top-right corner of the Document Hub, click the Add Document button to begin uploading a new file.
A pop-up window titled Add Documents will appear, allowing you to select and upload a new document to the system.
This button provides a quick way to attach new files without navigating away from the current page, making the process efficient and user-friendly.
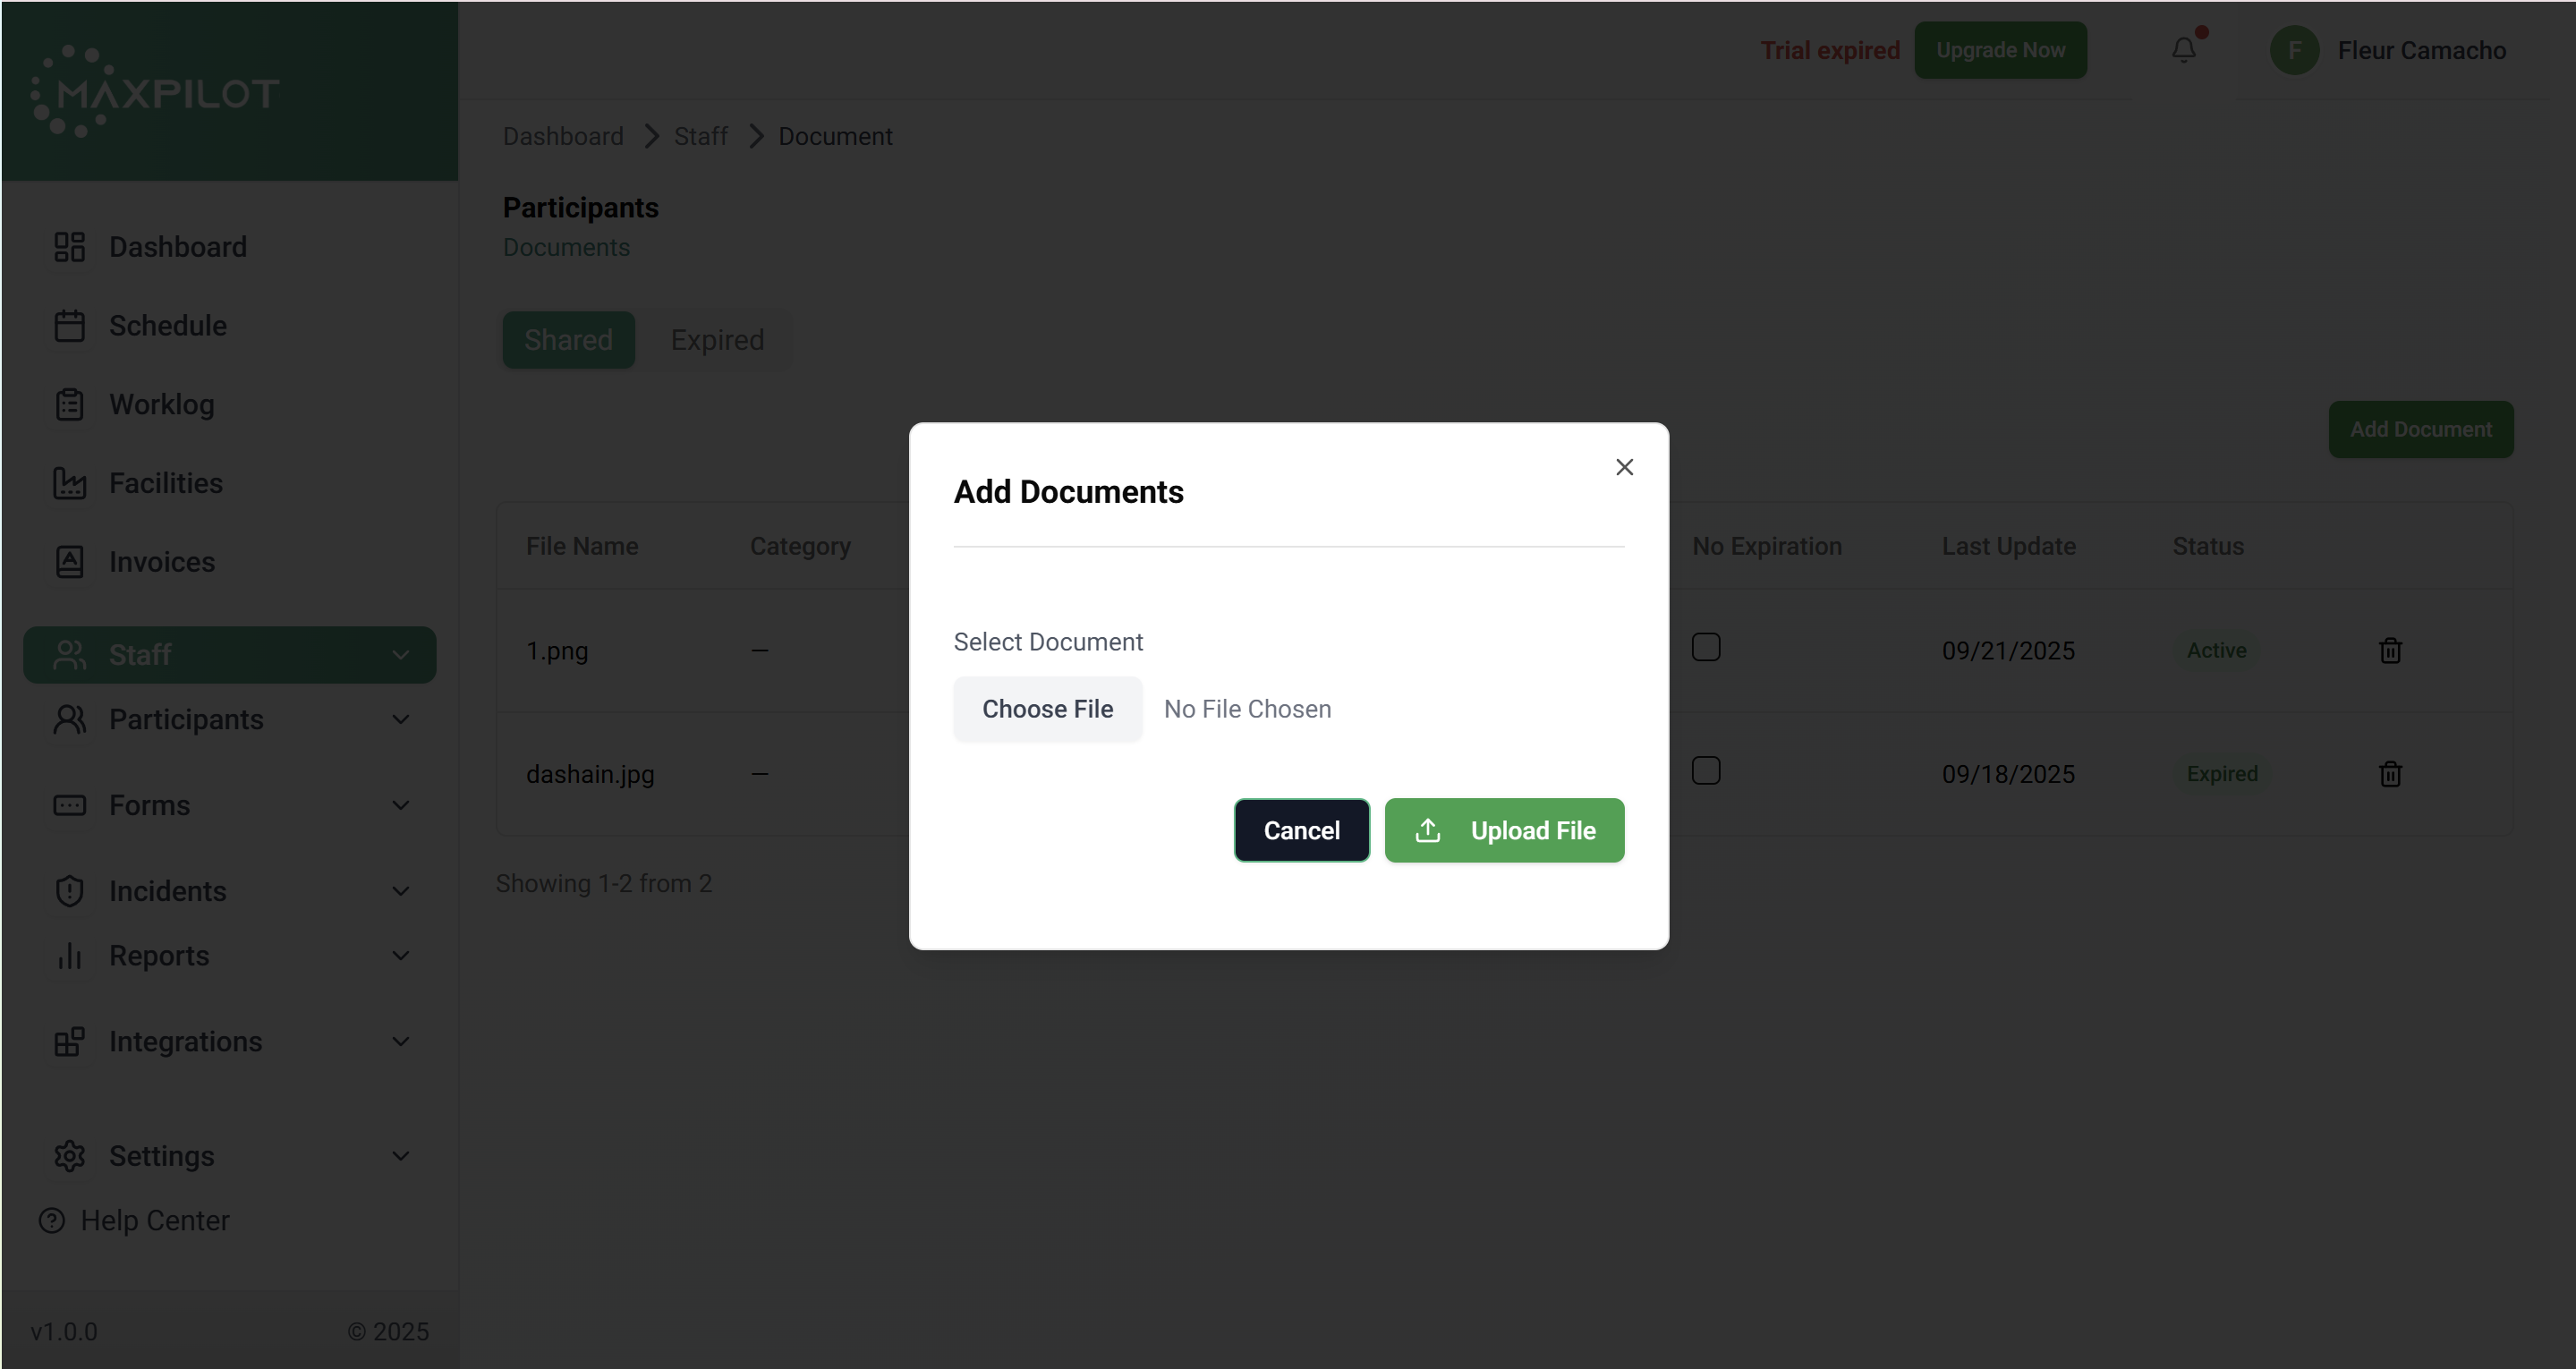
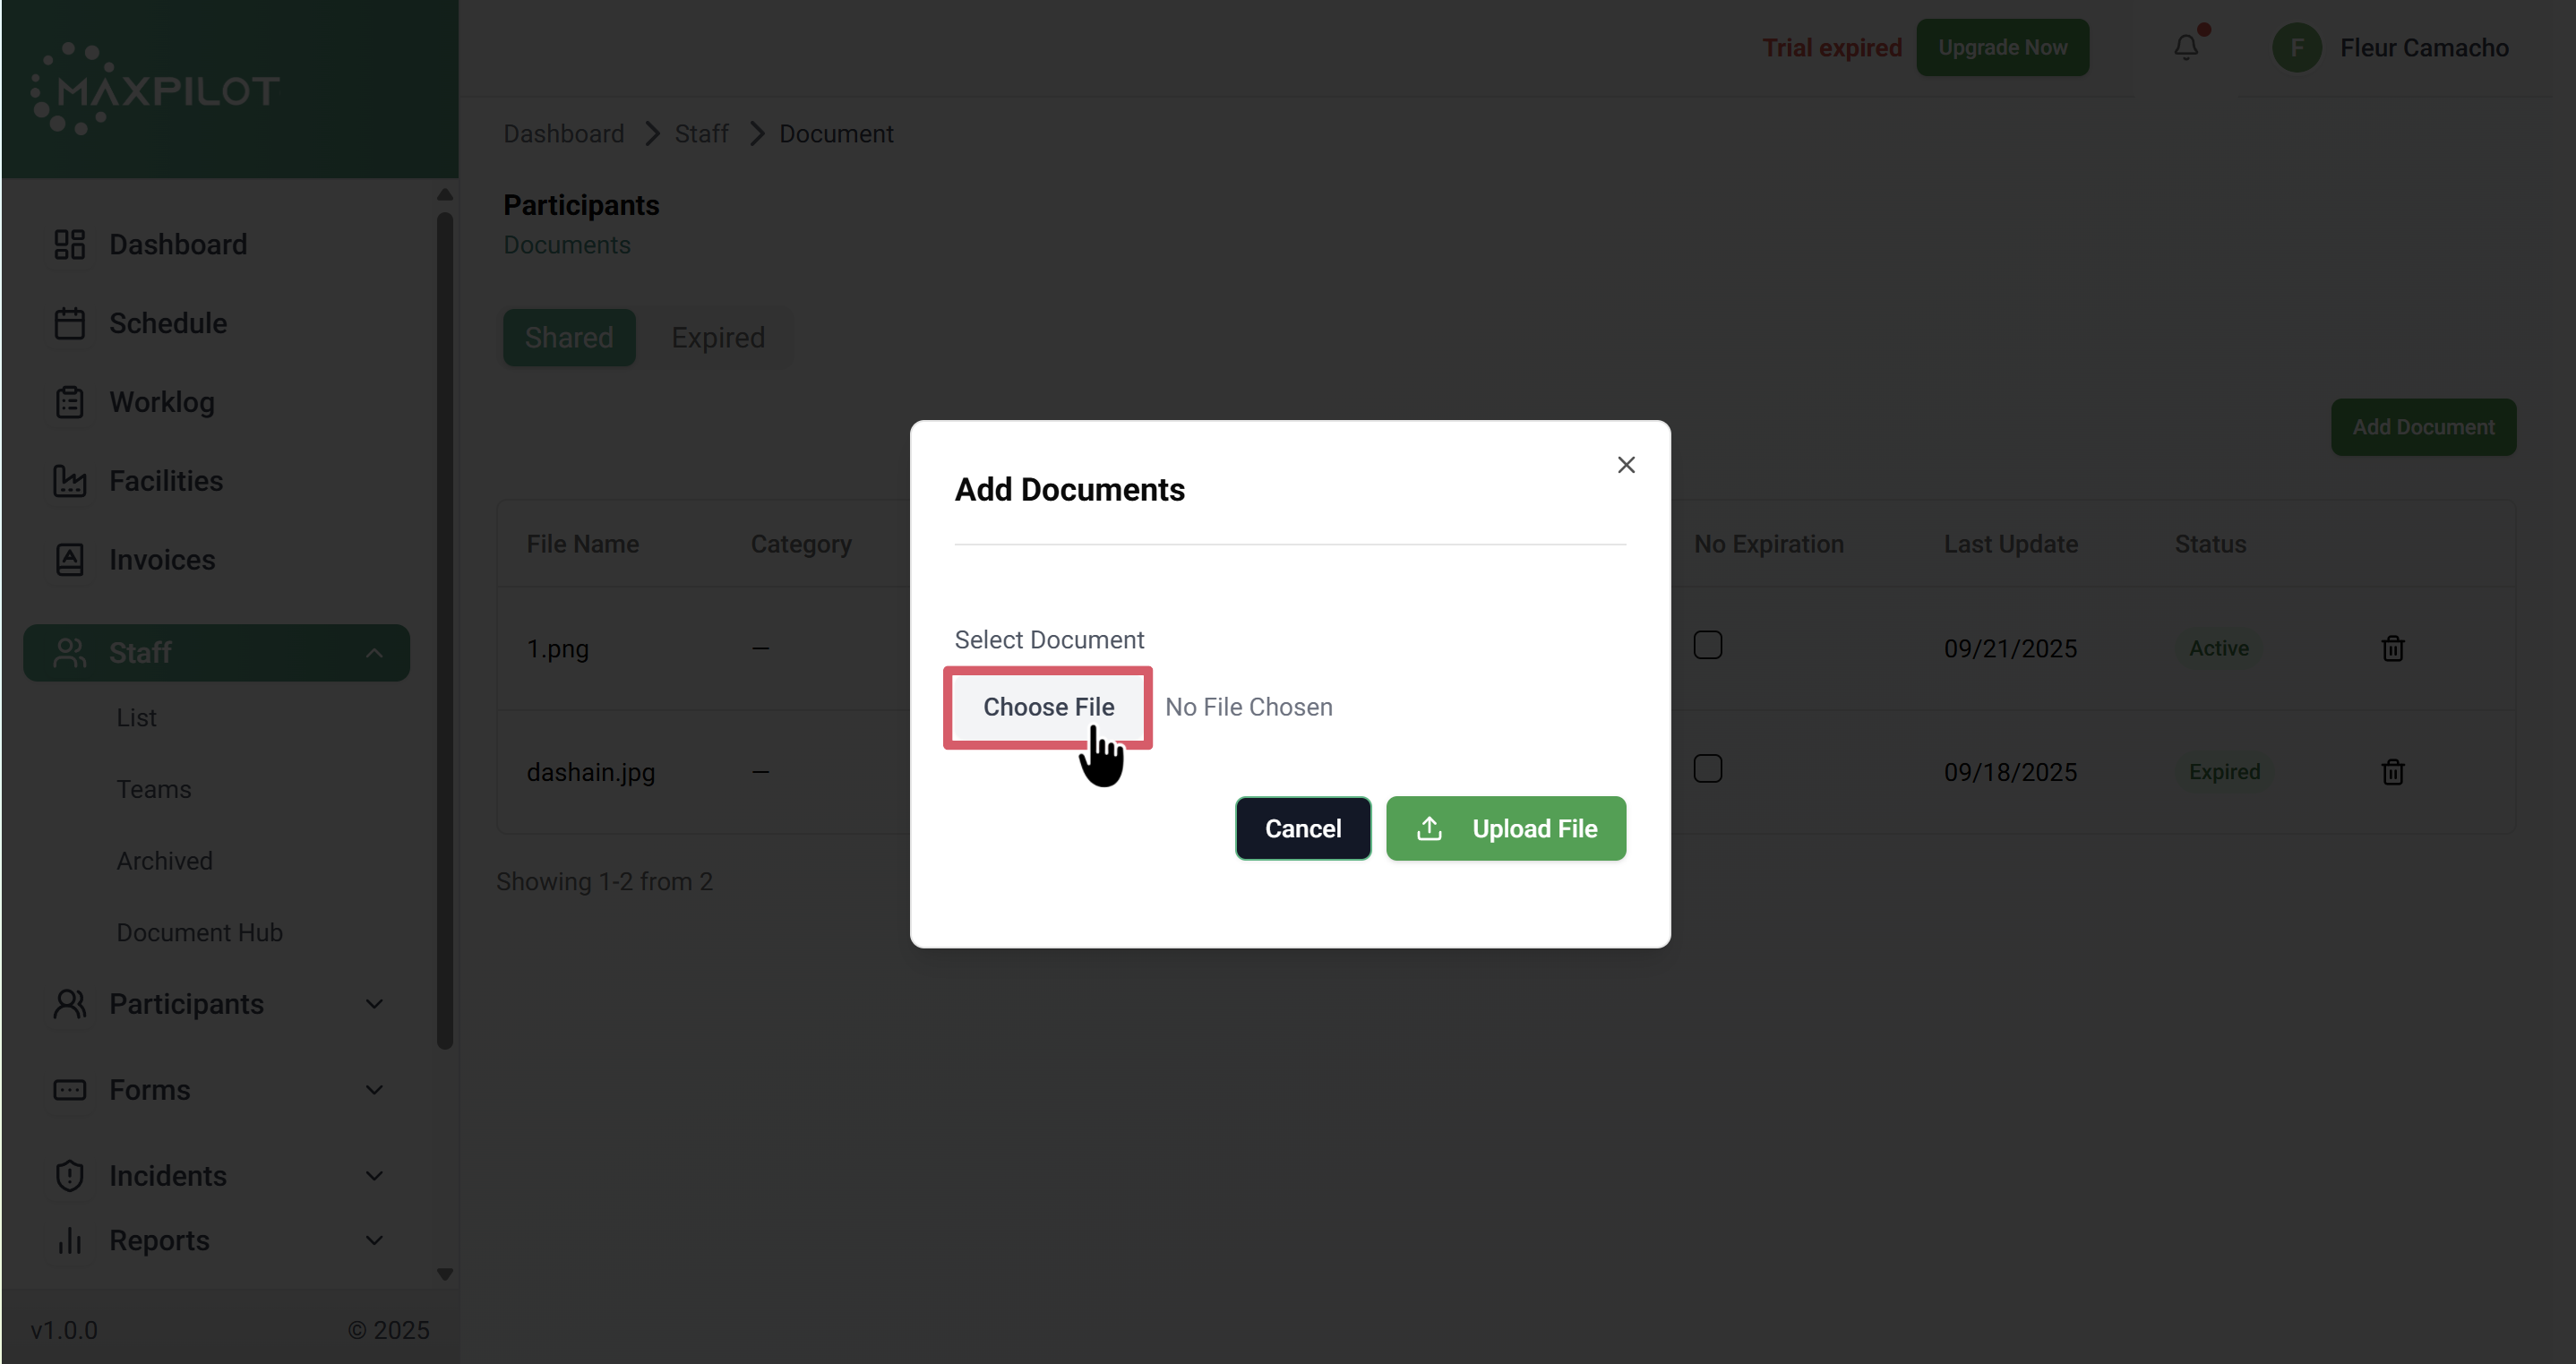
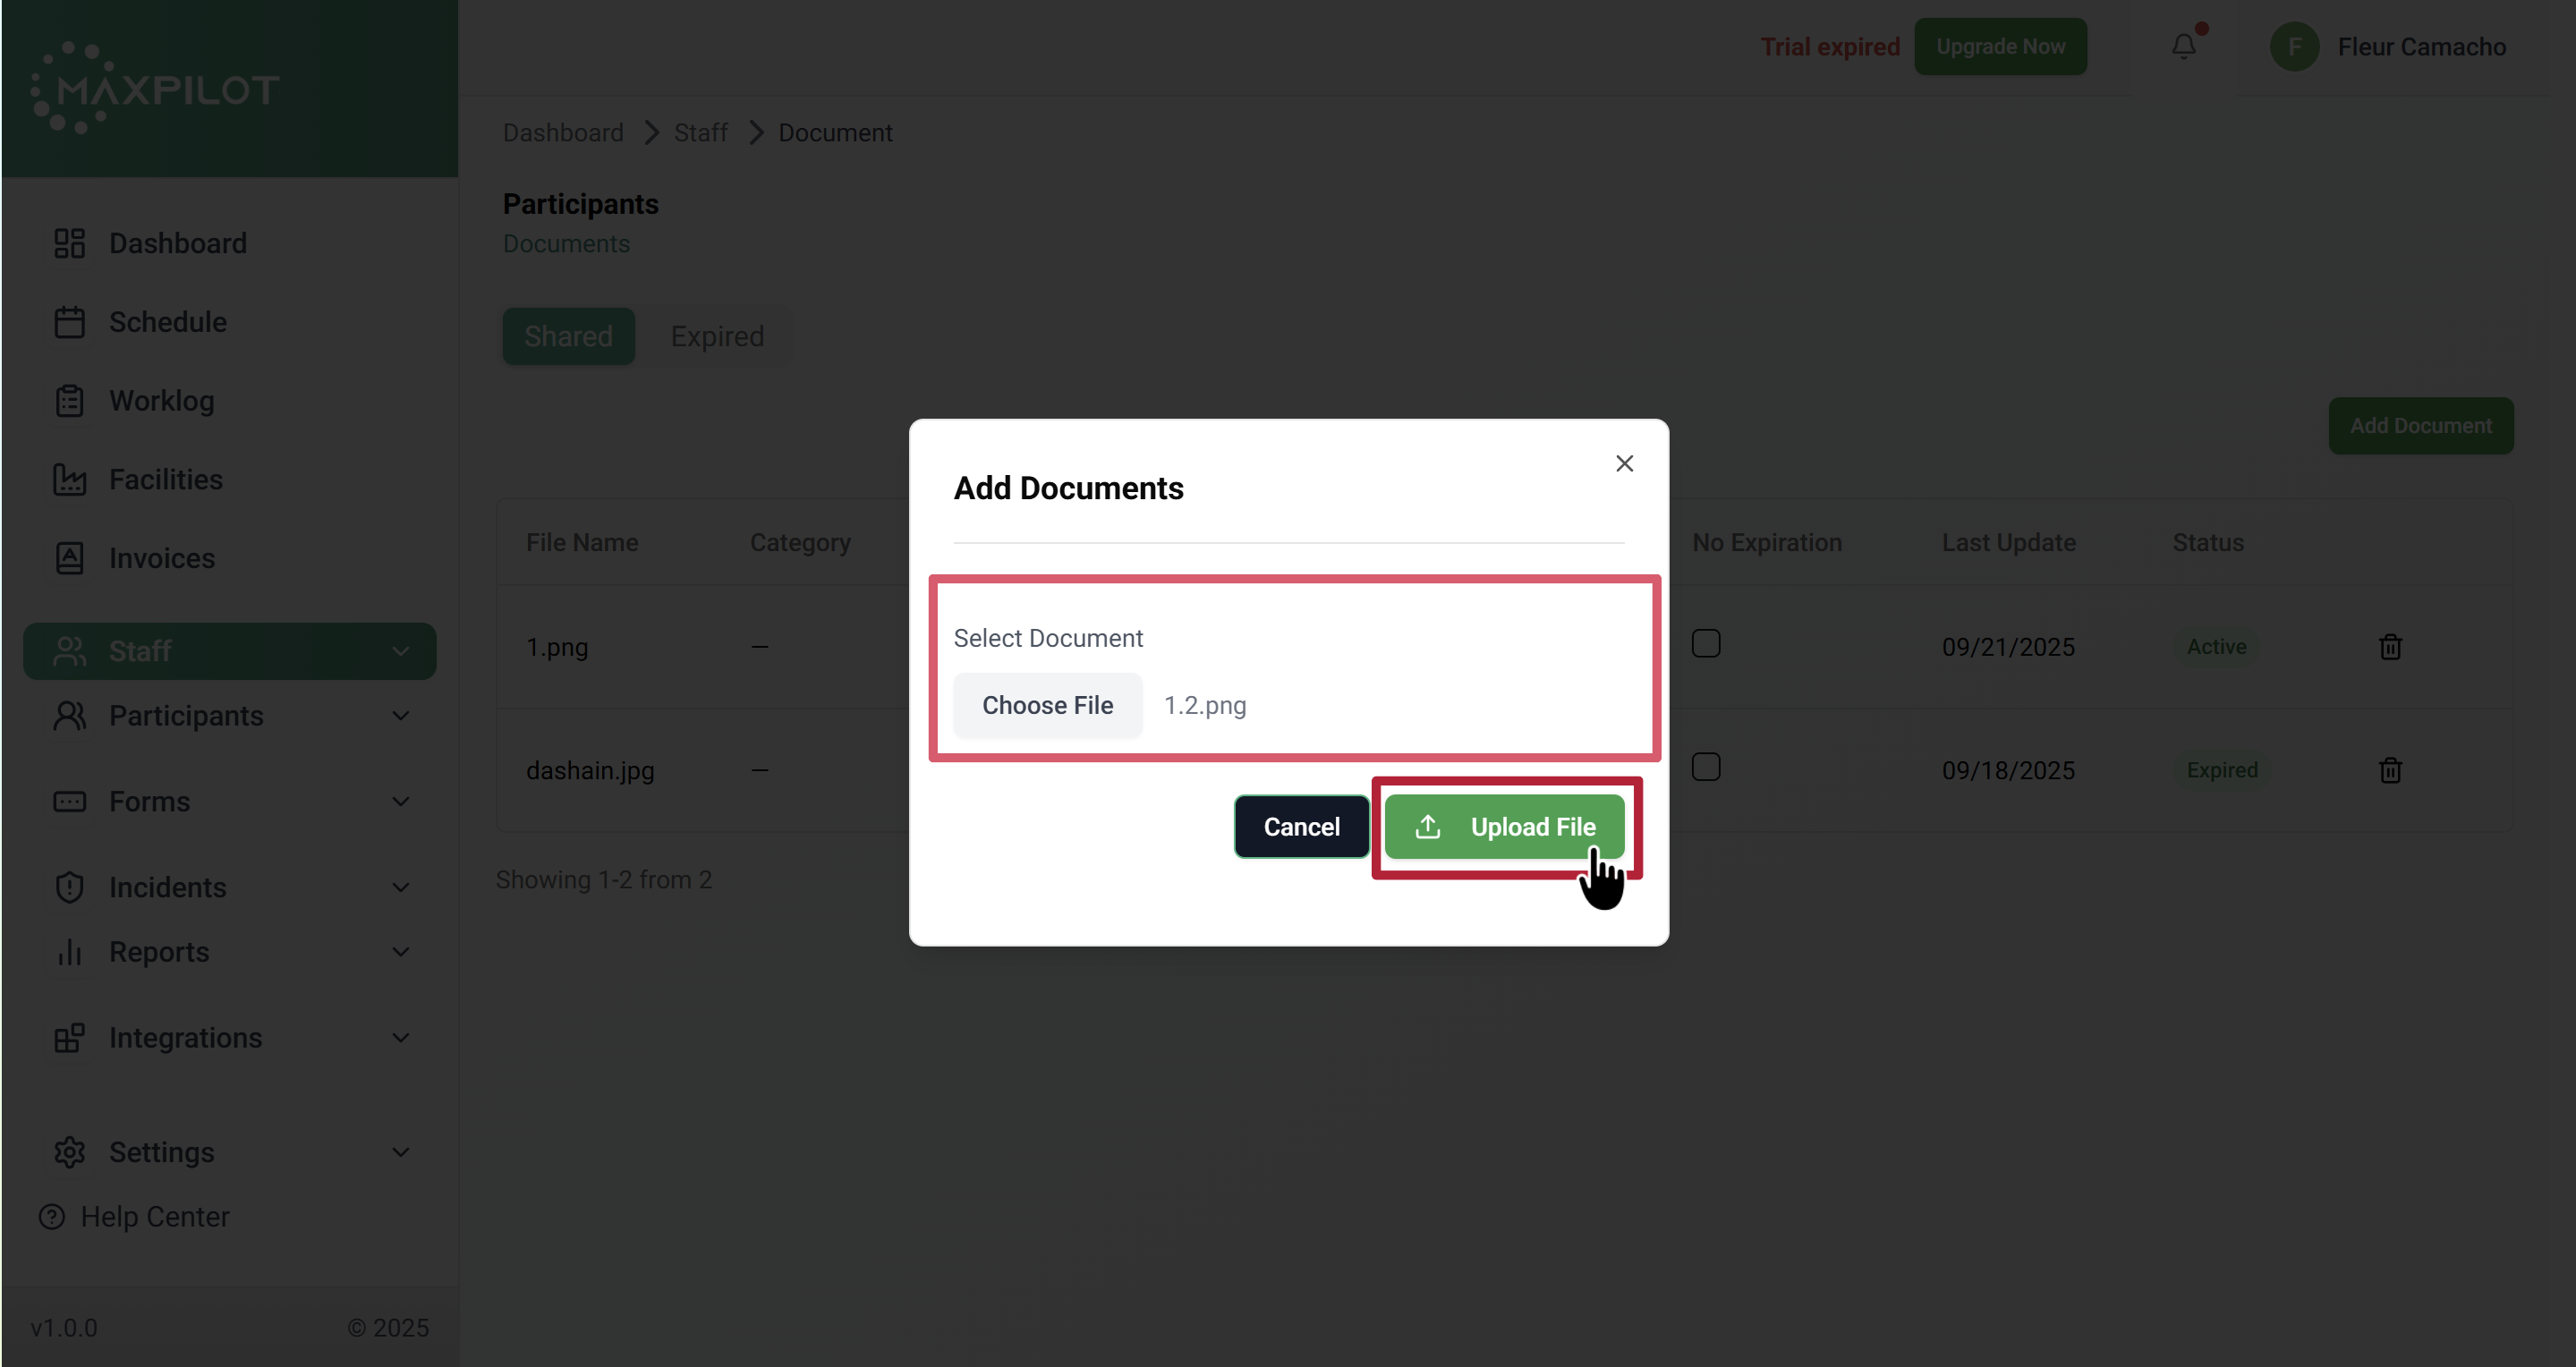
Step 3: Choose and Upload a File
Click Choose File to browse and select the document from your computer or device.
Once the file is selected, click the Upload File button to complete the process.
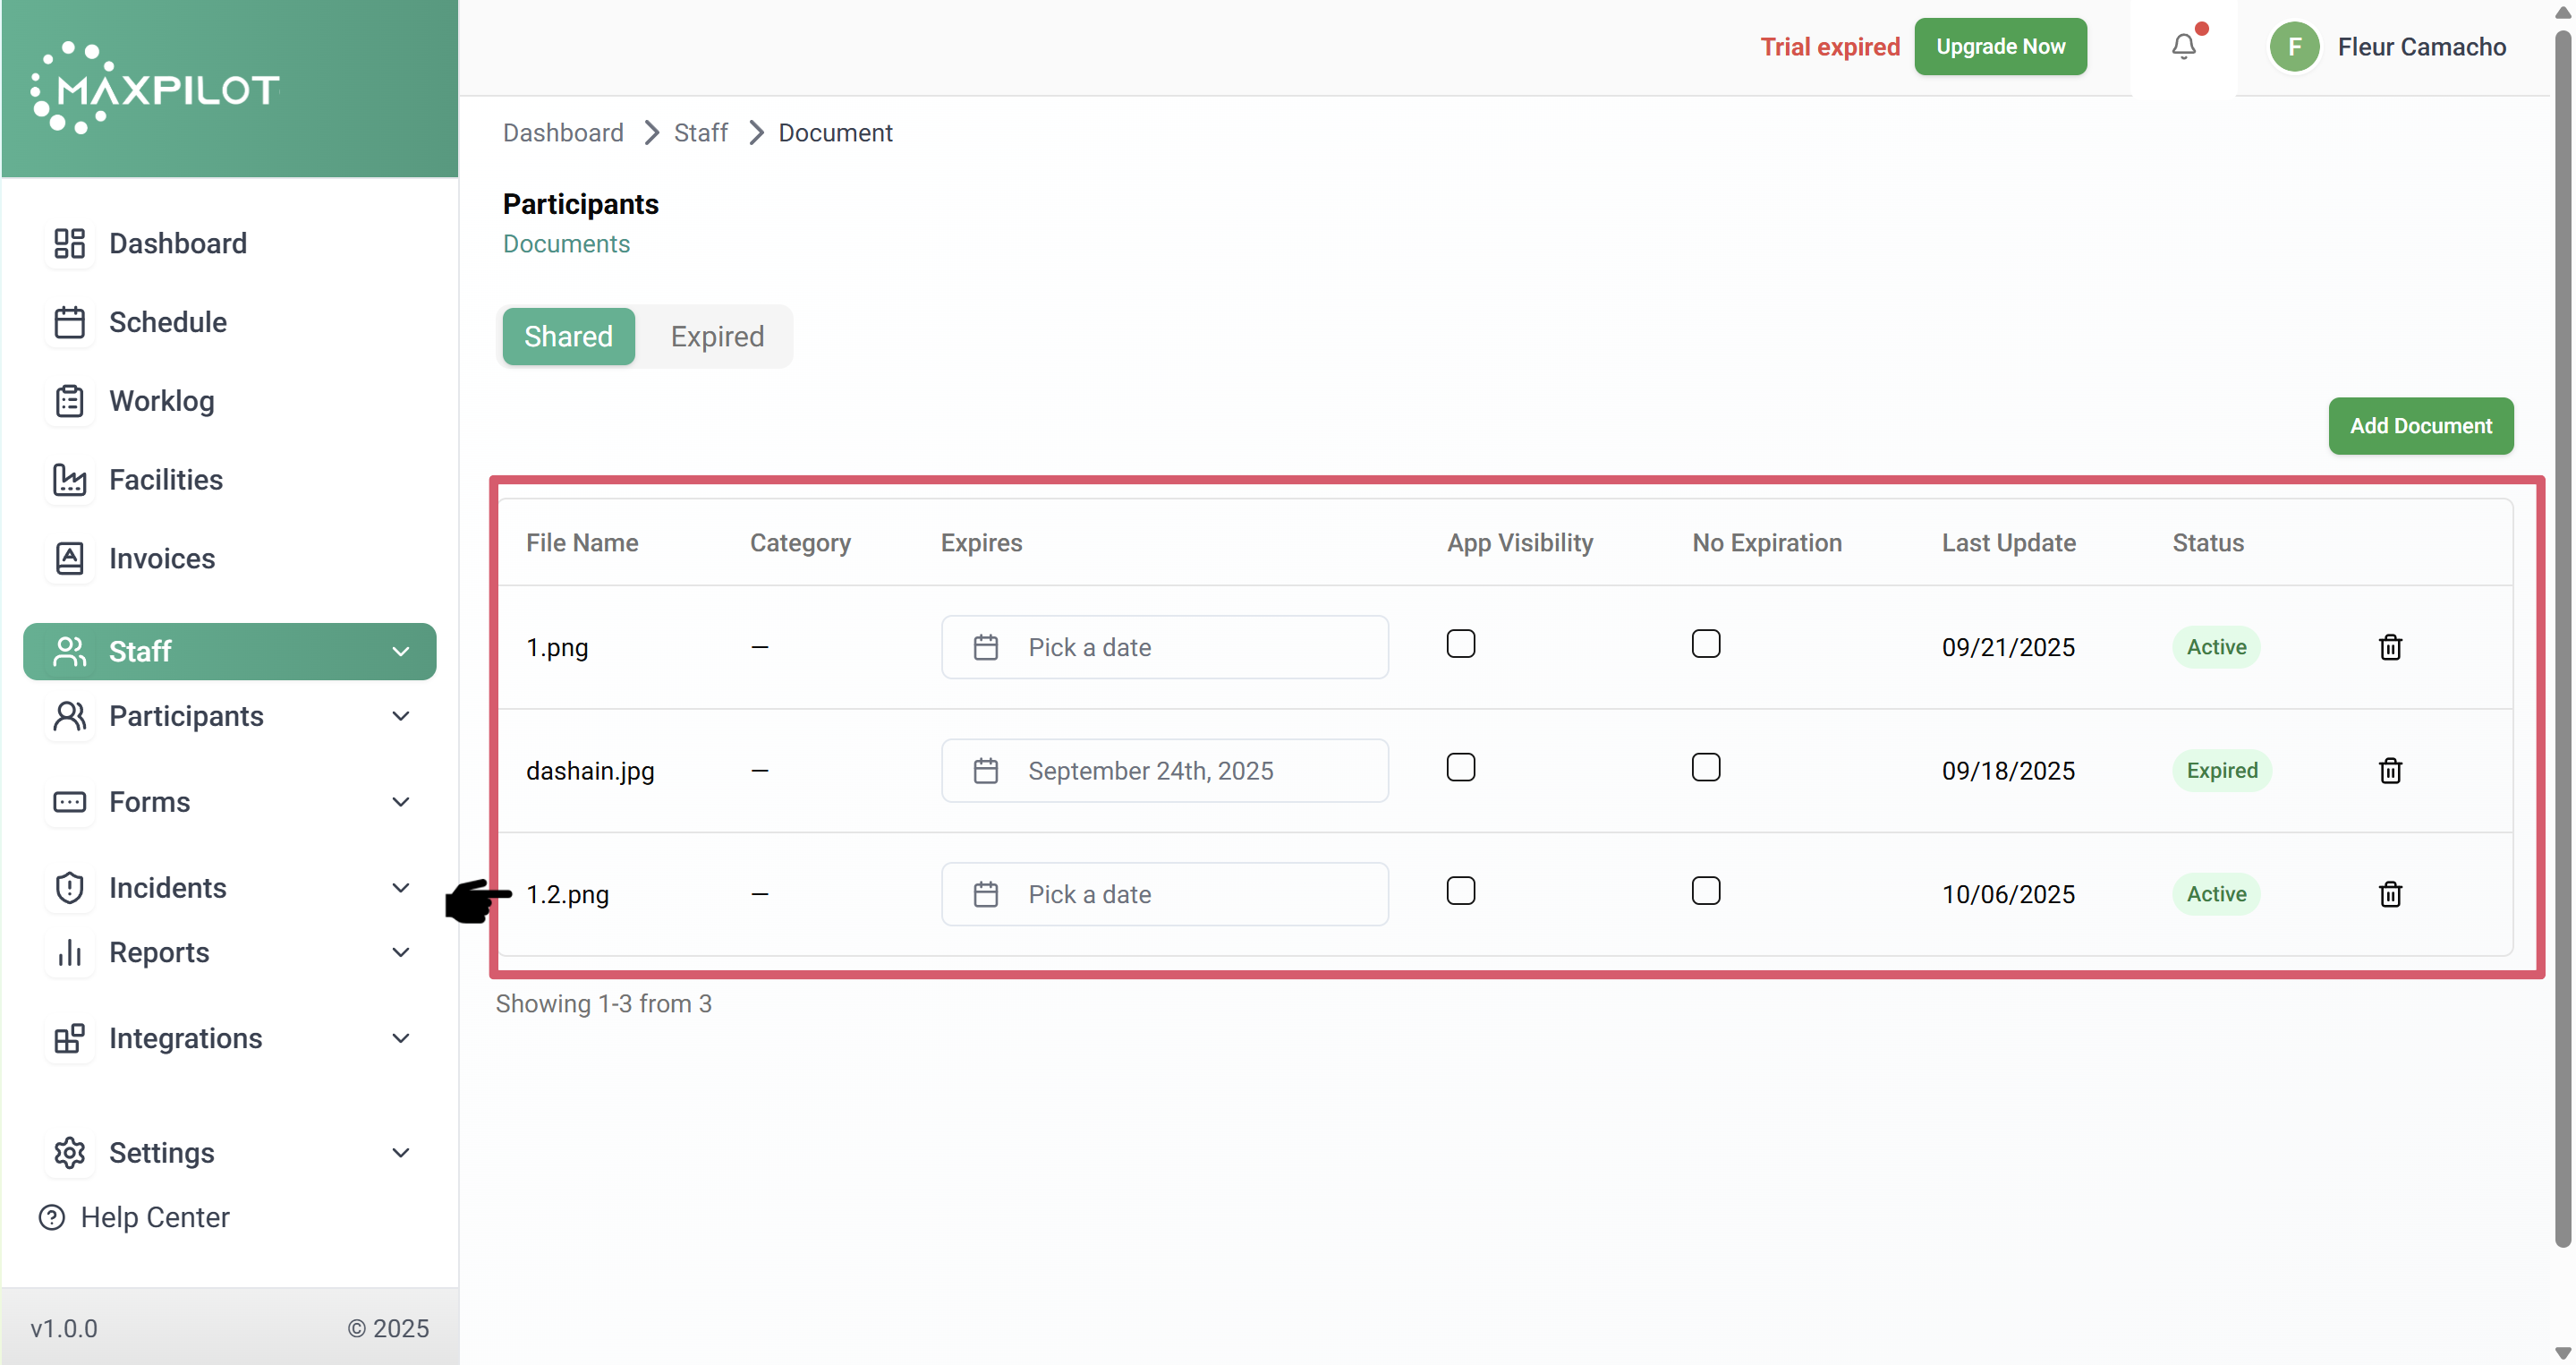
After uploading, the document will appear in the document list with details such as file name, upload date, and status.
This feature ensures that all necessary documents are securely stored in one centralized location, reducing paperwork and manual tracking.
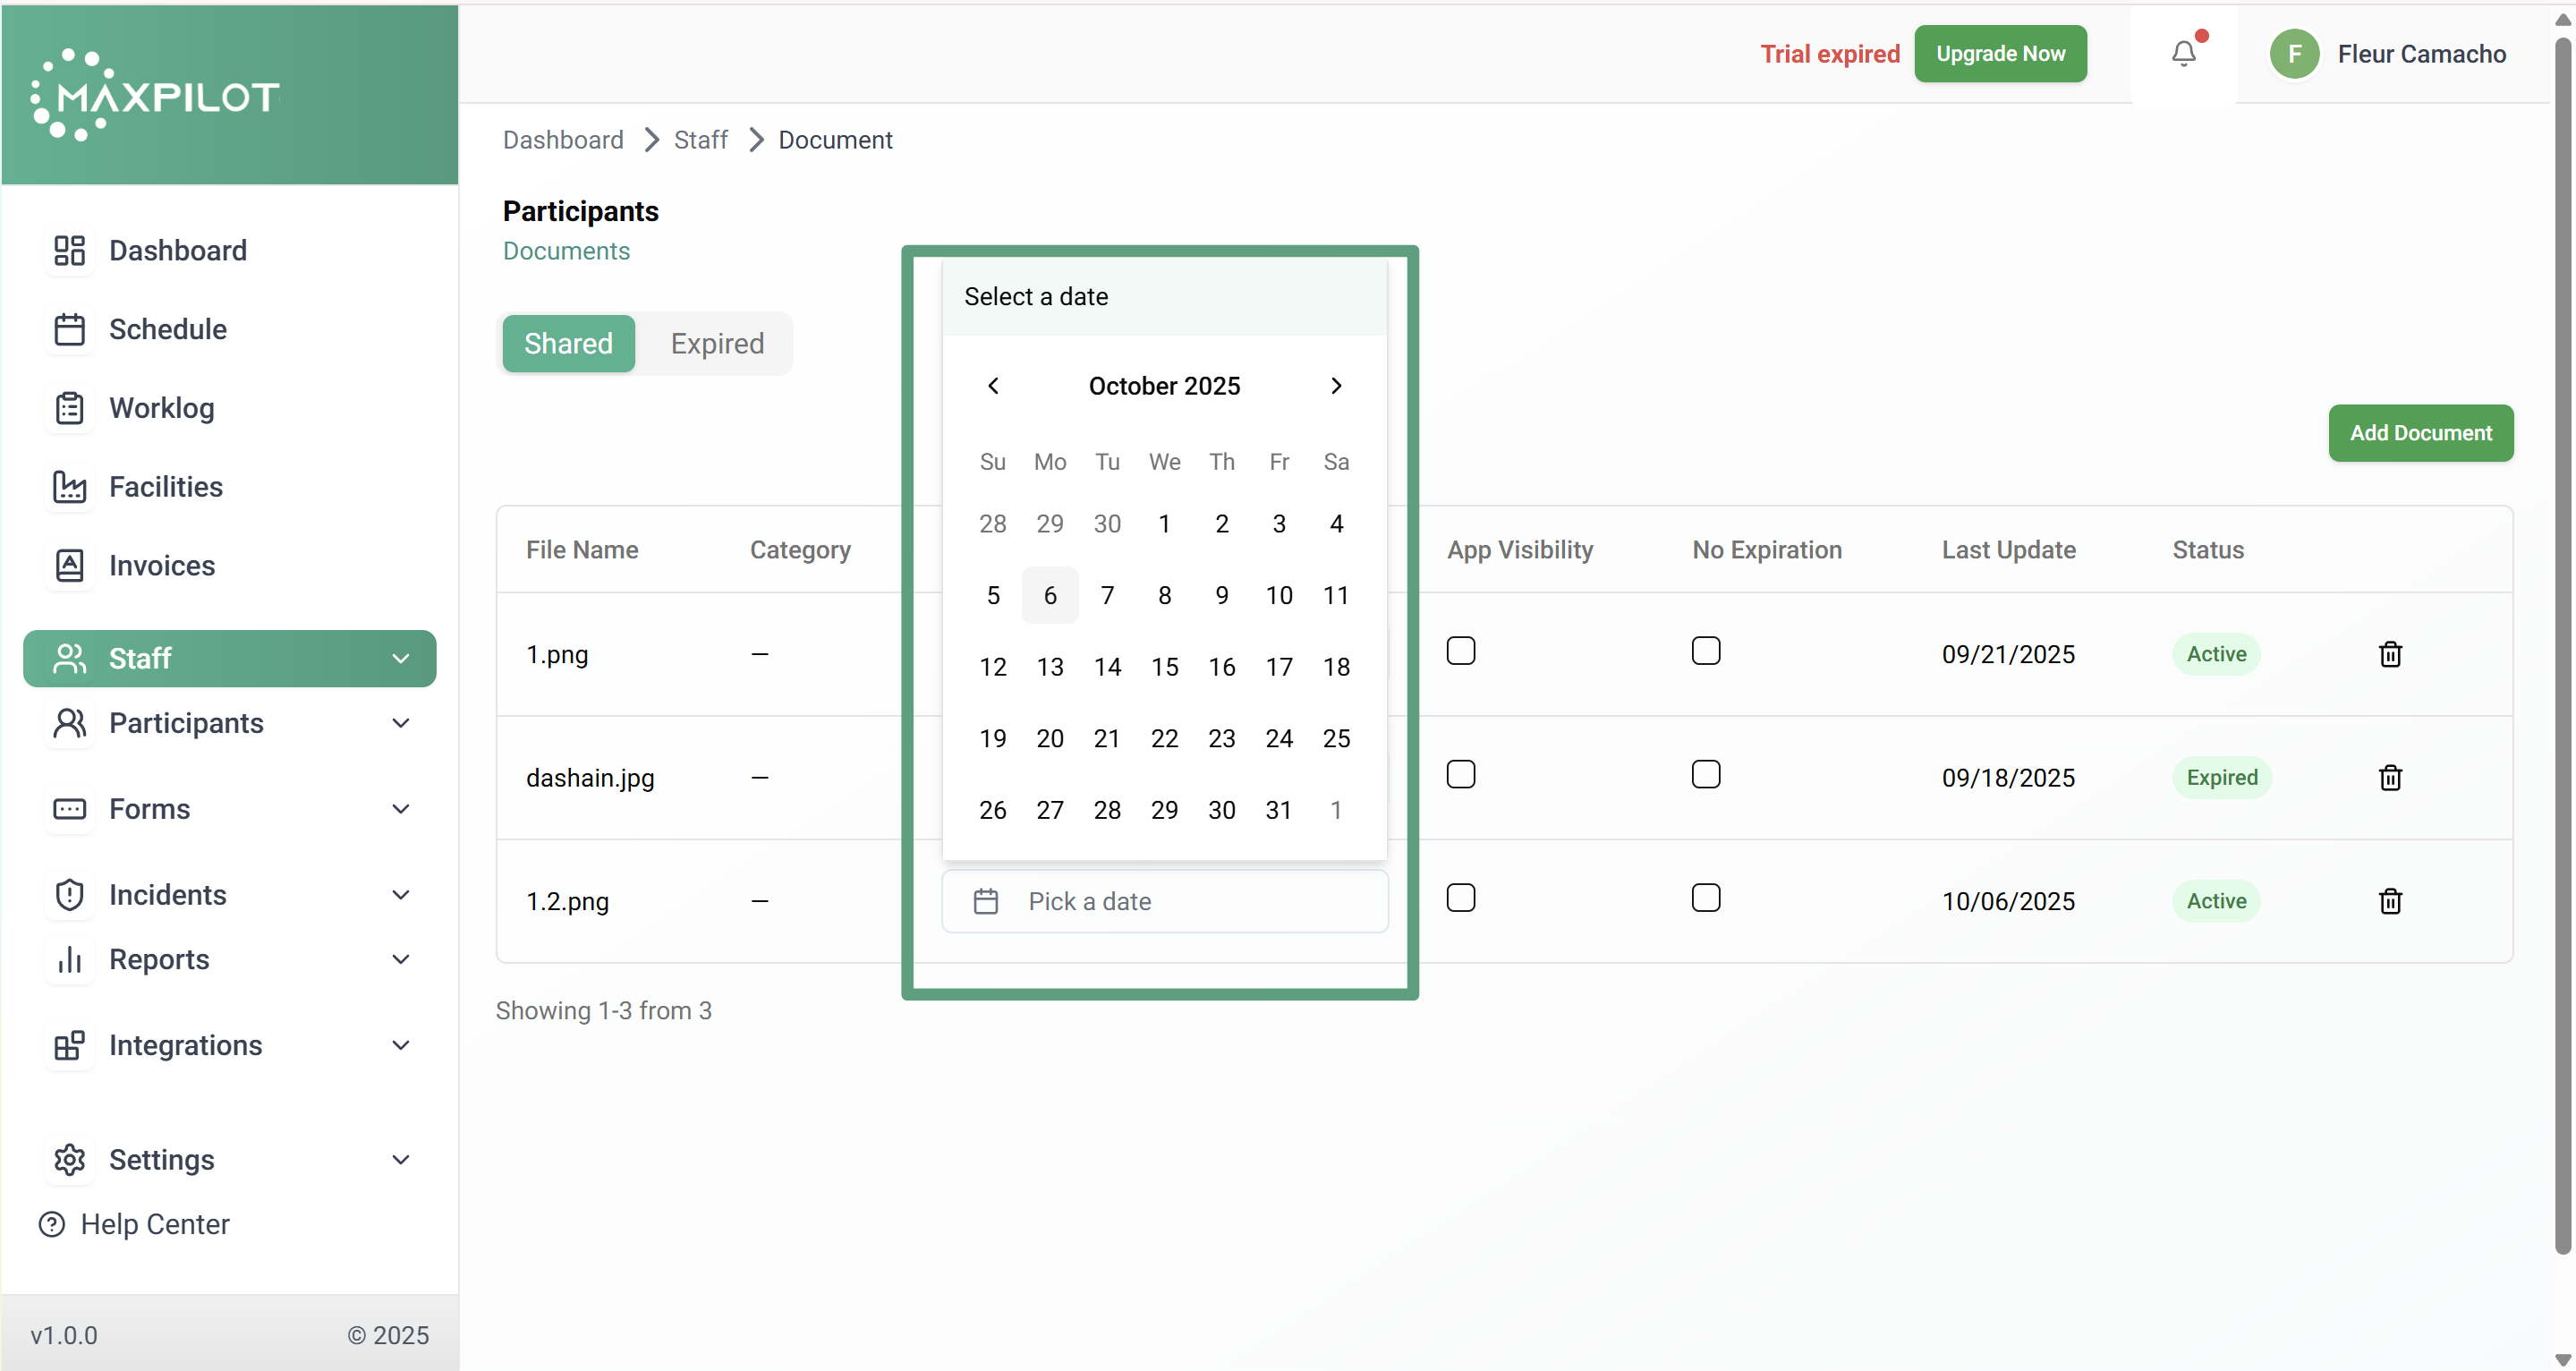
Step 4: Set an Expiration Date (Optional)
After uploading, administrators can set an expiration date for documents that require periodic updates, such as medical certificates or licenses.
Click on Pick a Date under the Expires column to open a calendar, then choose the desired expiration date.
Setting expiration dates helps ensure that outdated documents do not remain active in the system and alerts users to renew them before they expire.
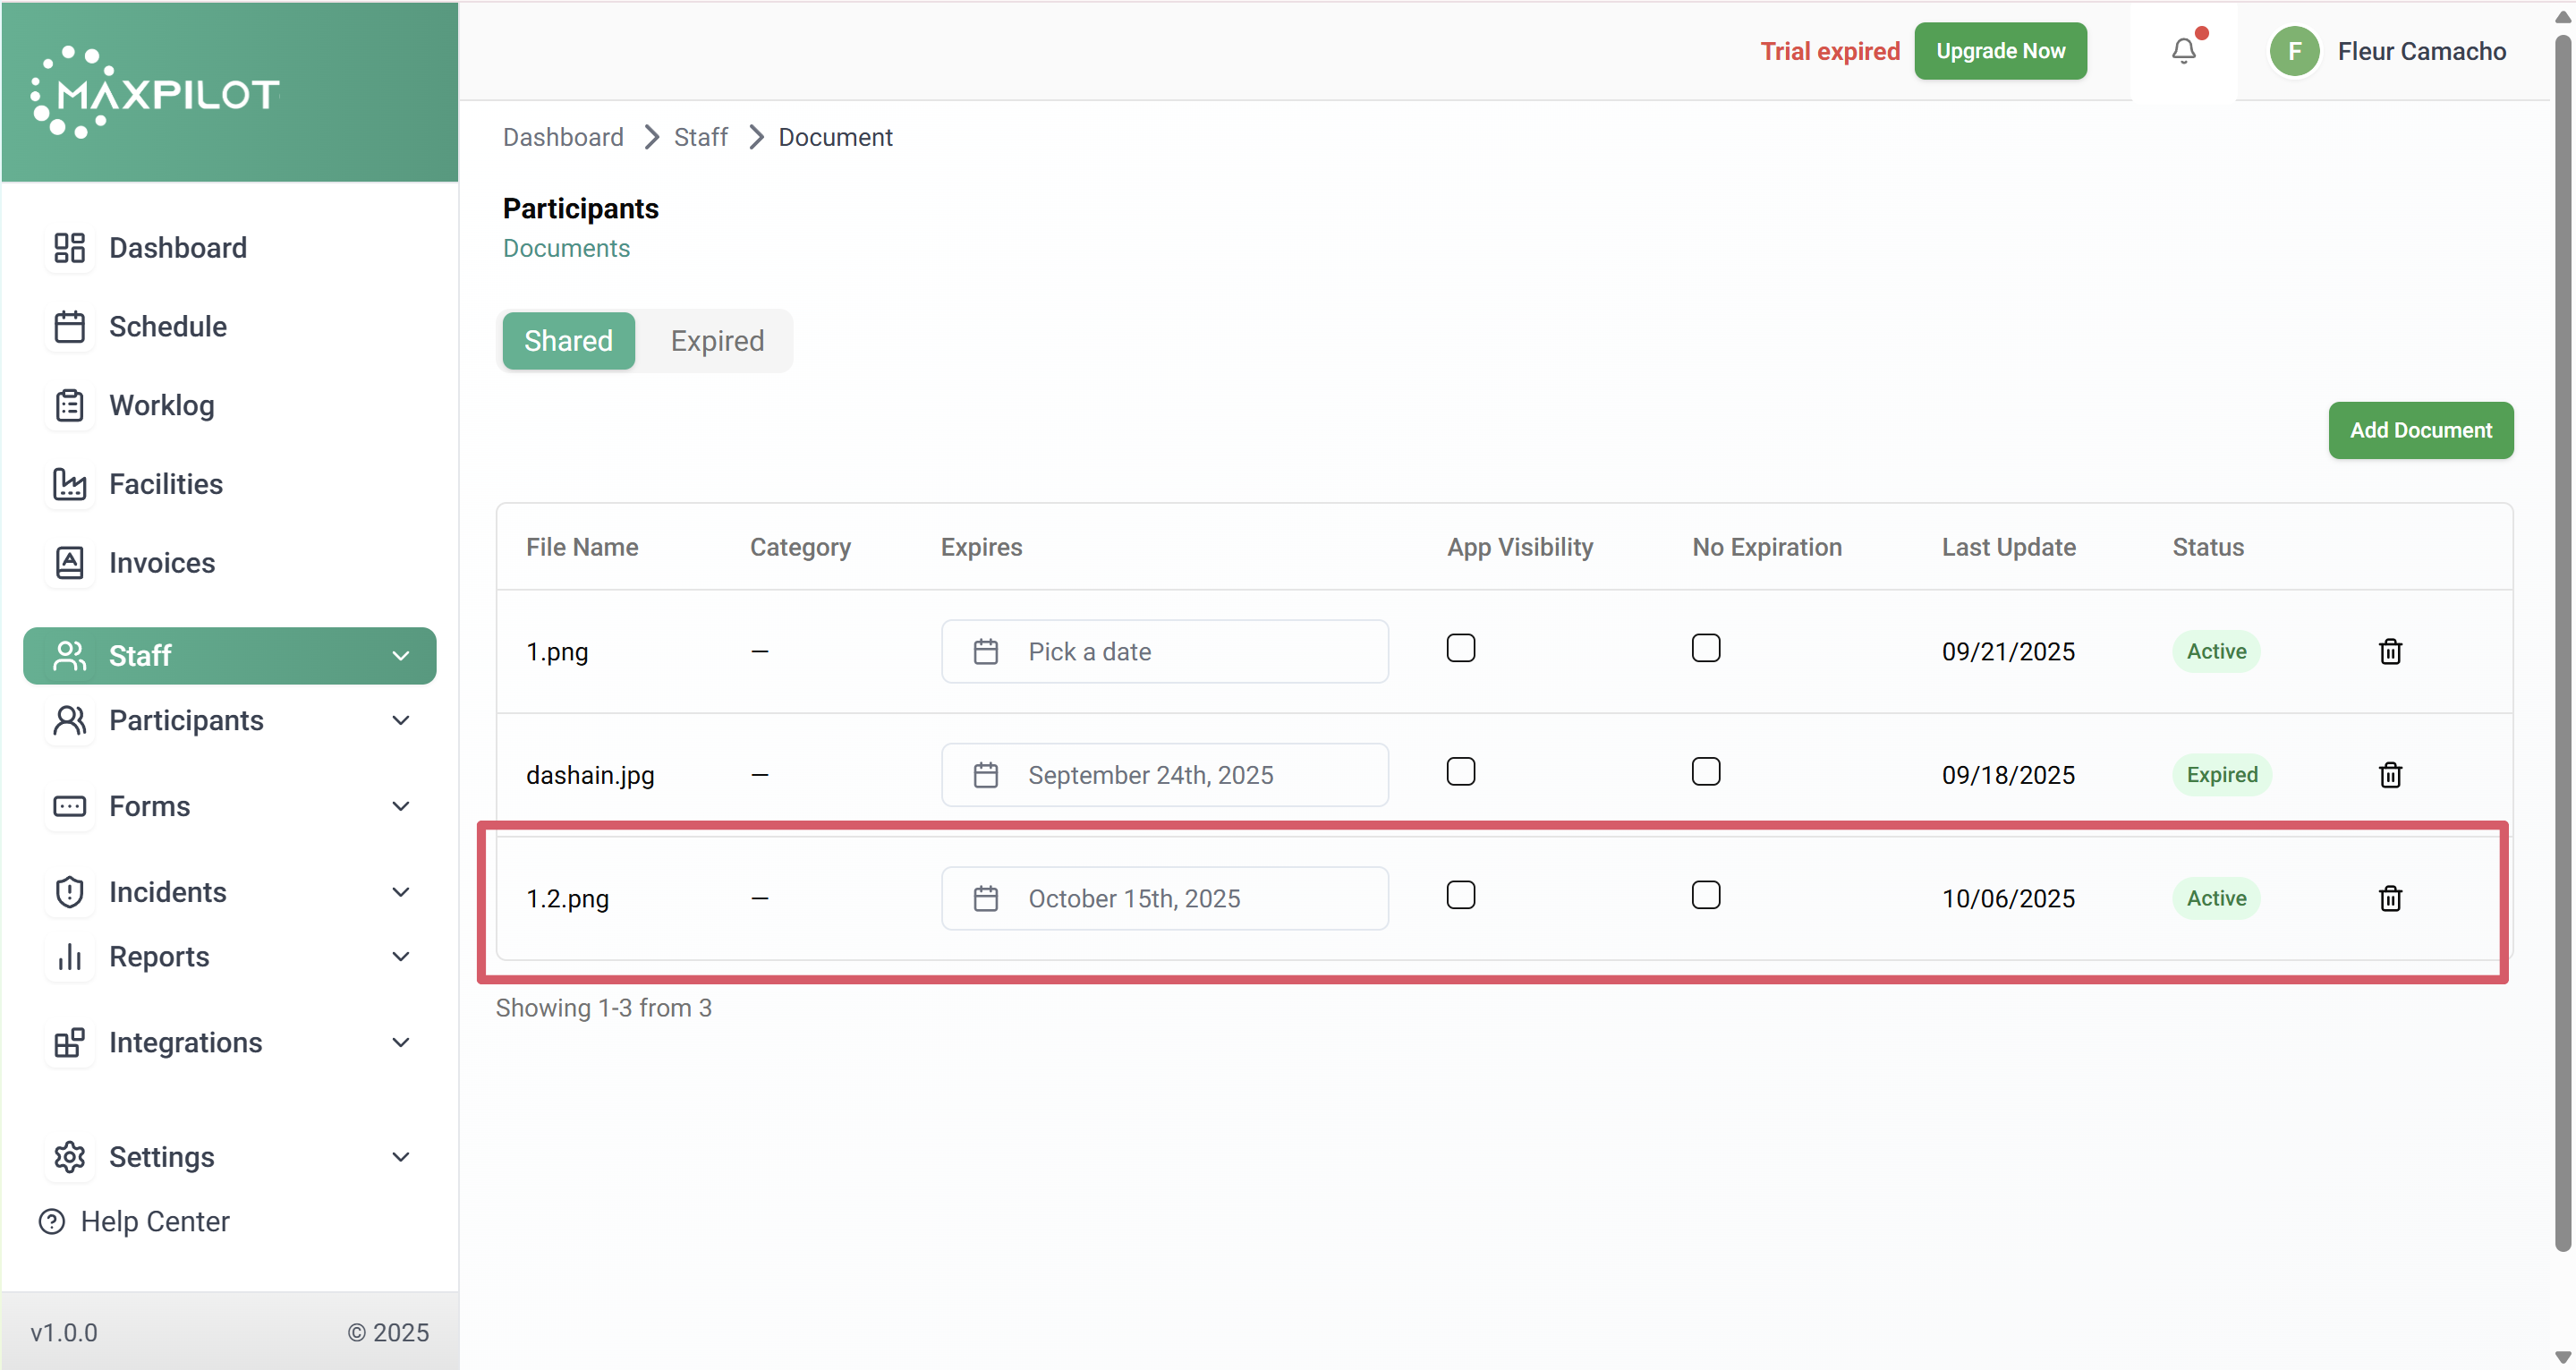
Step 5: Review and Manage Uploaded Documents
Once uploaded, all documents will appear in the Shared tab. Each entry displays key details, including:
If a document has expired, it will automatically appear in the Expired tab, allowing administrators to easily review which staff members need to submit updated records. You can also delete documents by clicking the trash icon beside them.
This system provides a clear and organized overview of all uploaded documents, ensuring that compliance and record accuracy are maintained efficiently.
Additional Notes:
Maintaining up-to-date documents not only ensures compliance with internal policies but also supports transparent record-keeping across the organization.