How to Add Unavailability?
When your team members need to mark times when they’re unavailable, adding unavailability in MaxPilot helps you plan ahead and prevent scheduling conflicts. It ensures that no one is scheduled when they’re off duty, unavailable, or otherwise engaged — keeping the roster accurate and your service running smoothly.
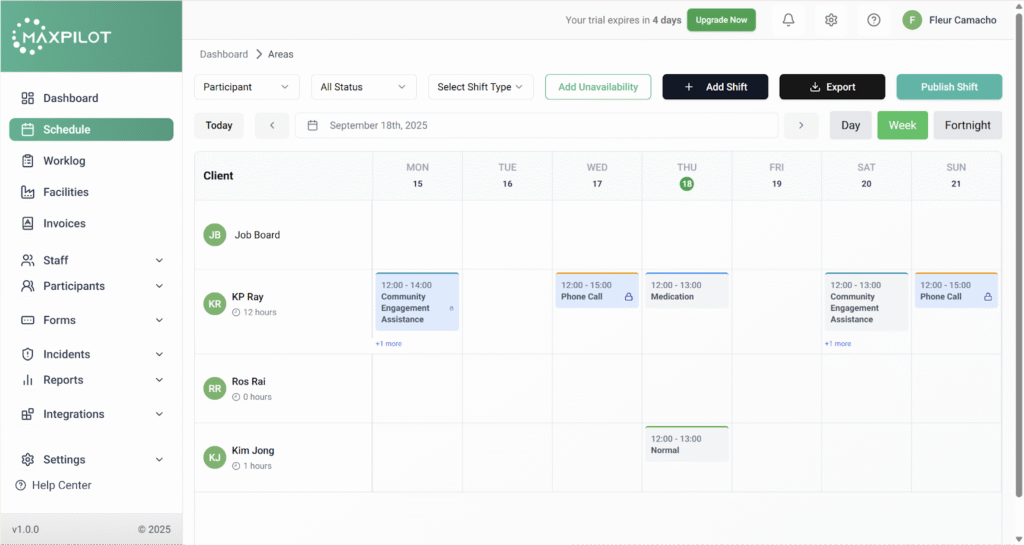
Step 1: Open the Schedule
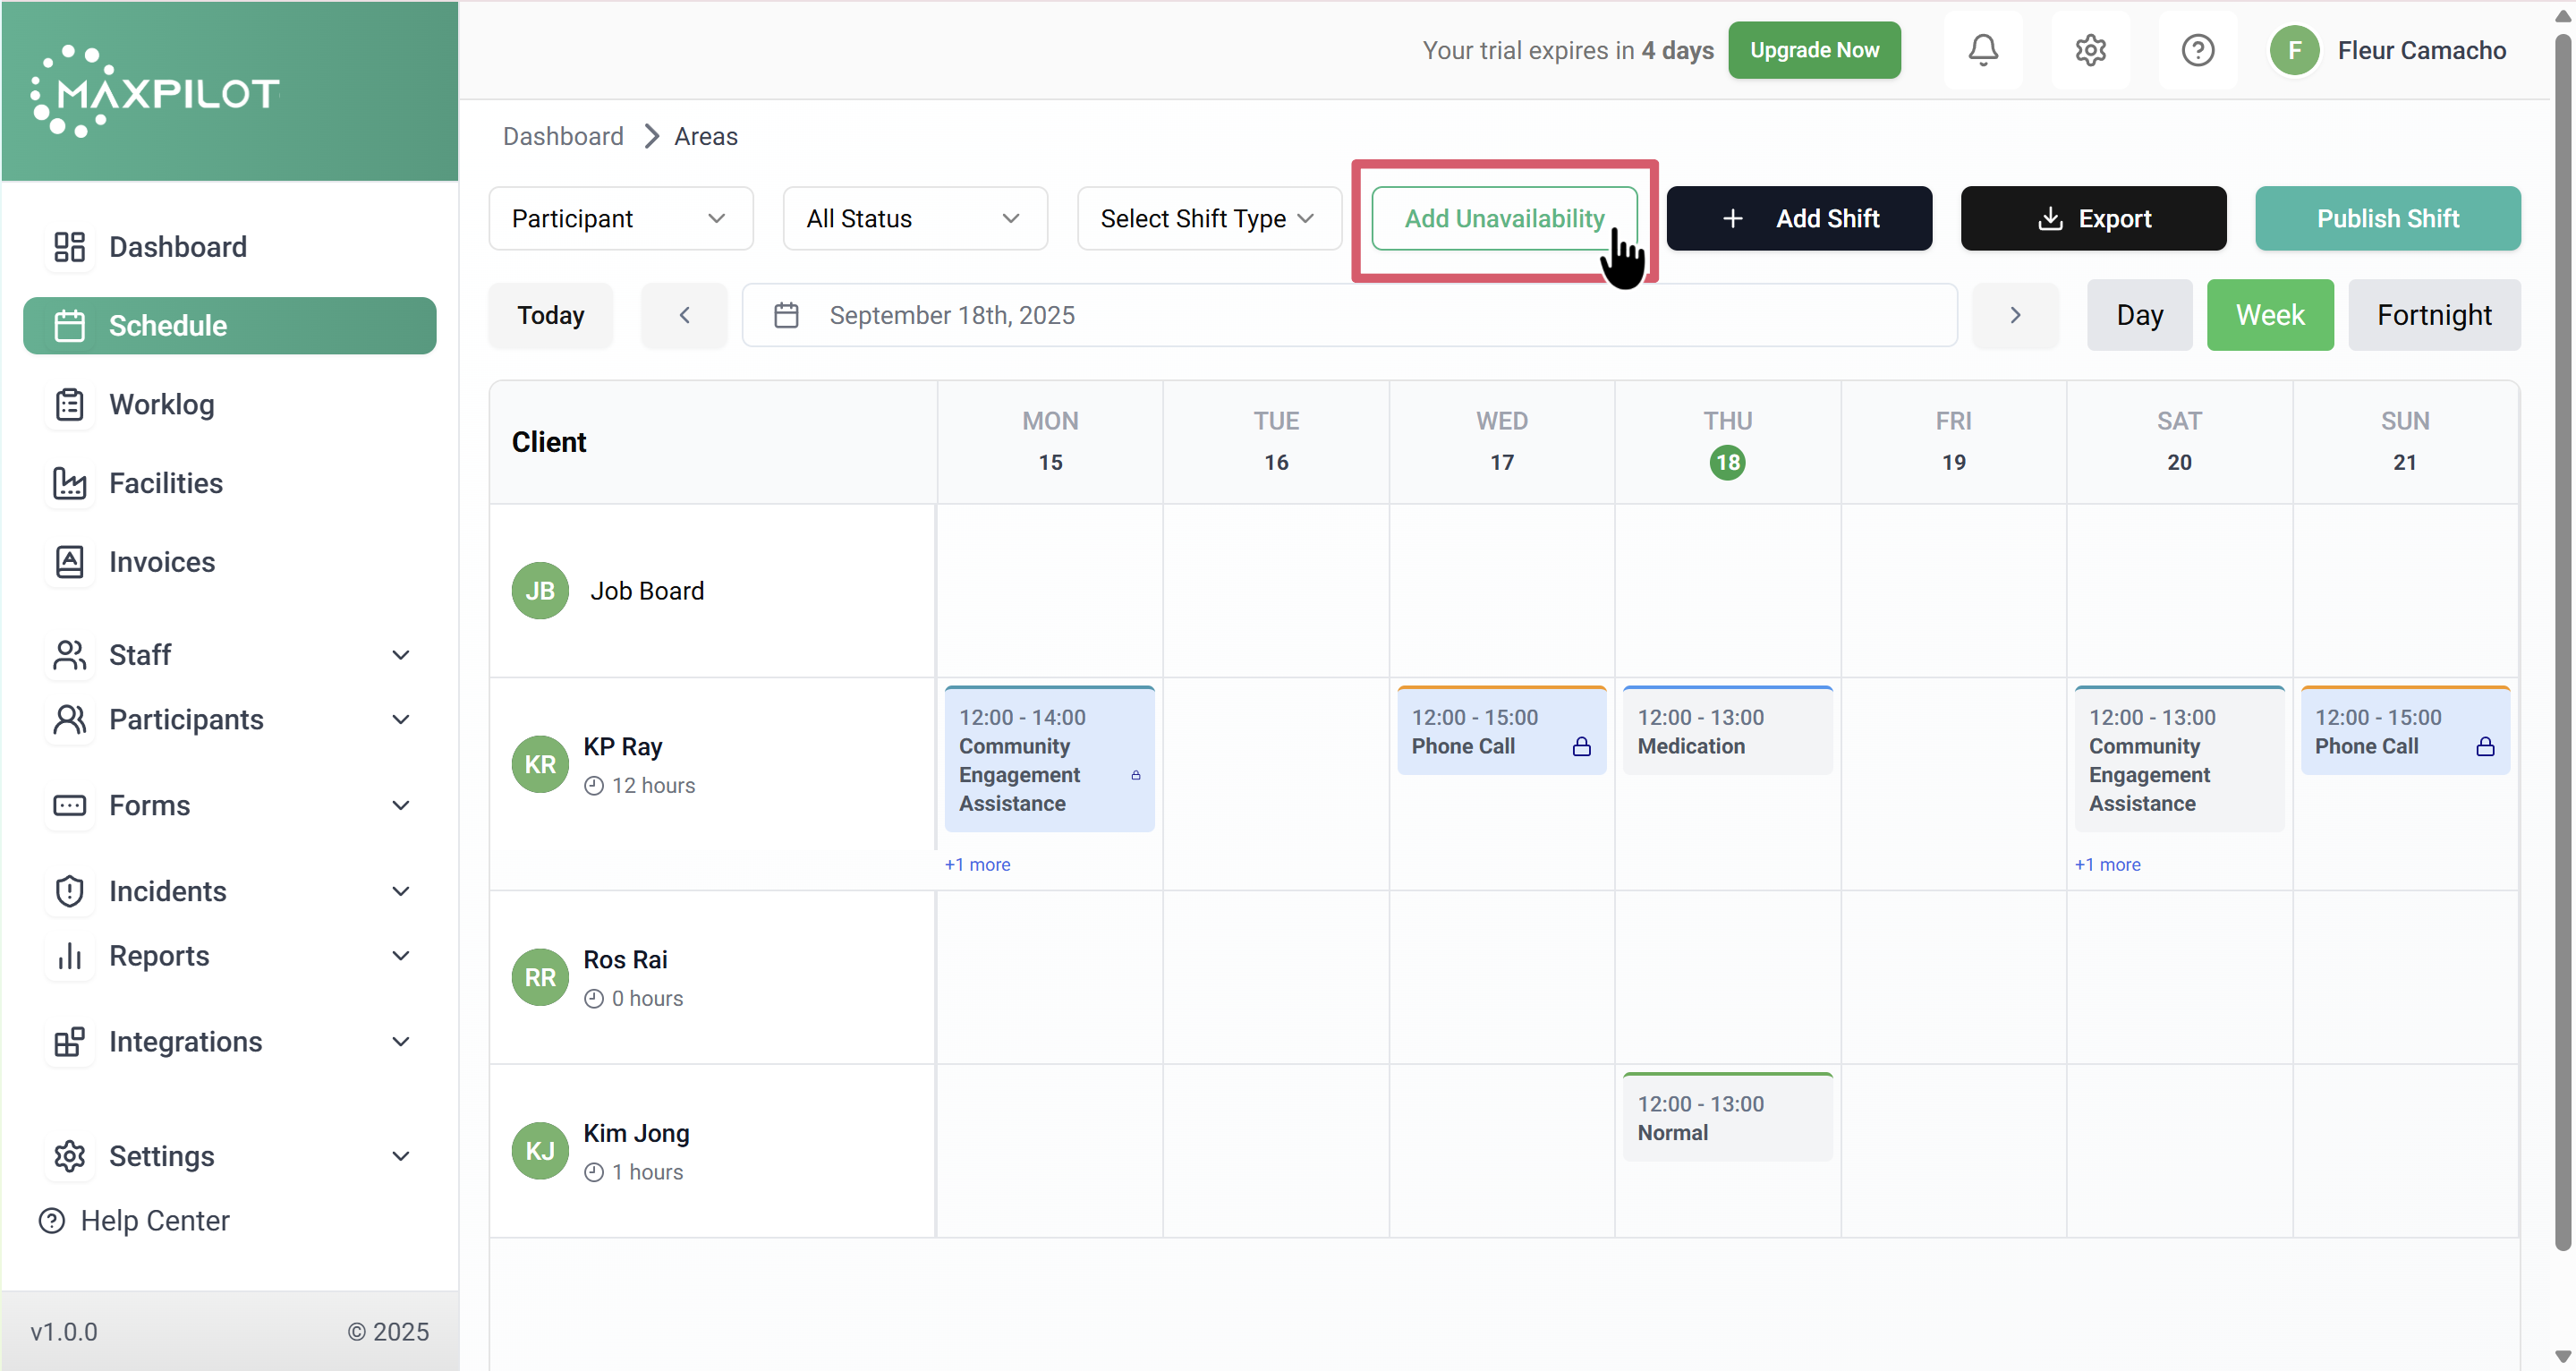
Step 2: Click Add Unavailability
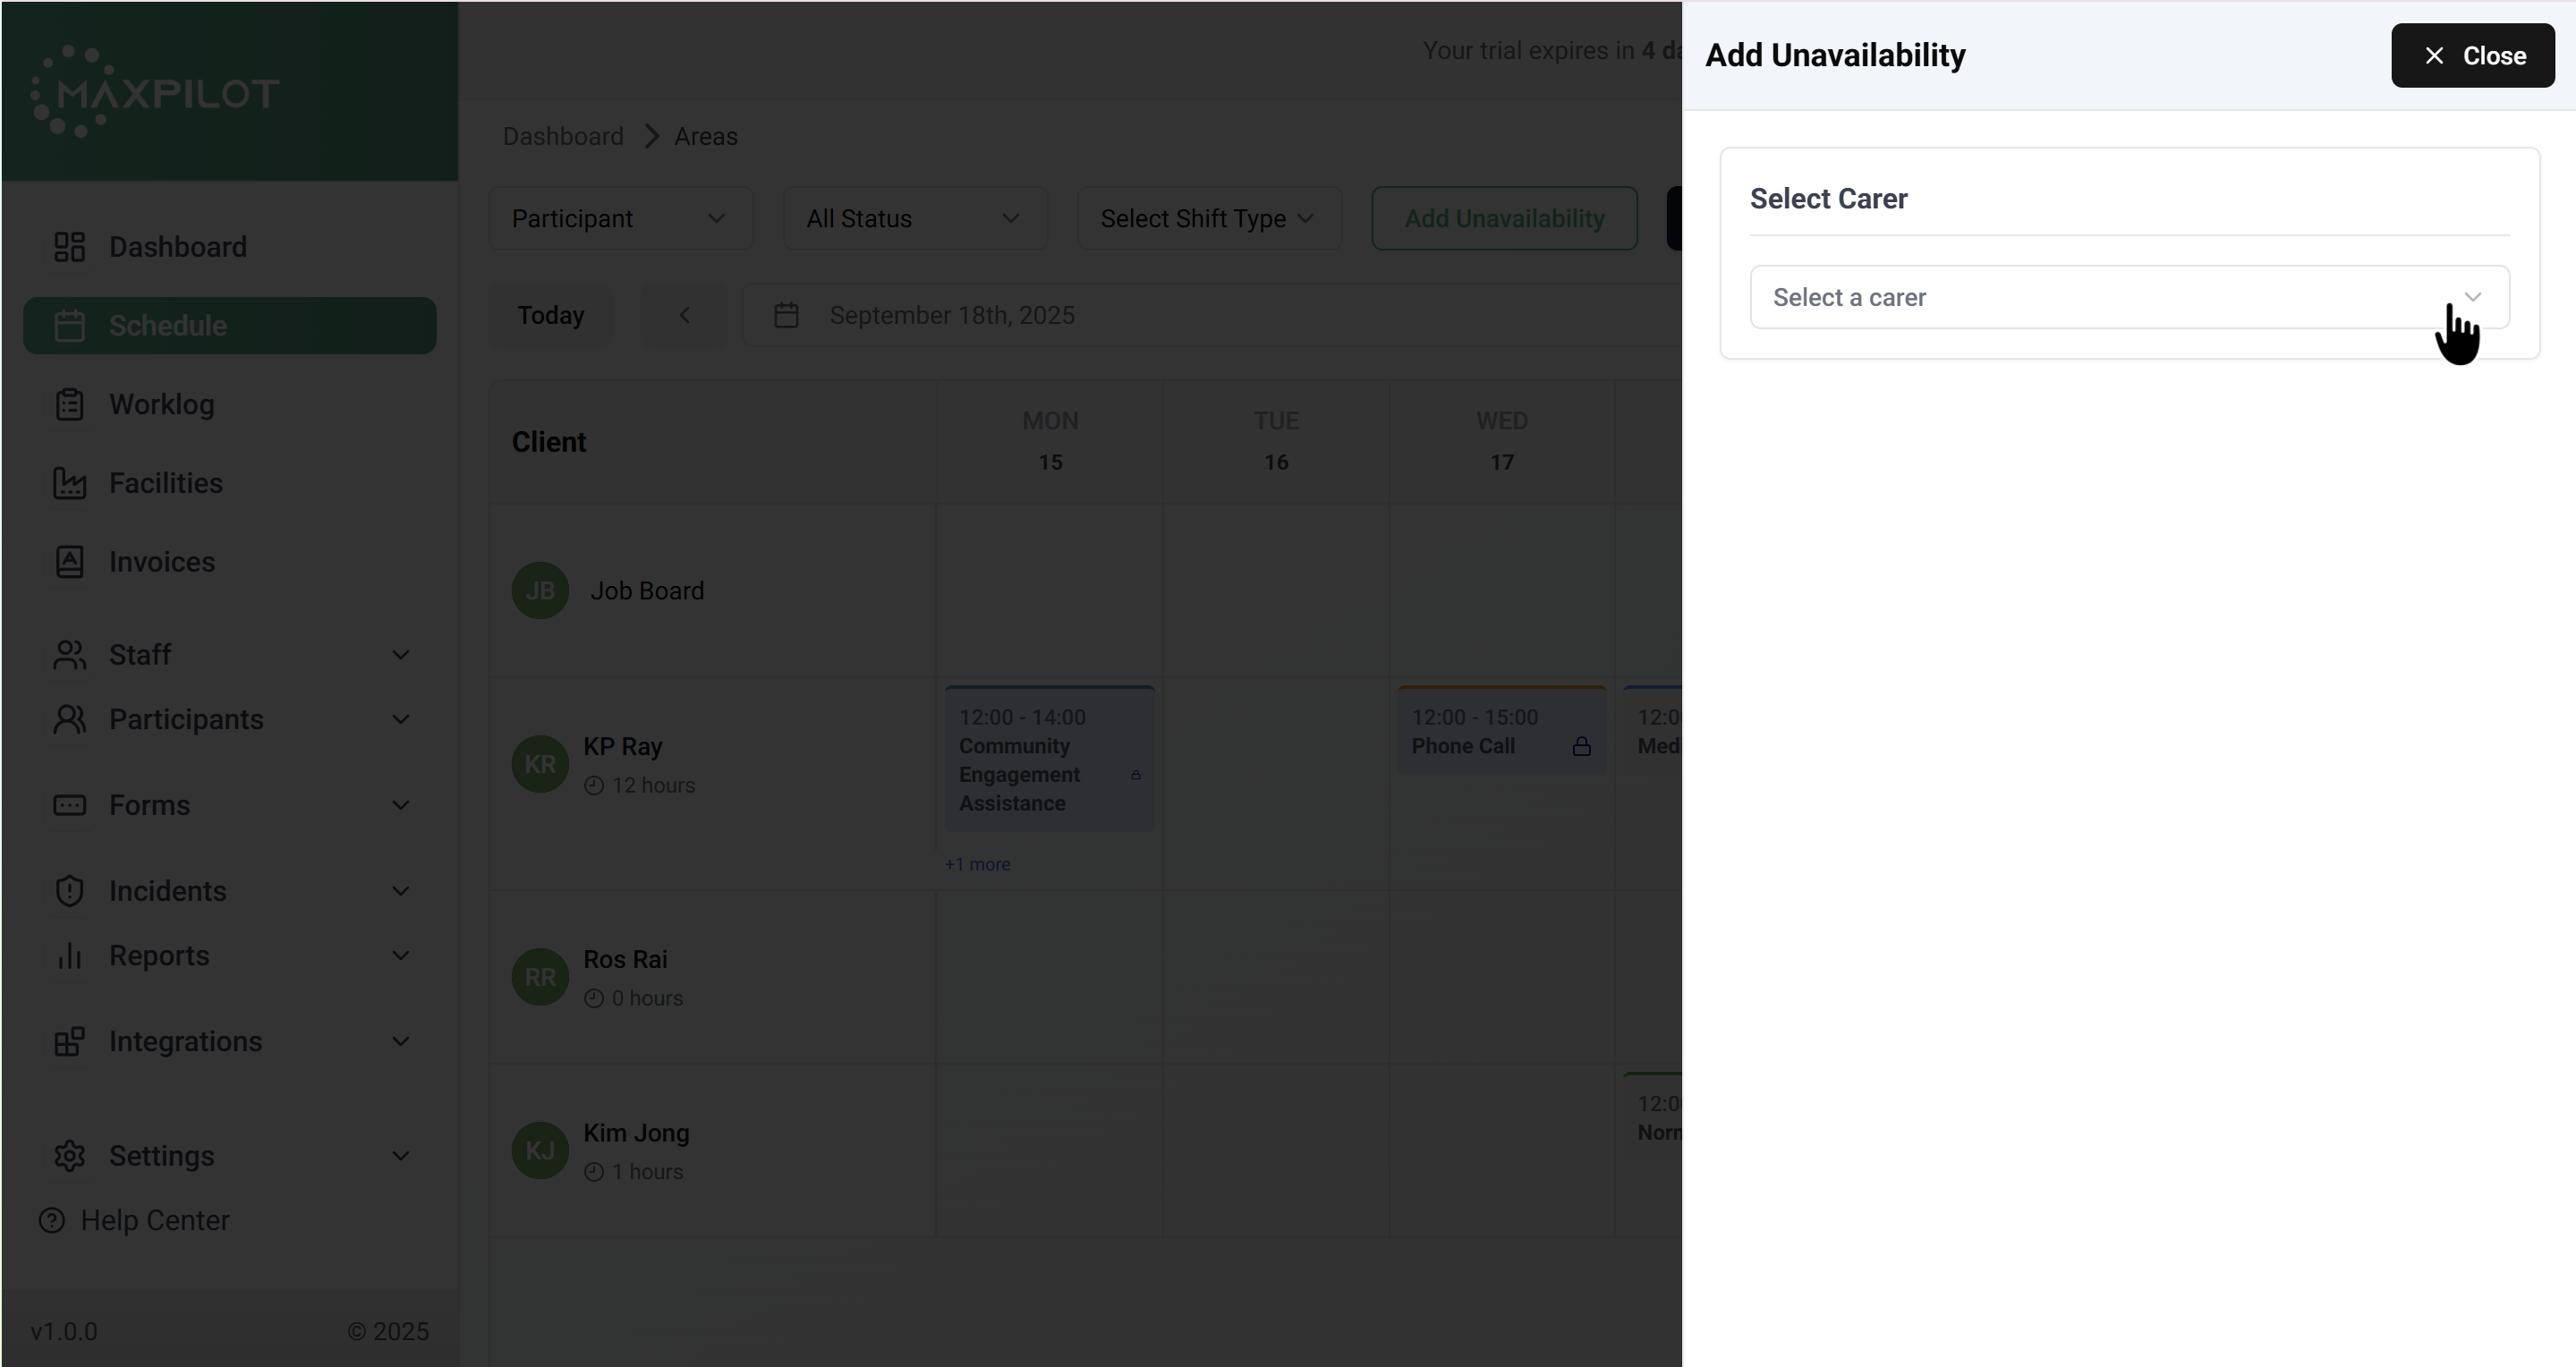
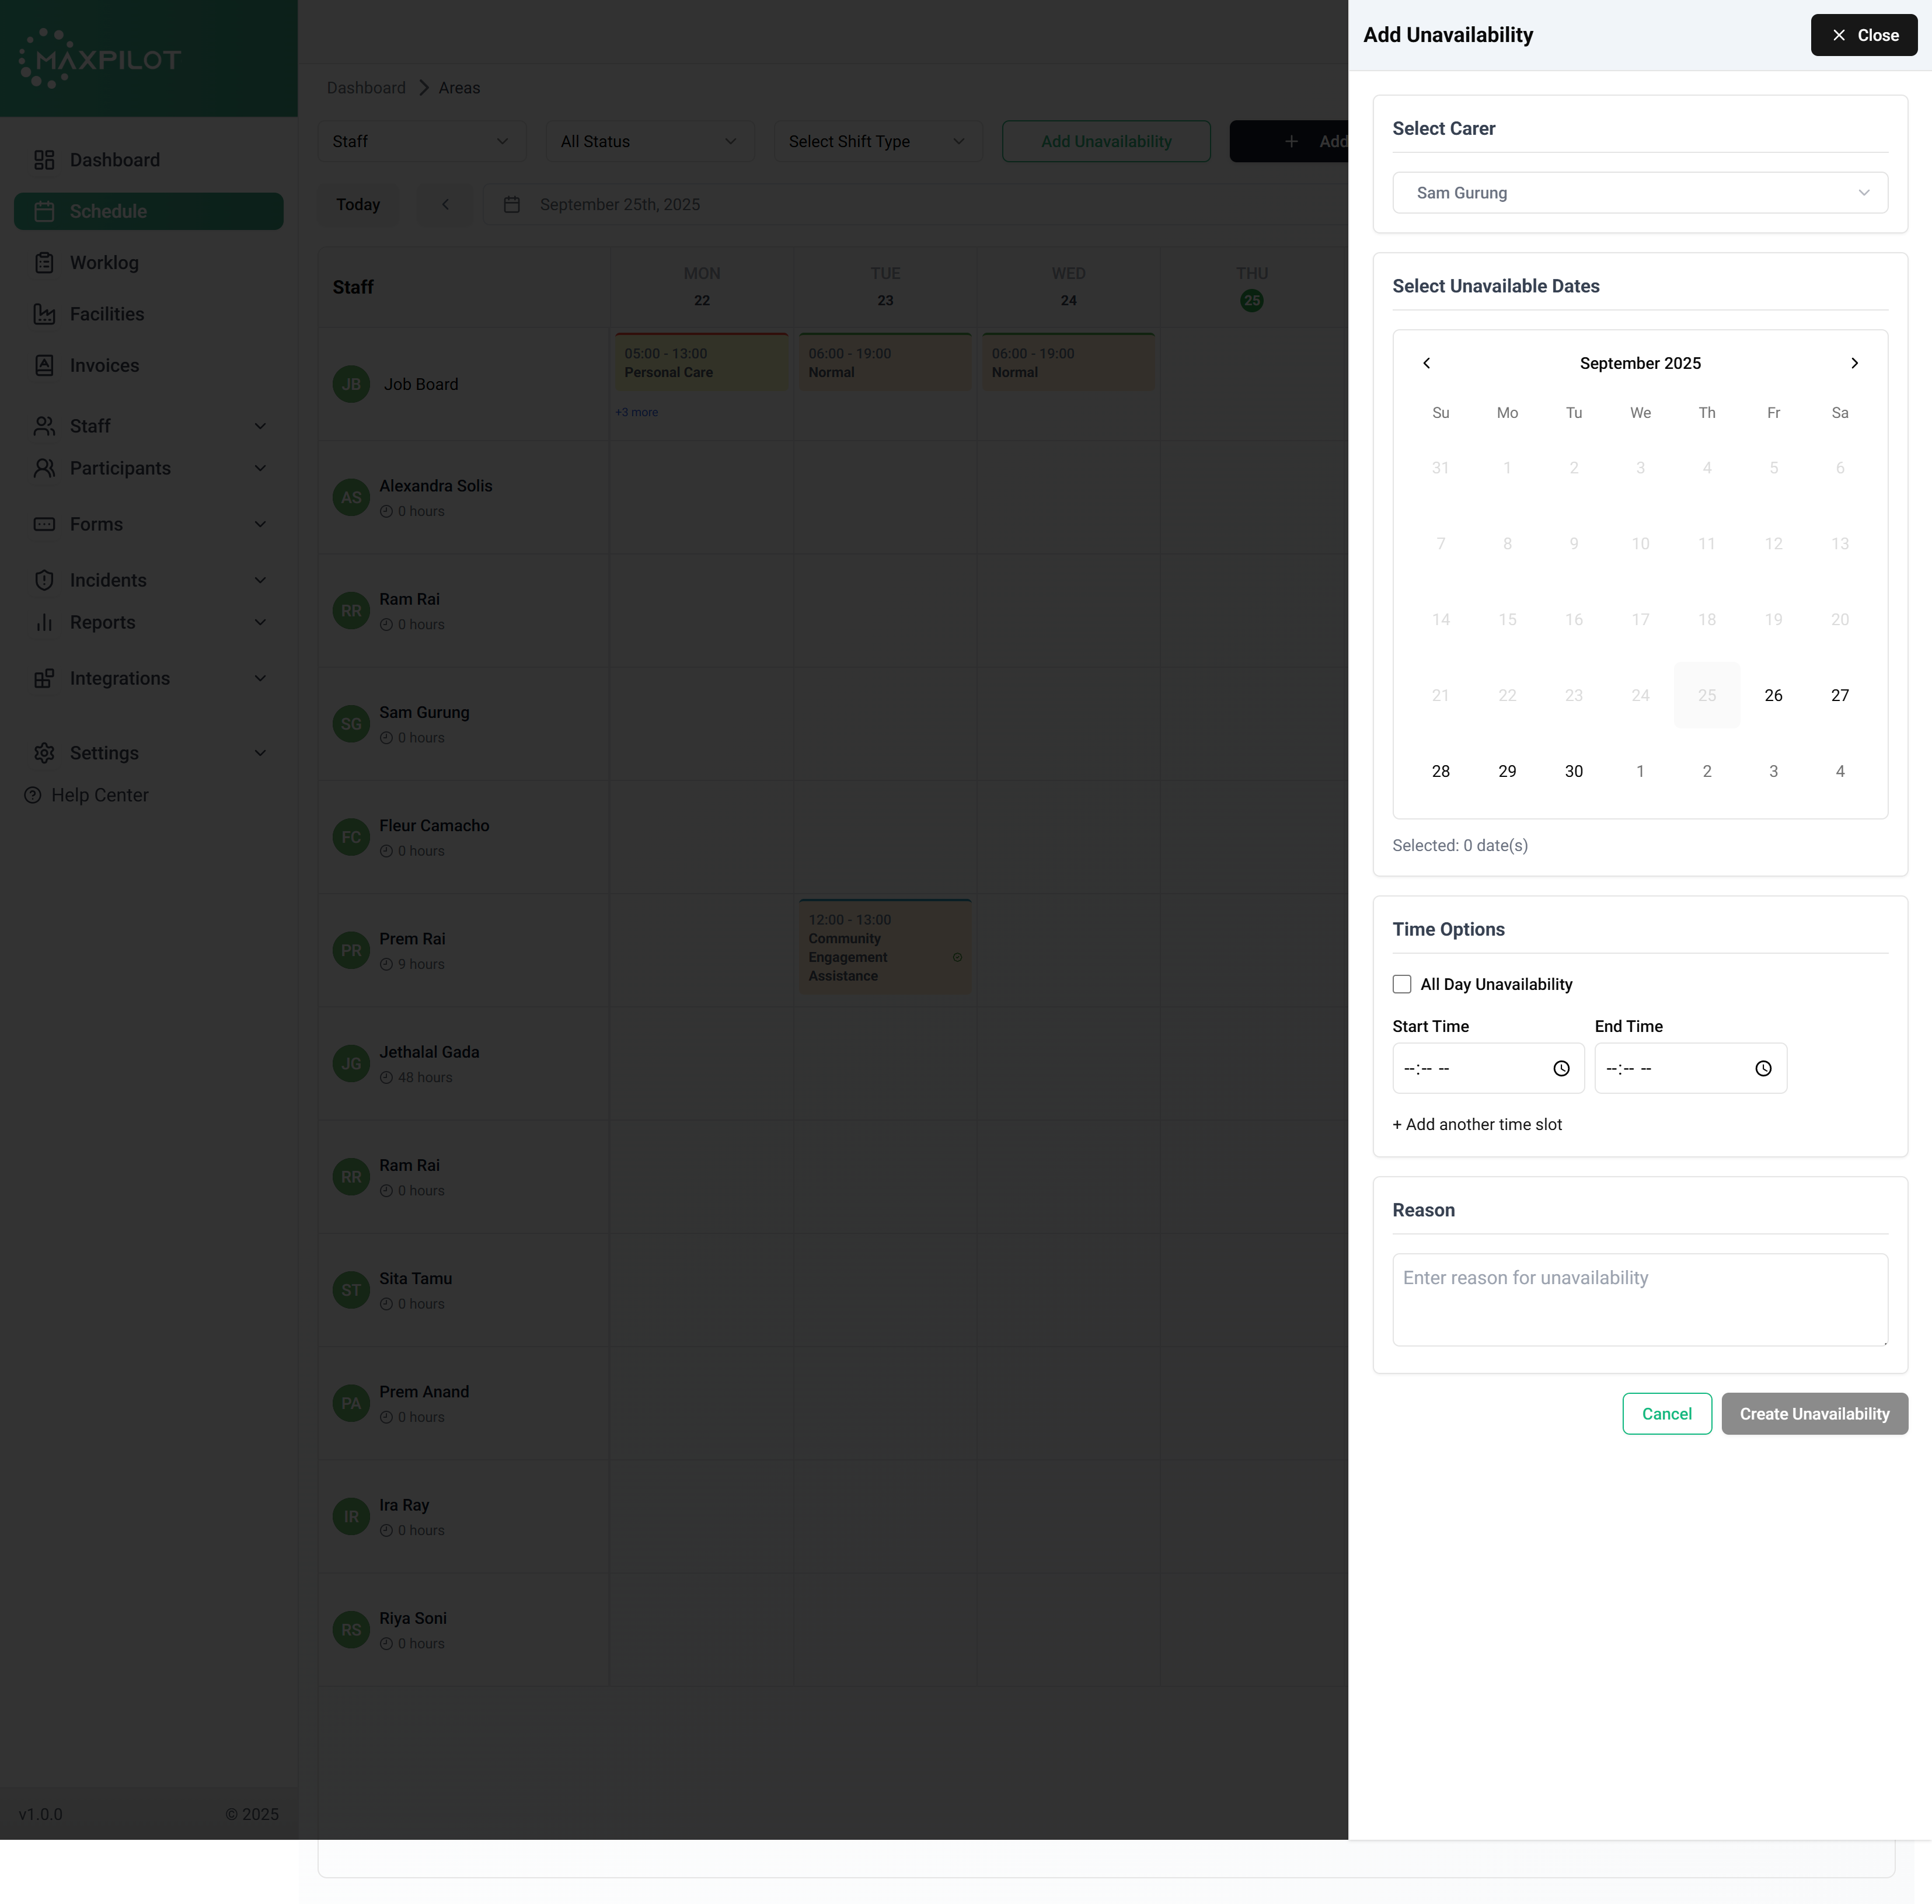
Step 3: Select Carer
Step 4: Fill the Unavailability Form
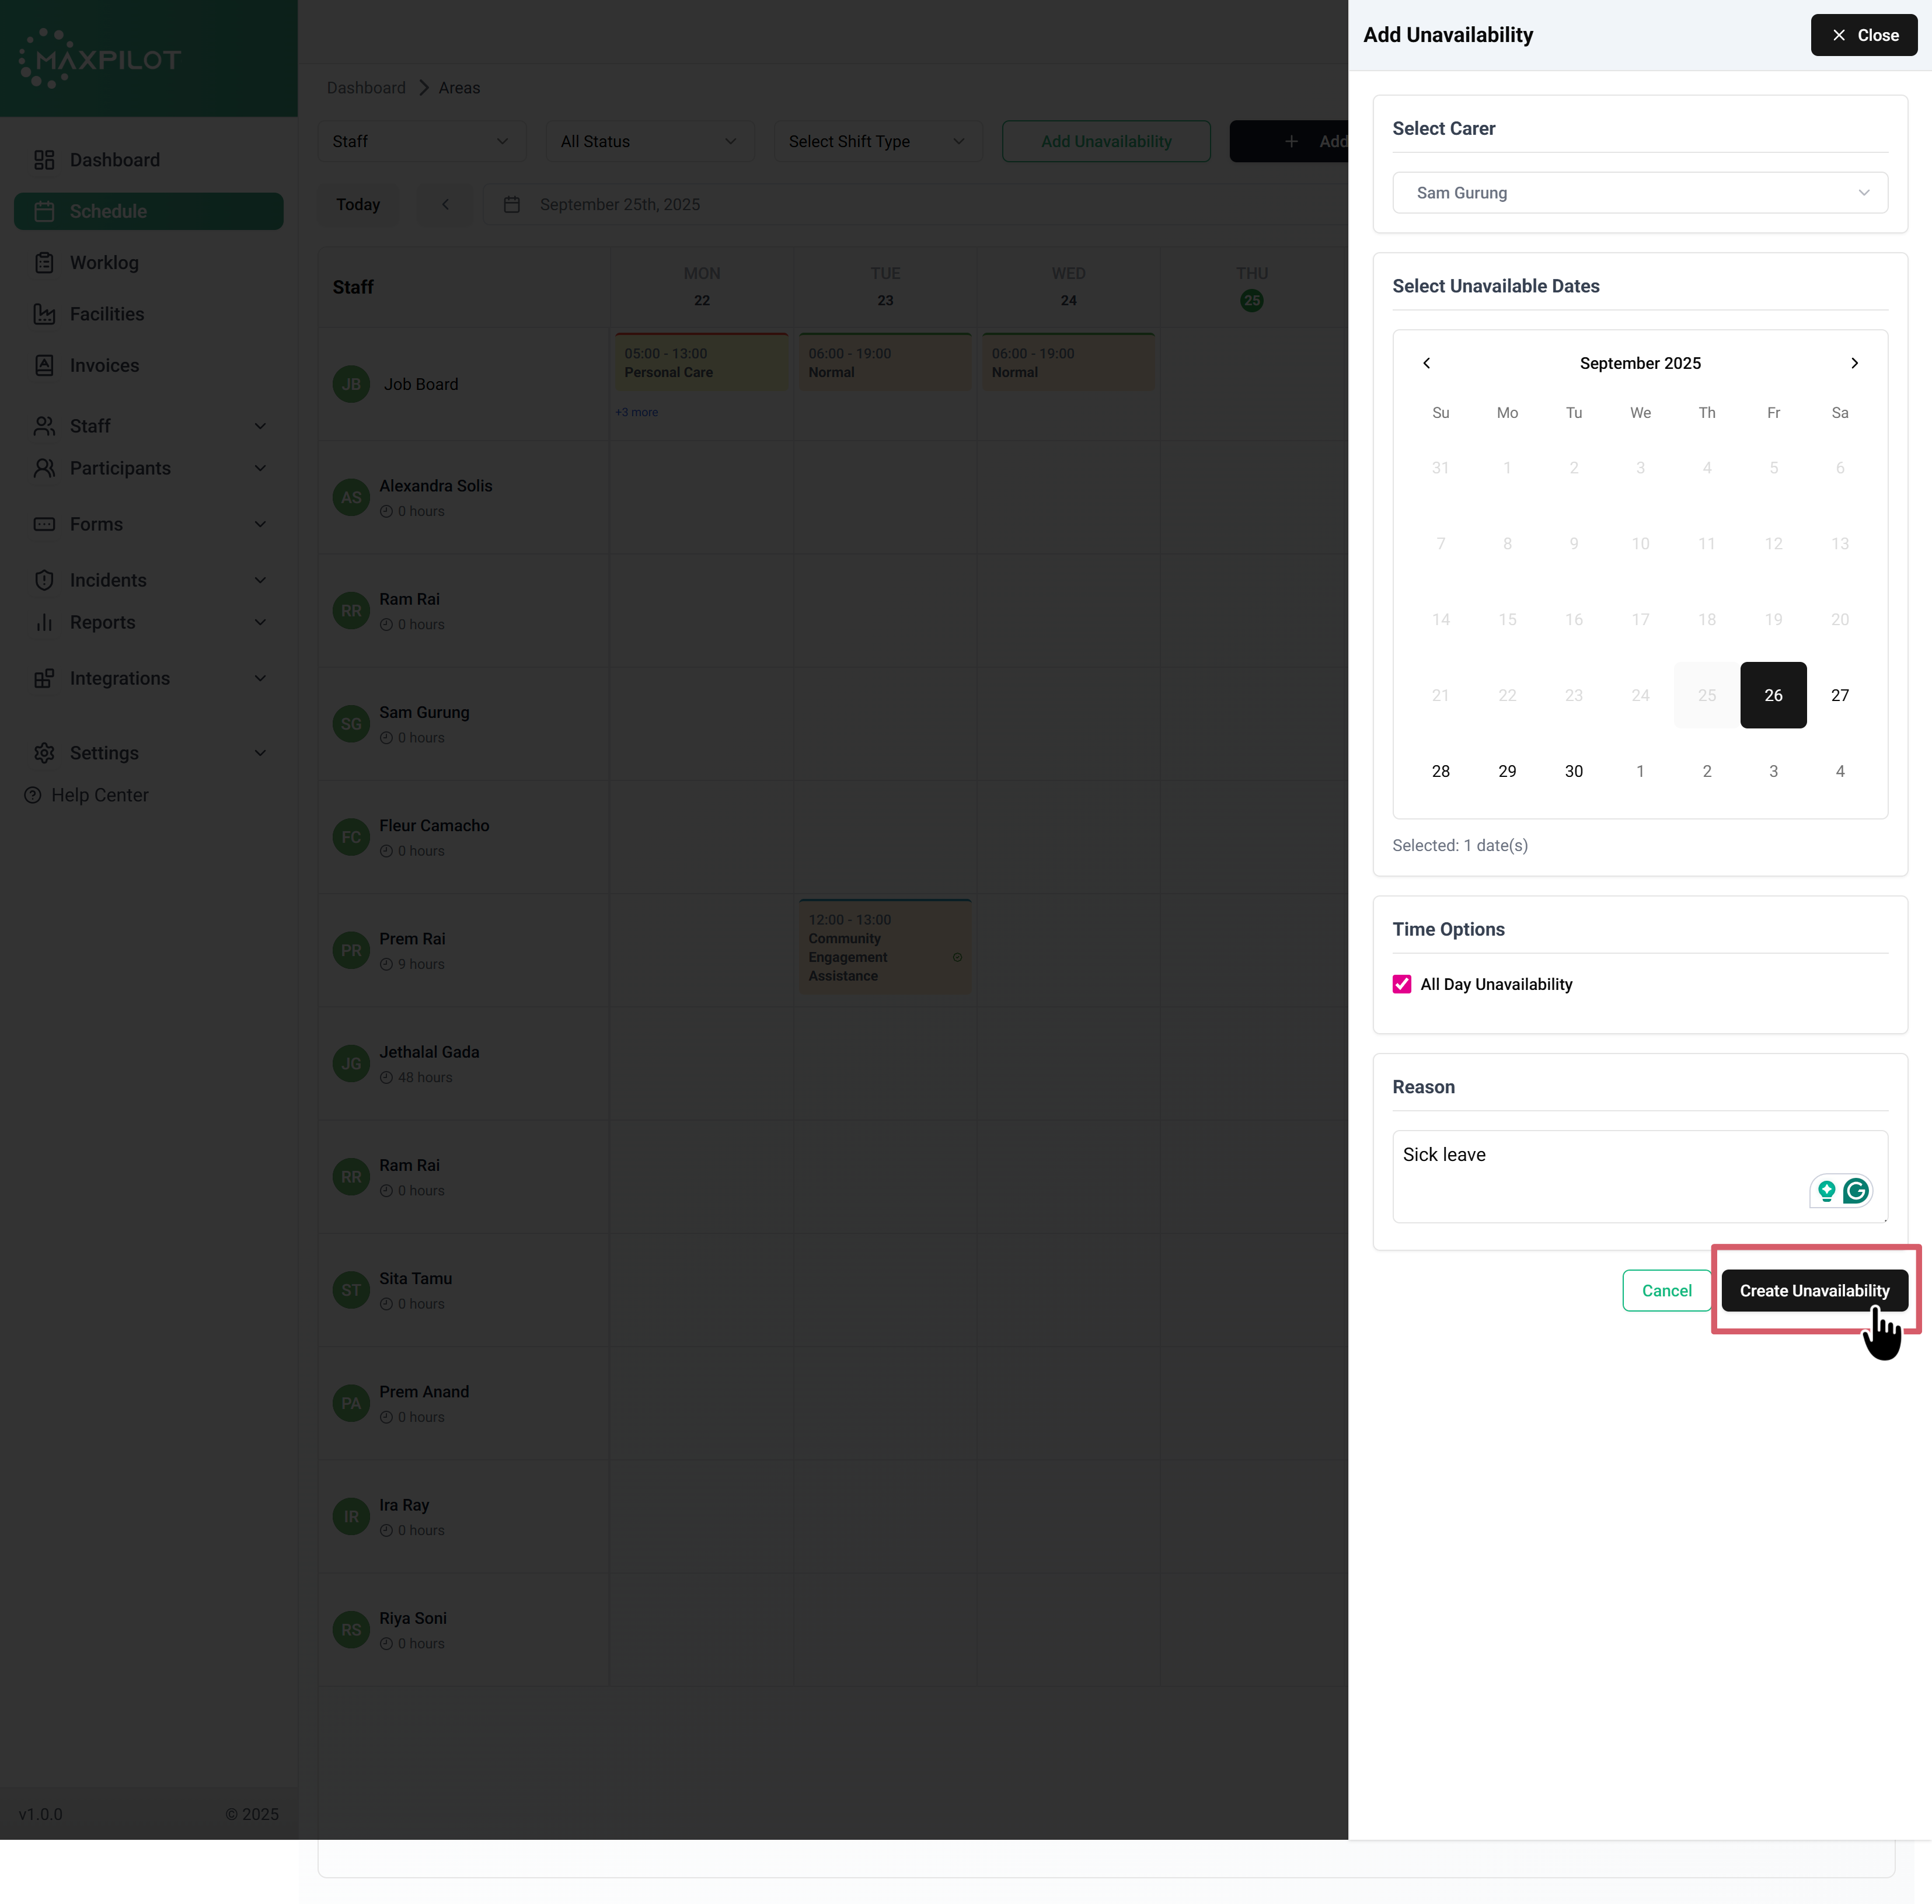
In this section, complete all details to record a staff member’s unavailability. Start by selecting the unavailable dates from the calendar; you can choose one or multiple days. Next, set the time options: either tick All Day Unavailability if the staff member is not available for the whole day, or enter a Start Time and End Time for partial unavailability (you can also add multiple time slots if needed). Finally, provide the reason for unavailability in the text box, such as “sick leave” or “personal leave,” to ensure clarity.
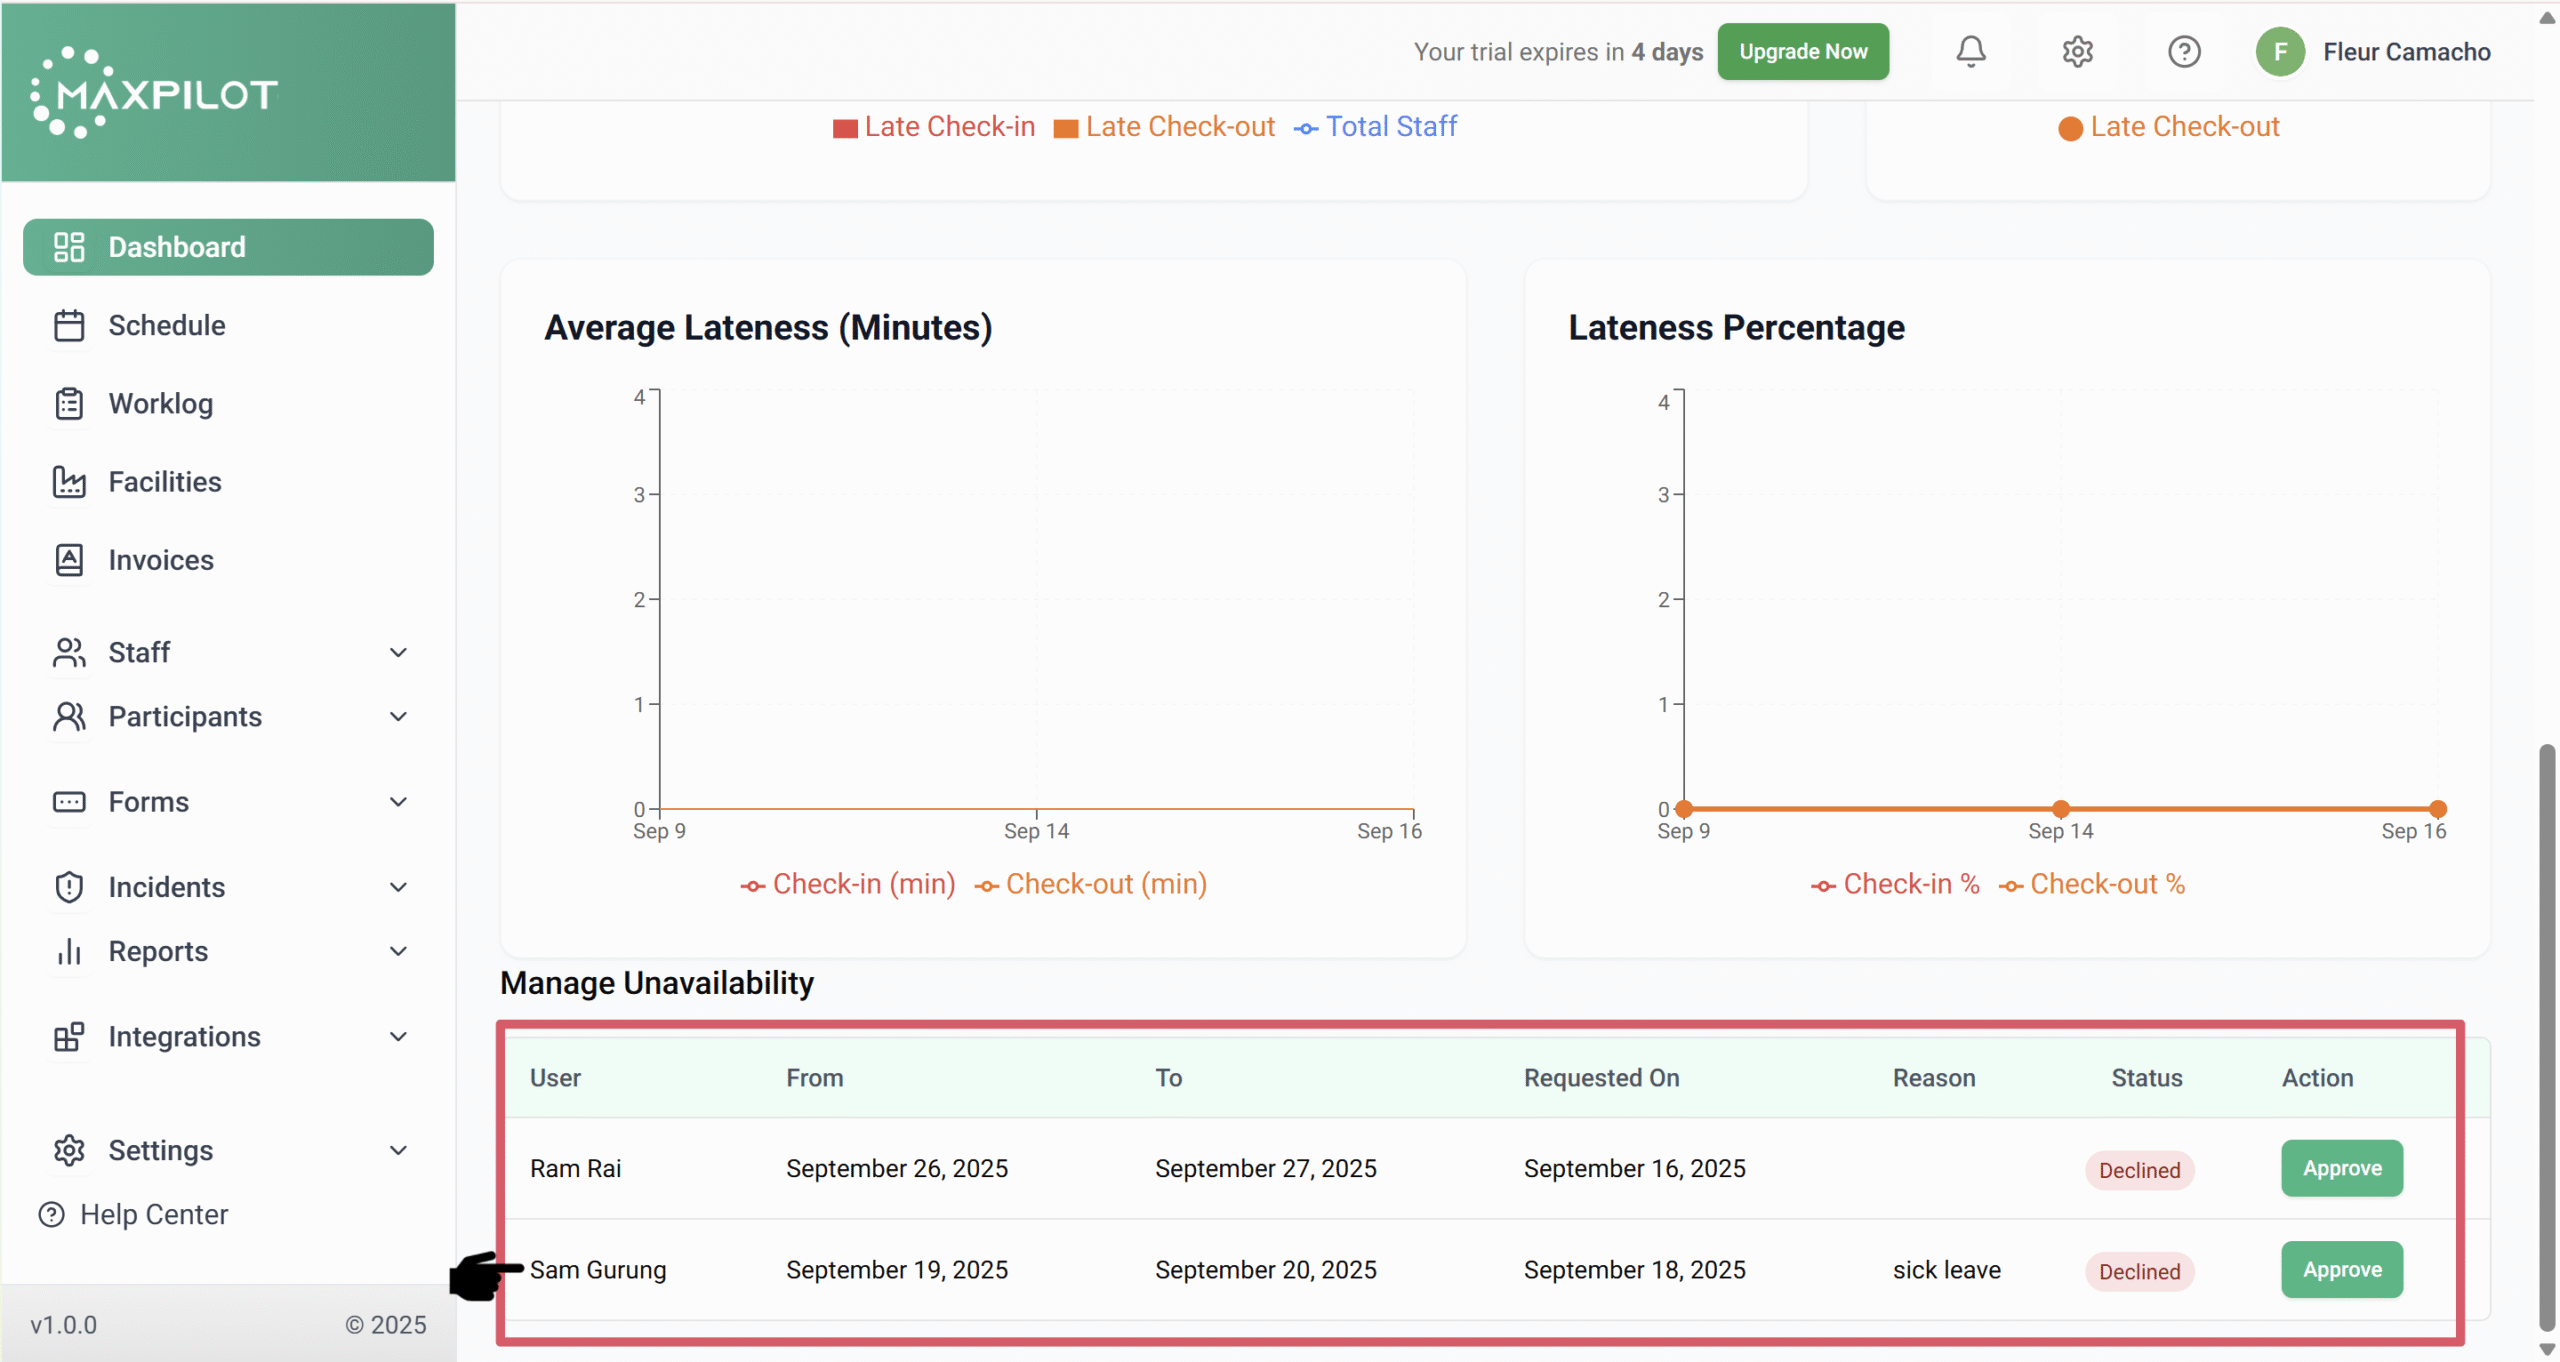
Once all the details have been entered in the form, click the Create Unavailability button to confirm. This will save the entry, and the unavailability will automatically appear in the Manage Unavailability list on the dashboard for easy tracking and reference.
Step 5: Review & Approval