How to Add a Ticket?
Creating a ticket helps you document and track incidents efficiently within the Maxpilot system. This feature allows you to assign staff, participants, and priorities, making it easier to monitor progress and maintain accountability.
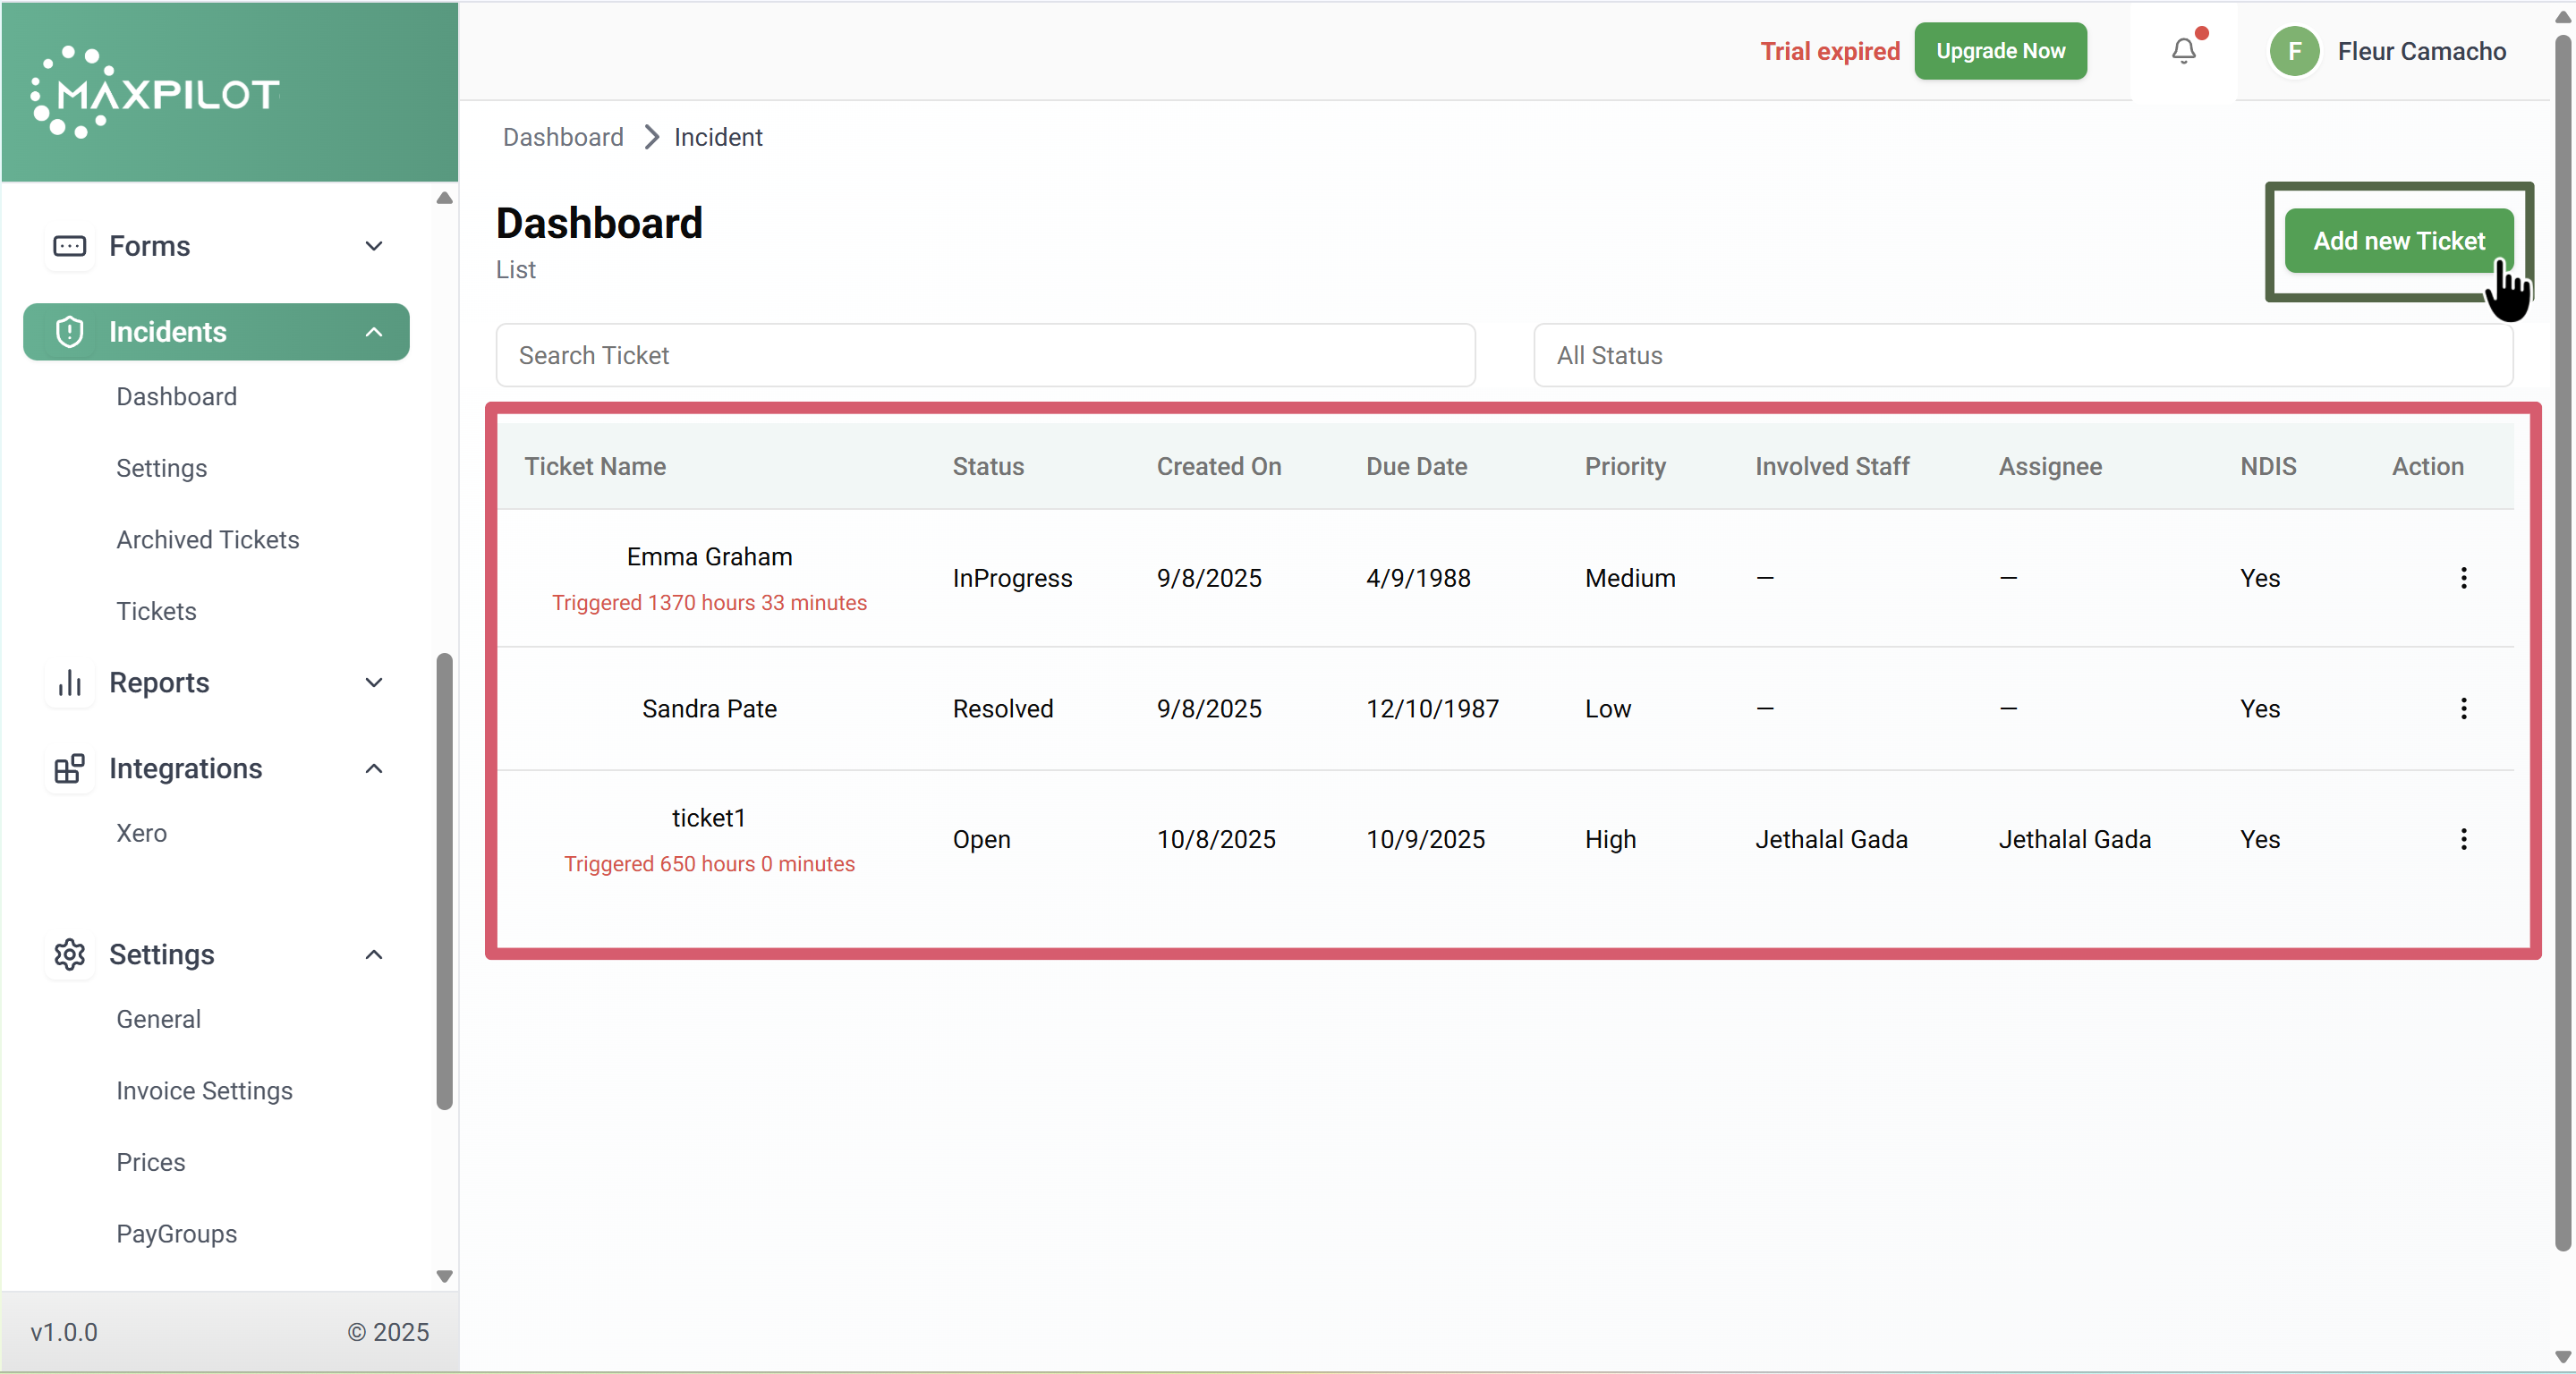
Step 1: Open the Incident Dashboard
From the left-hand side menu, click Incidents → Dashboard.
You will see the list of existing tickets displayed along with their status, priority, and due dates.
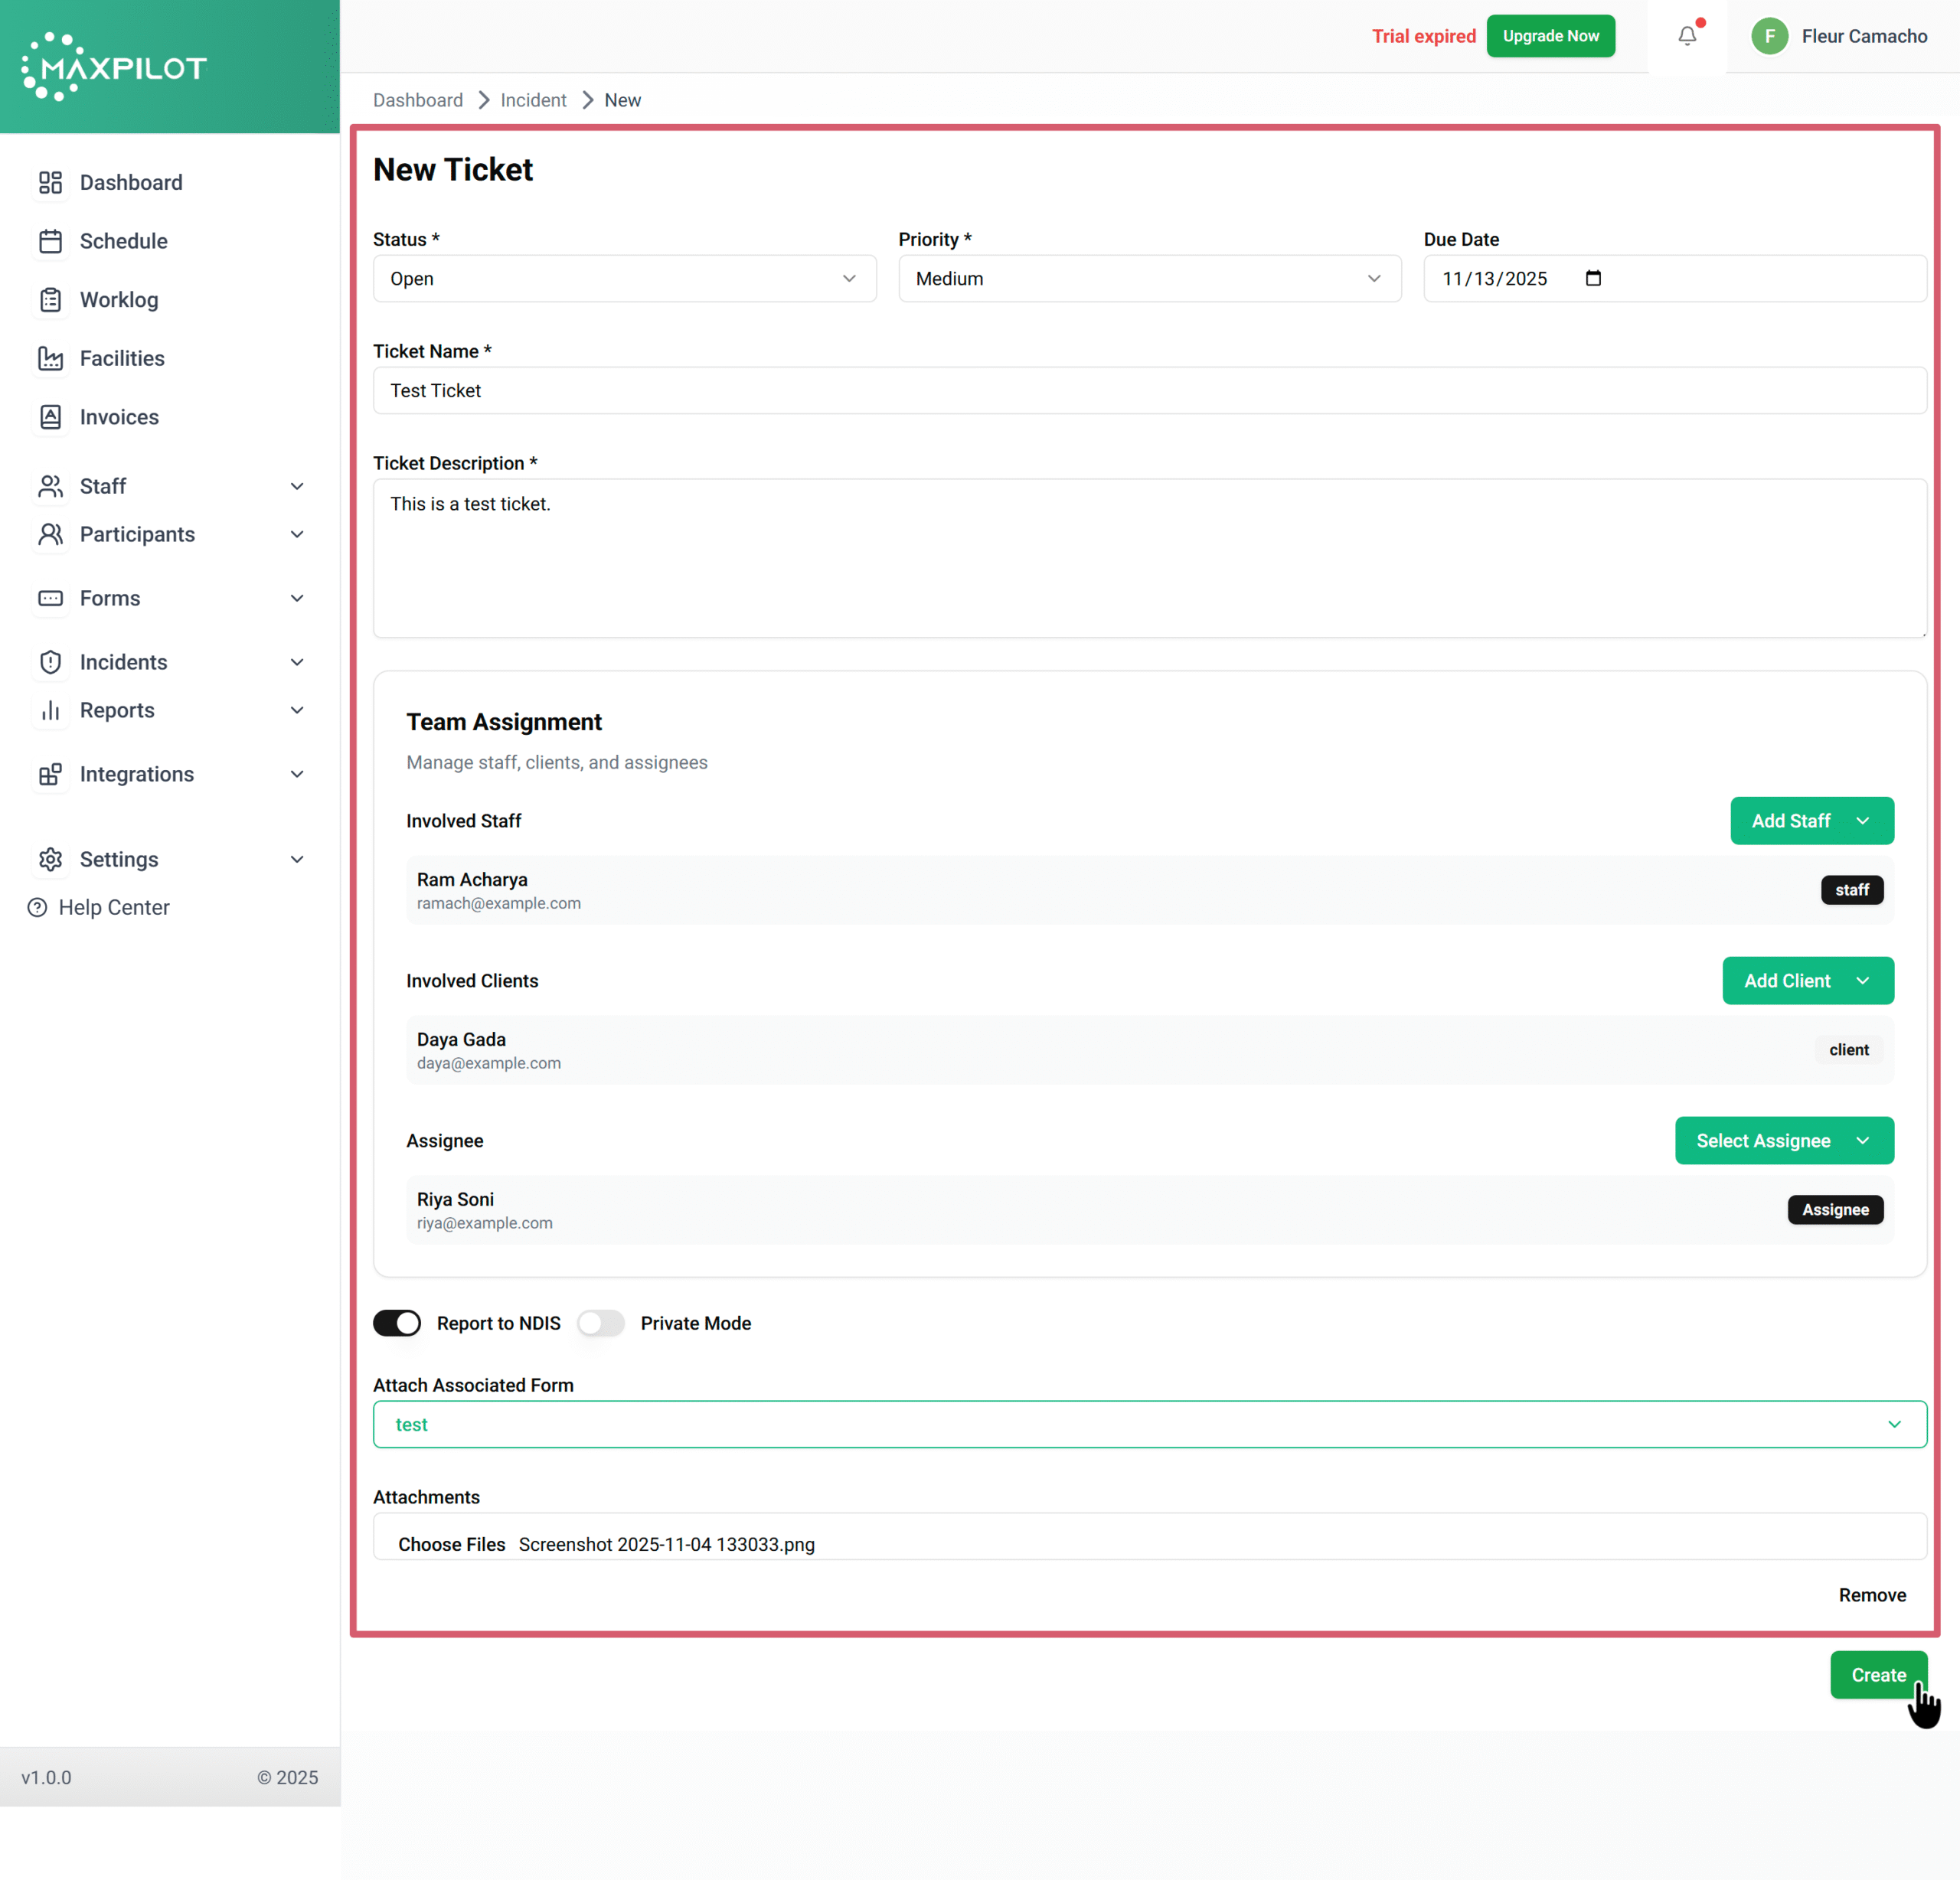
Step 2: Click “Add New Ticket”
On the top-right corner, click the Add New Ticket button.
This will open the New Ticket creation form.
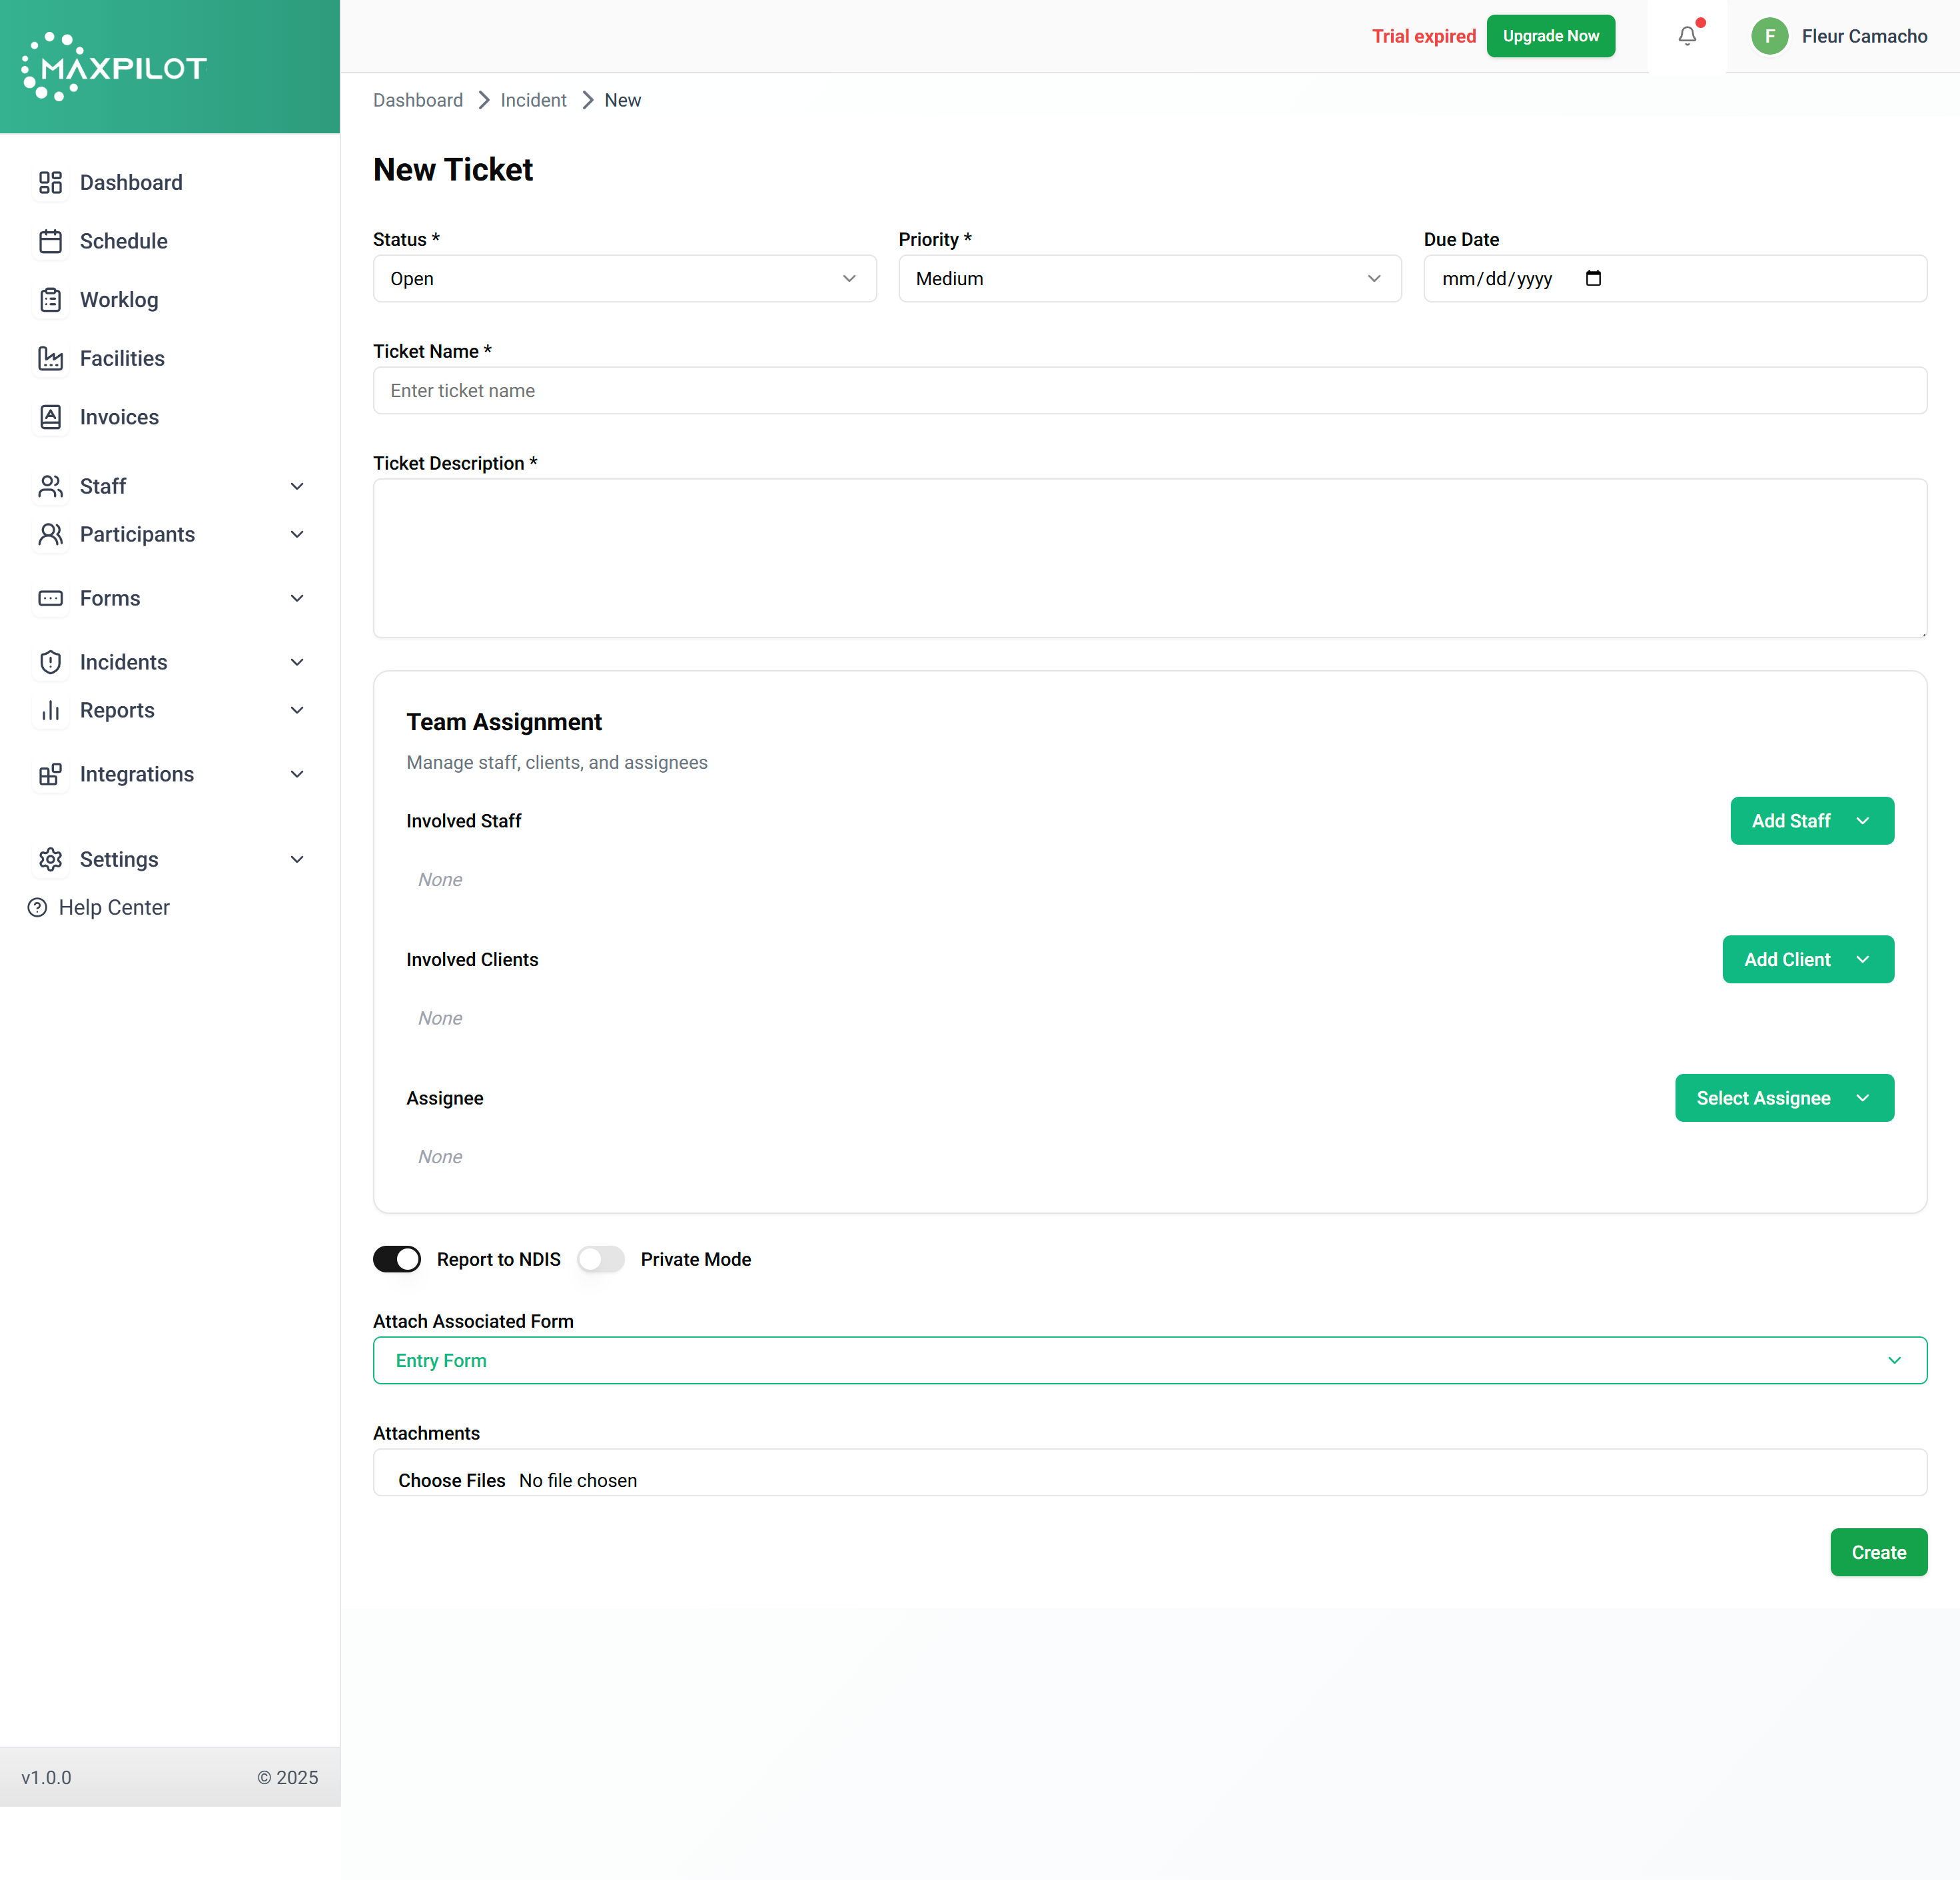
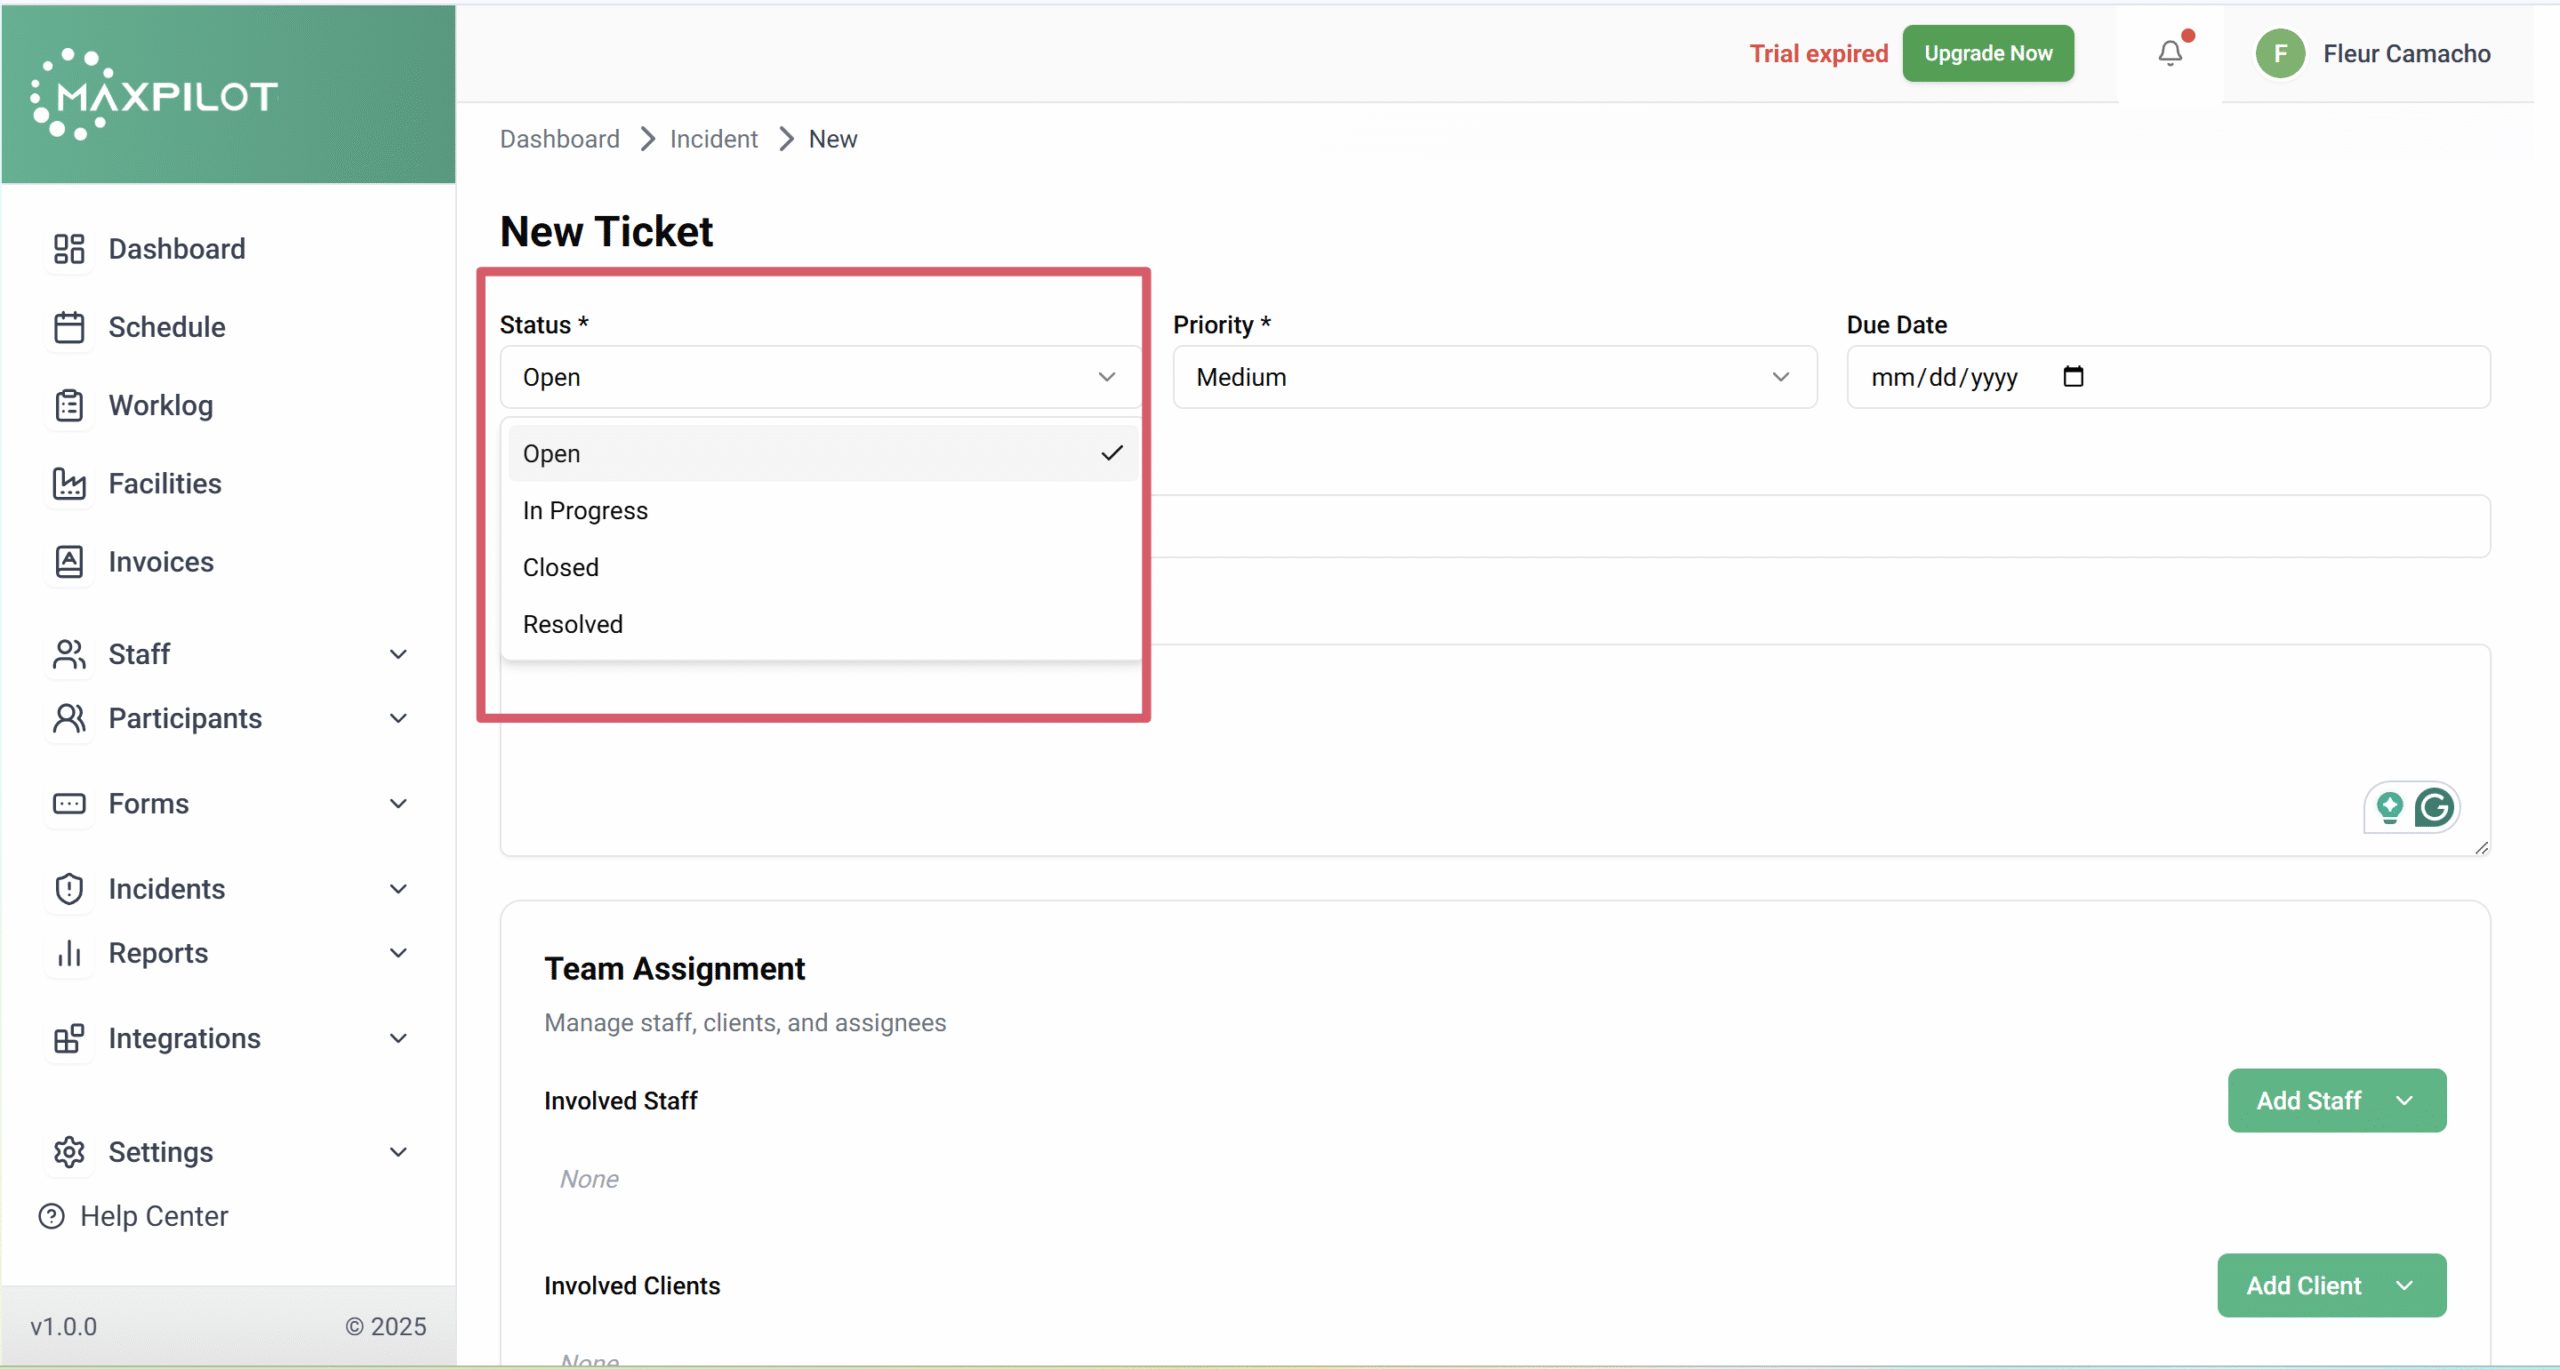
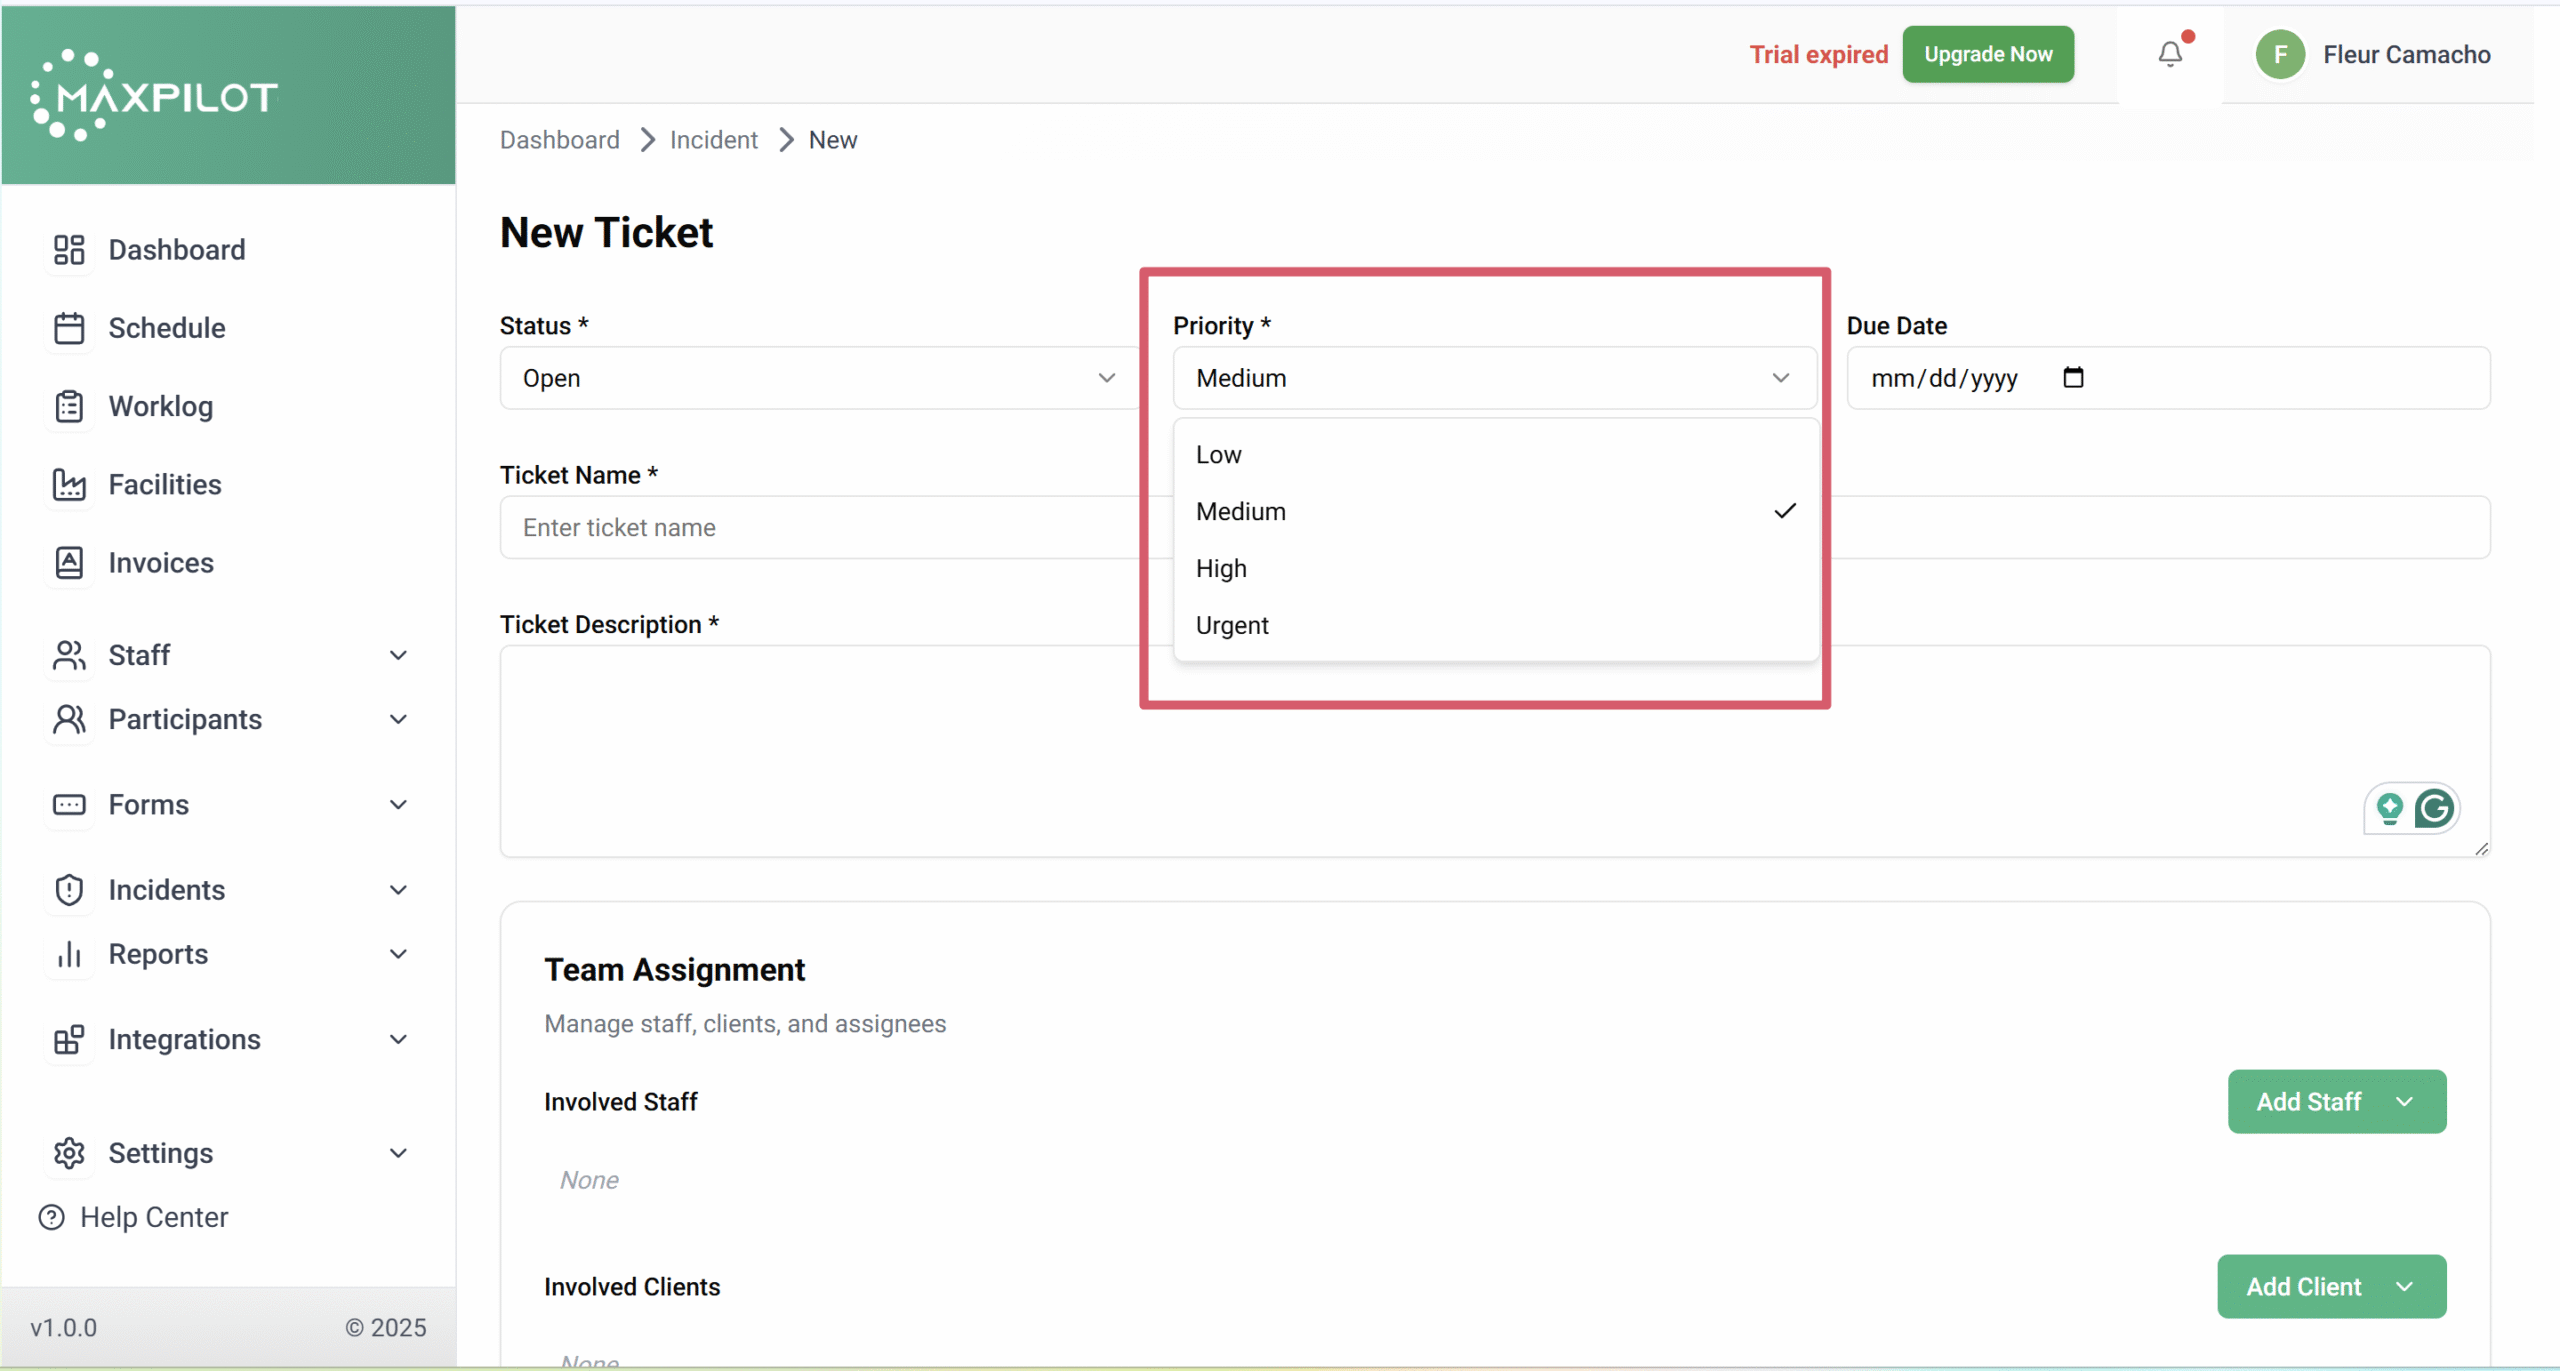
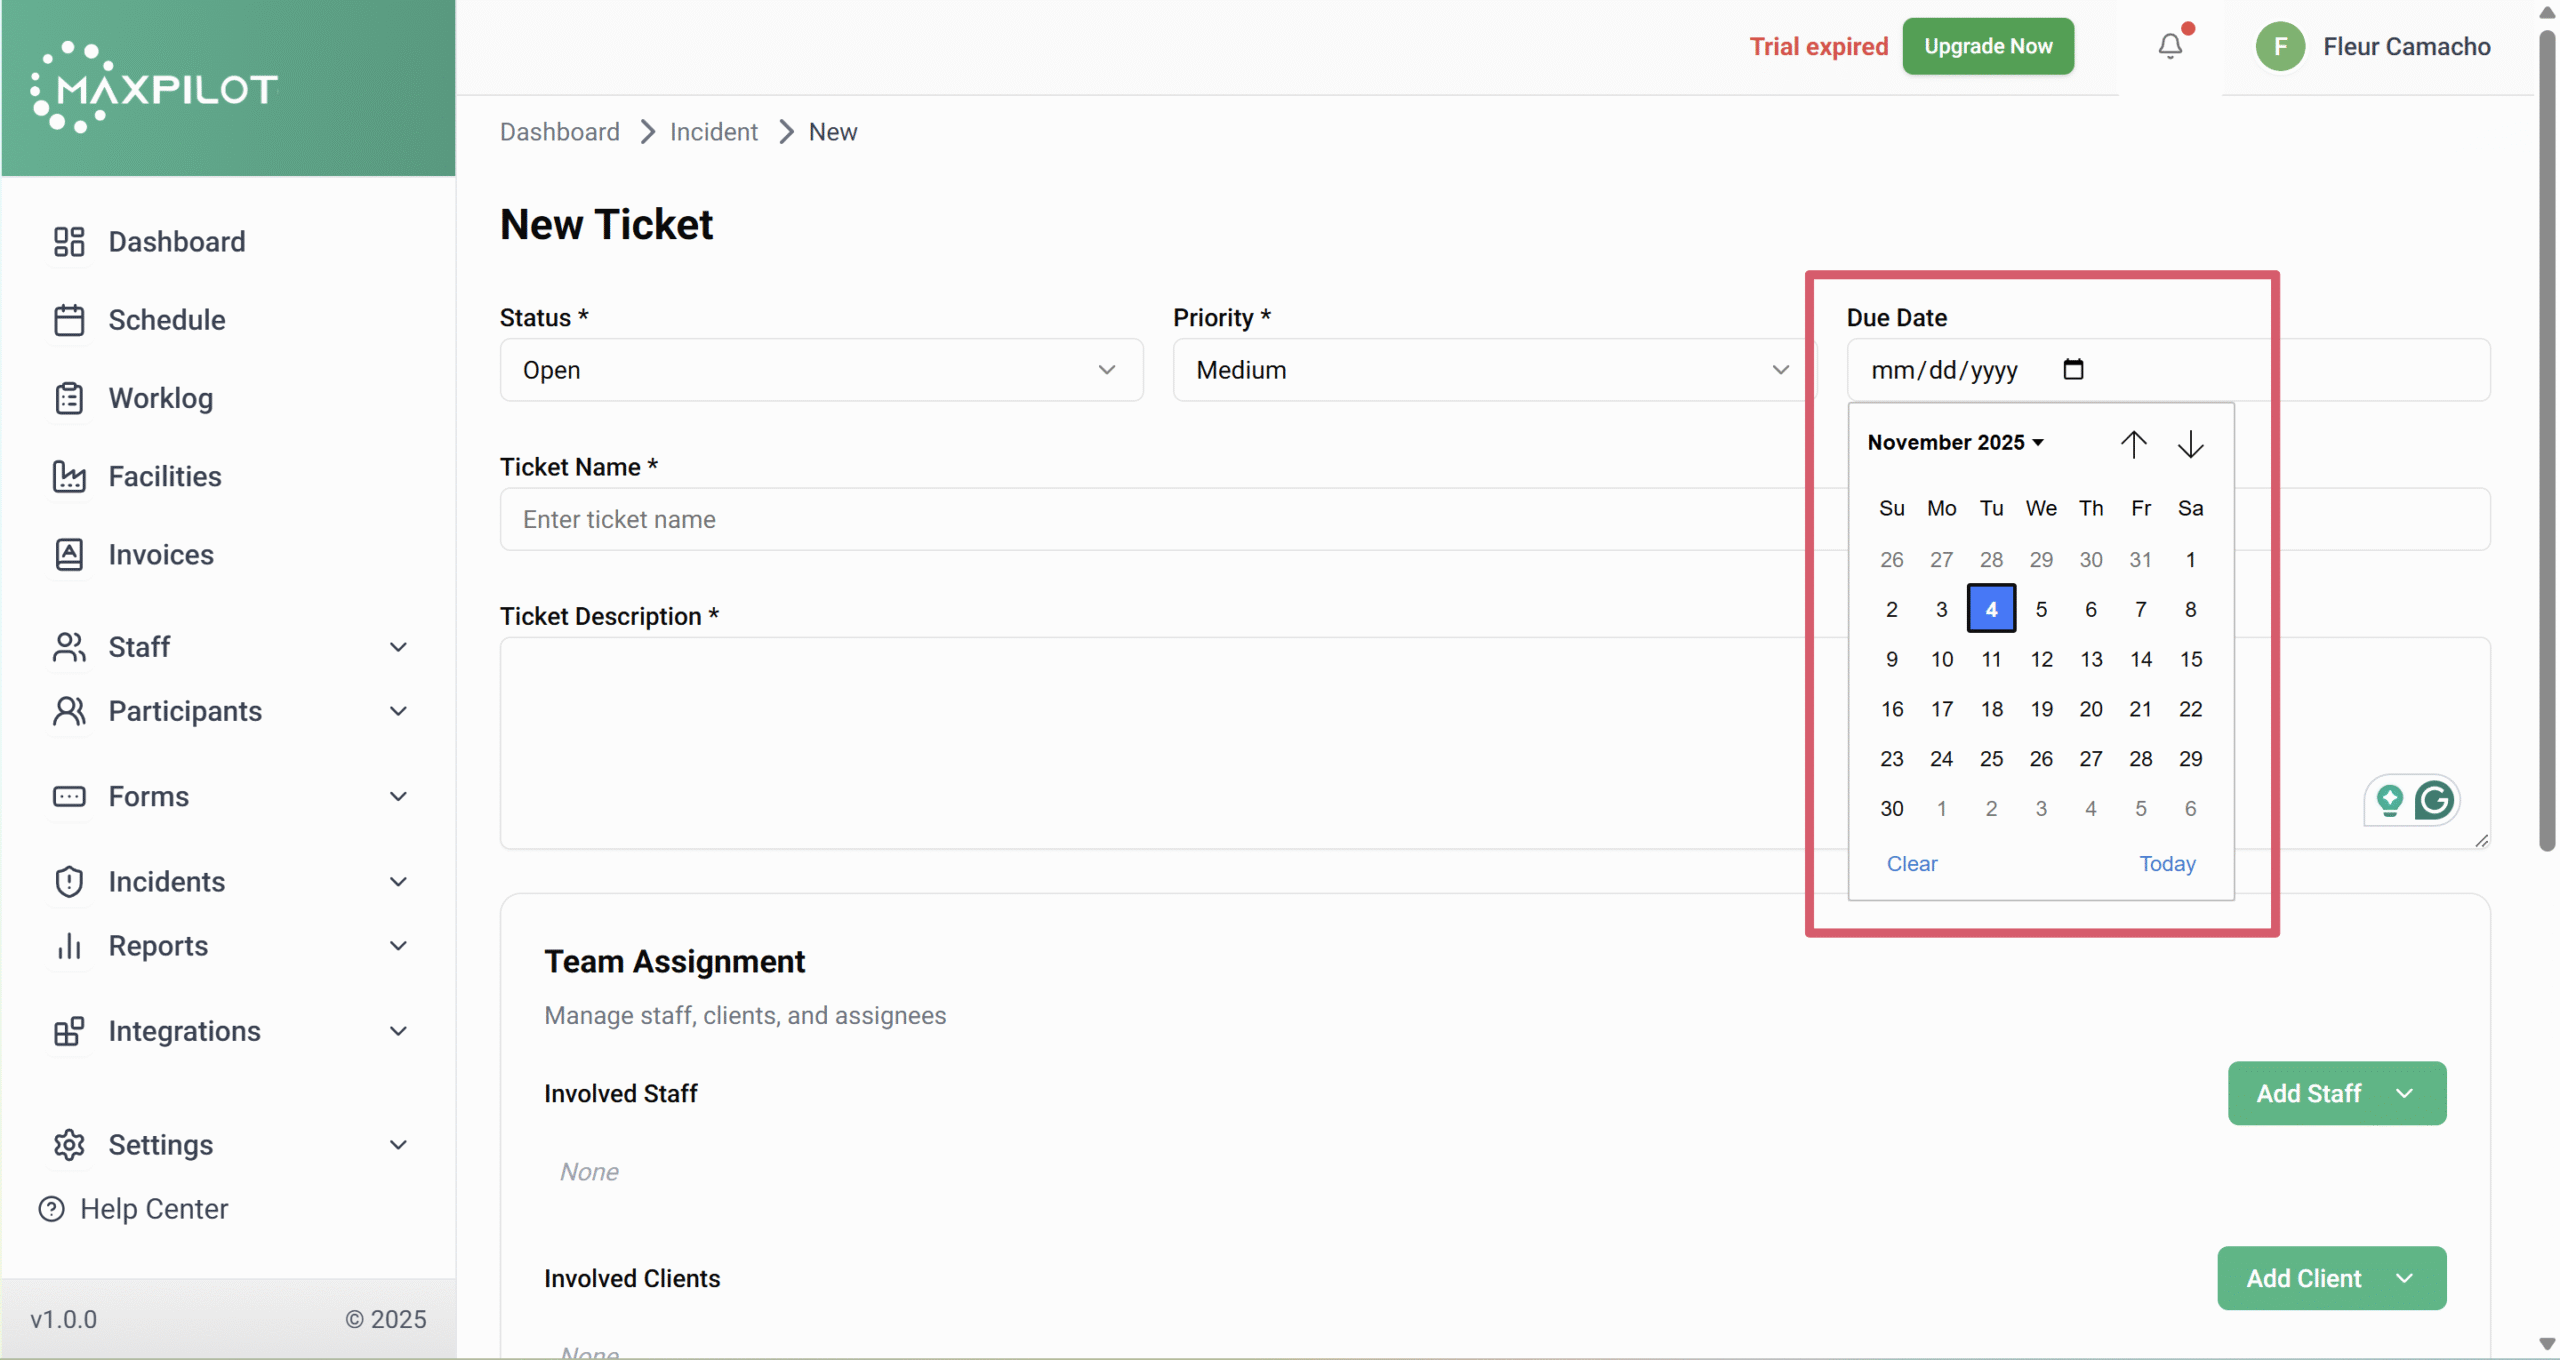
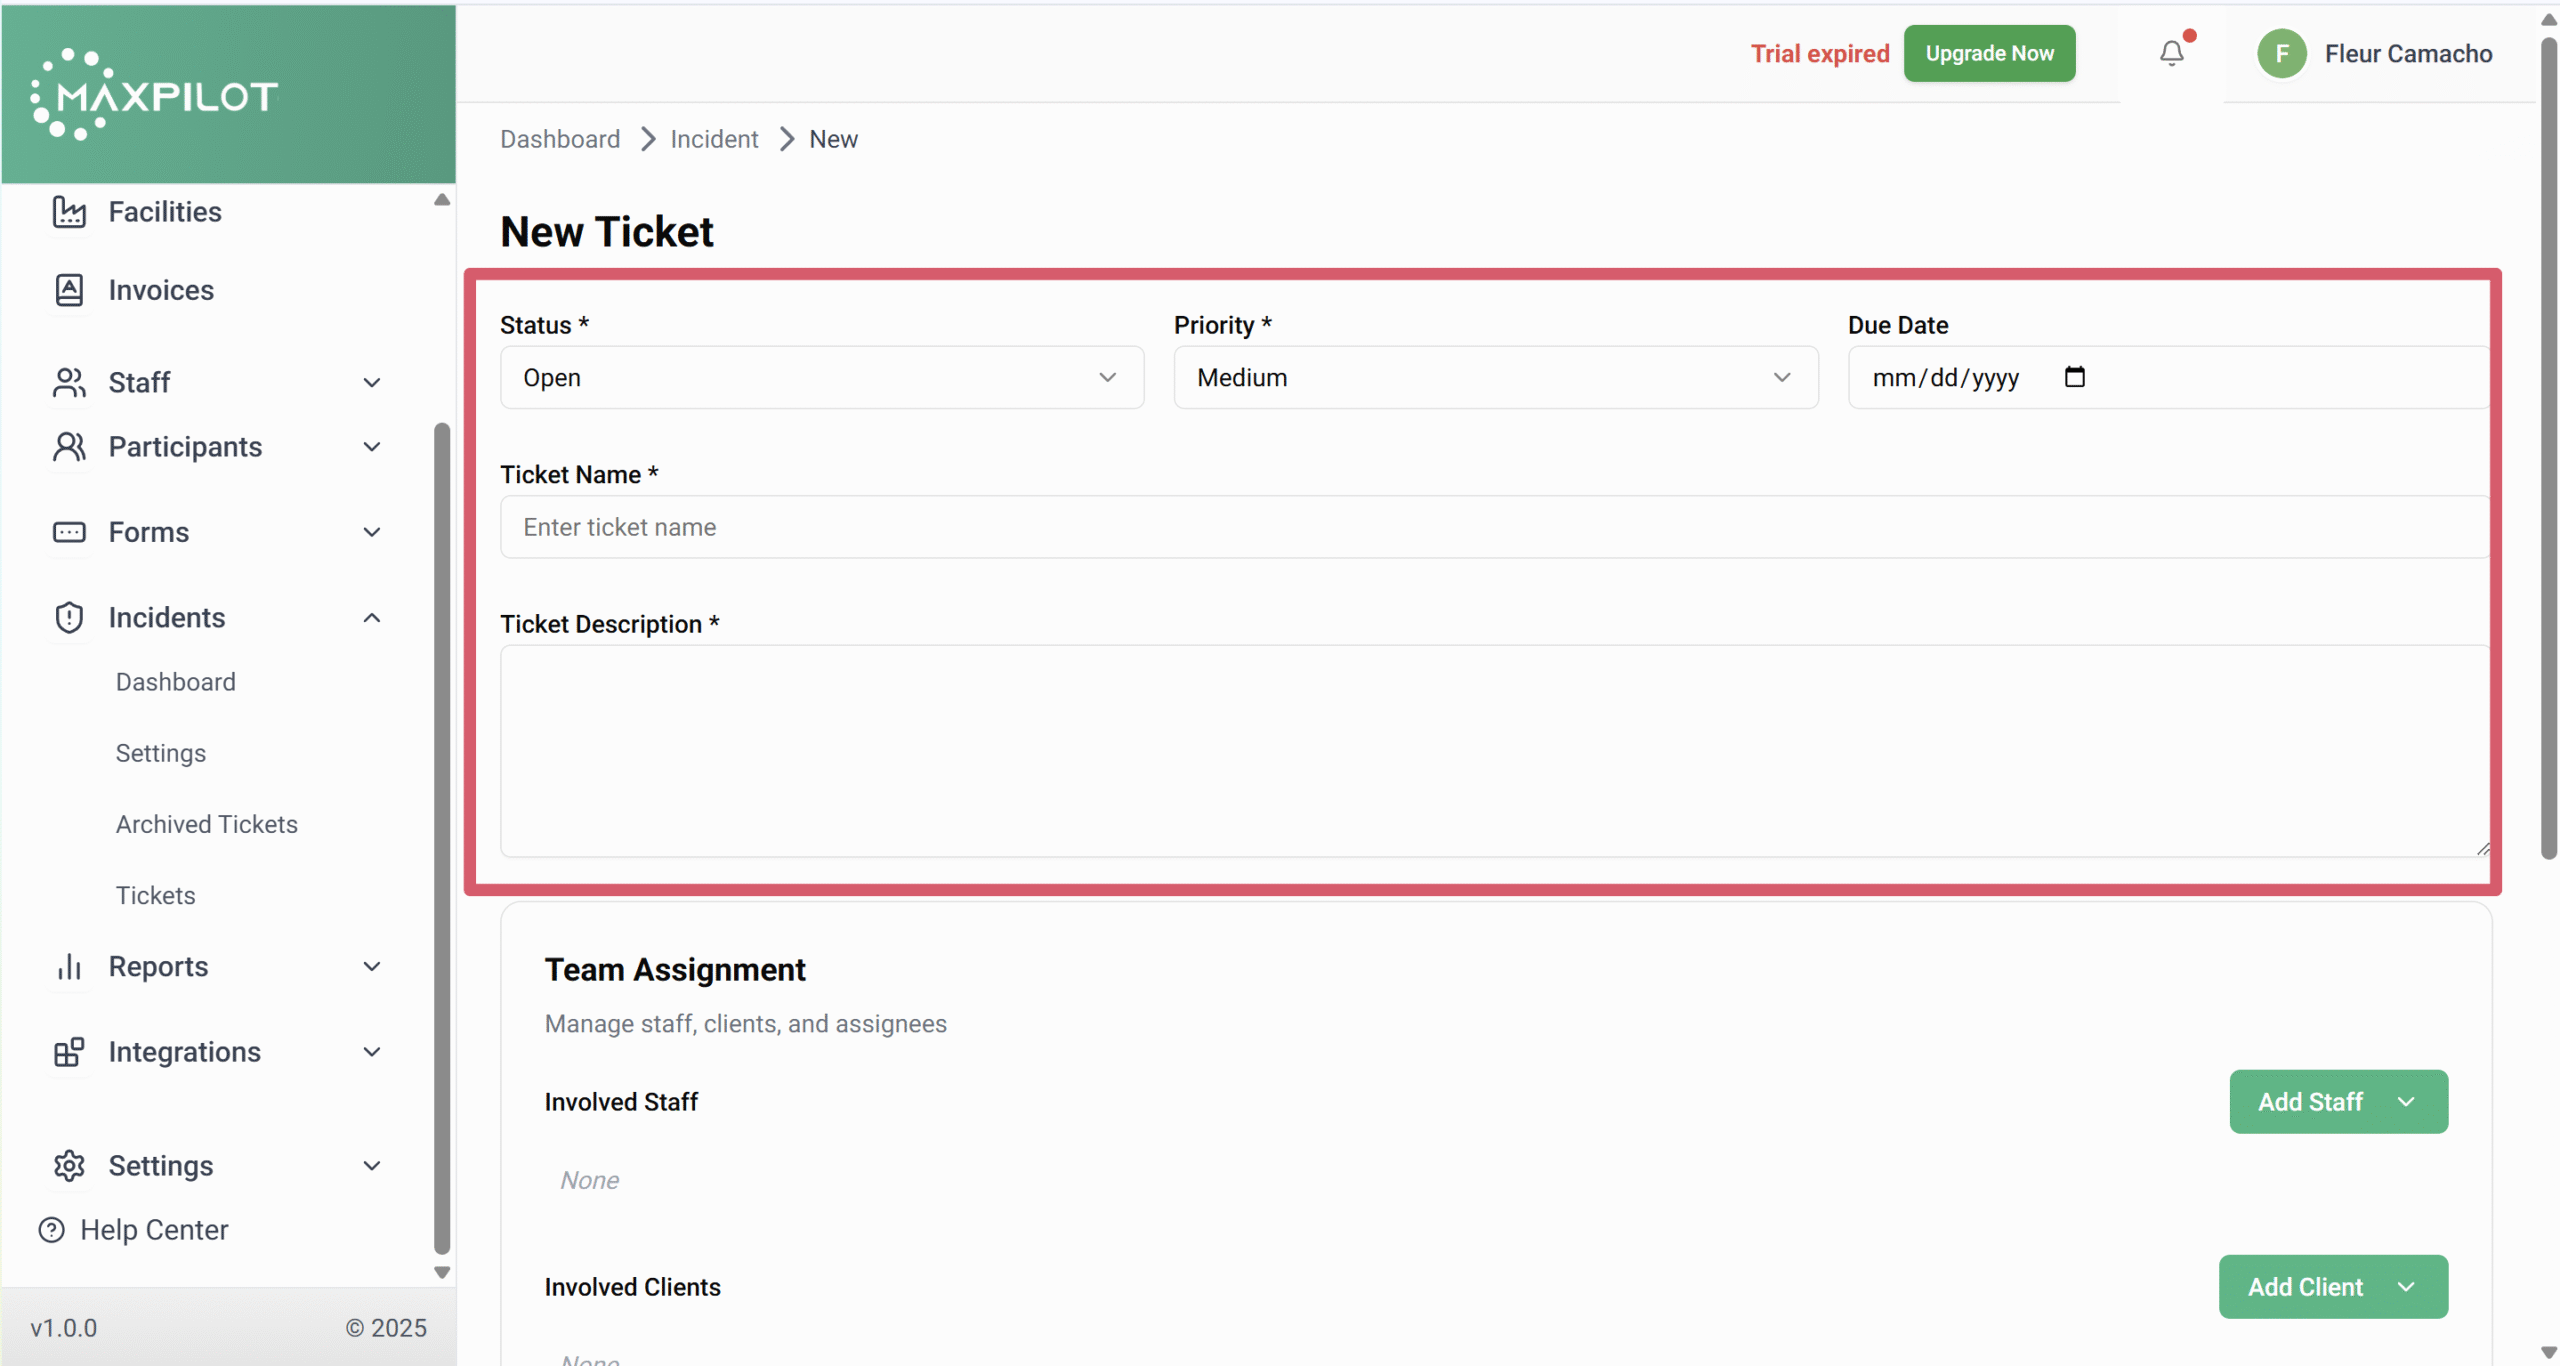
Step 3: Fill in the Basic Details
In the New Ticket form:
These fields help define how the ticket will be tracked and handled.
Step 4: Add Ticket Information
Provide the following:
These details ensure that everyone involved understands the purpose and context of the ticket.
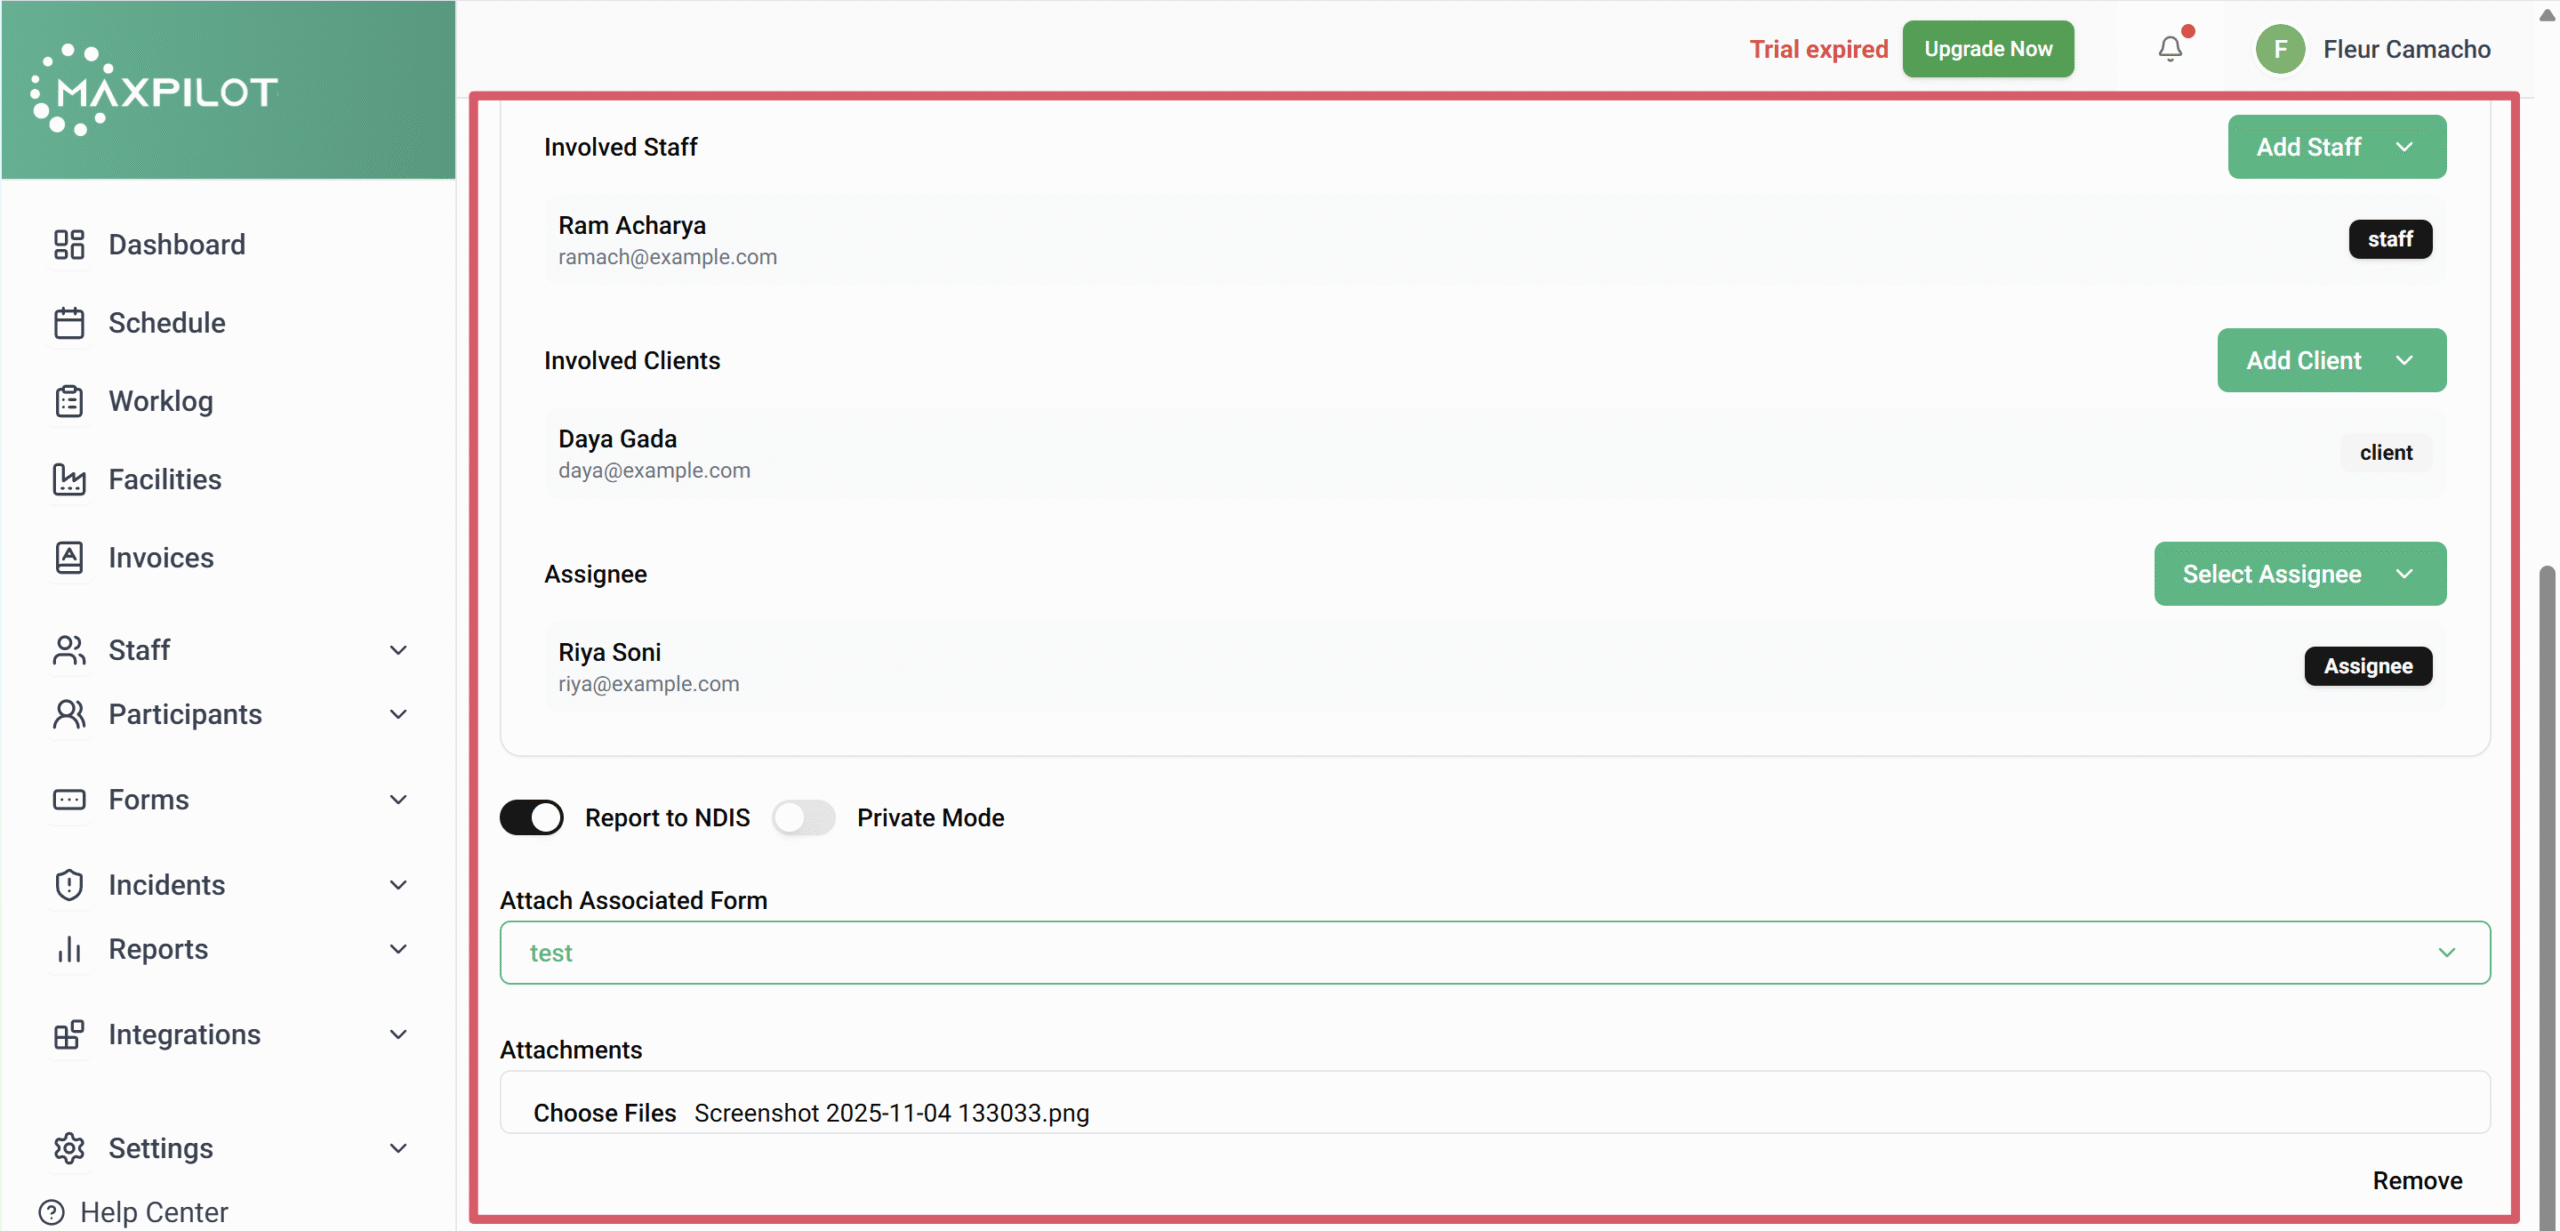
Step 5: Assign Team Members
Scroll down to the Team Assignment section:
This section ensures proper team coordination and accountability.
Step 6: Attach Associated Form and Files
Attachments provide supporting information for better incident documentation.
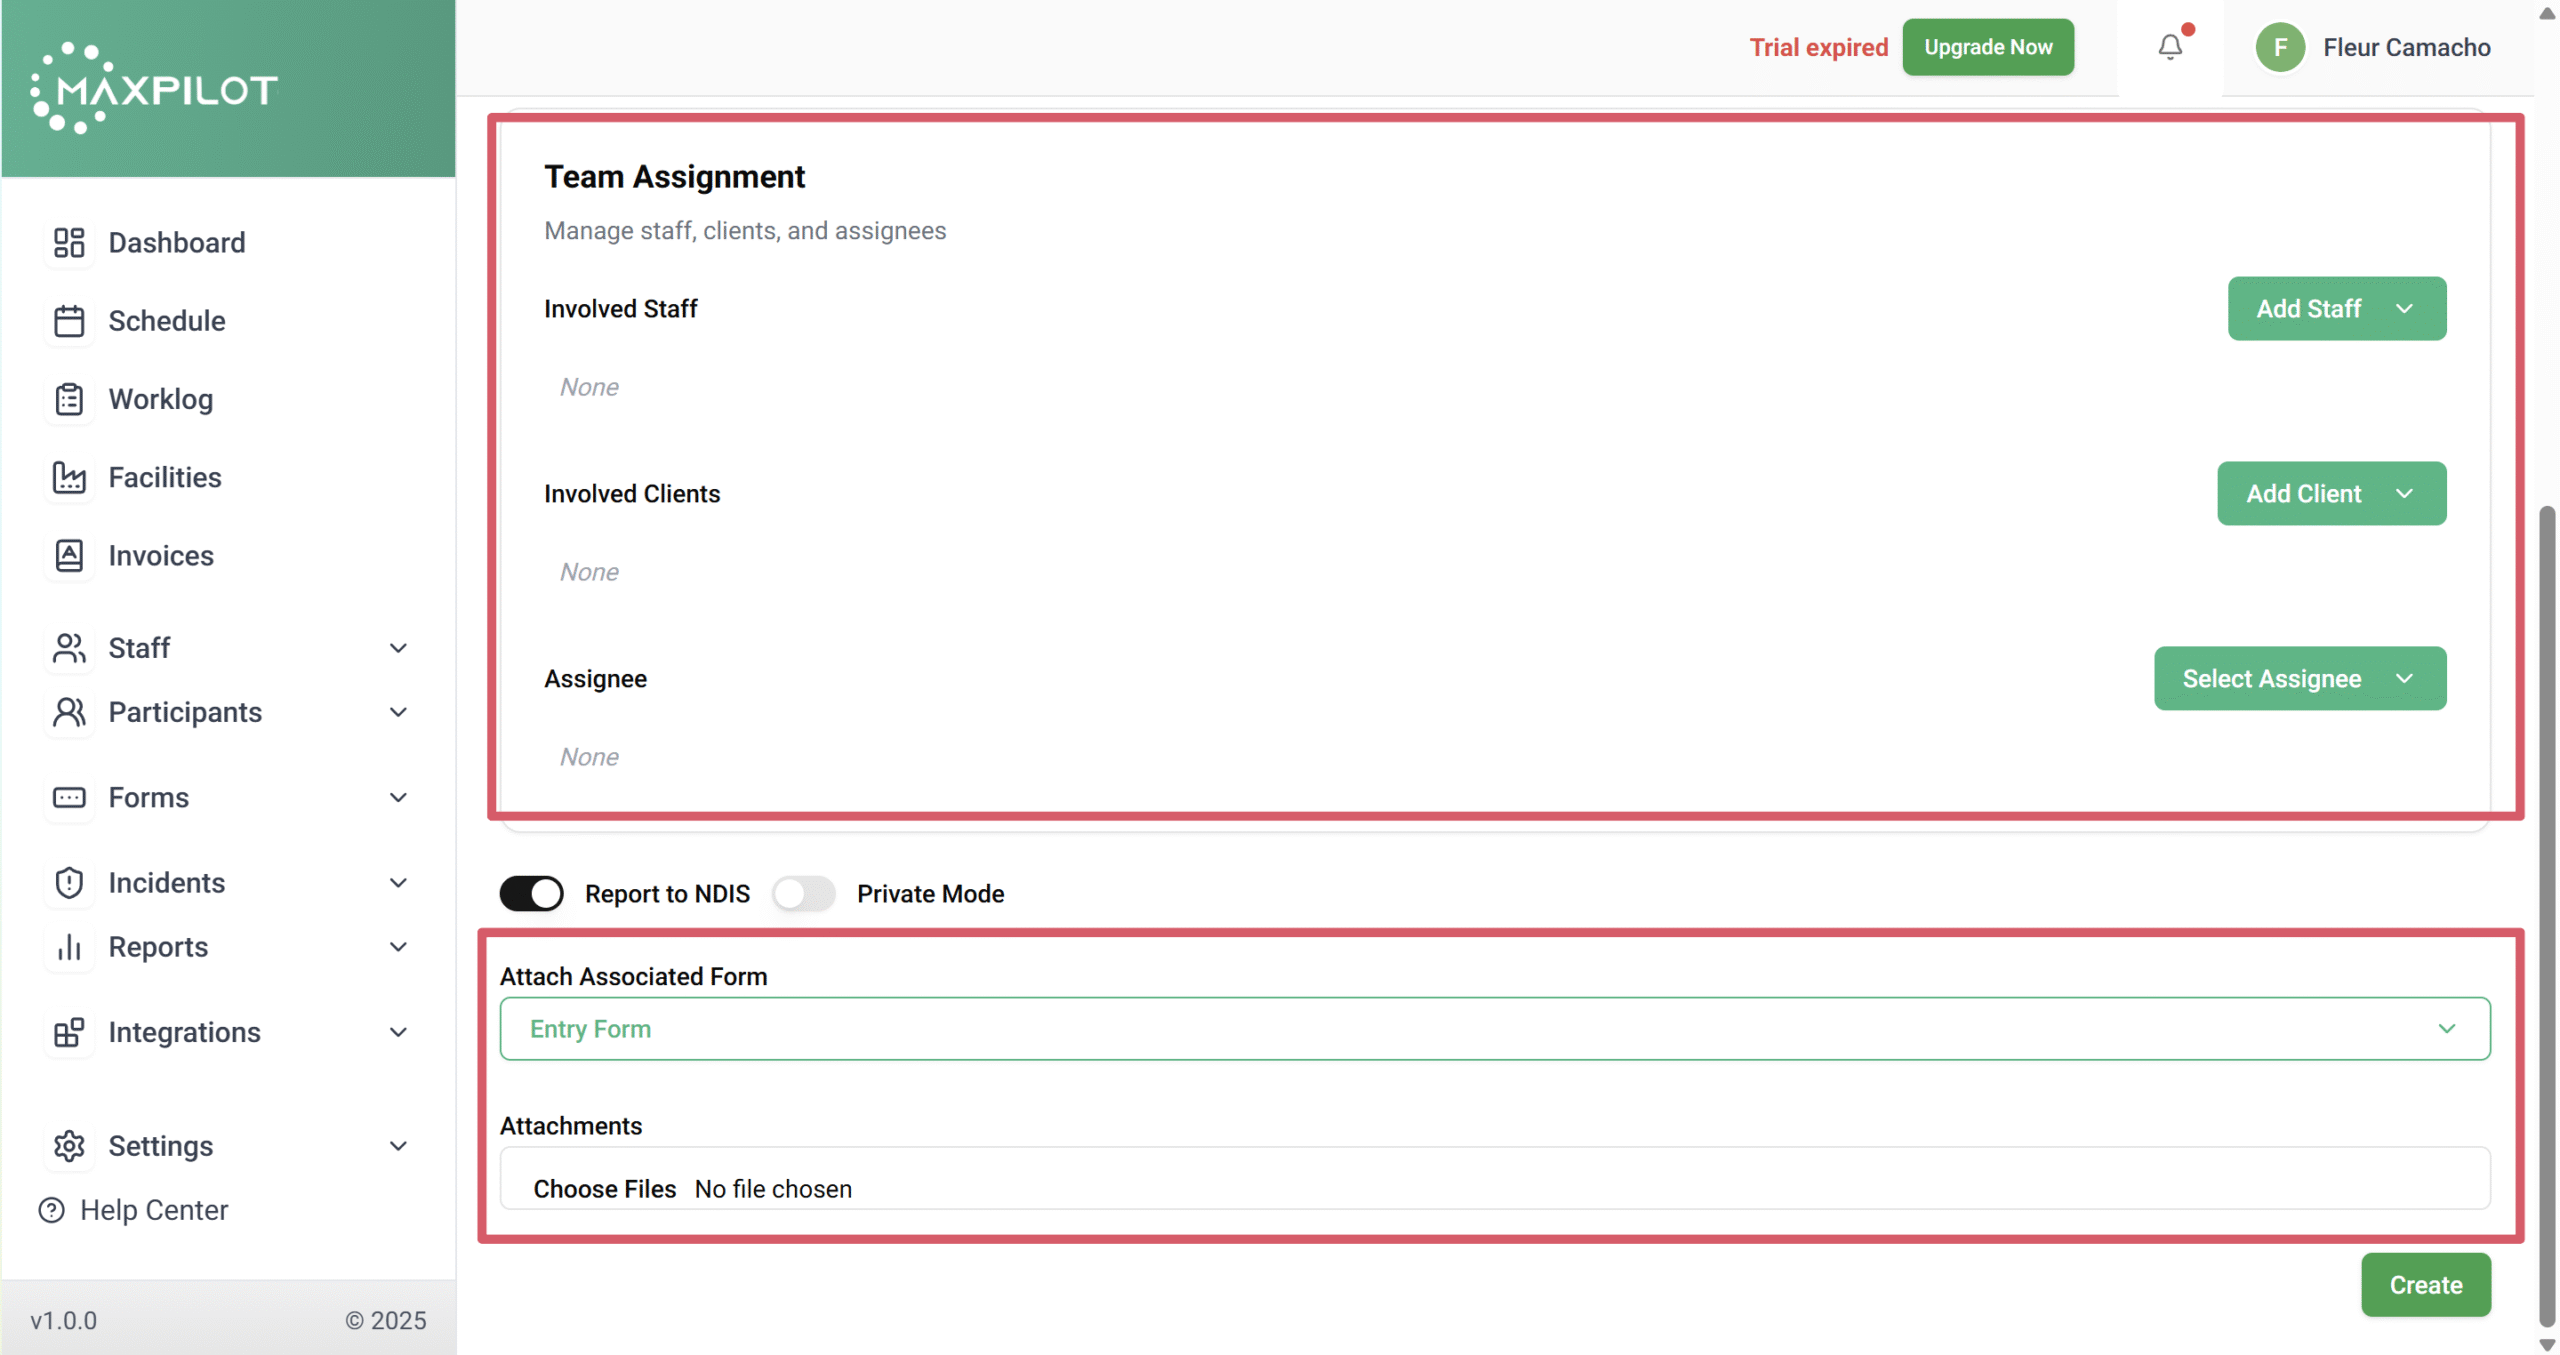
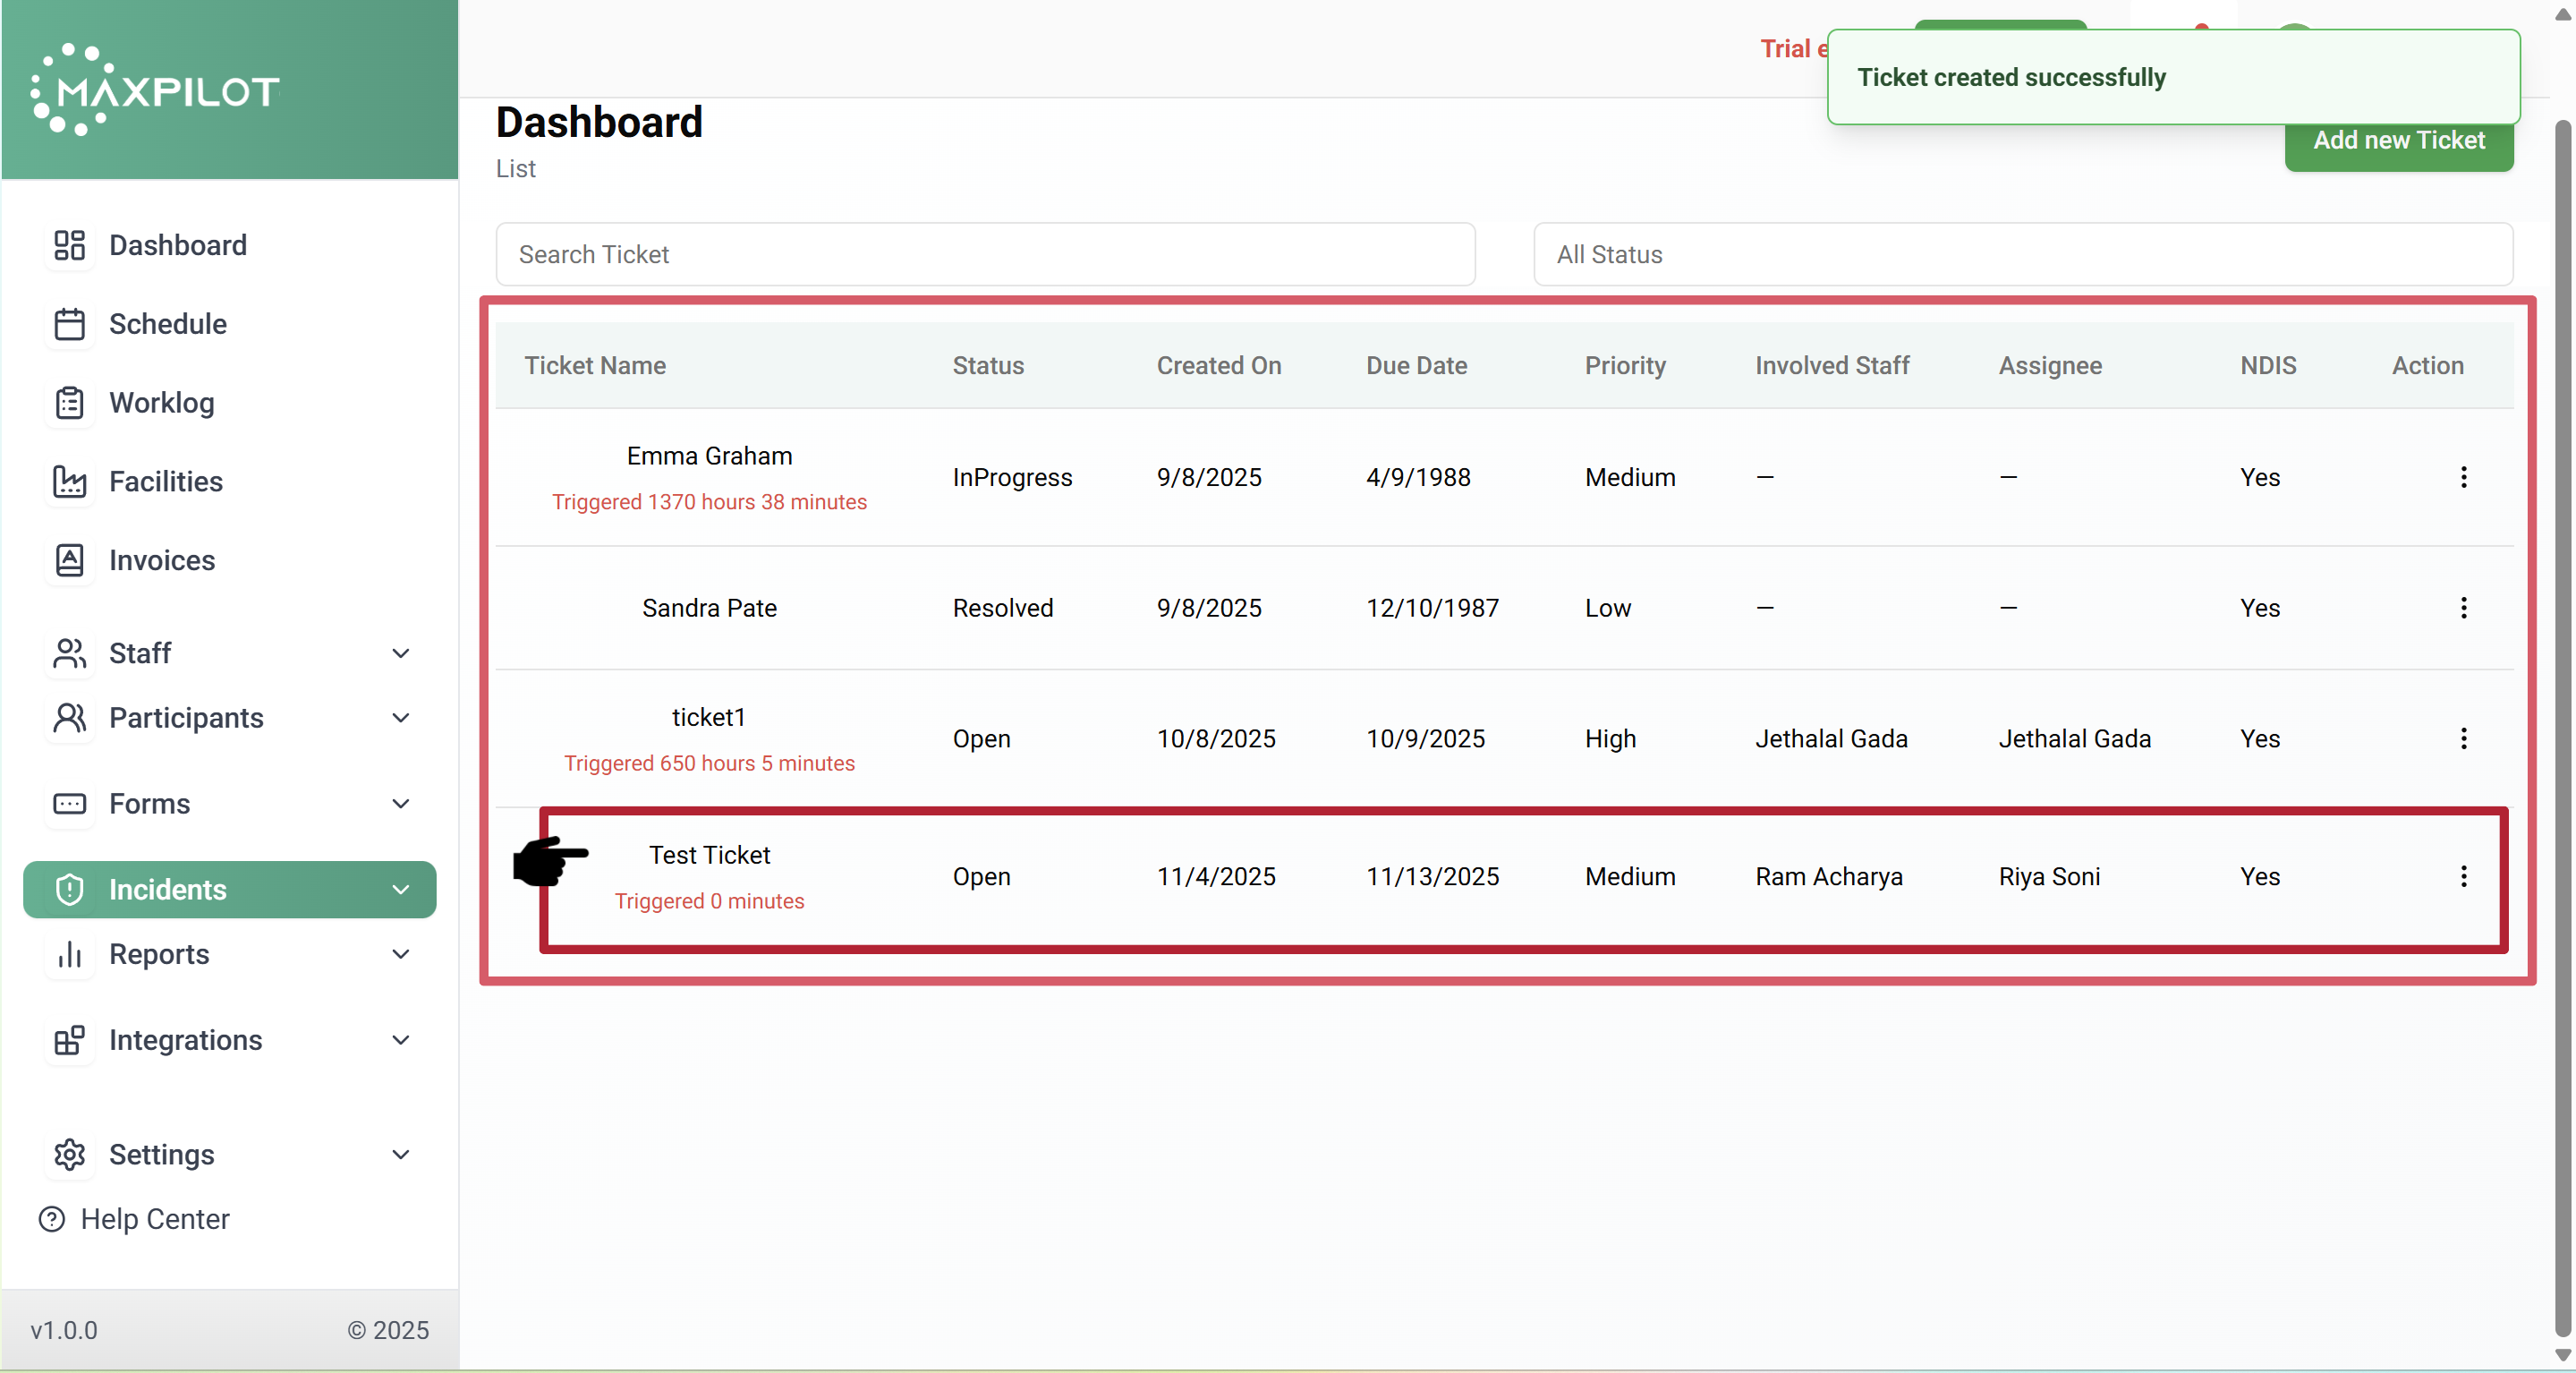
Step 7: Click “Create”
Once all fields are completed, click Create to finalize the ticket.
A success message — “Ticket created successfully” — will appear, confirming that the ticket has been added.
Step 8: View the Ticket
You will now see the newly created ticket listed under the Incidents Dashboard, along with its status, assigned staff, and due date.