Generating an invoice in MaxPilot allows you to bill participants efficiently and manage all financial records in one place. Follow these simple steps to create an invoice from the participant’s shift details.
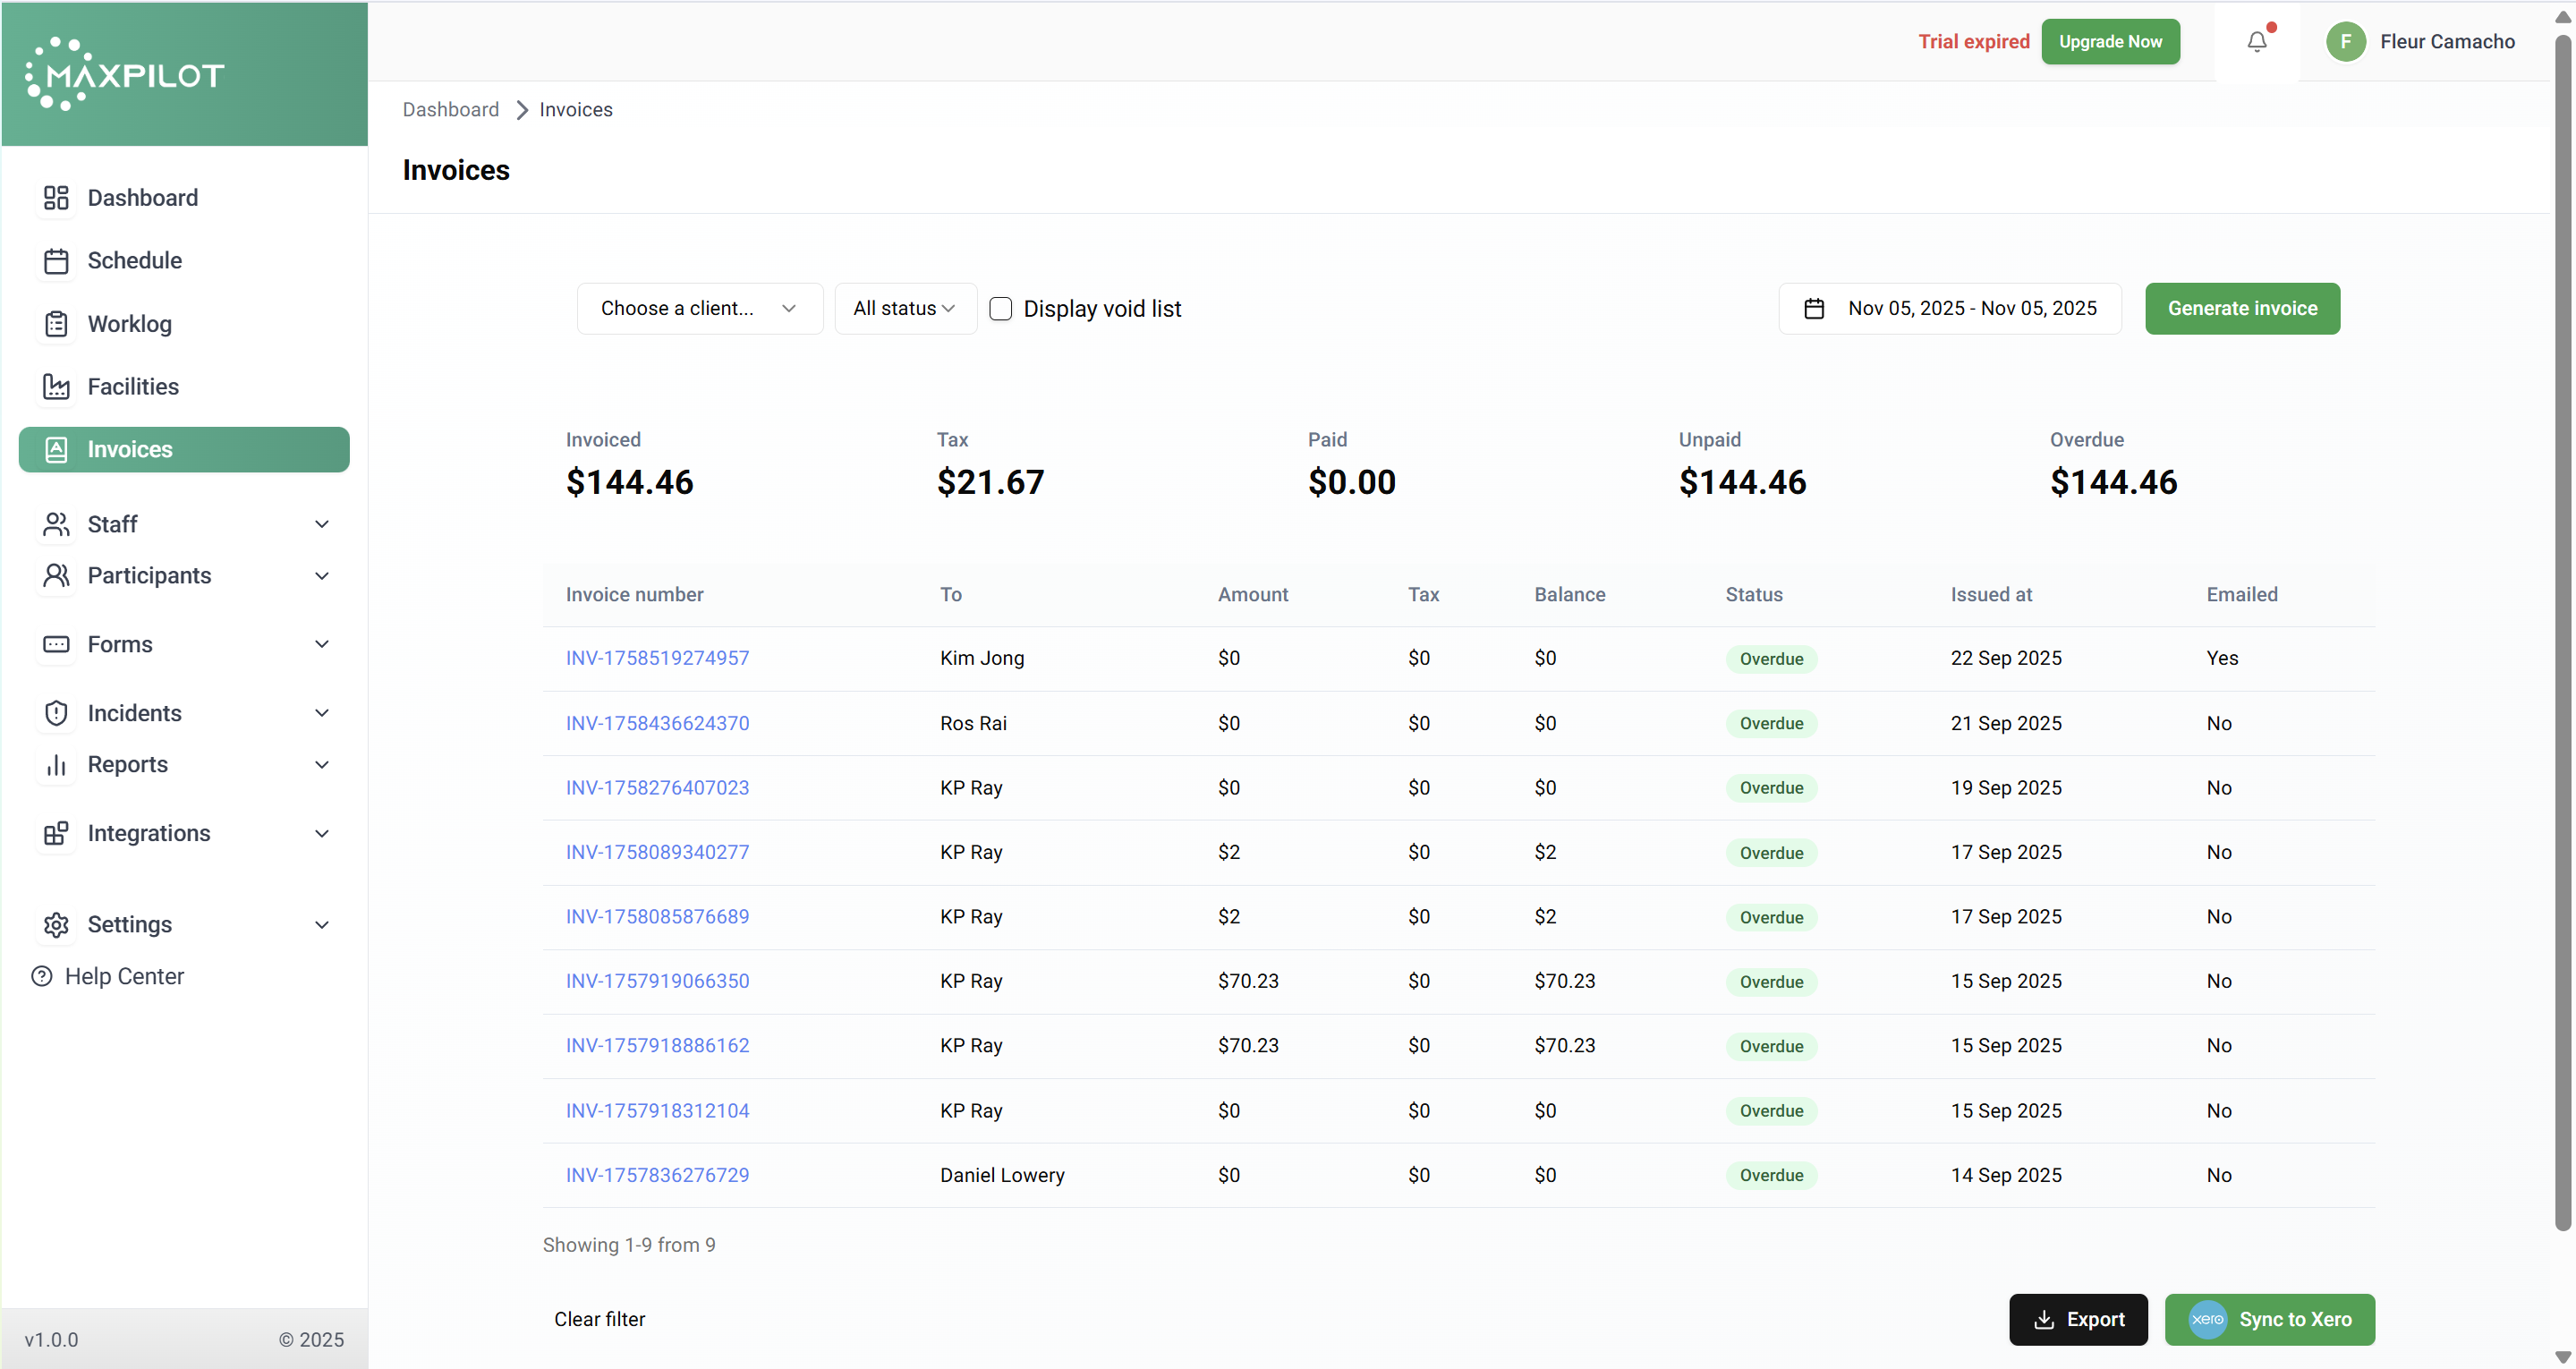
Step 1: Open the Invoices Section
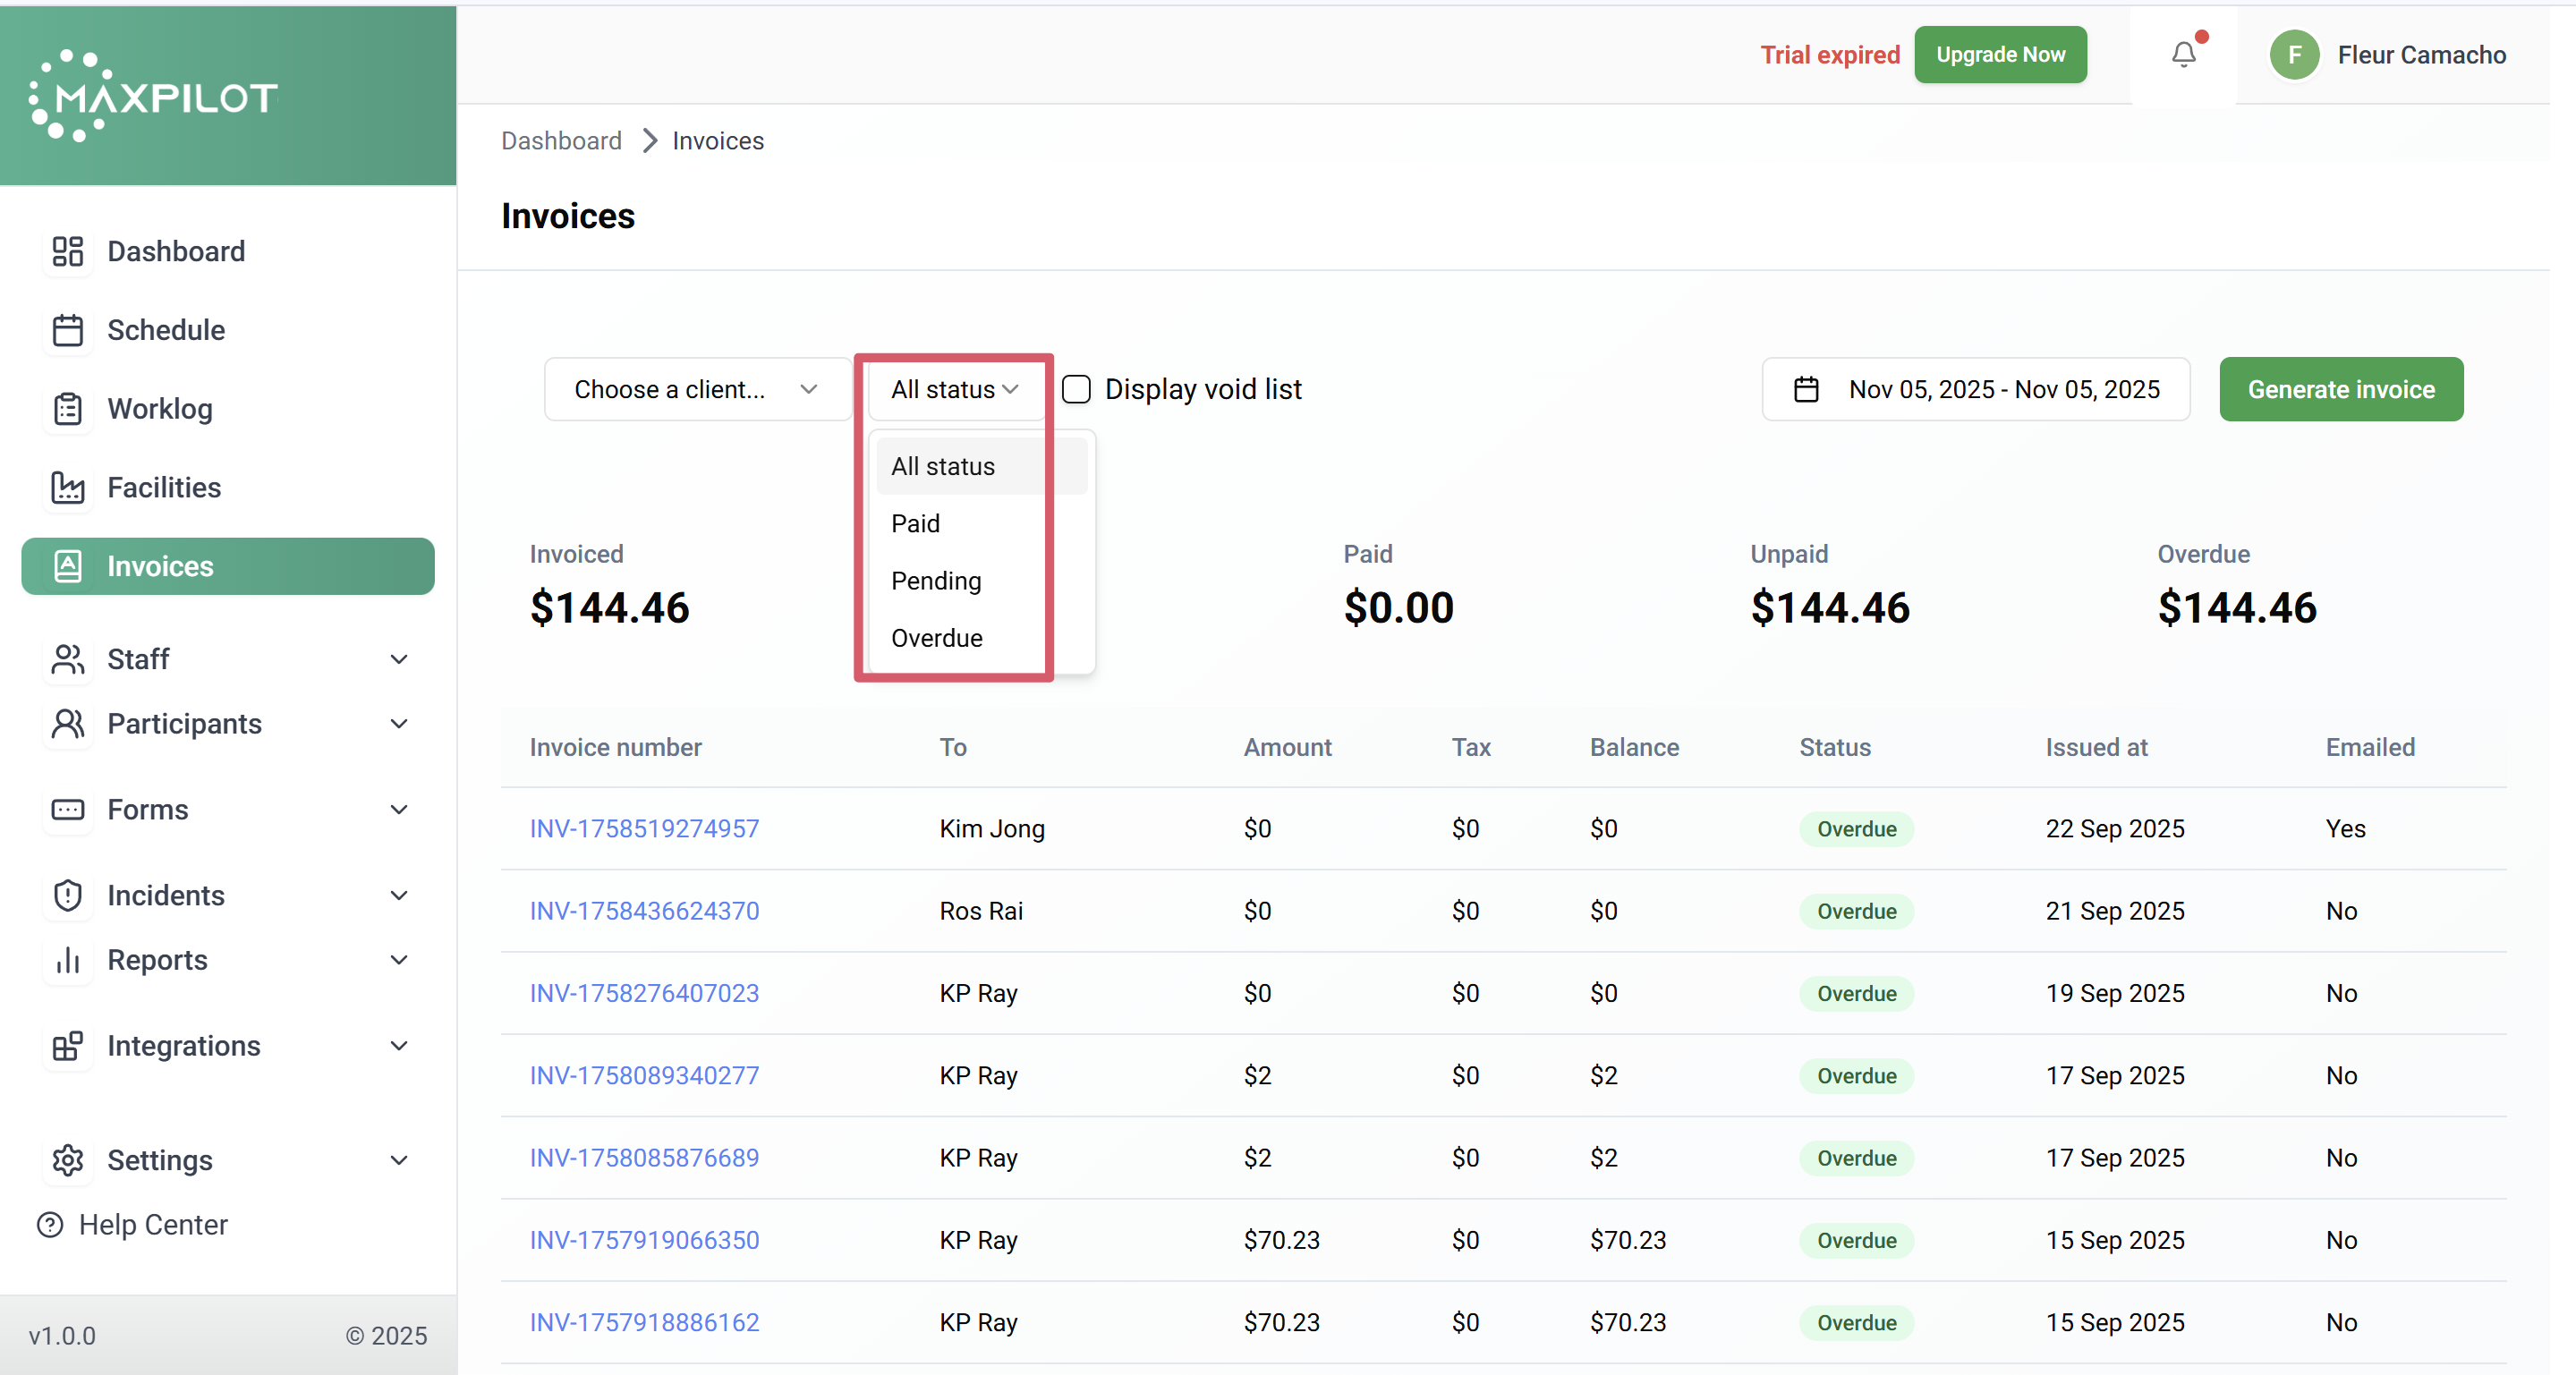
From the left-hand menu, click Invoices.
The Invoices page will open, showing all existing invoices with details such as Invoice Number, Amount, Tax, Balance, Status, and Issued Date.
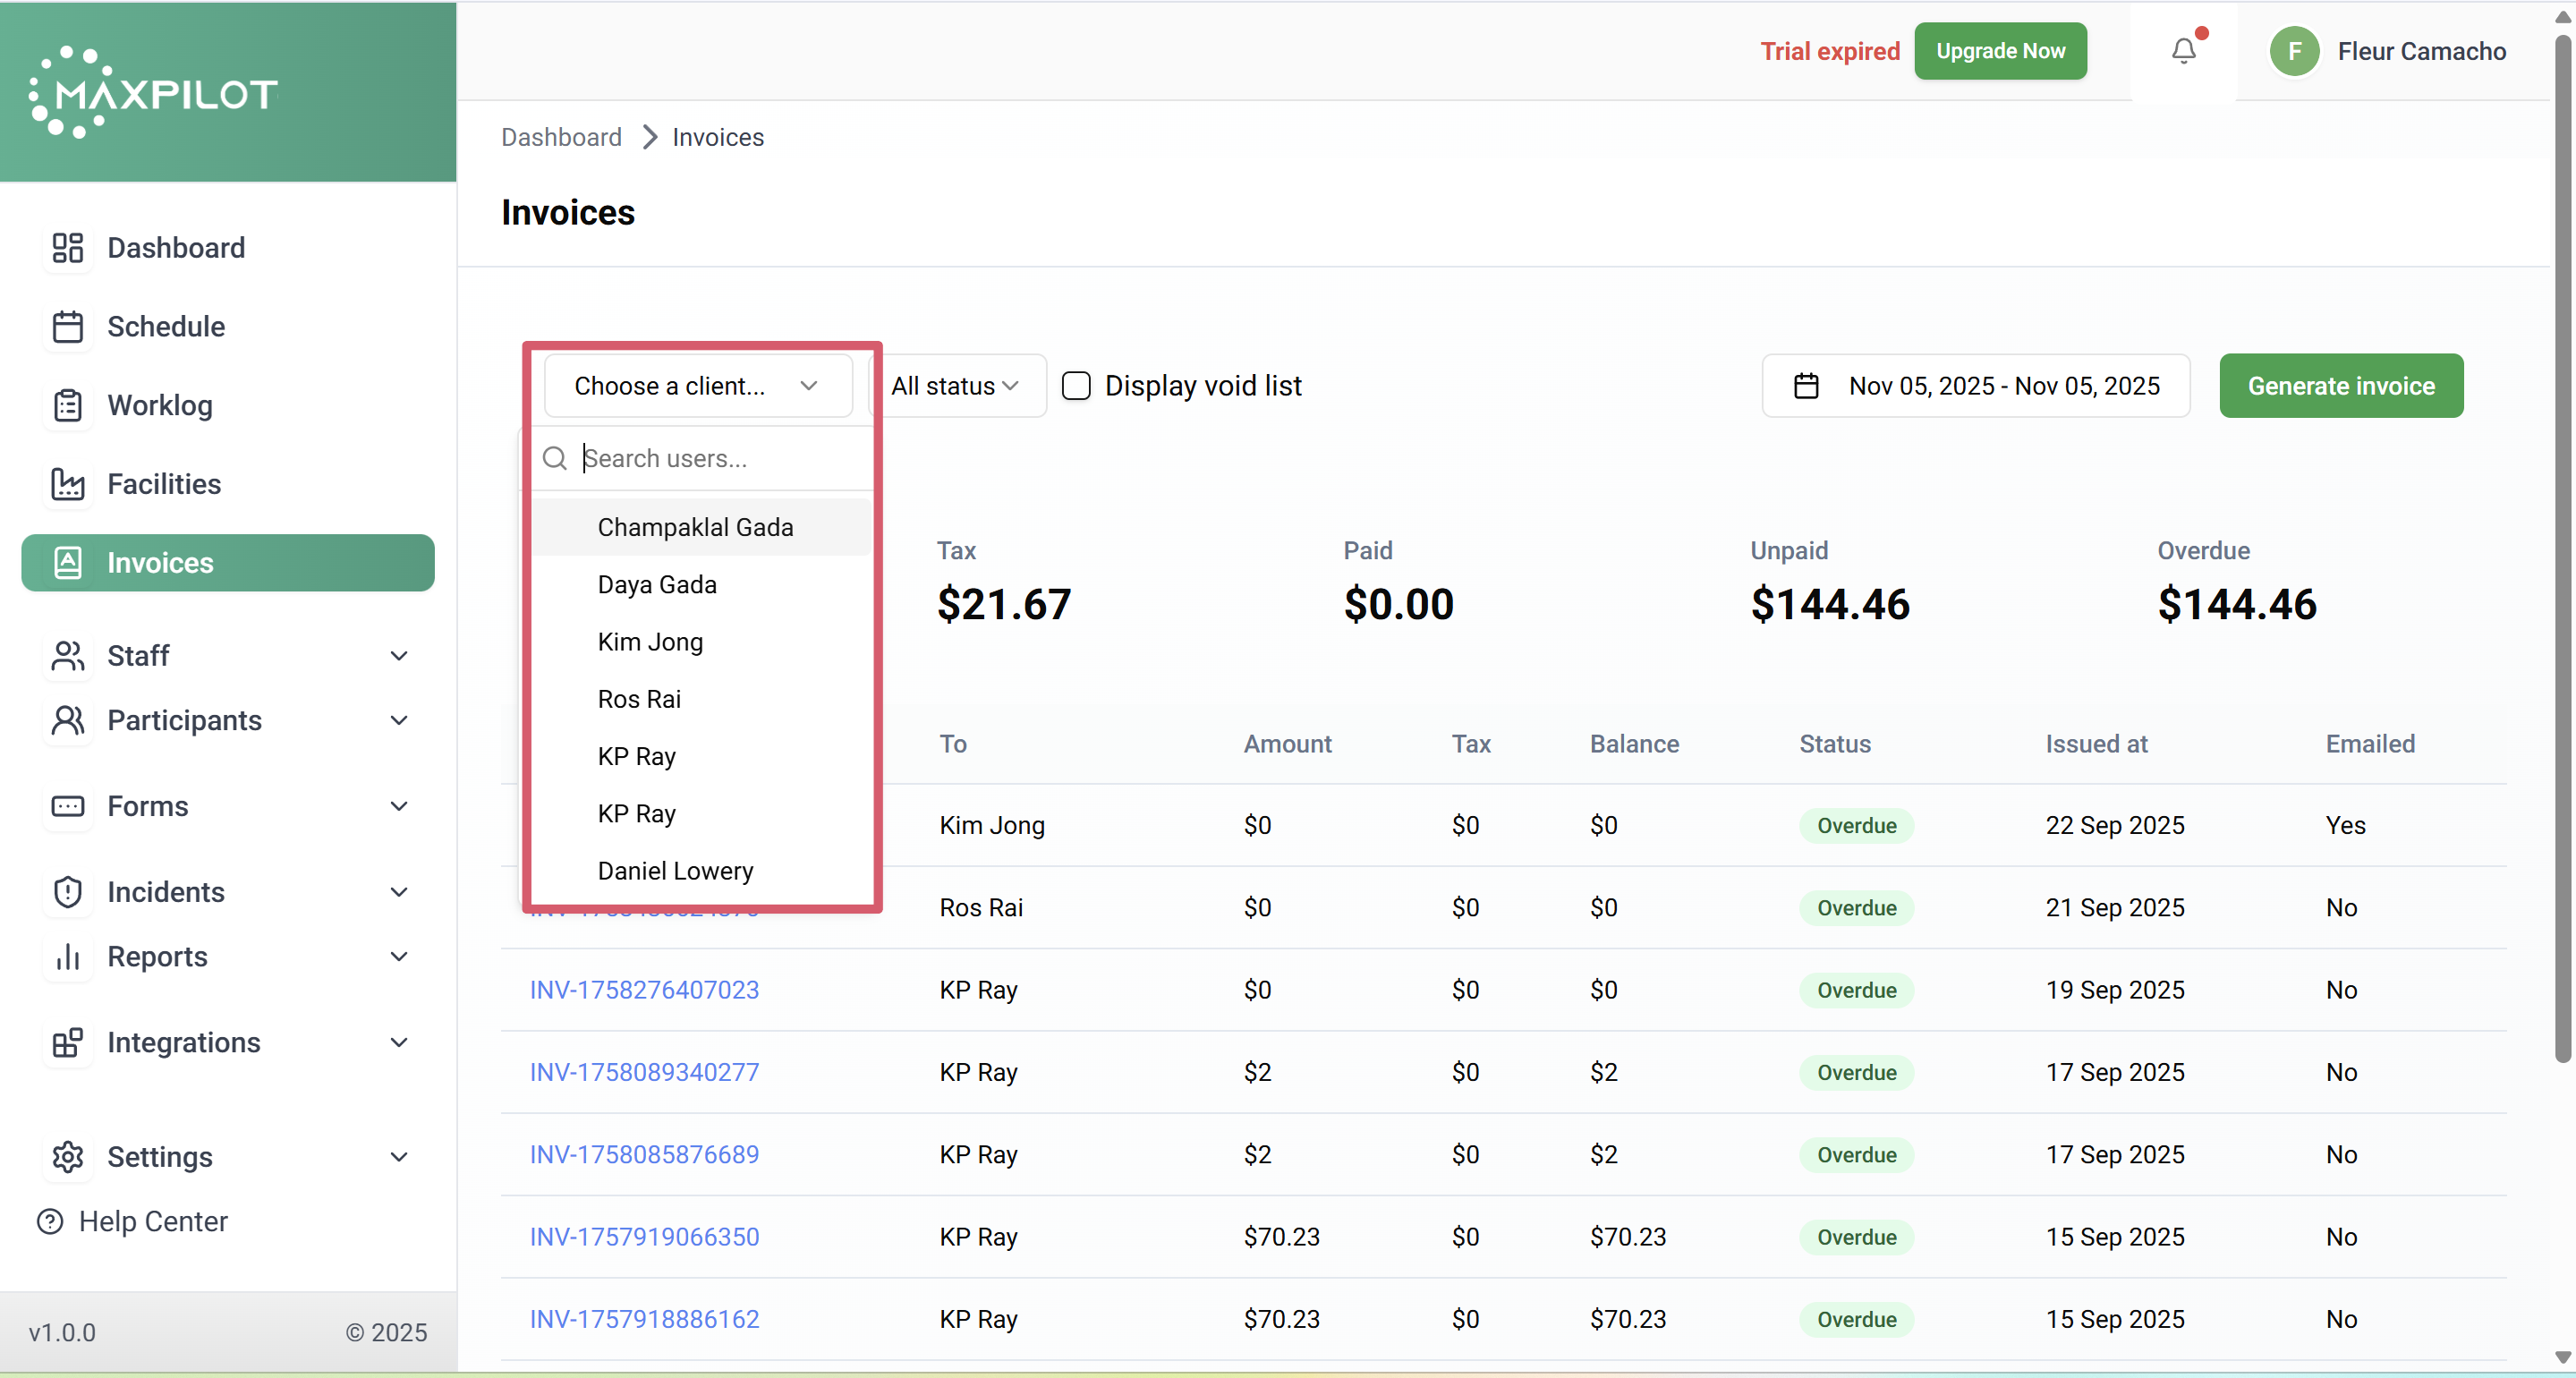
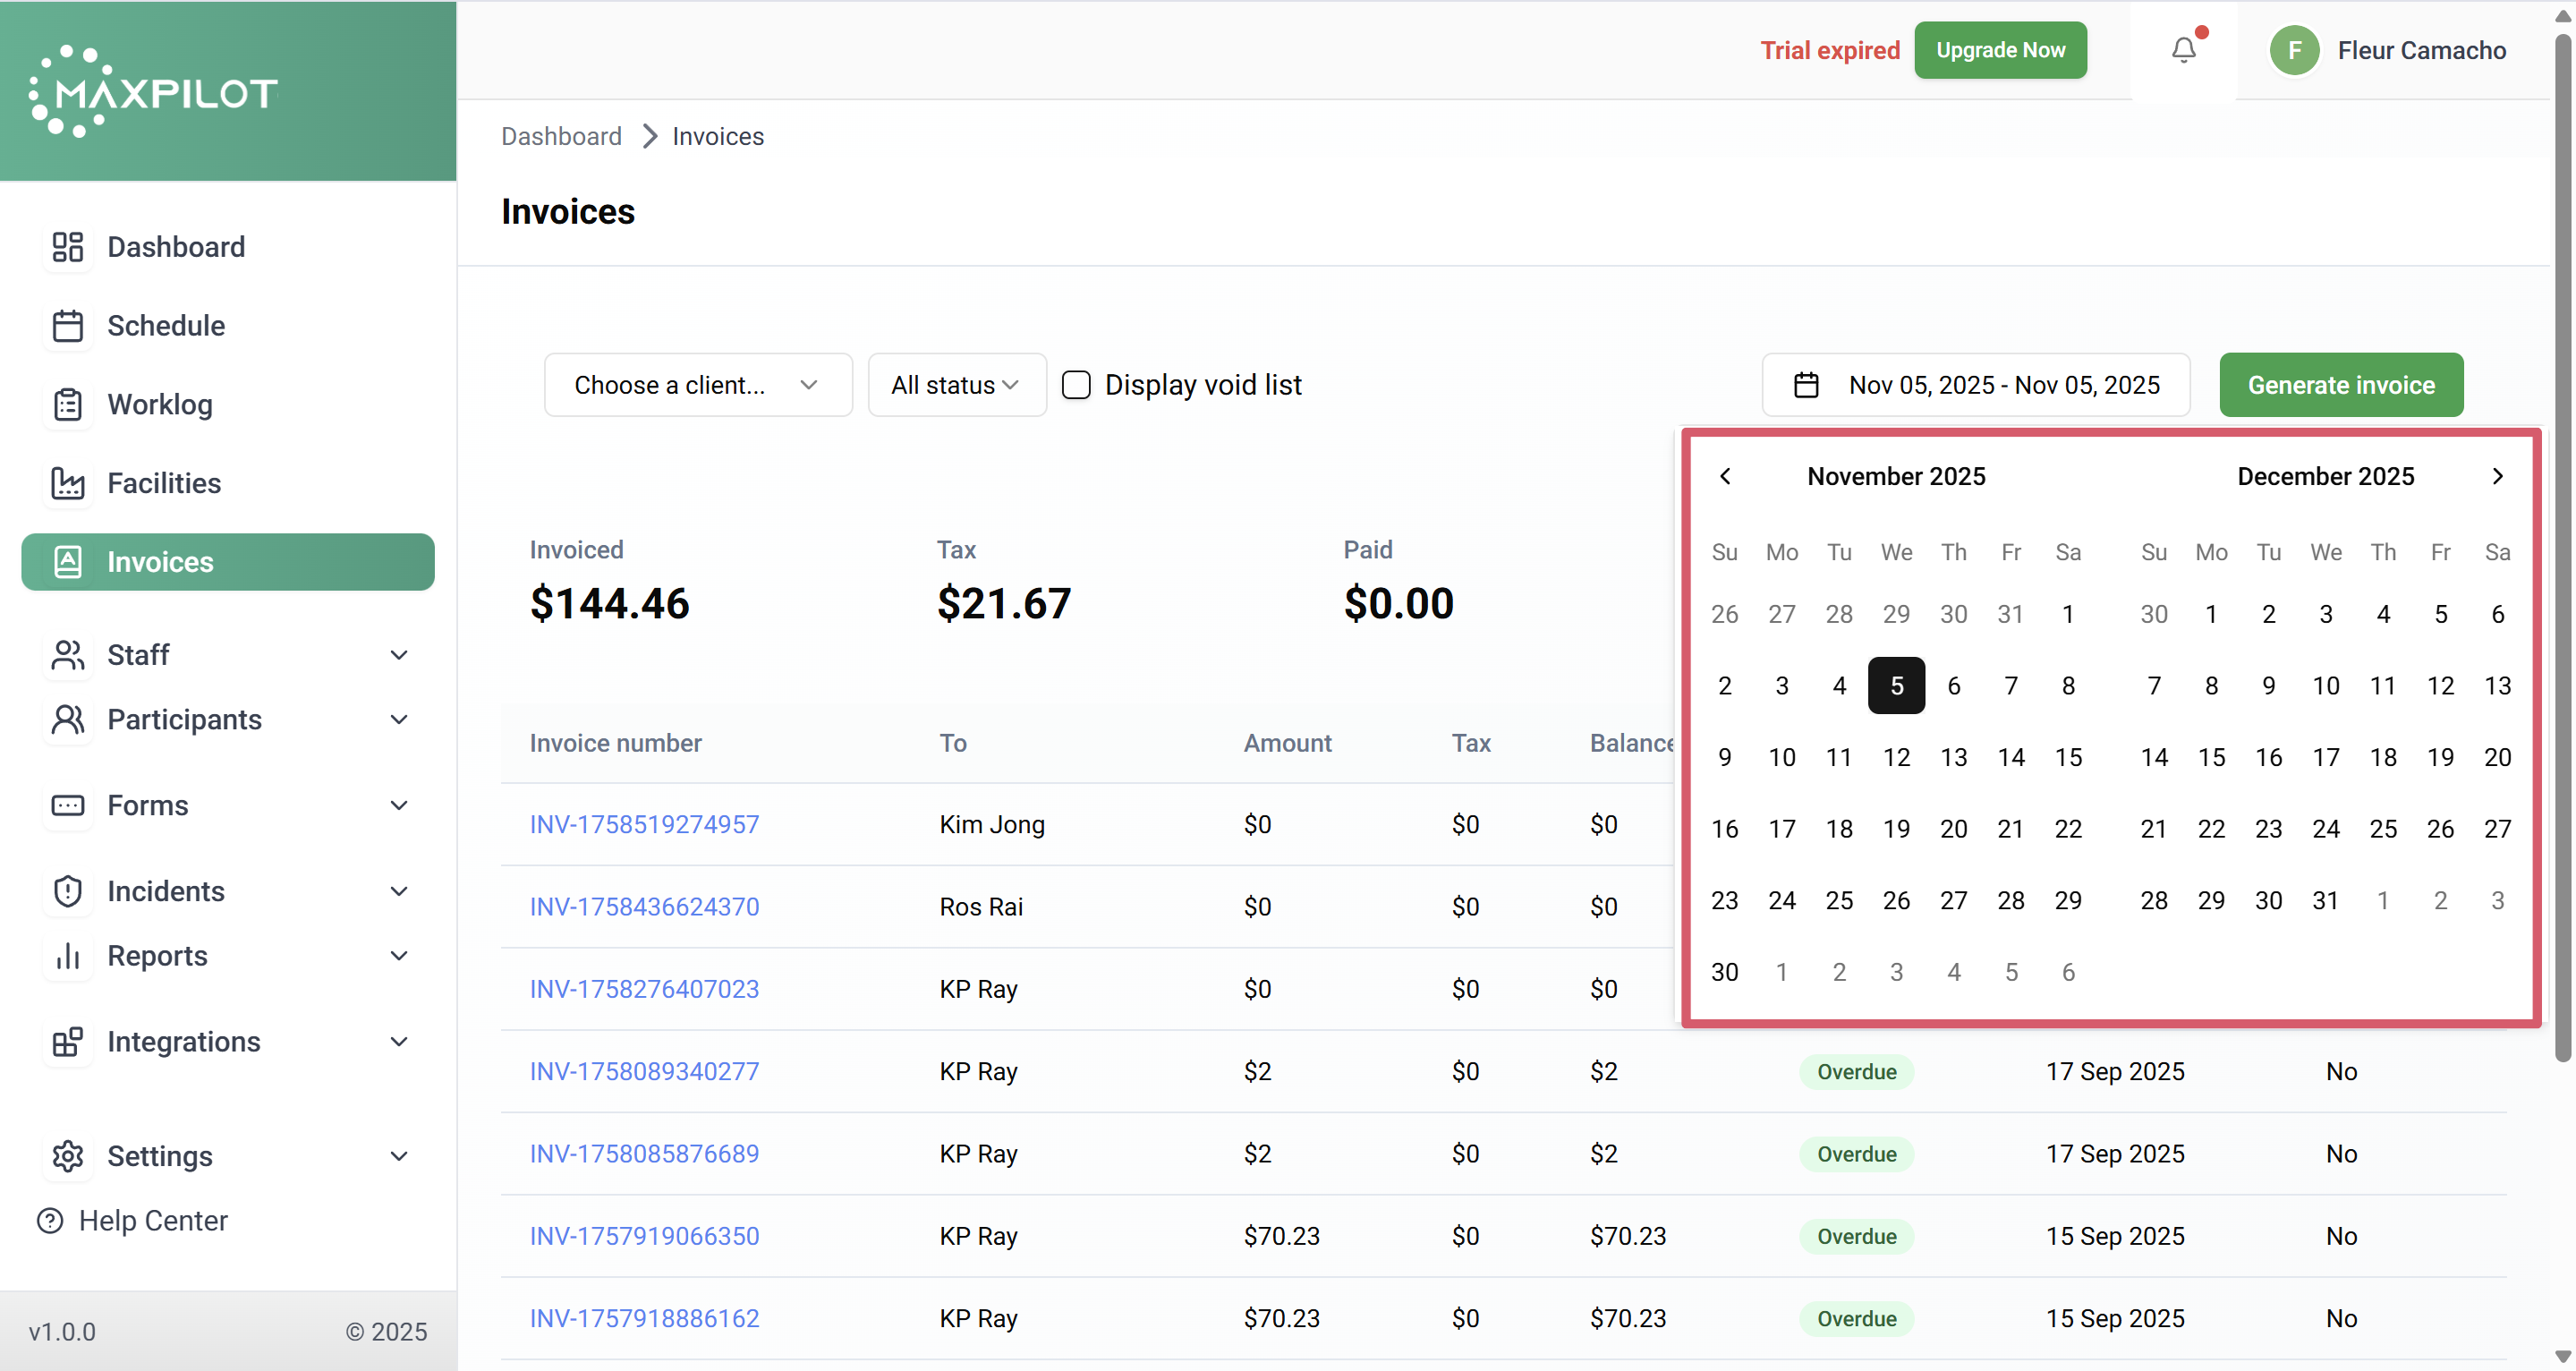
Step 2: Apply Filters (Optional)
You can refine your search using multiple filters:
💡 Tip: You may also apply filters for a specific client to focus only on their invoice records.
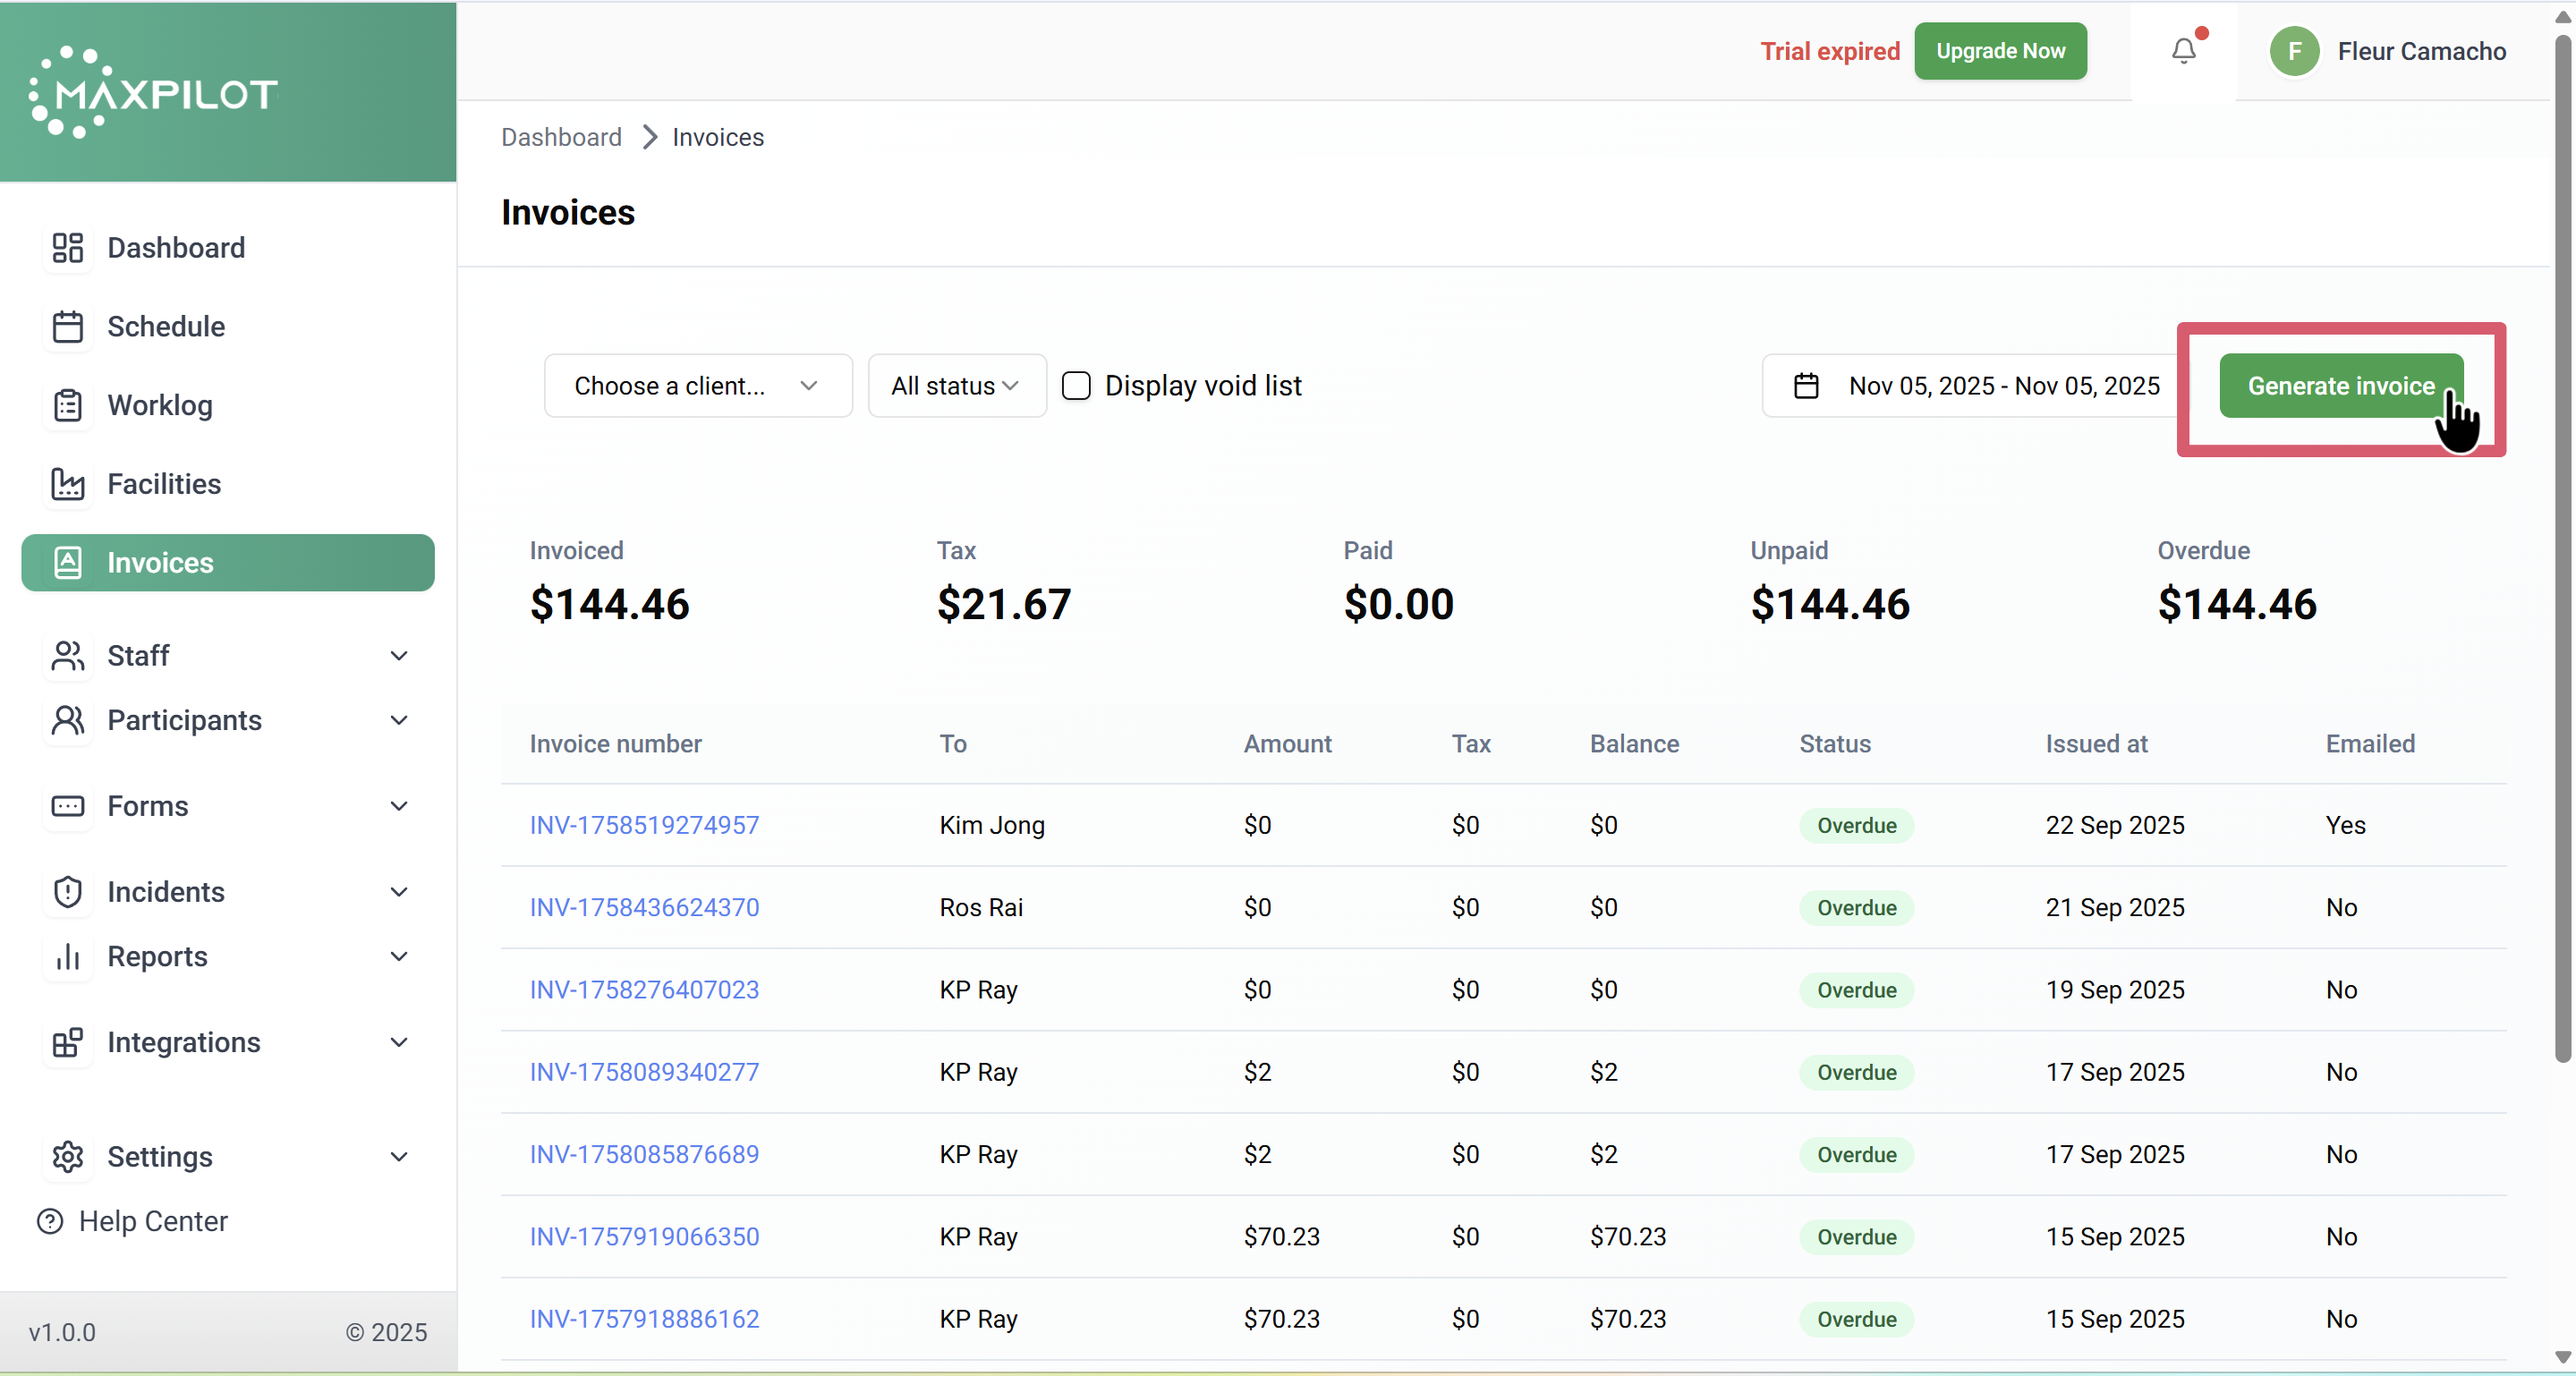
Step 3: Click “Generate Invoice”
In the top-right corner of the page, click the Generate invoice button.
This will take you to the invoice generation window, where you can view clients who are ready to be invoiced.
Step 4: Review Client Details
You’ll see a list of clients with columns displaying:
Clients with shifts that are ready for invoicing will be marked as Ready to invoice.
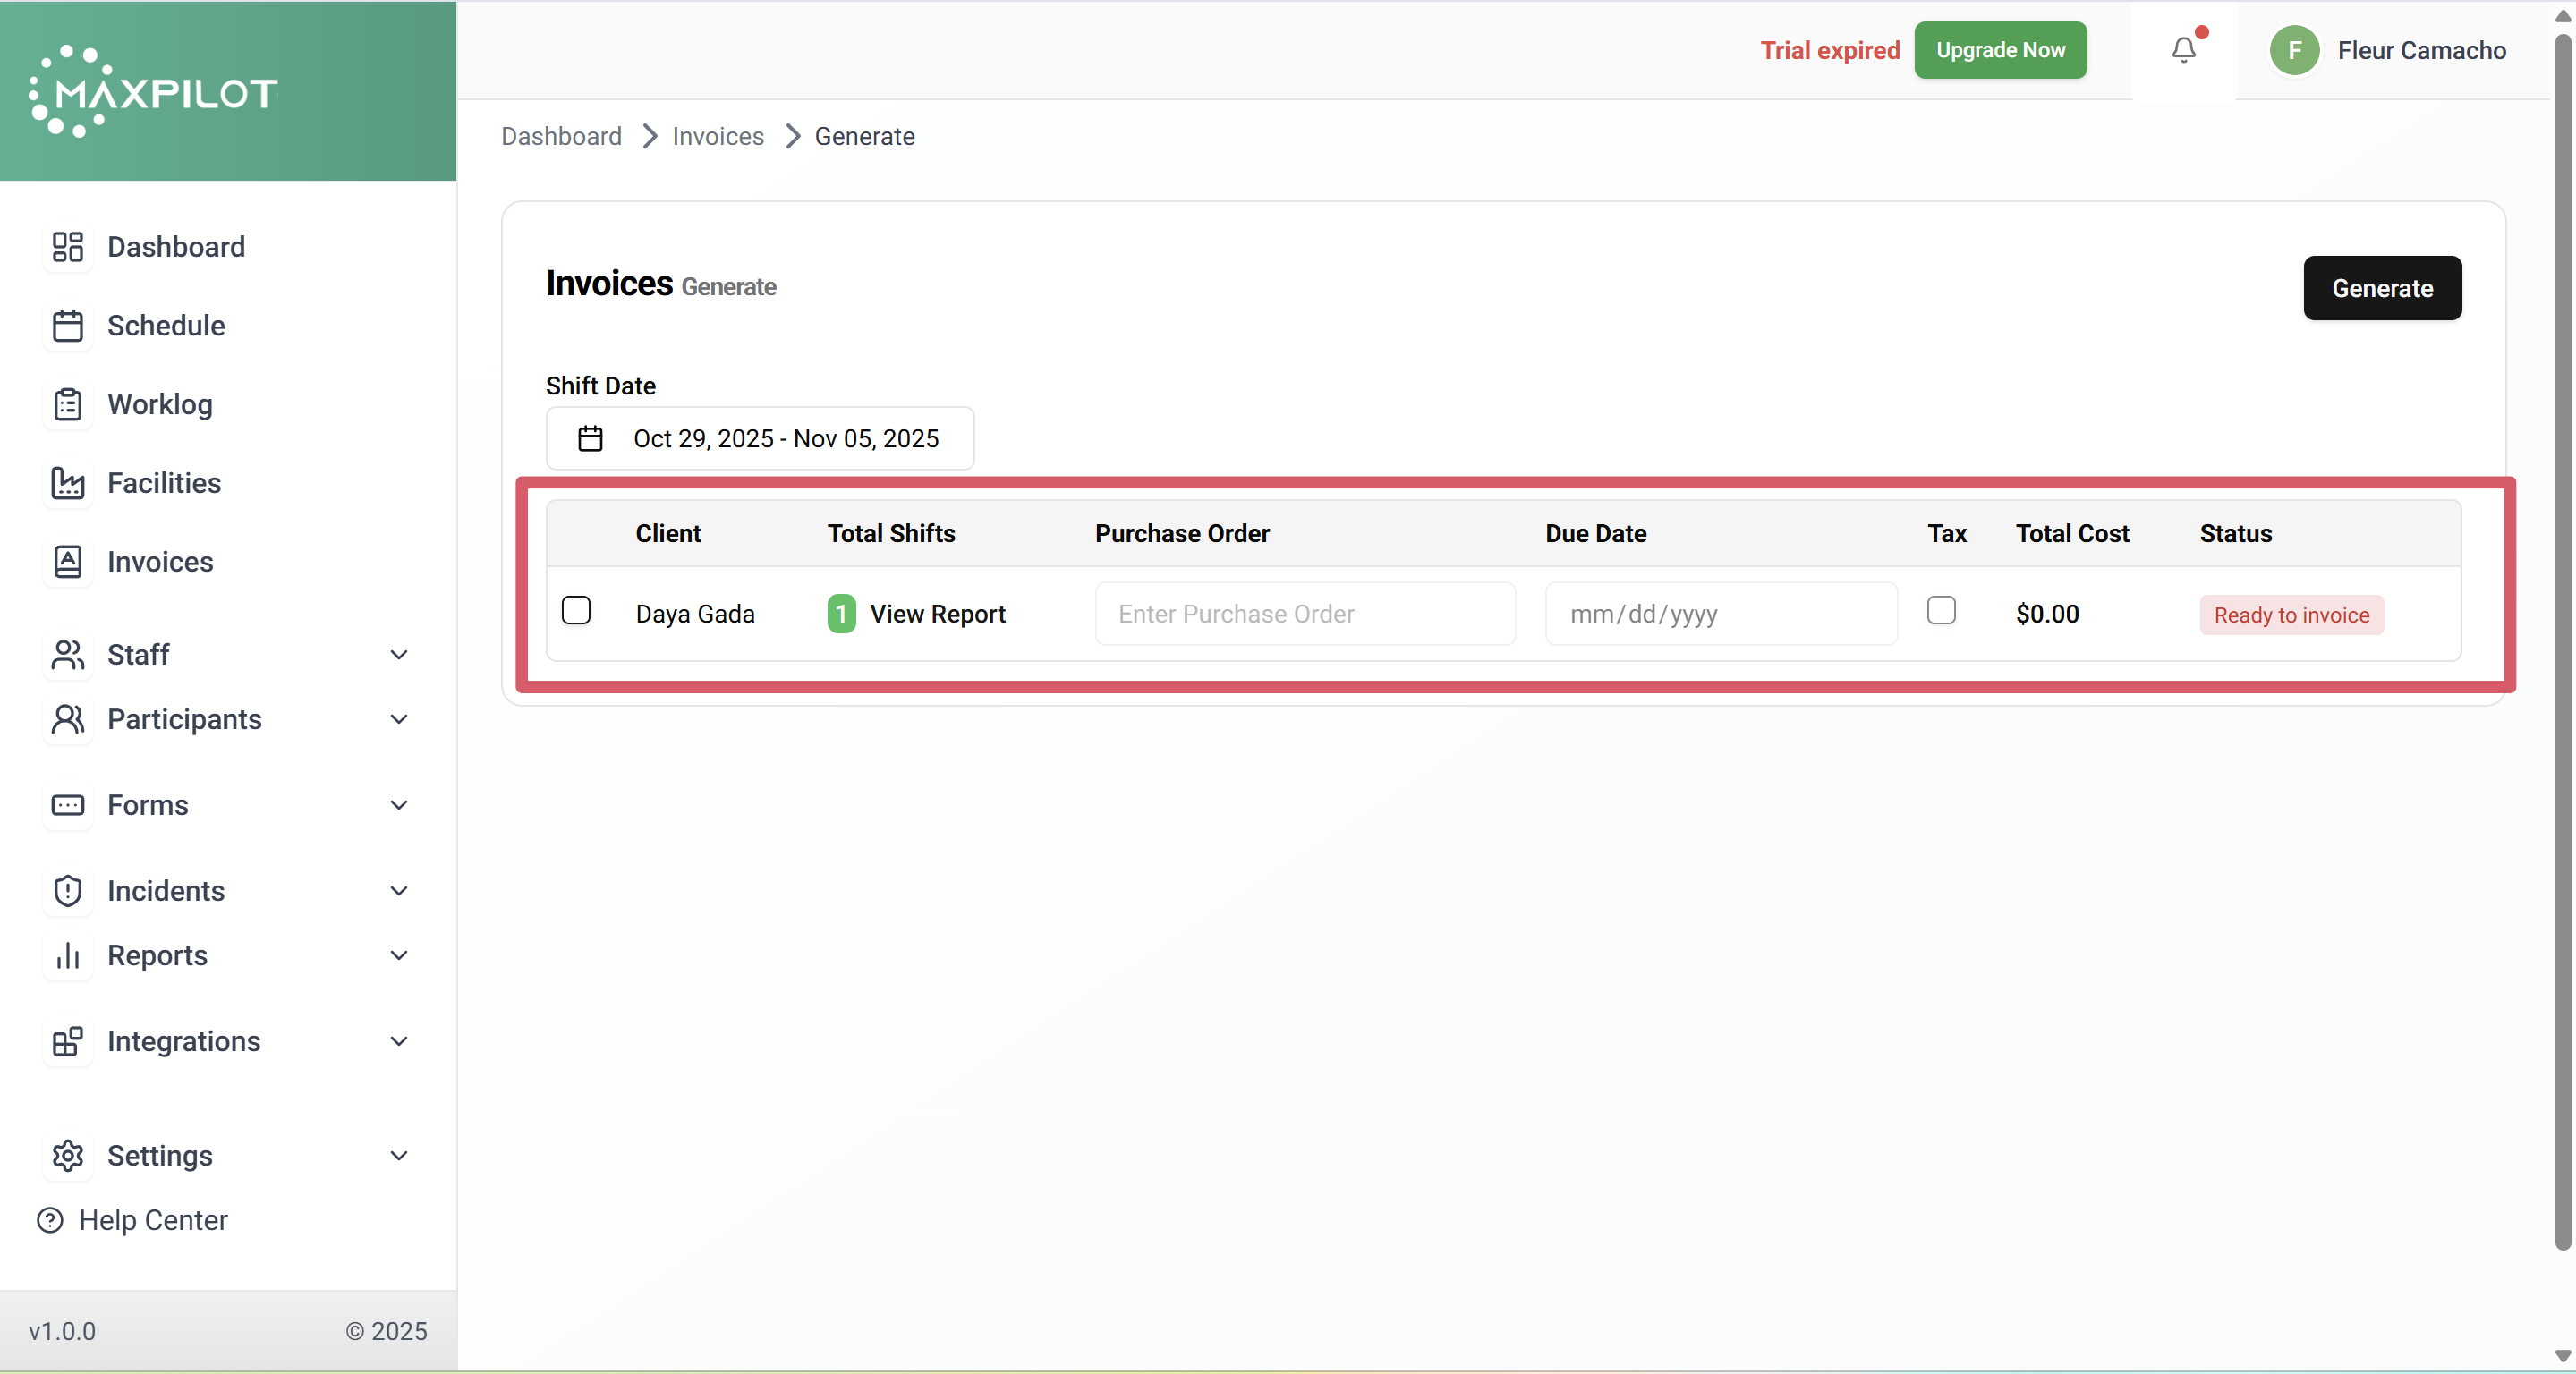
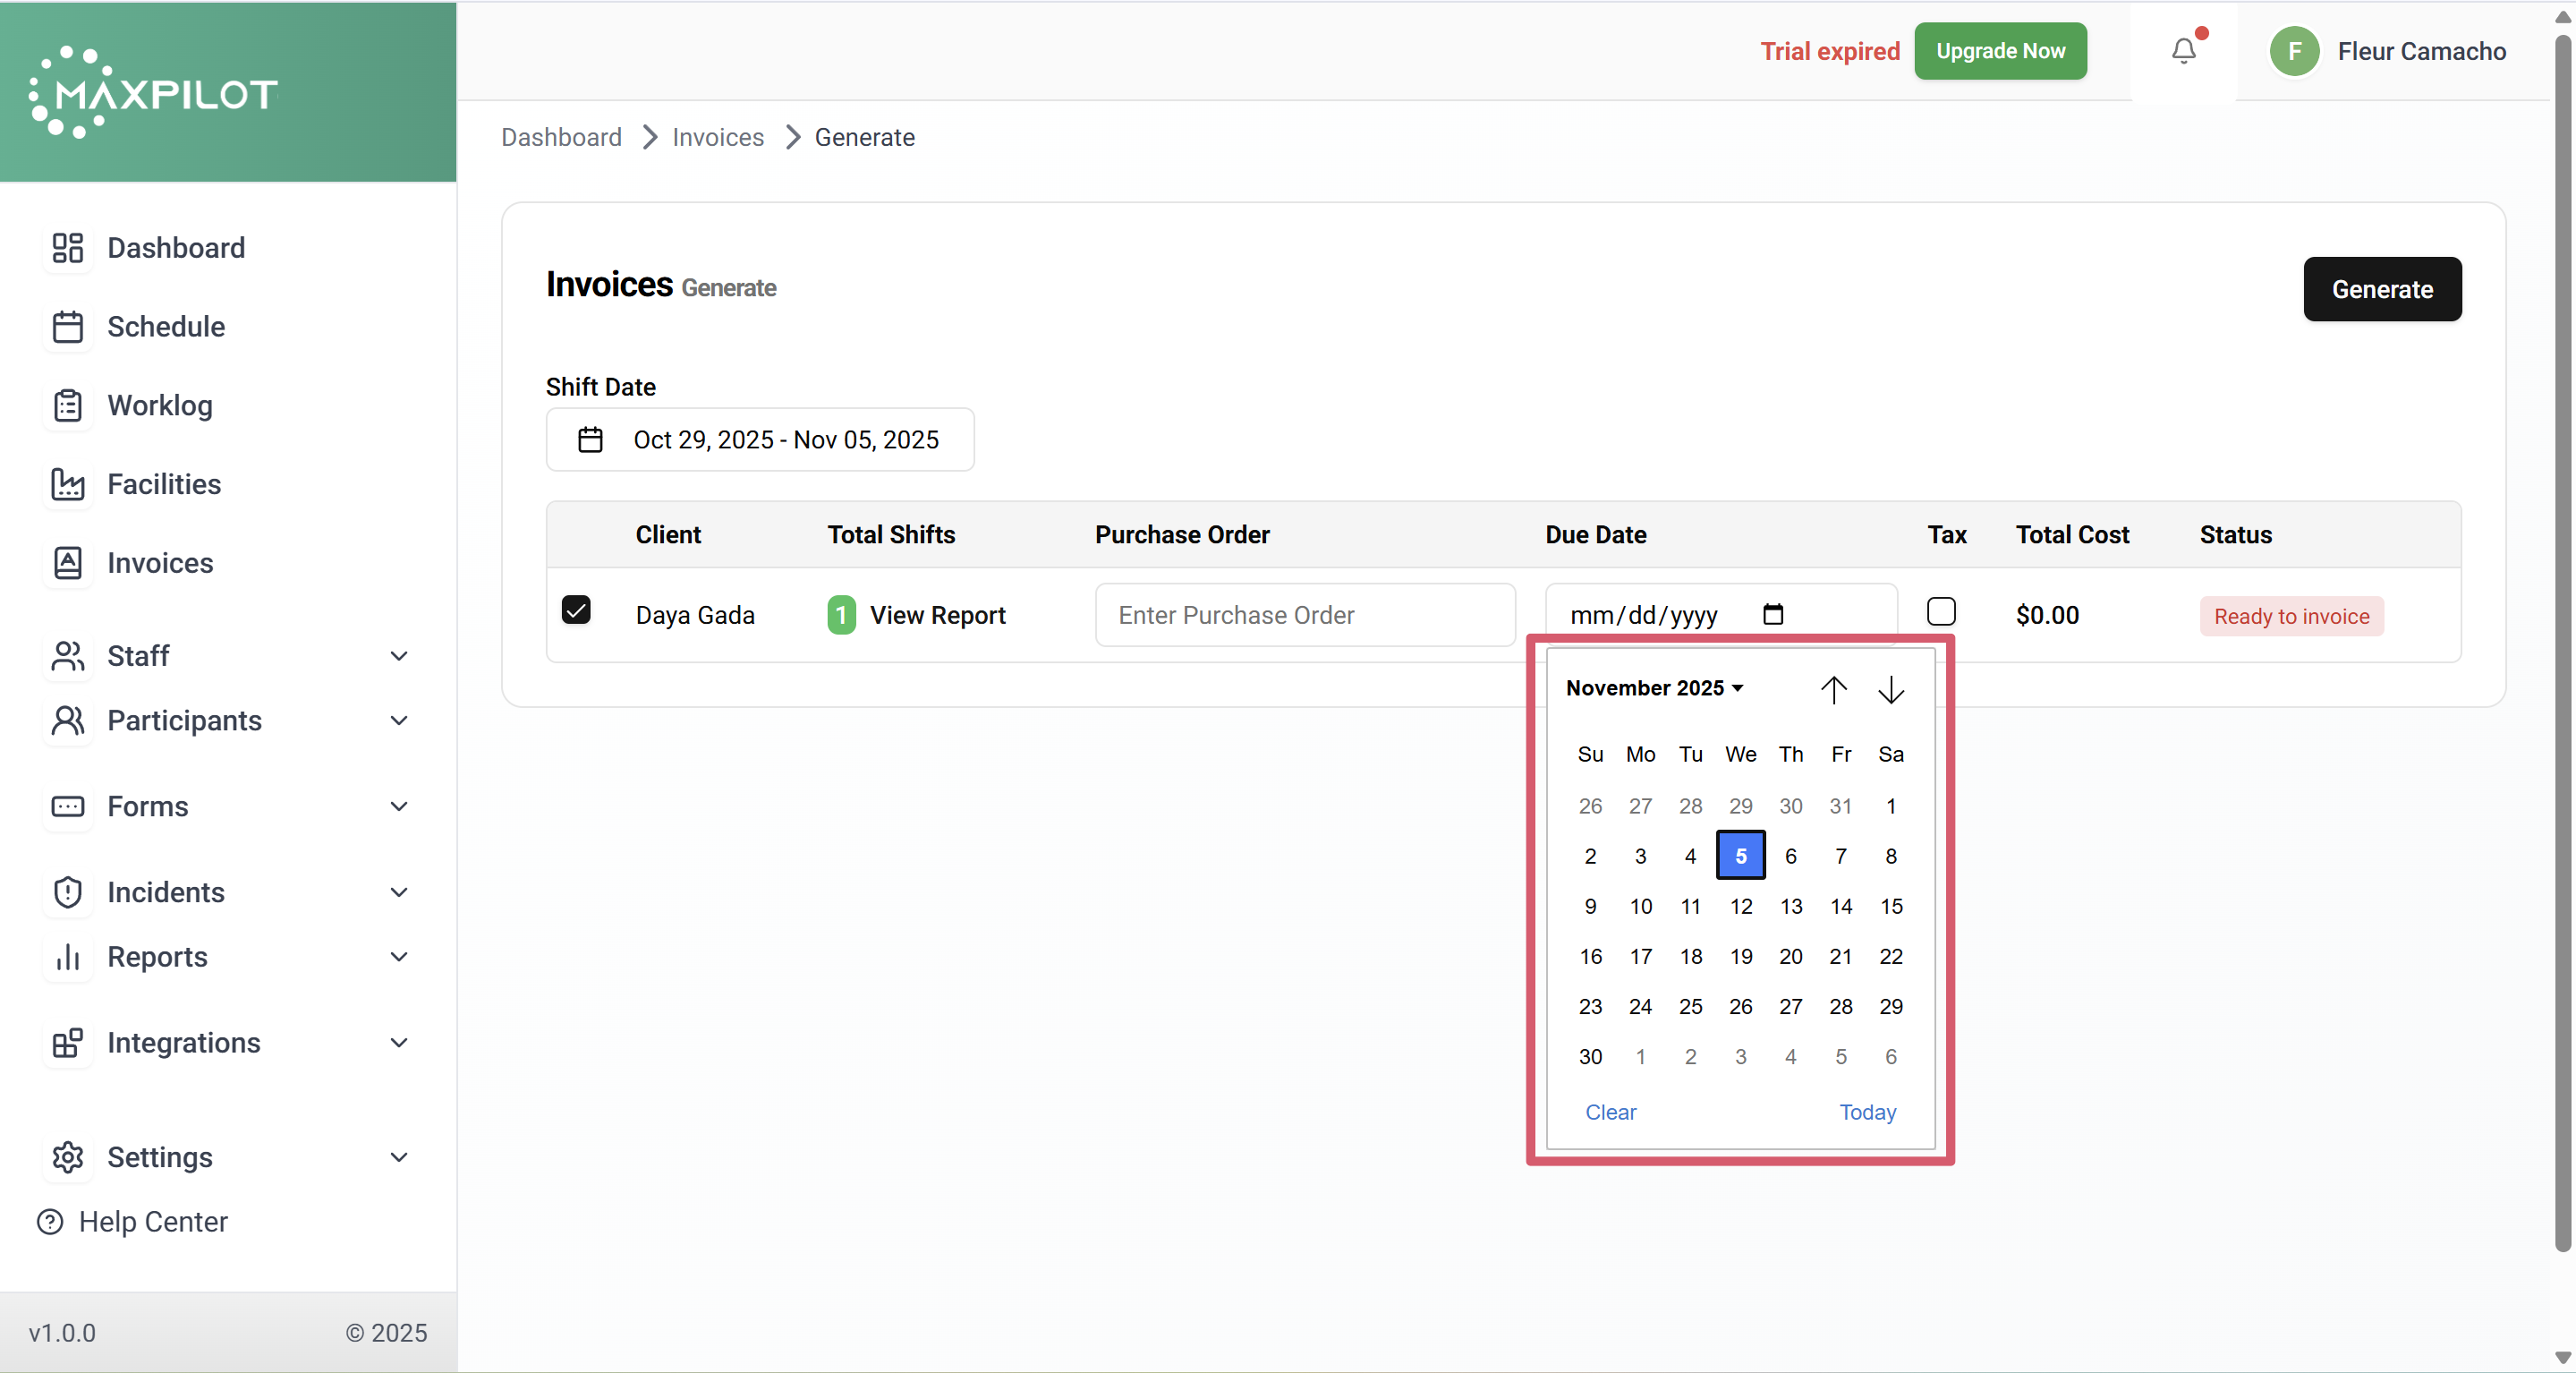
Step 5: Set the Due Date
Click on the Due Date field beside the client’s name and choose a date from the calendar.
This defines when the invoice payment will be due.
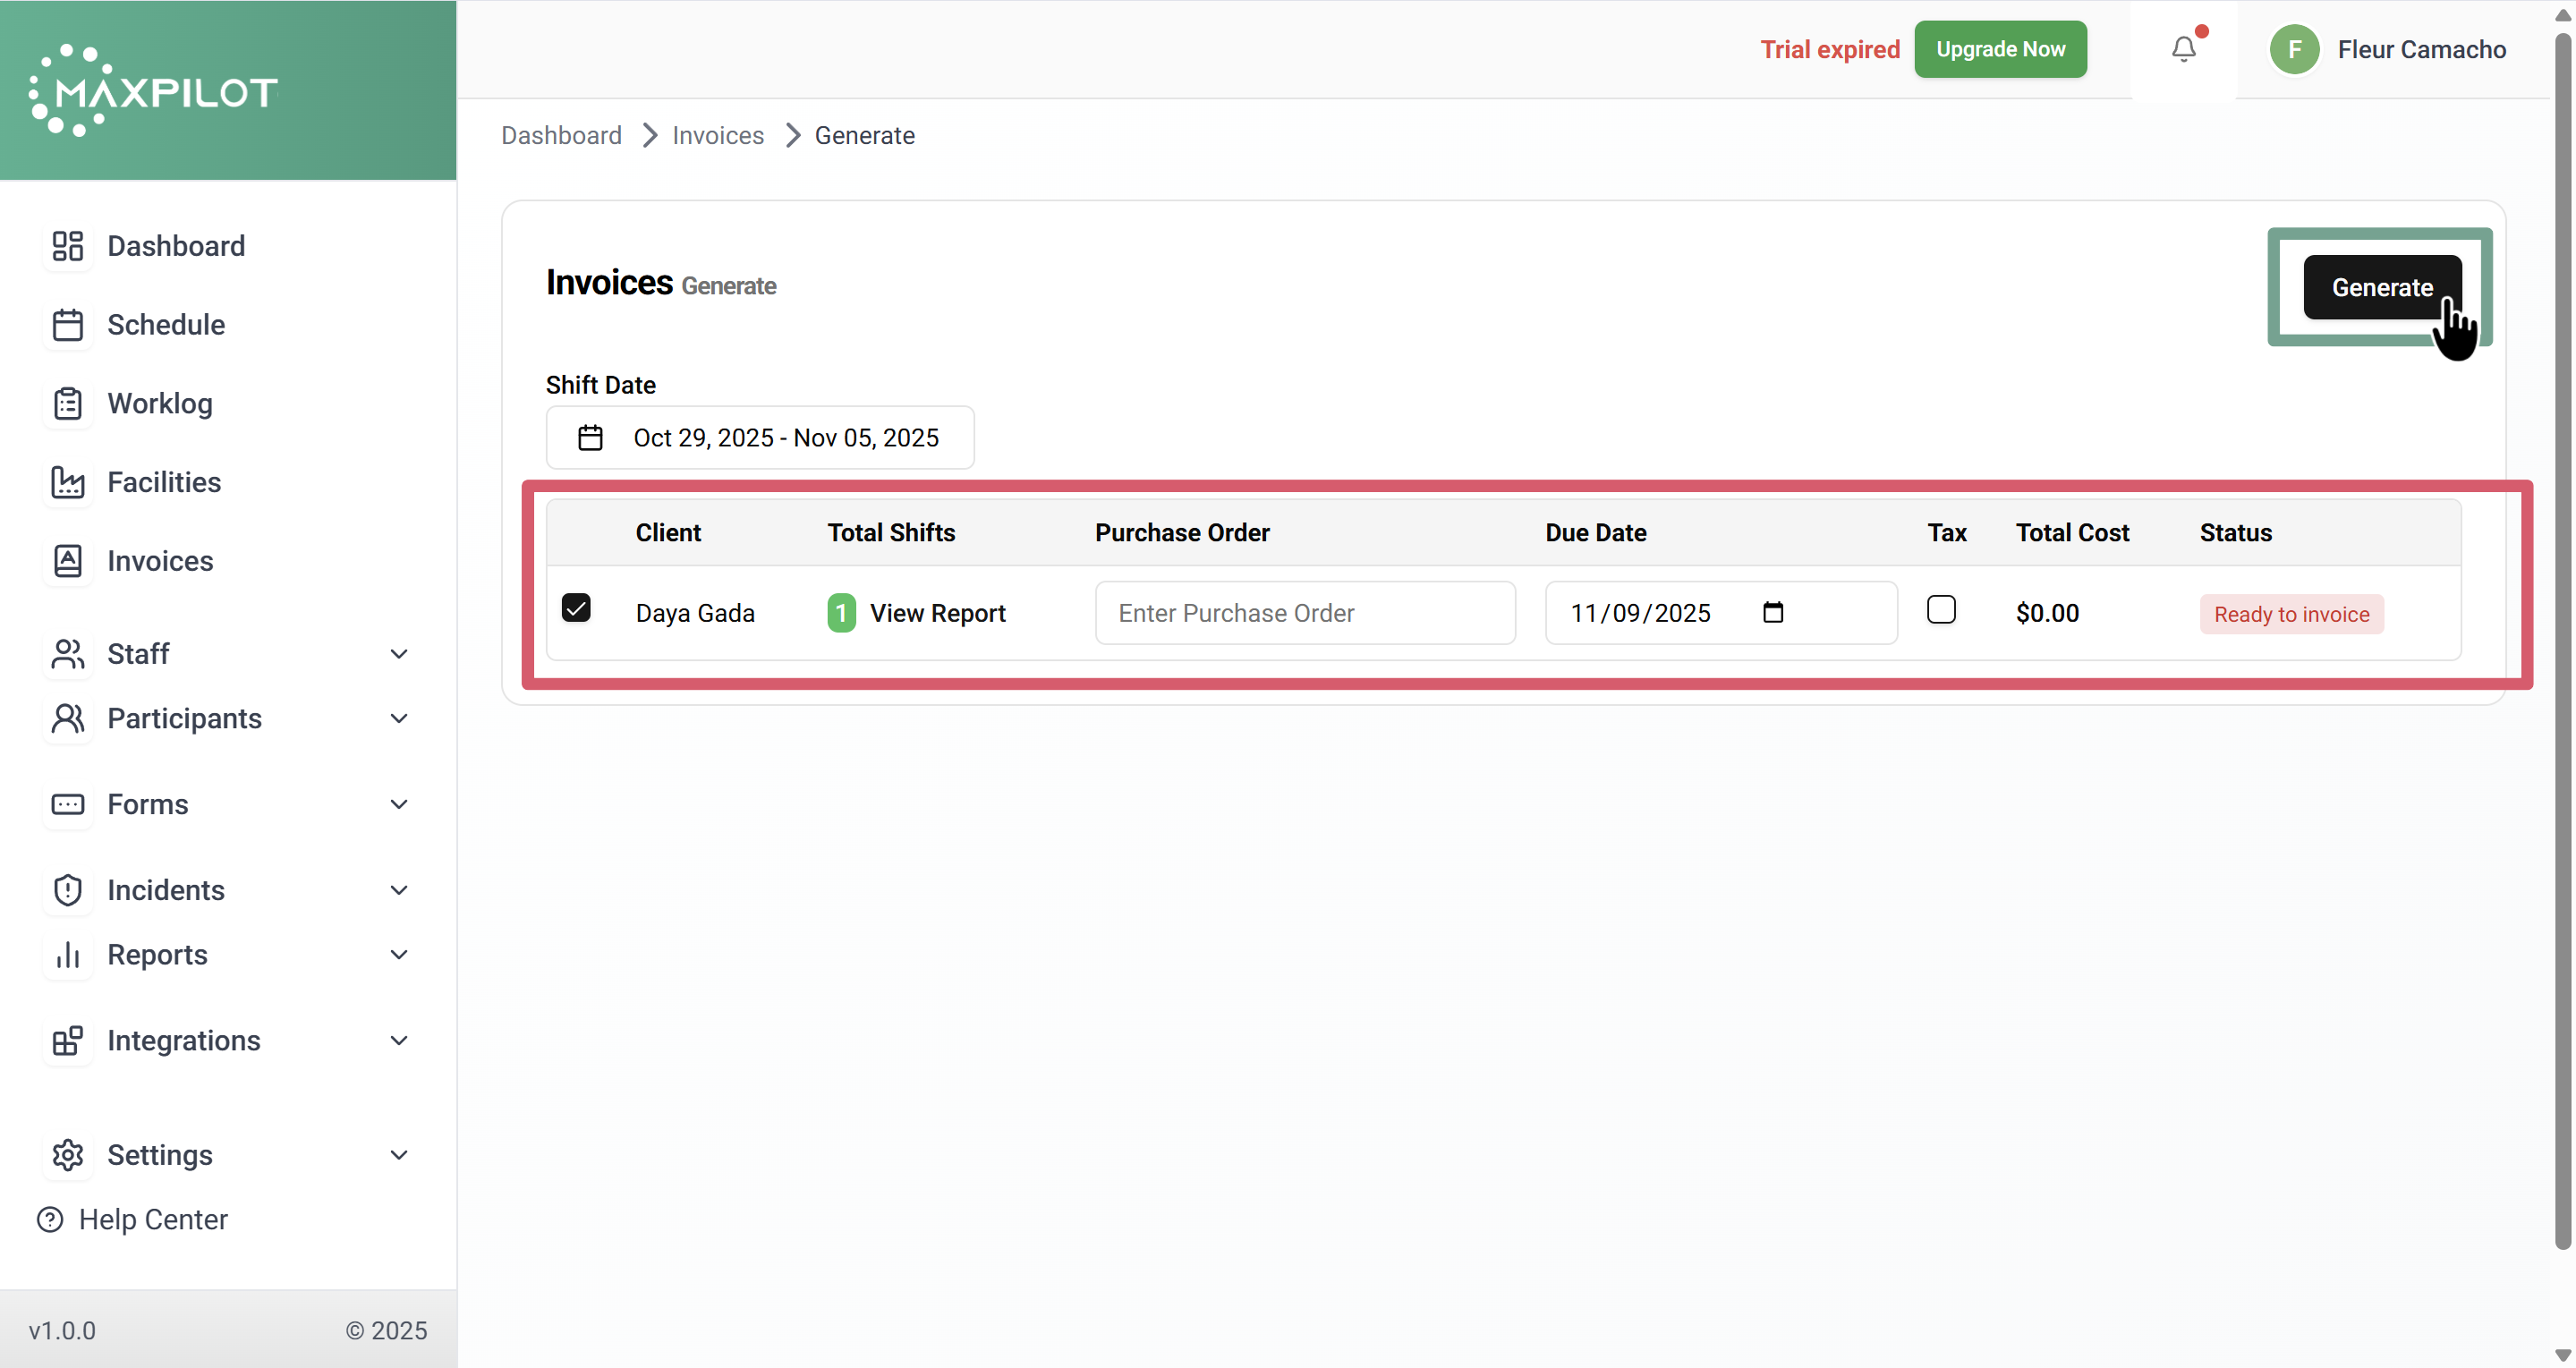
Step 6: Generate the Invoice
After selecting the due date:
Once clicked, the system will automatically create the invoice for that participant.
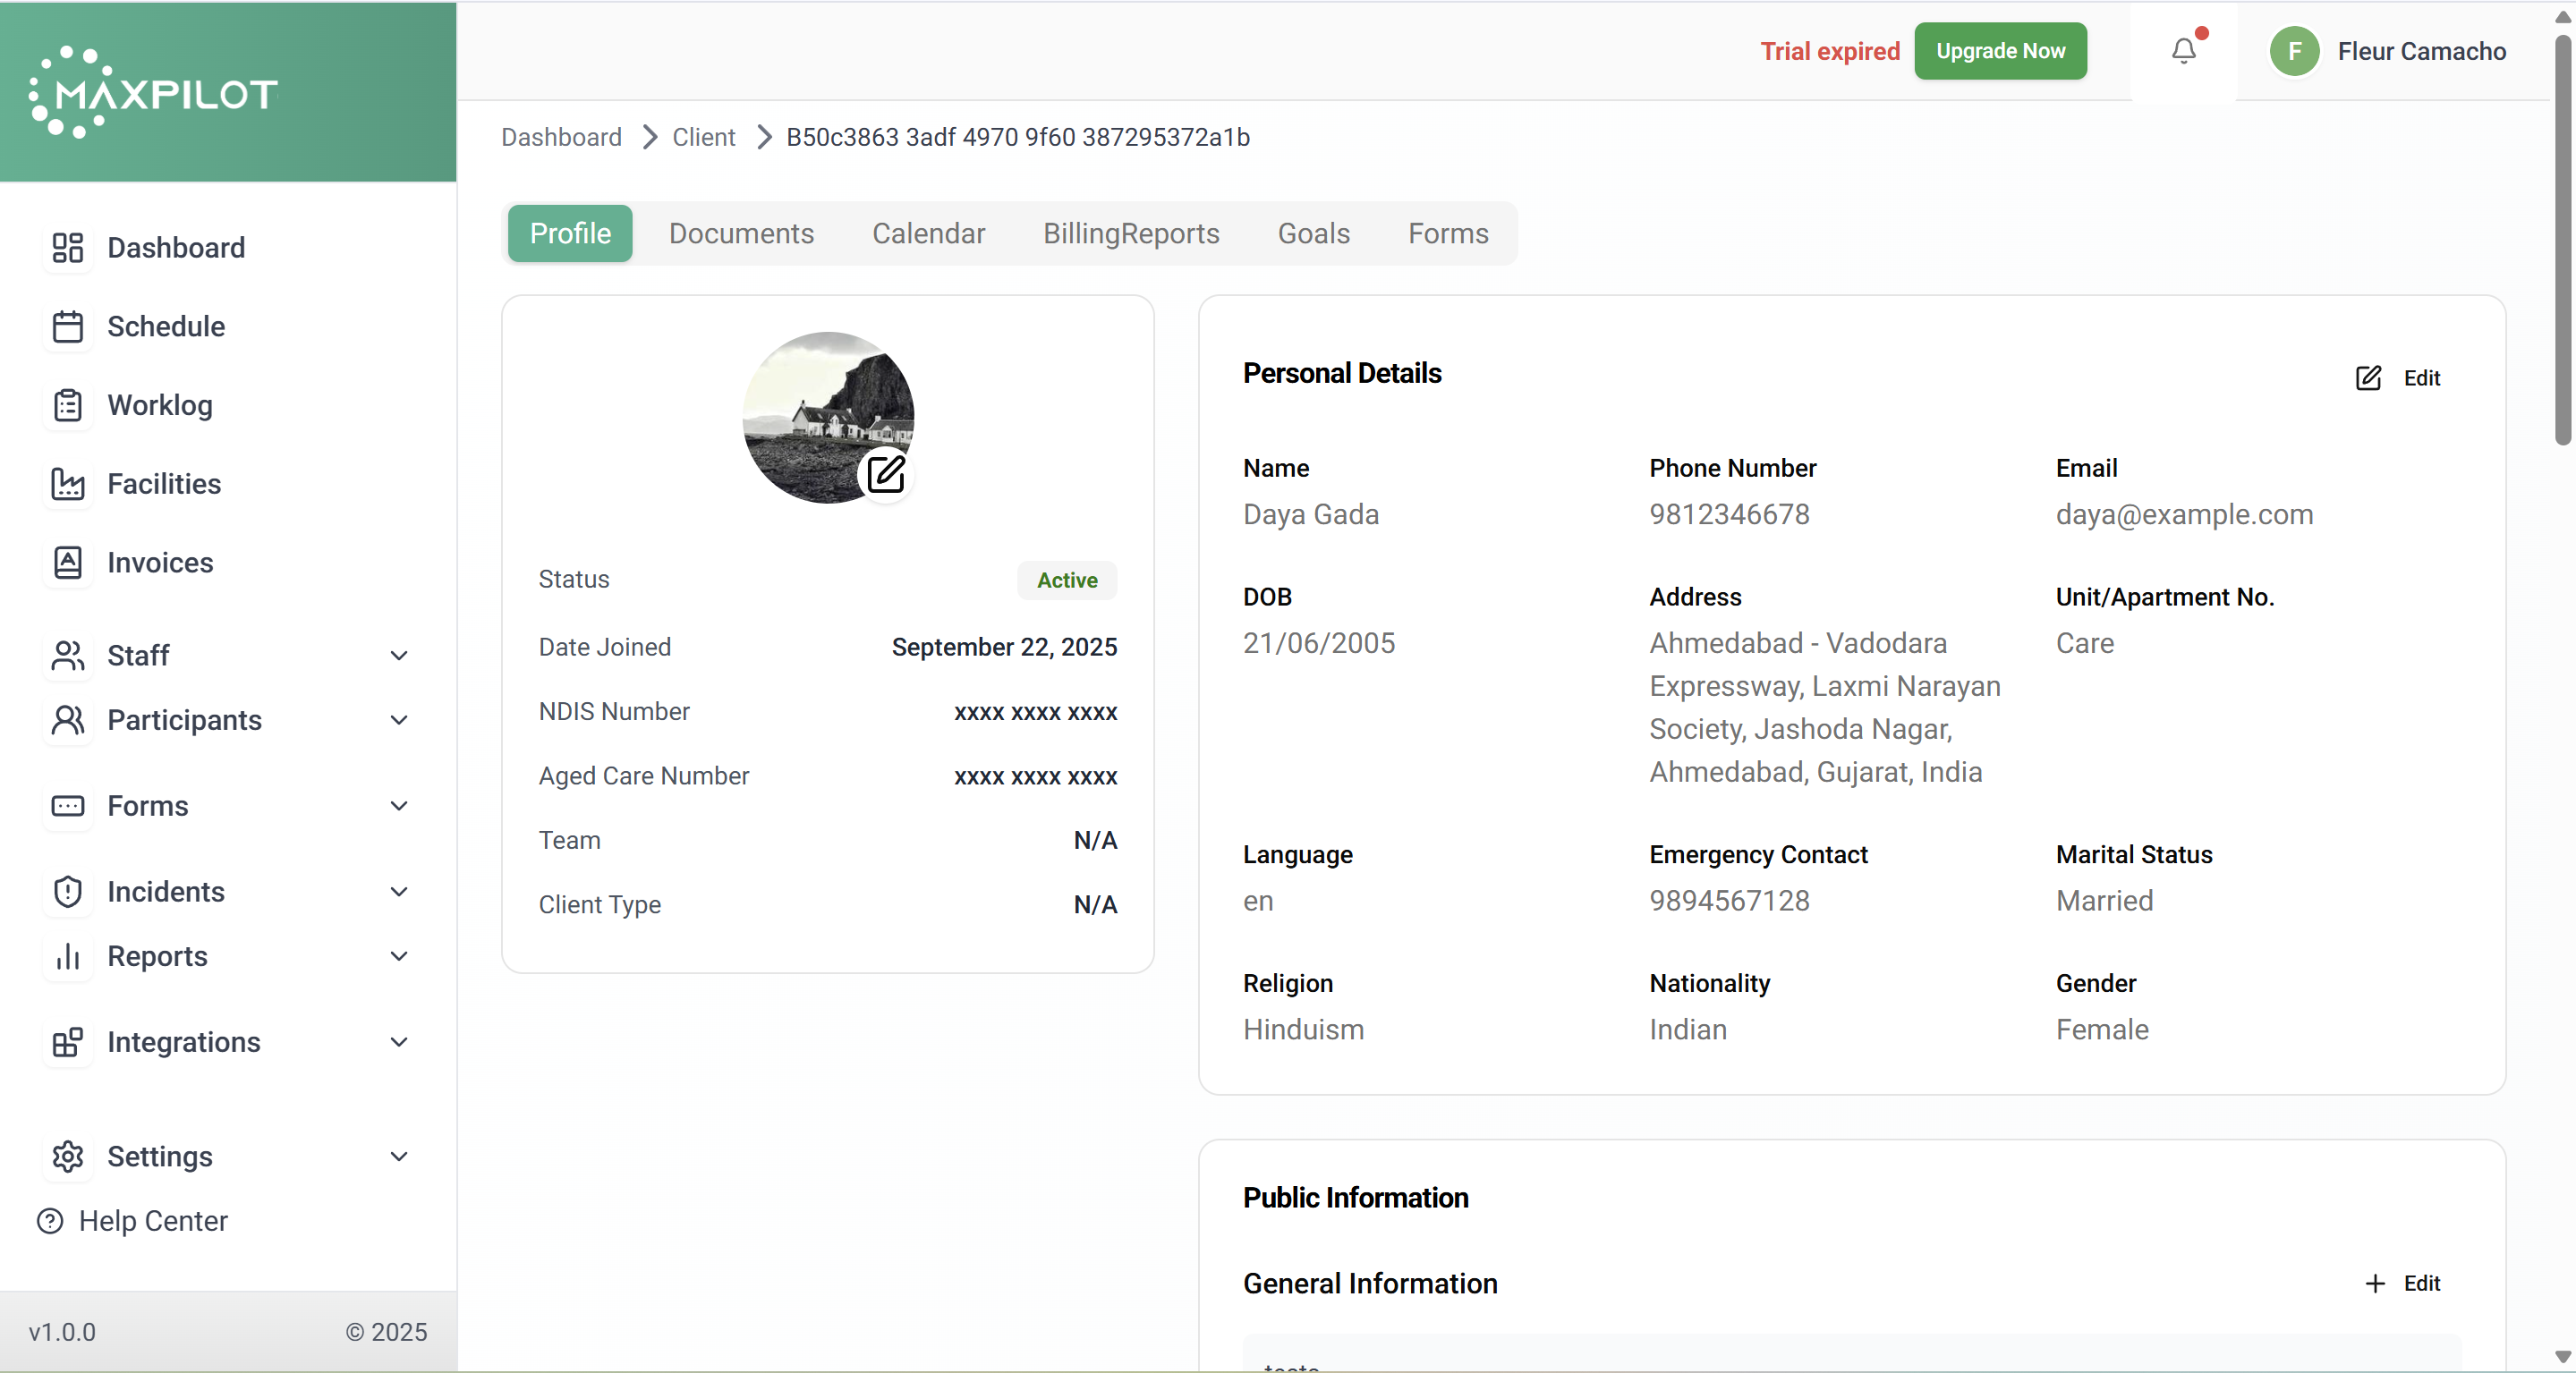
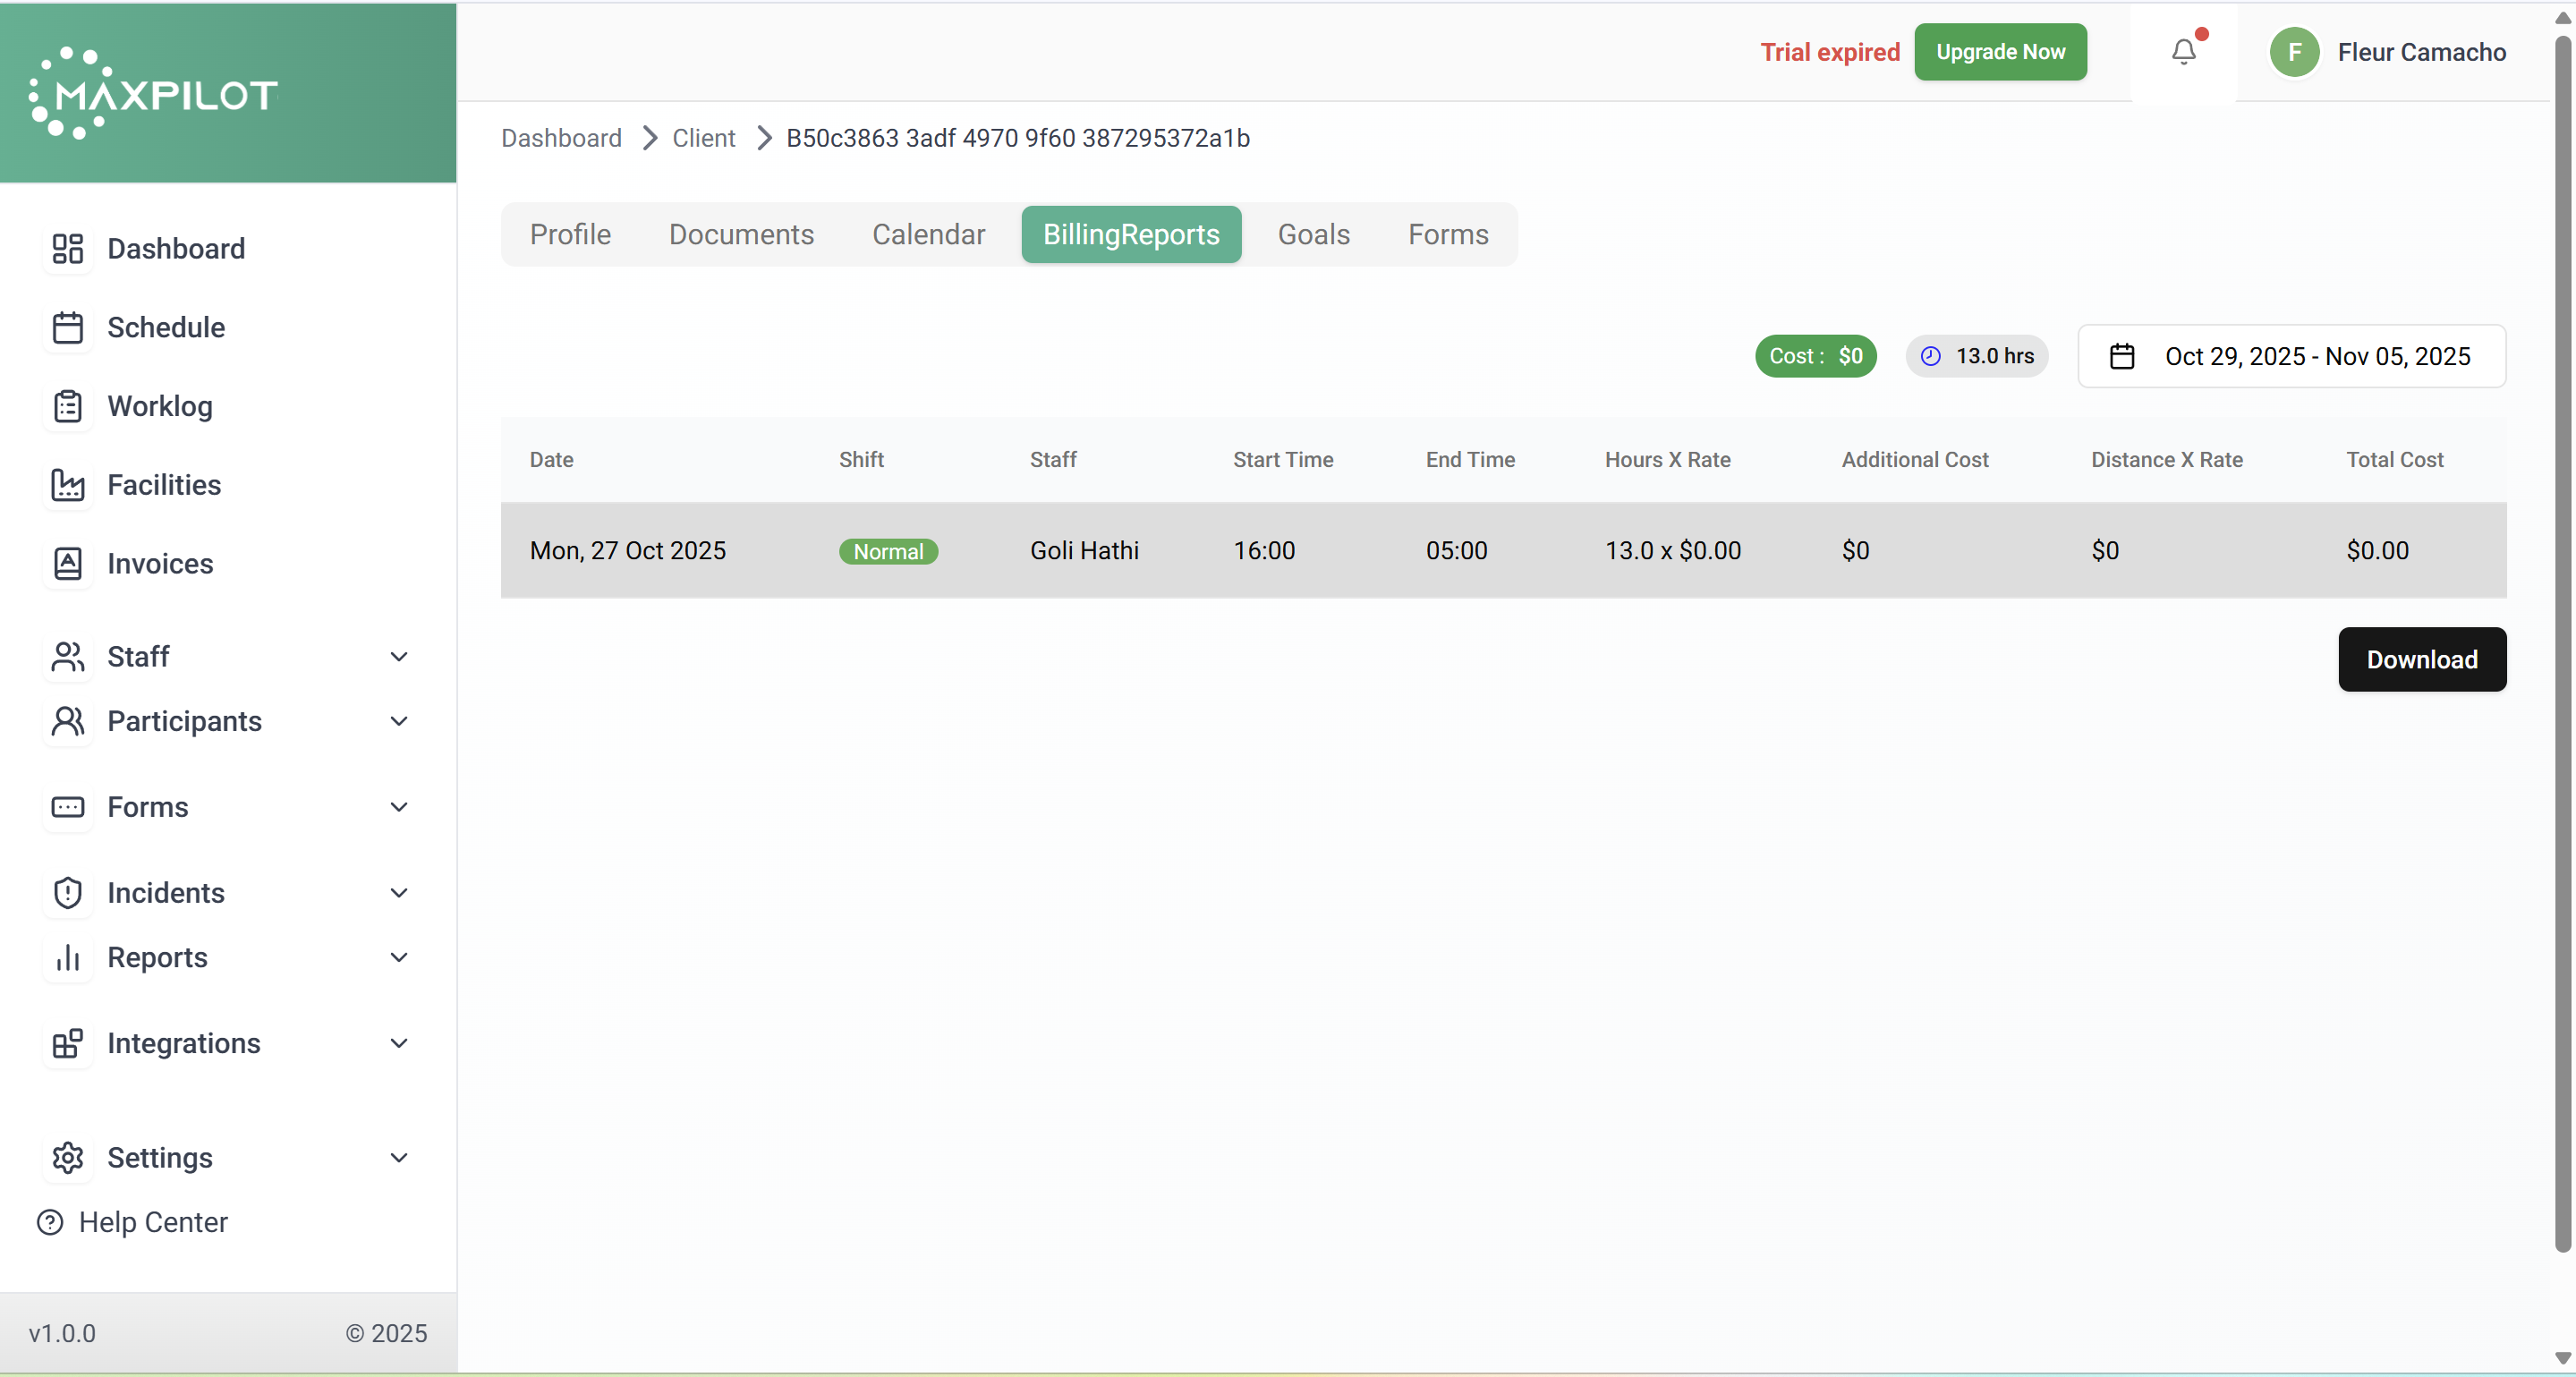
Step 7: Review Billing Details (Optional)
To verify the generated invoice, navigate to the participant’s profile and open the Billing Reports tab.
Here, you can view:
You can also download the billing report for your records.