How to Add a Pay Group?
Pay Groups allow you to organize and manage payment schedules efficiently for your organization. Each Pay Group defines specific working days, time ranges, and effective dates, helping to streamline payroll management and integration with Xero if needed.
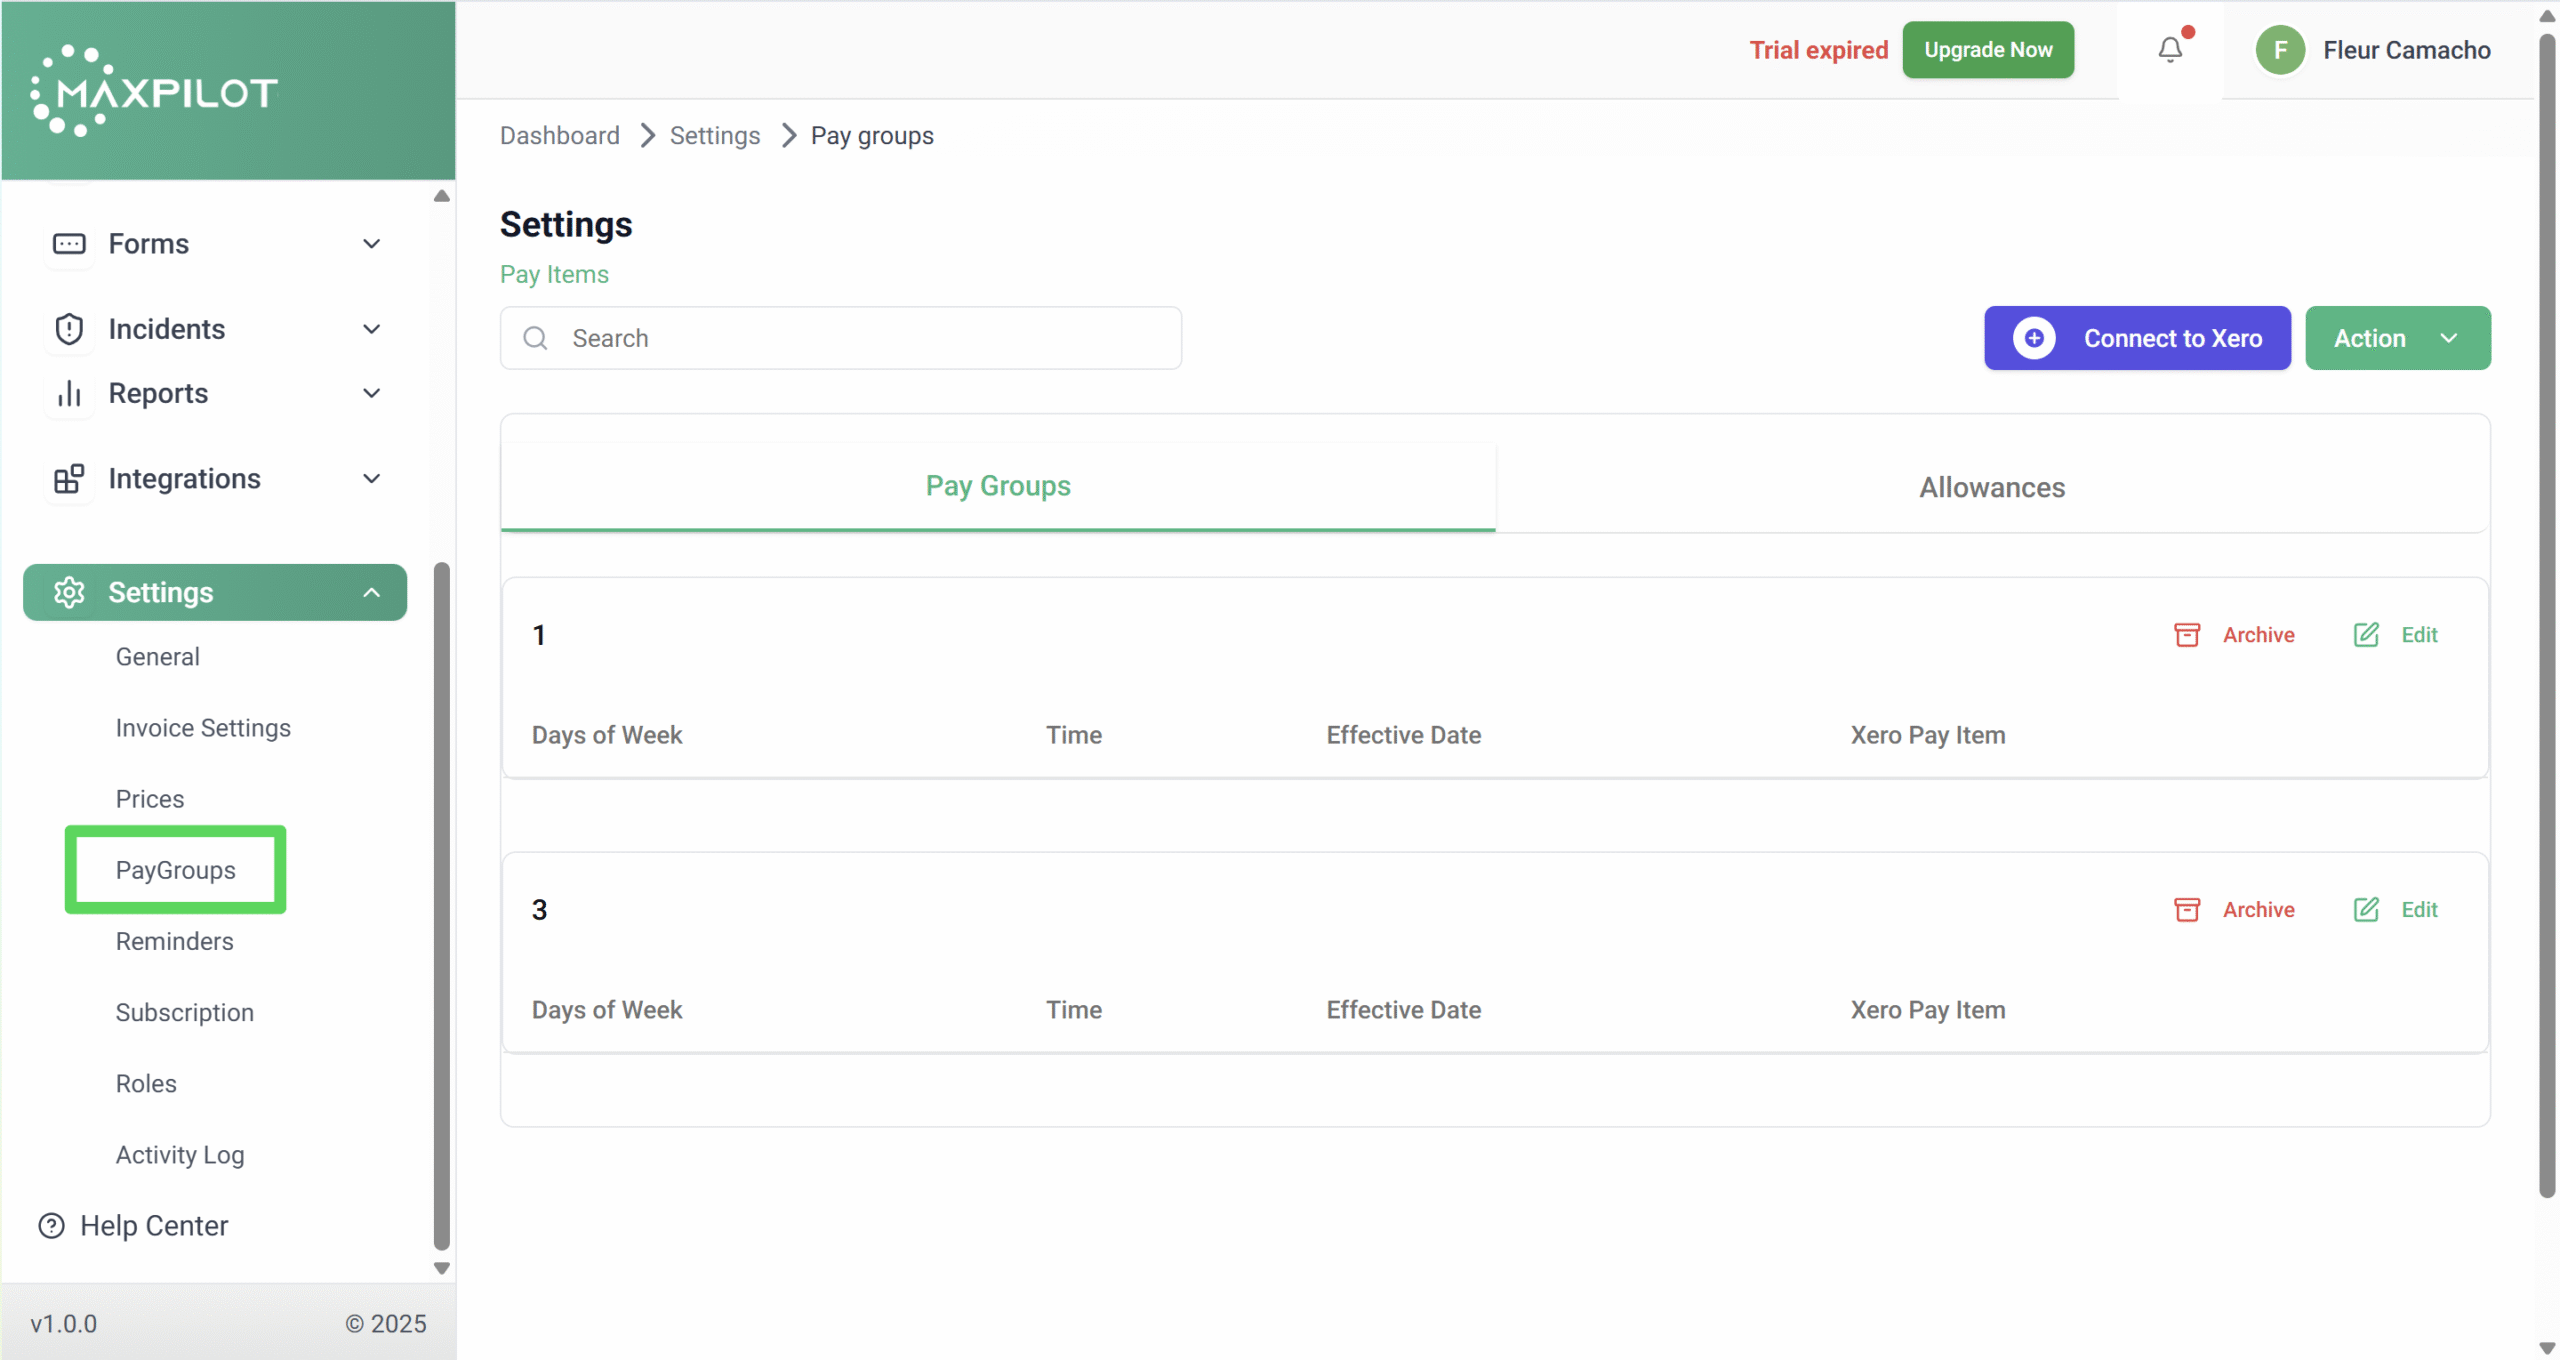
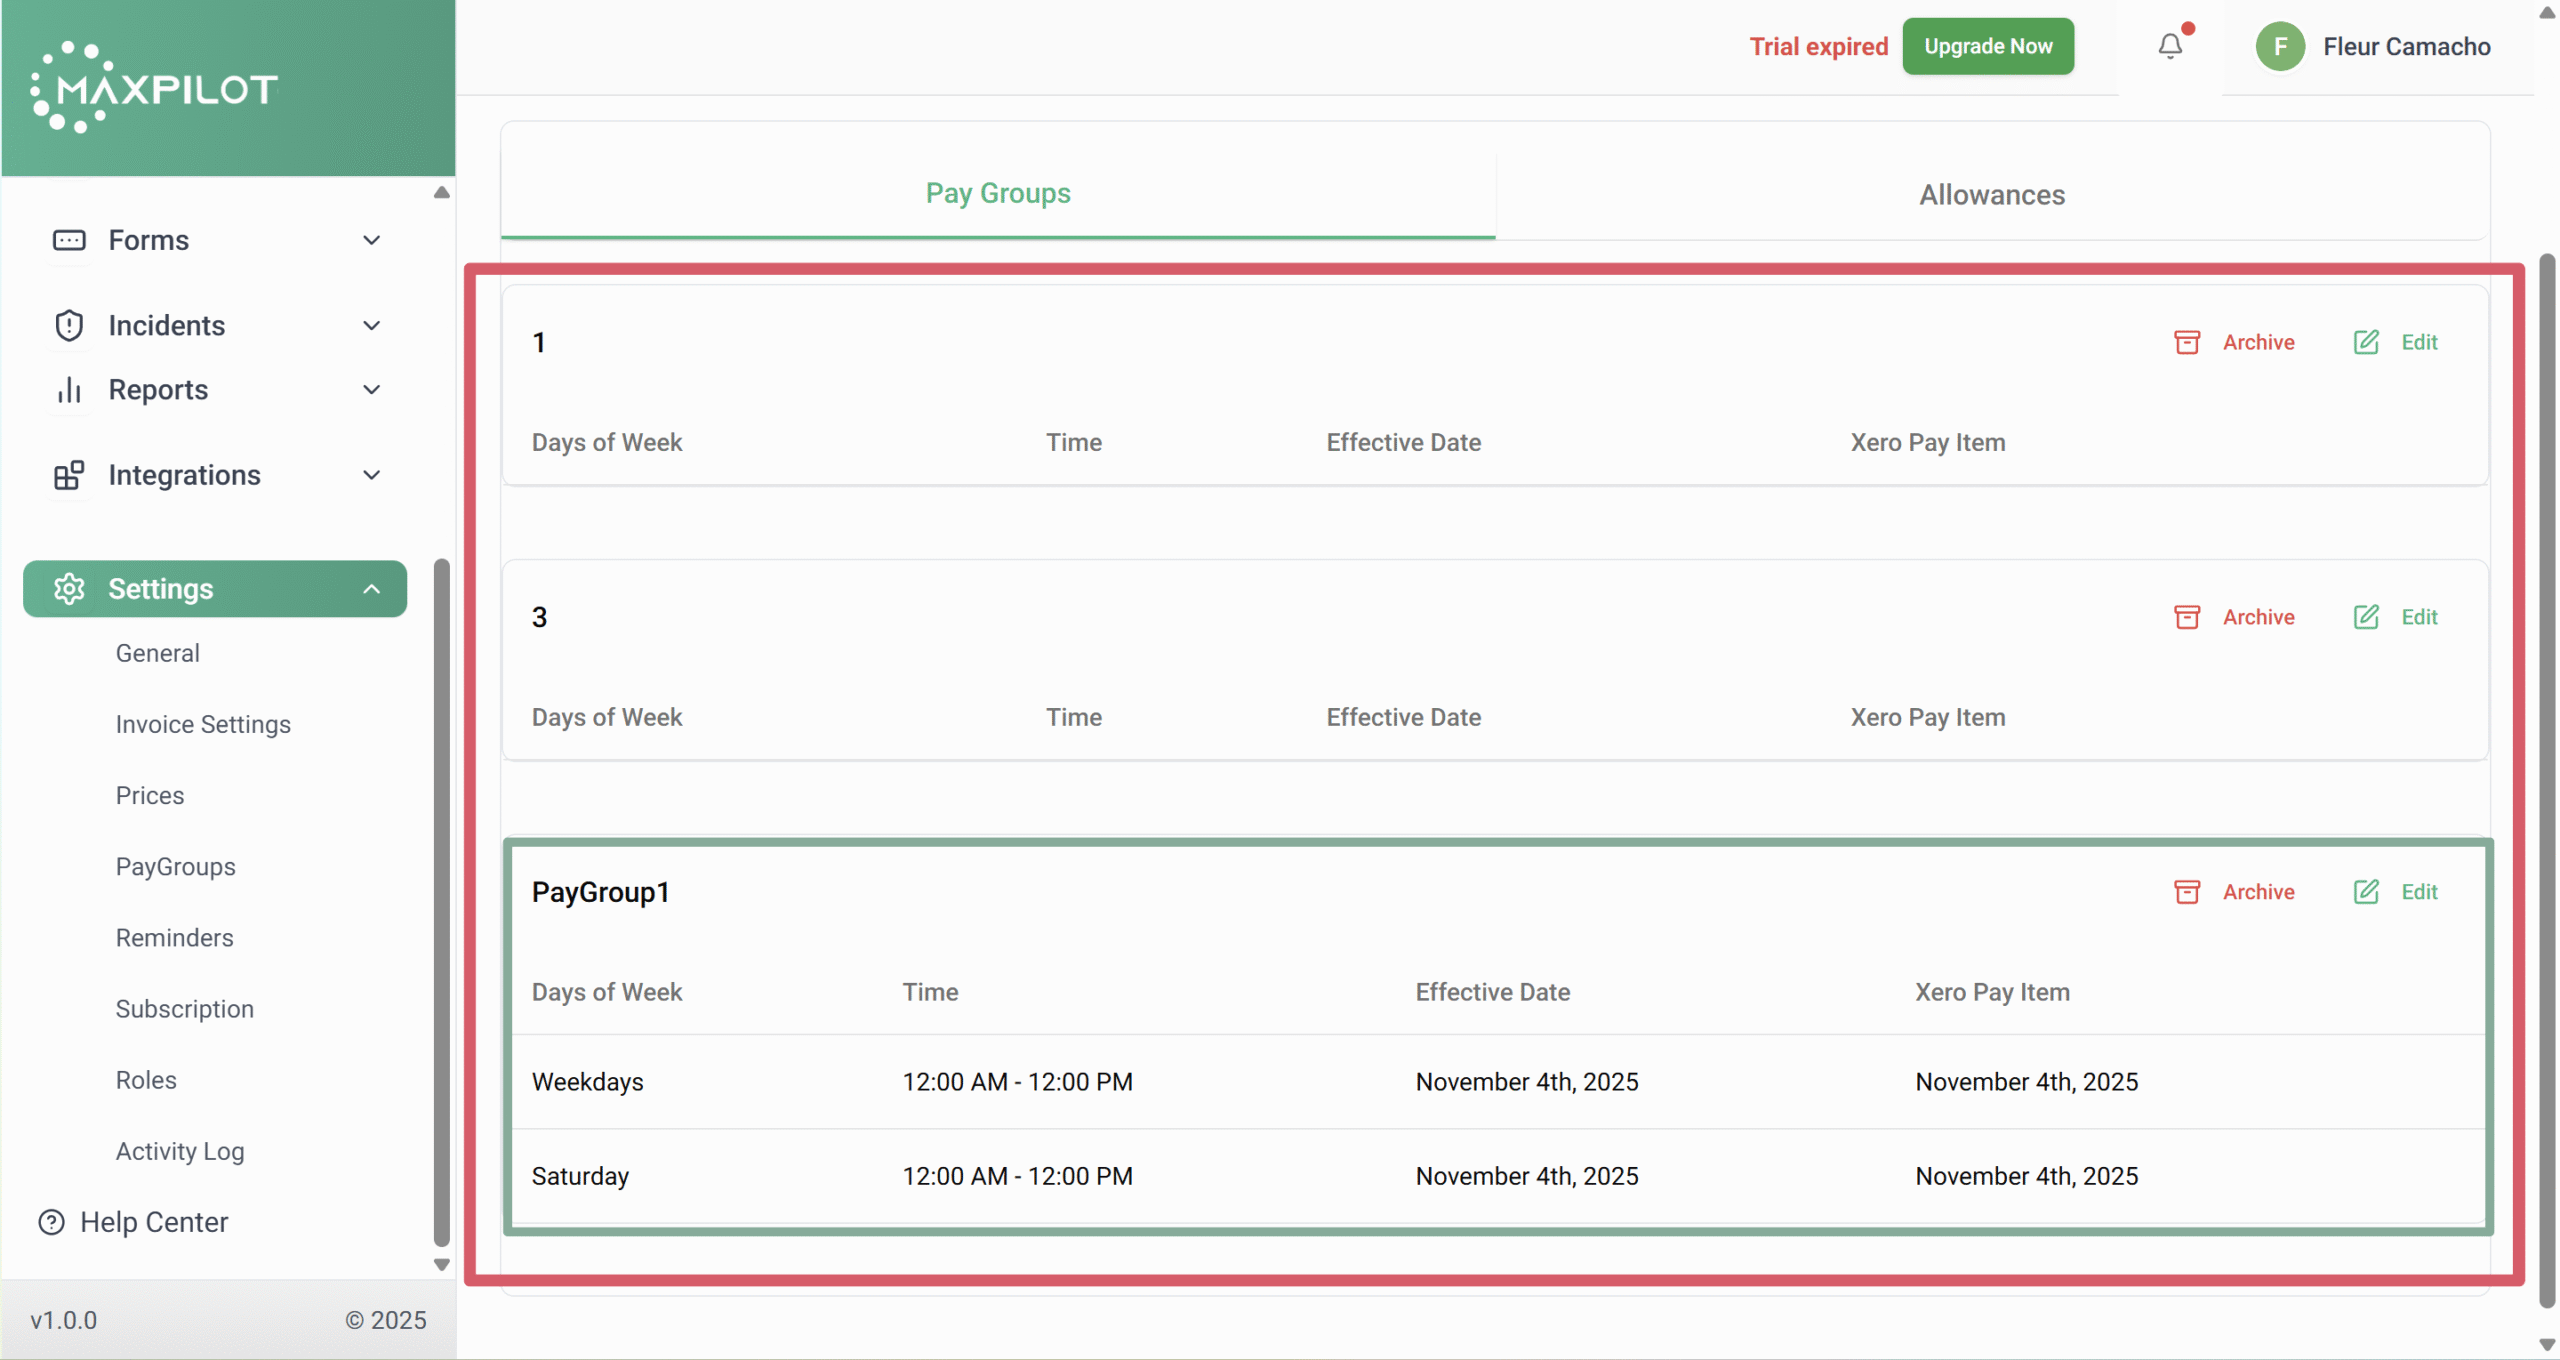
Step 1: Open Pay Groups
From the left-hand menu, click Settings → PayGroups.
This page displays all existing pay groups under the Pay Groups tab, along with options to add, edit, or archive them.
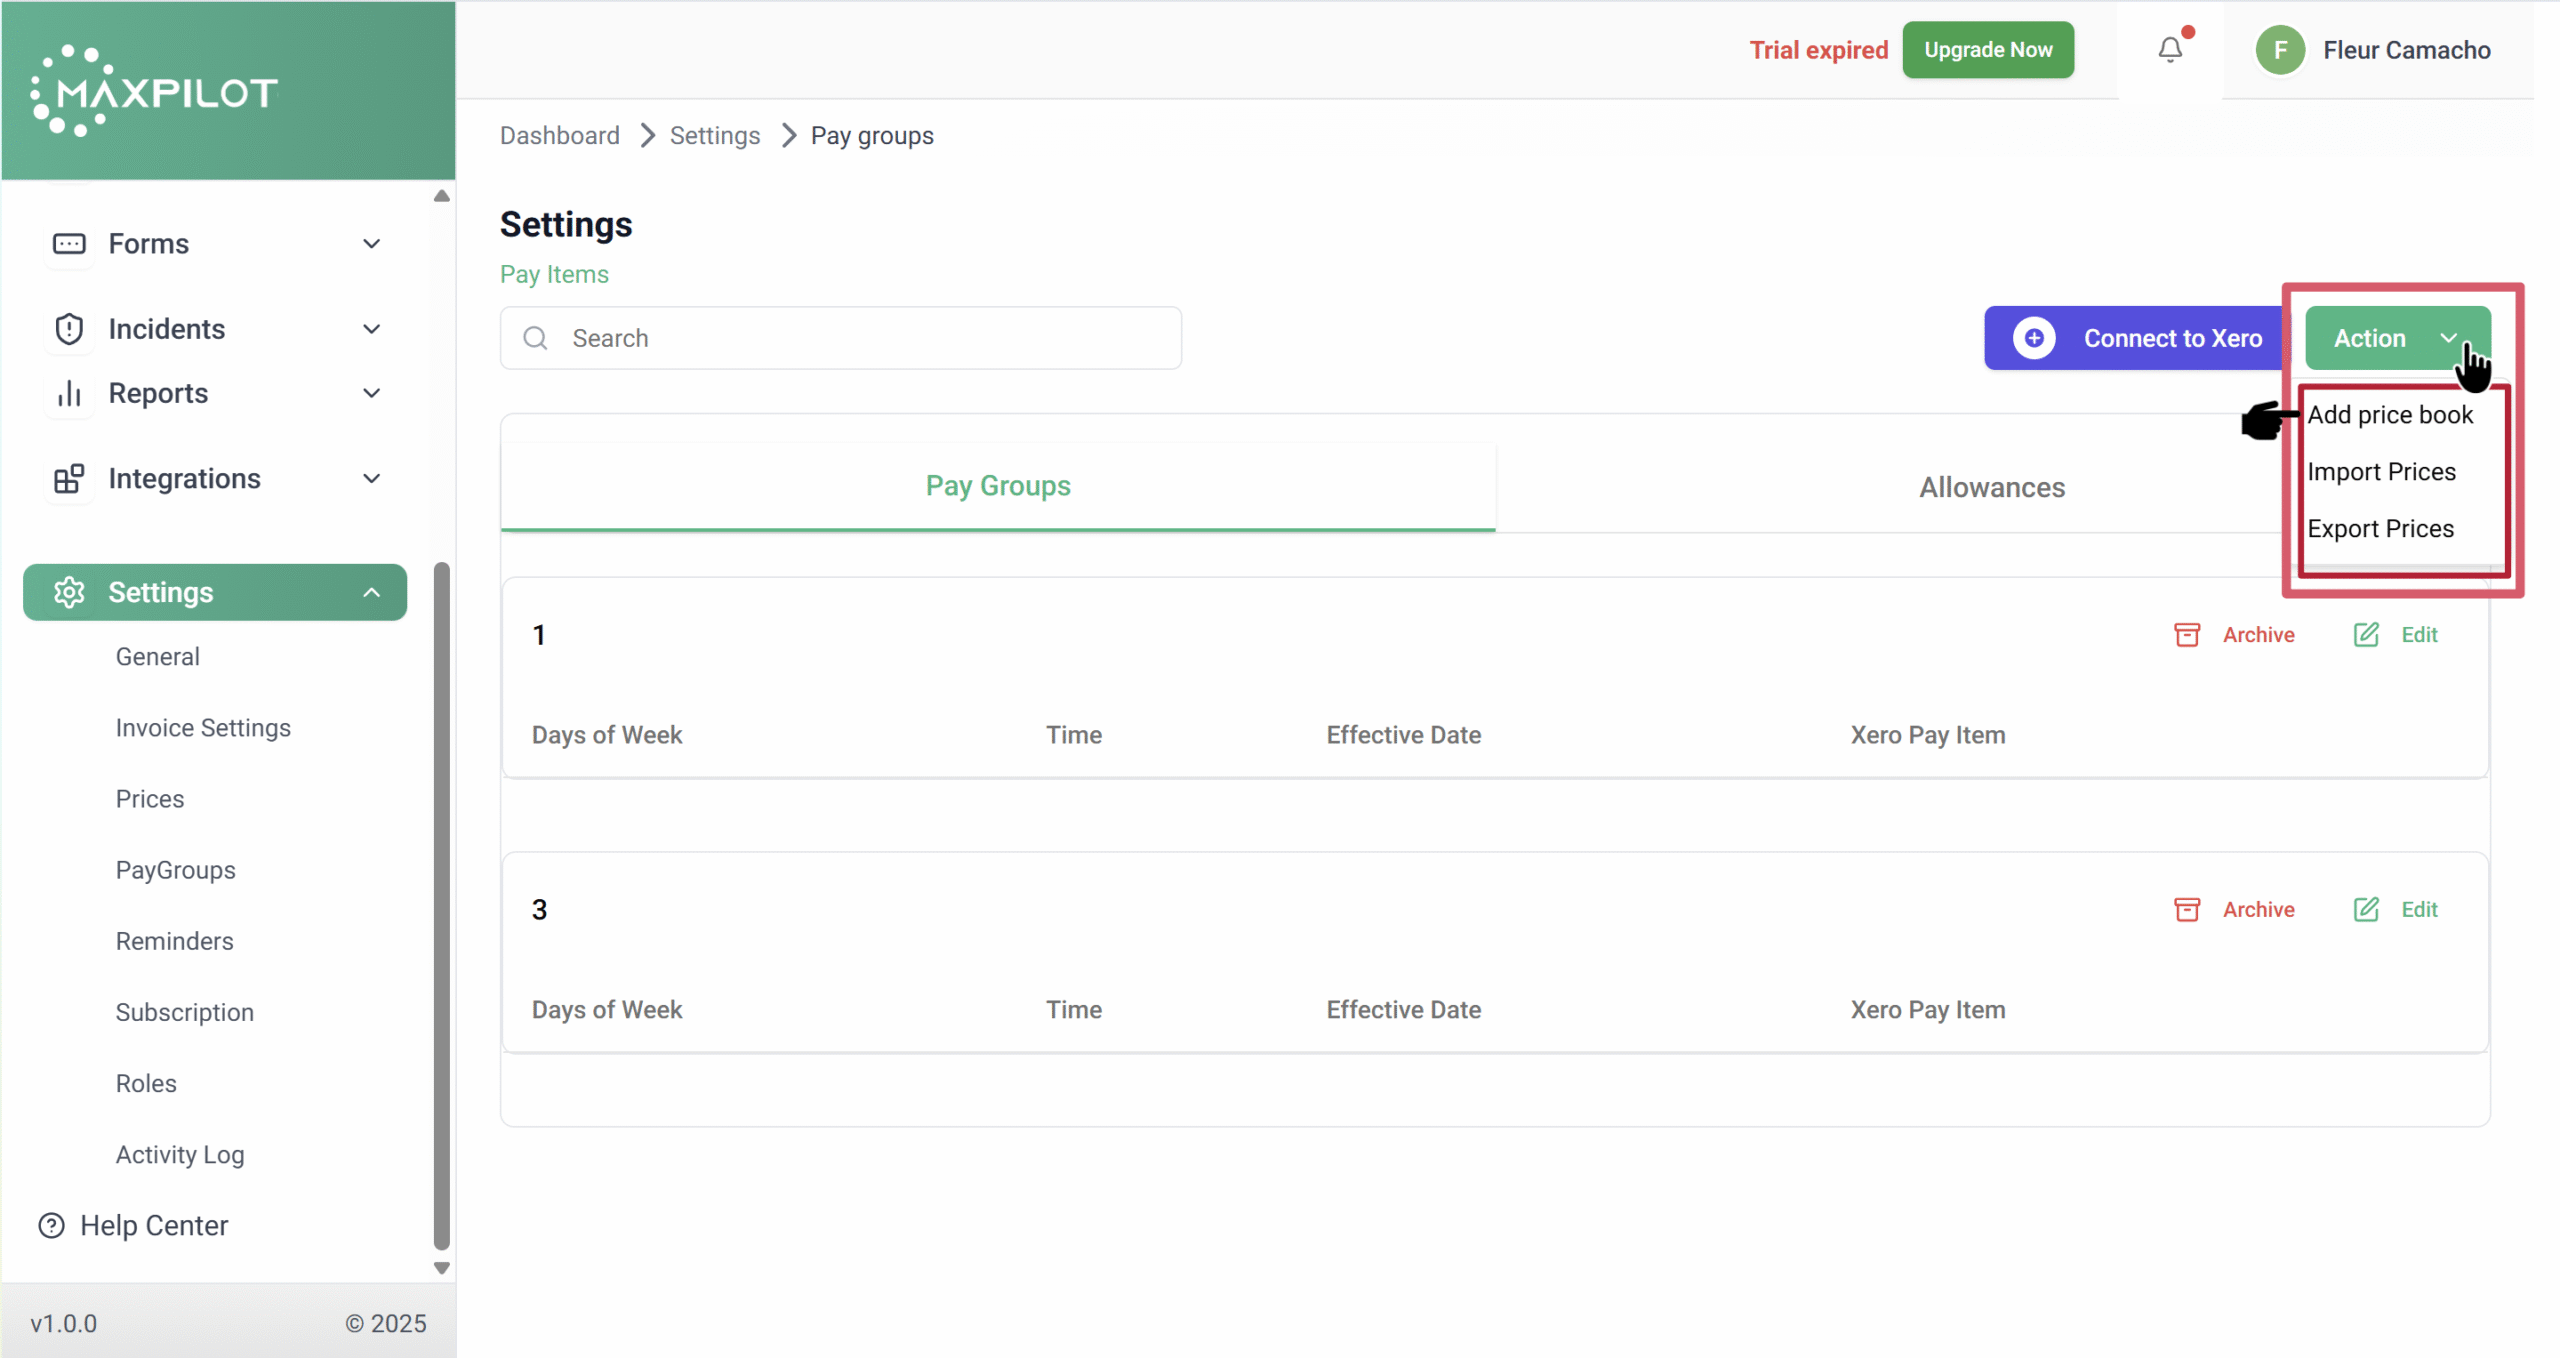
Step 2: Add a New Pay Group
In the top-right corner, click the Action button.
A dropdown will appear with three options:
Select Add Price Book to create a new one.
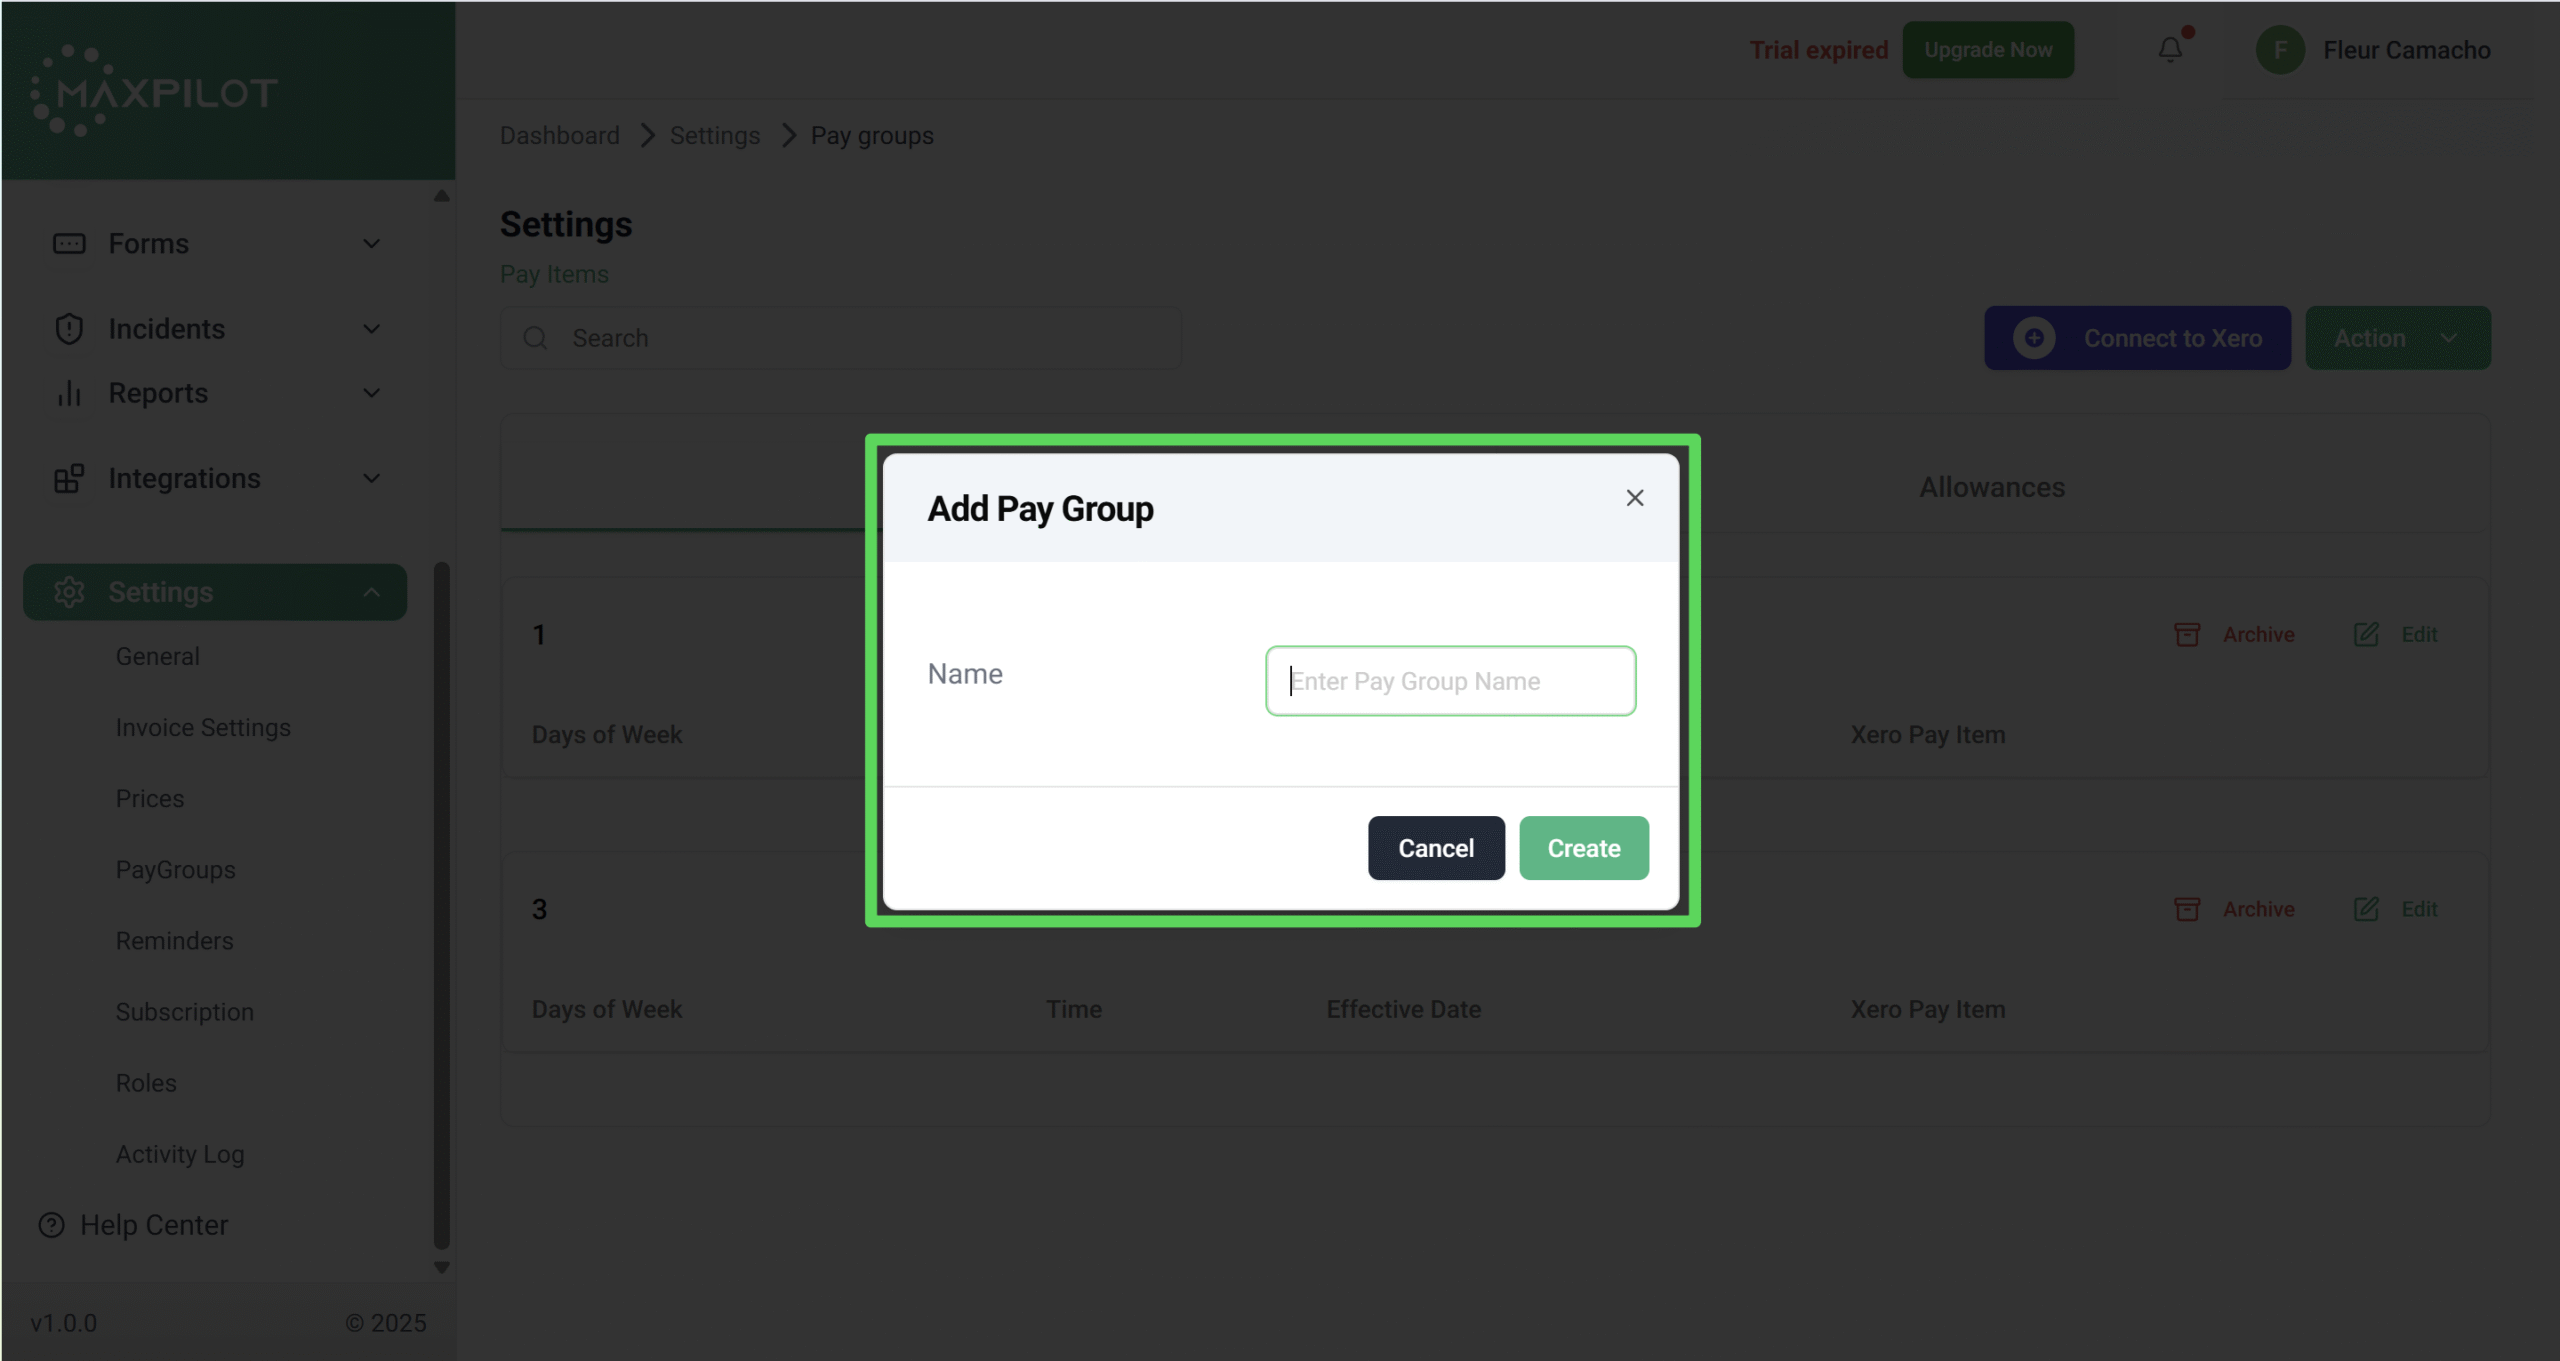
Step 3: Enter Pay Group Details
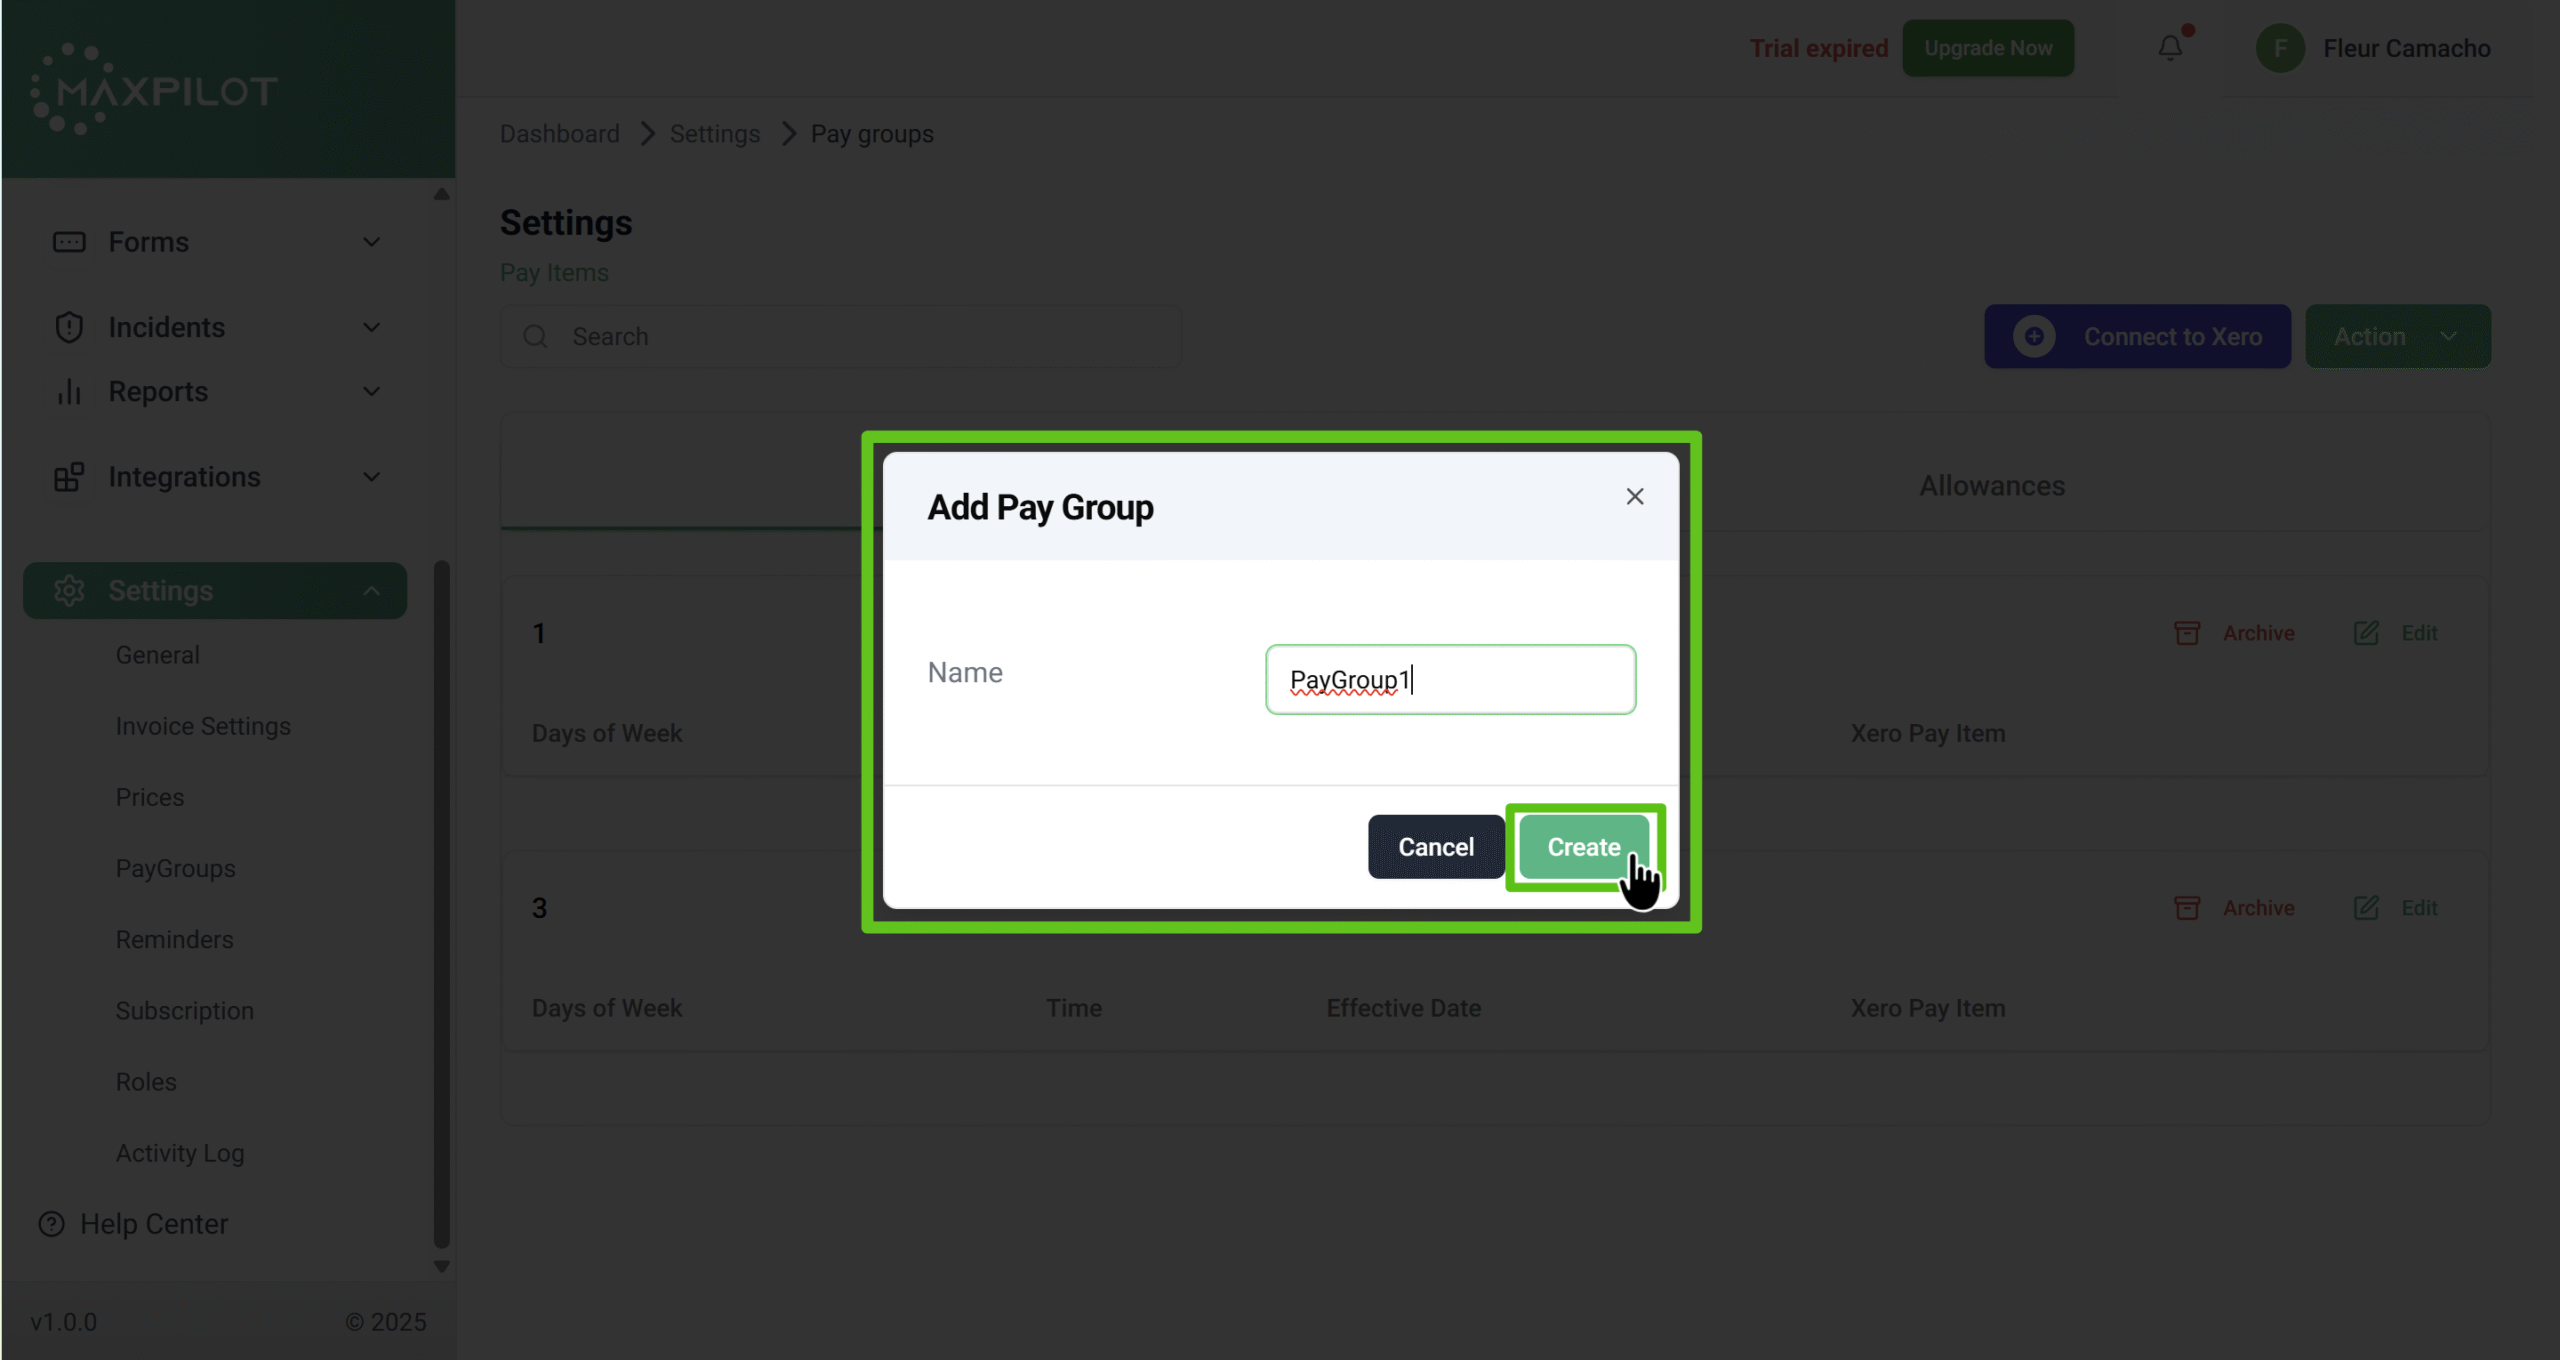
In the pop-up, enter the Name for your new pay group.
This name will be used to identify the pay group in reports and scheduling.
Once done, click Create to save.
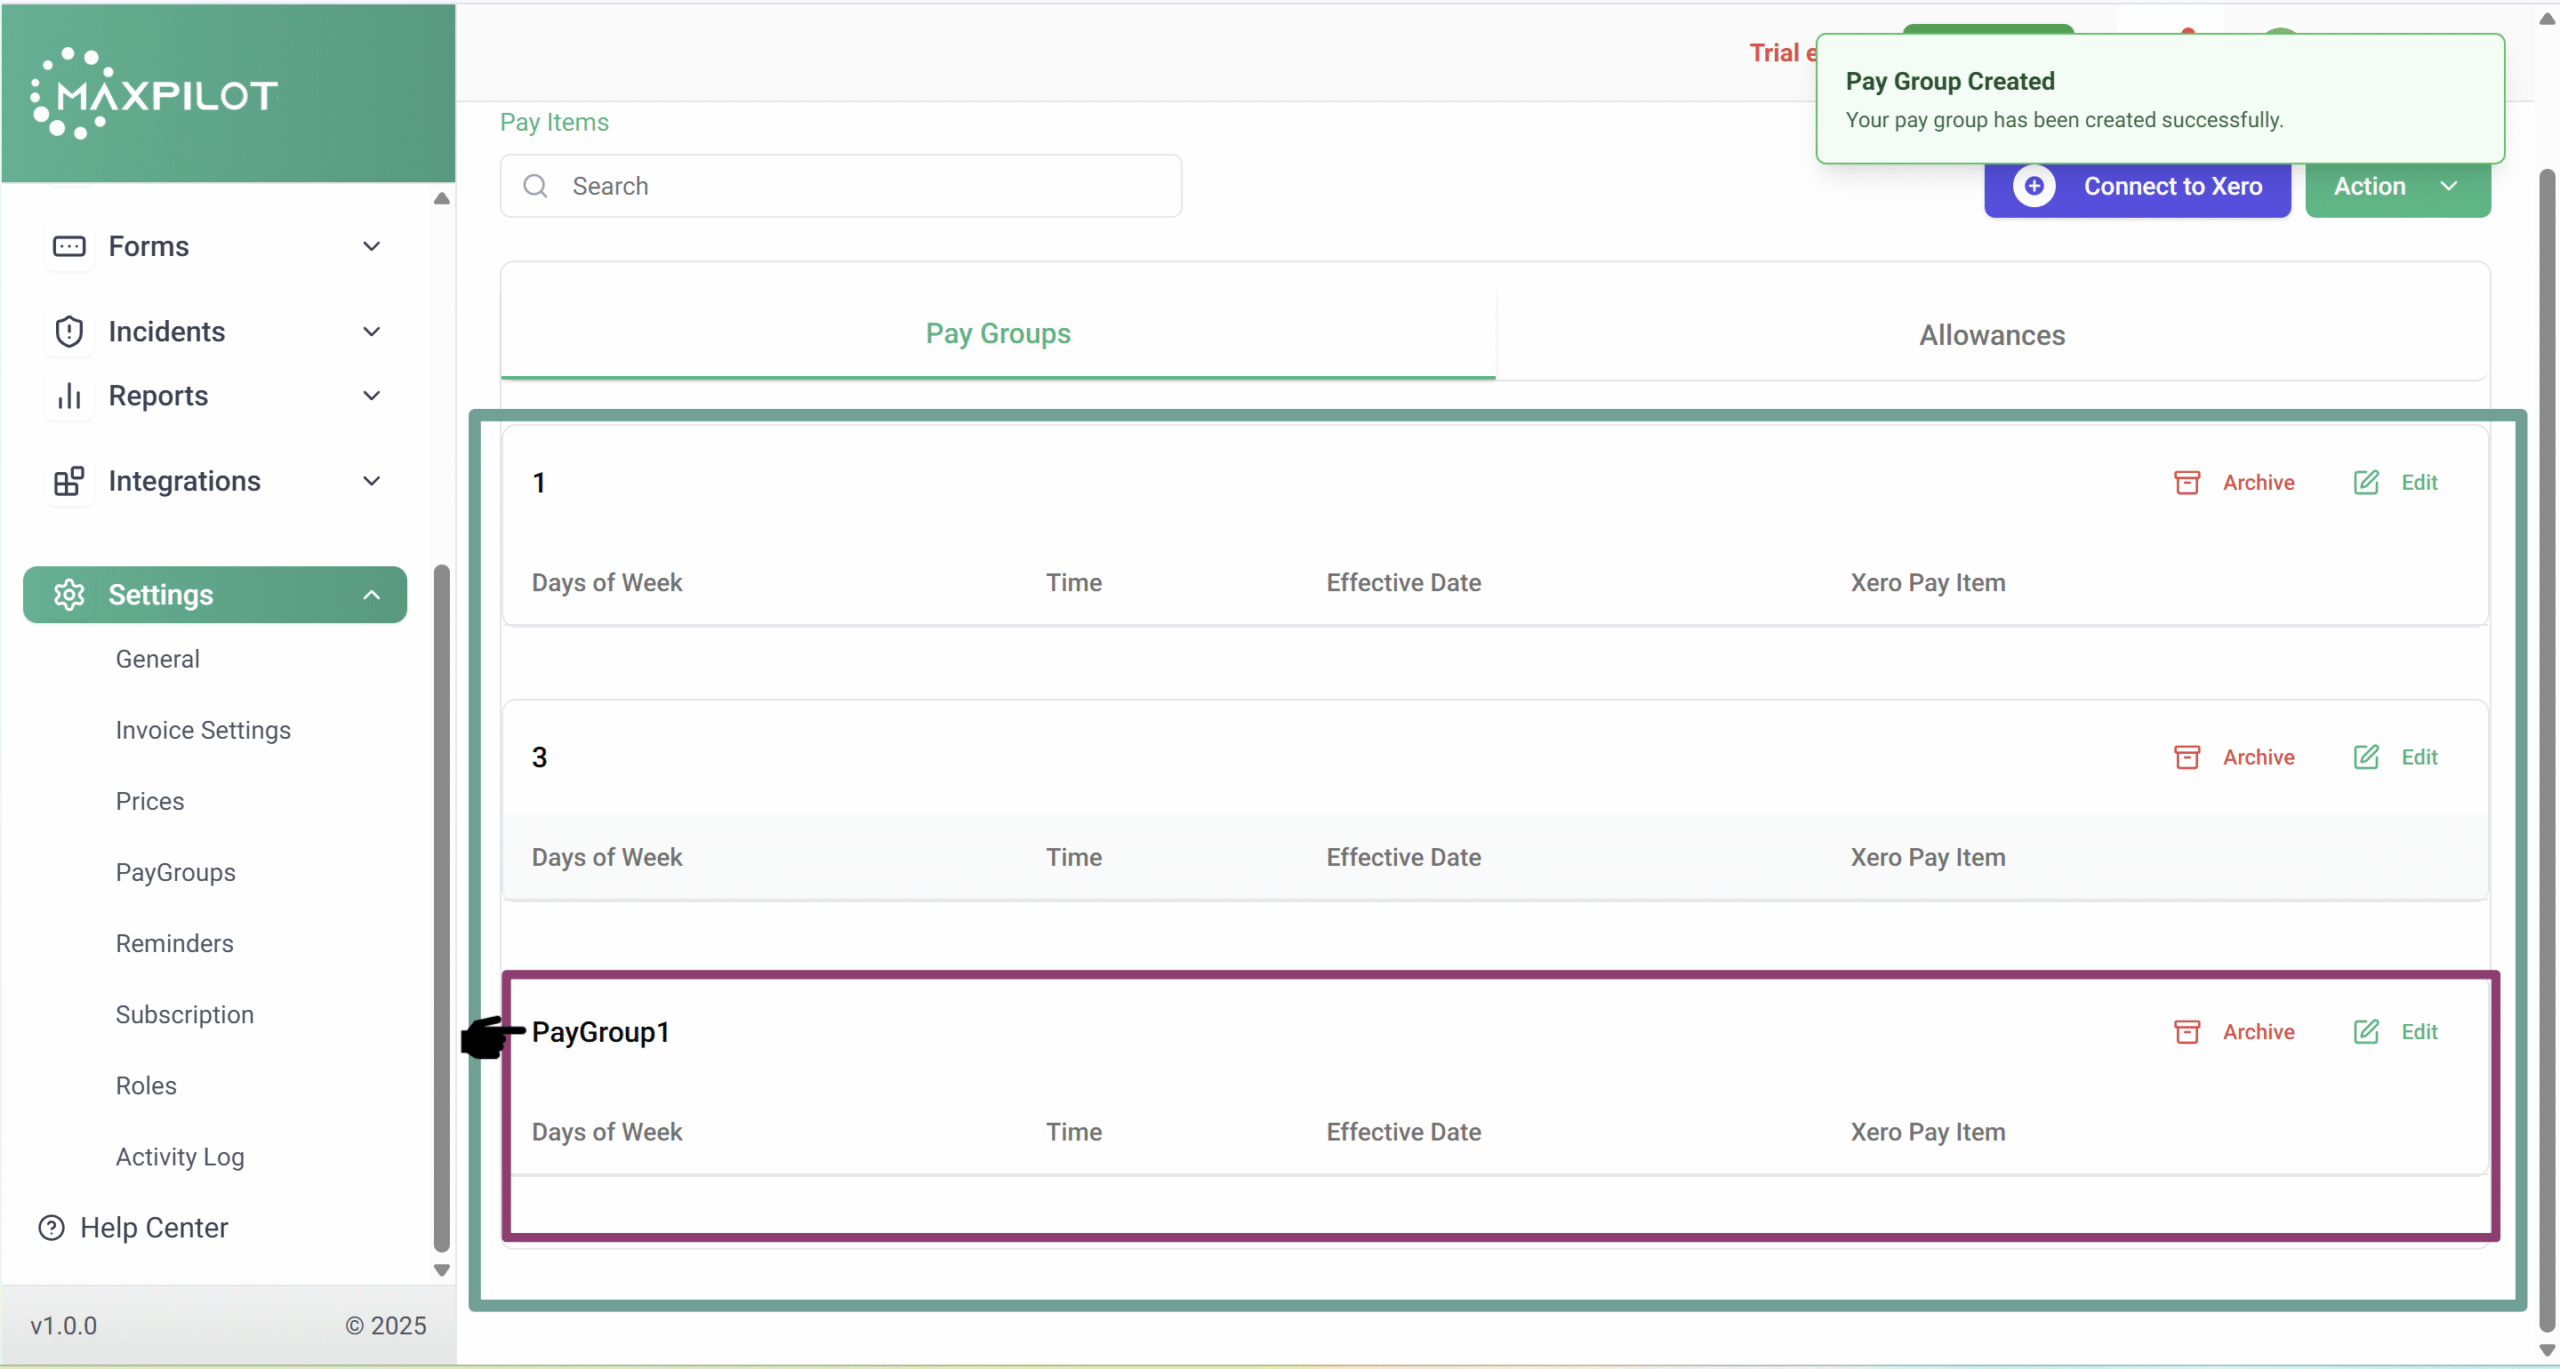
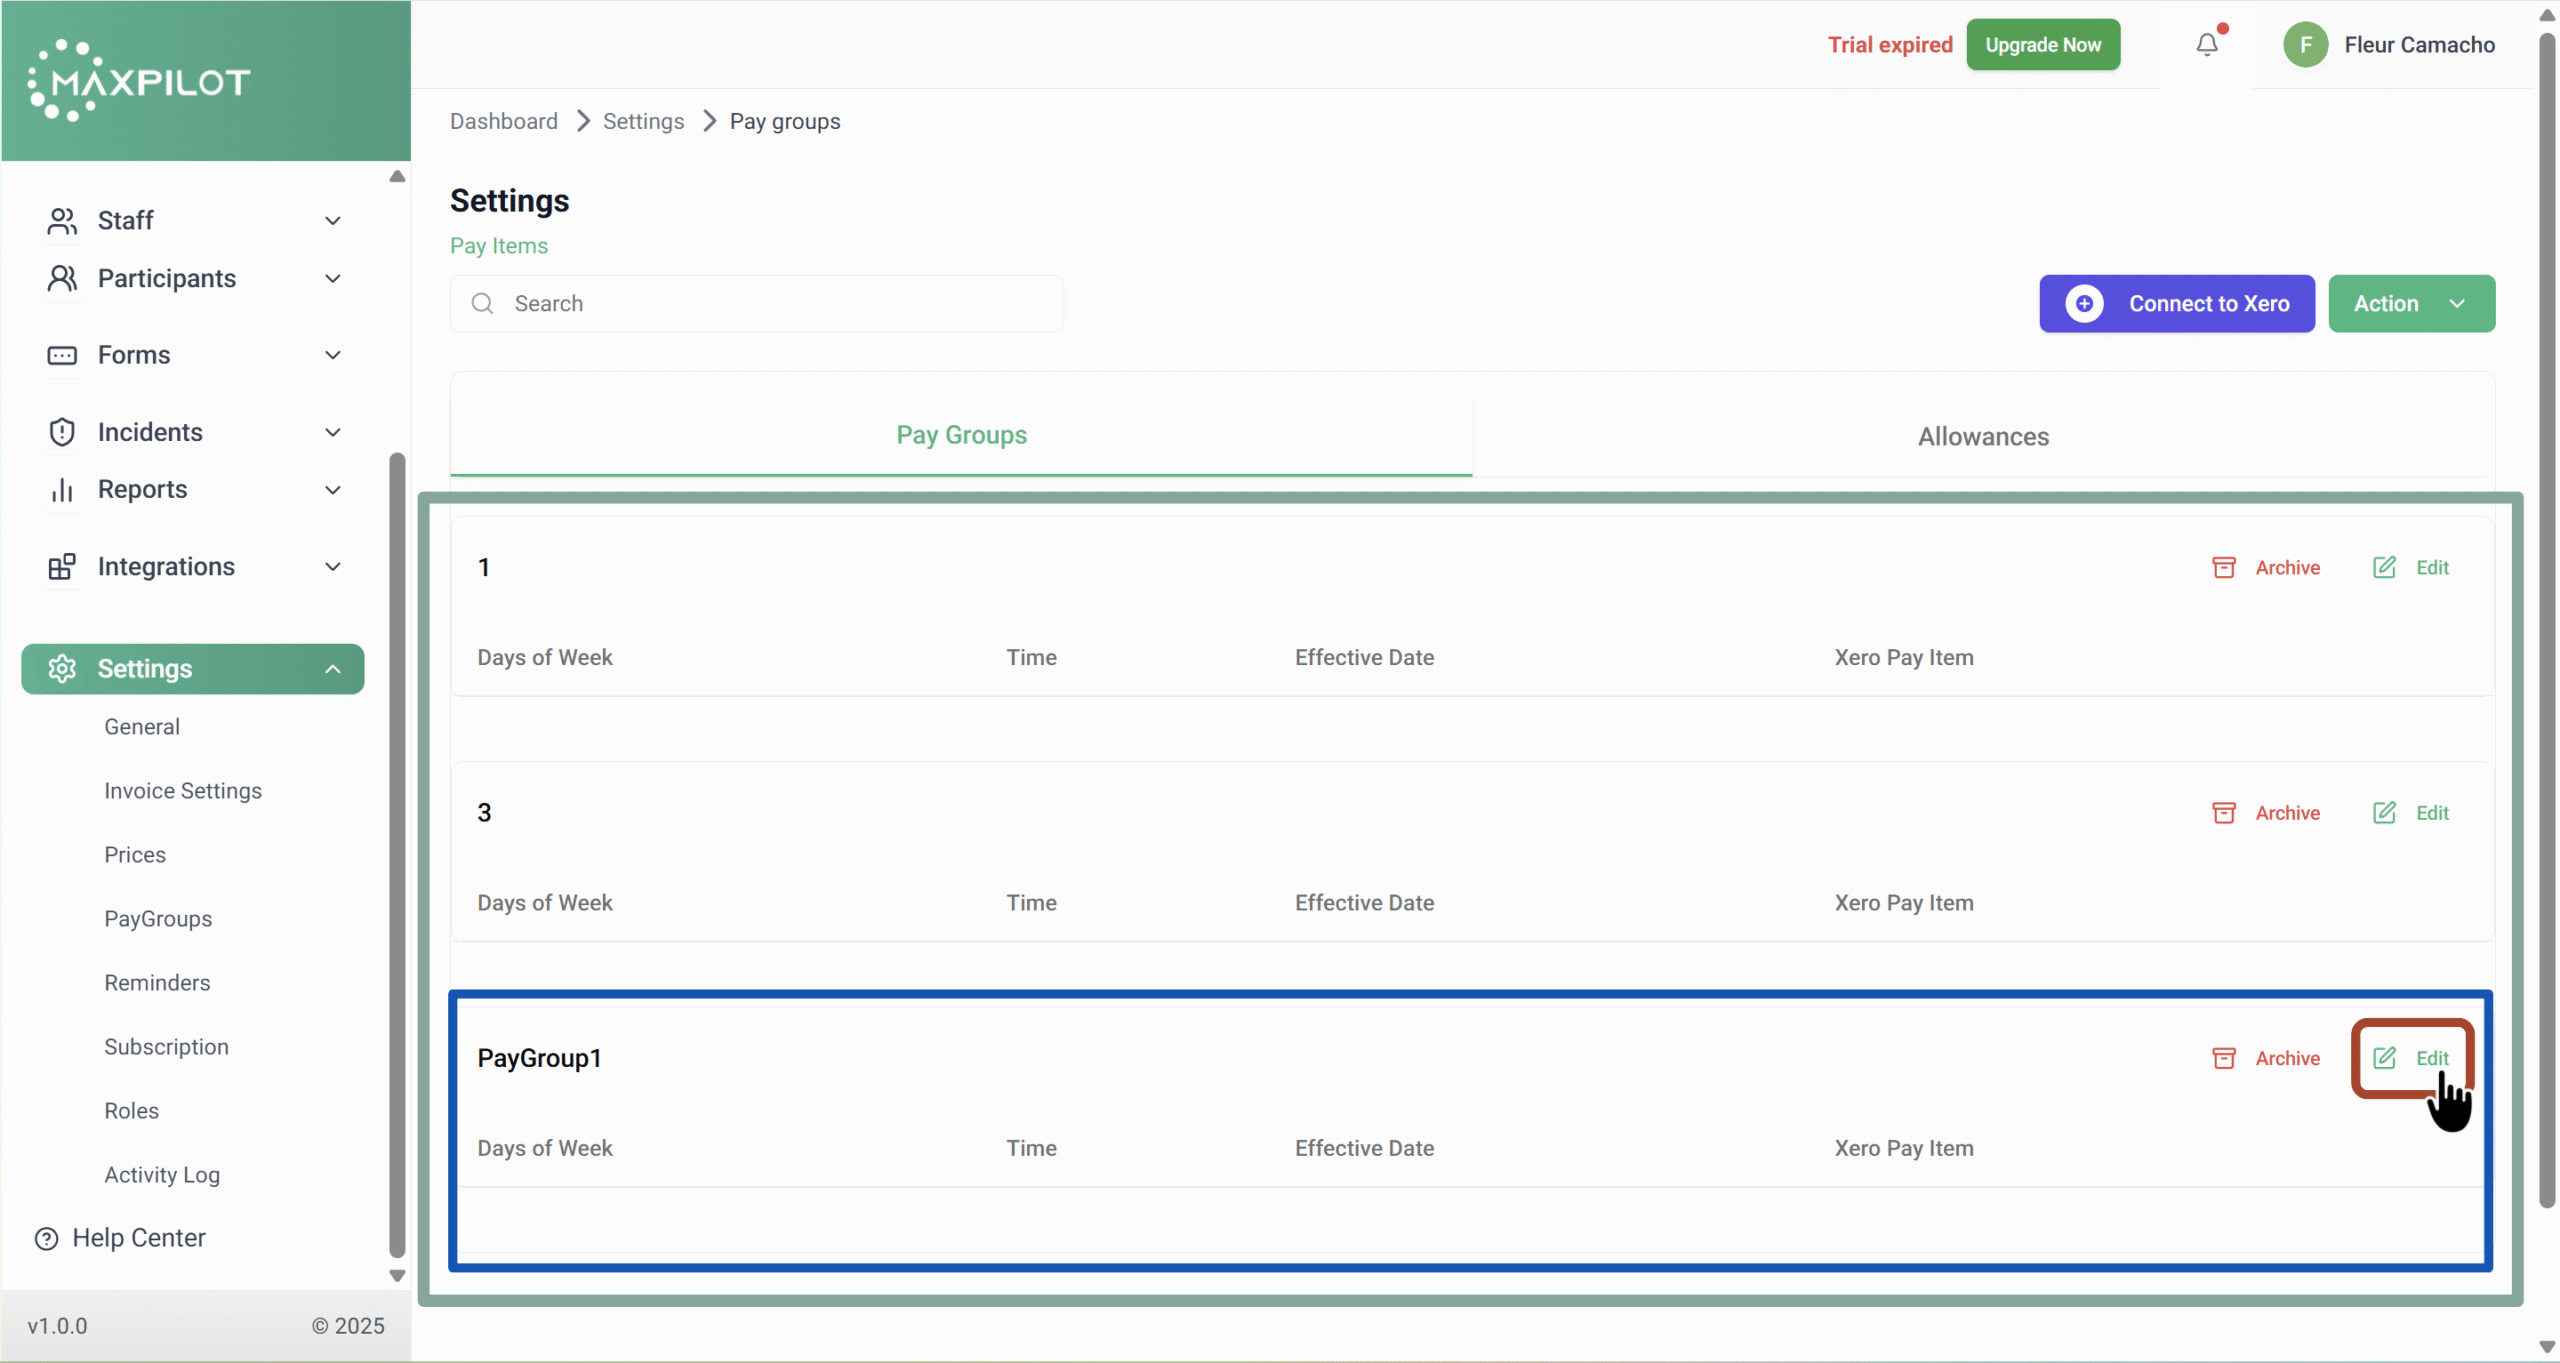
Step 4: Edit the Pay Group
After creation, your new pay group will appear in the list.
Click Edit to configure working days, time, and effective dates for each pay item in that group.
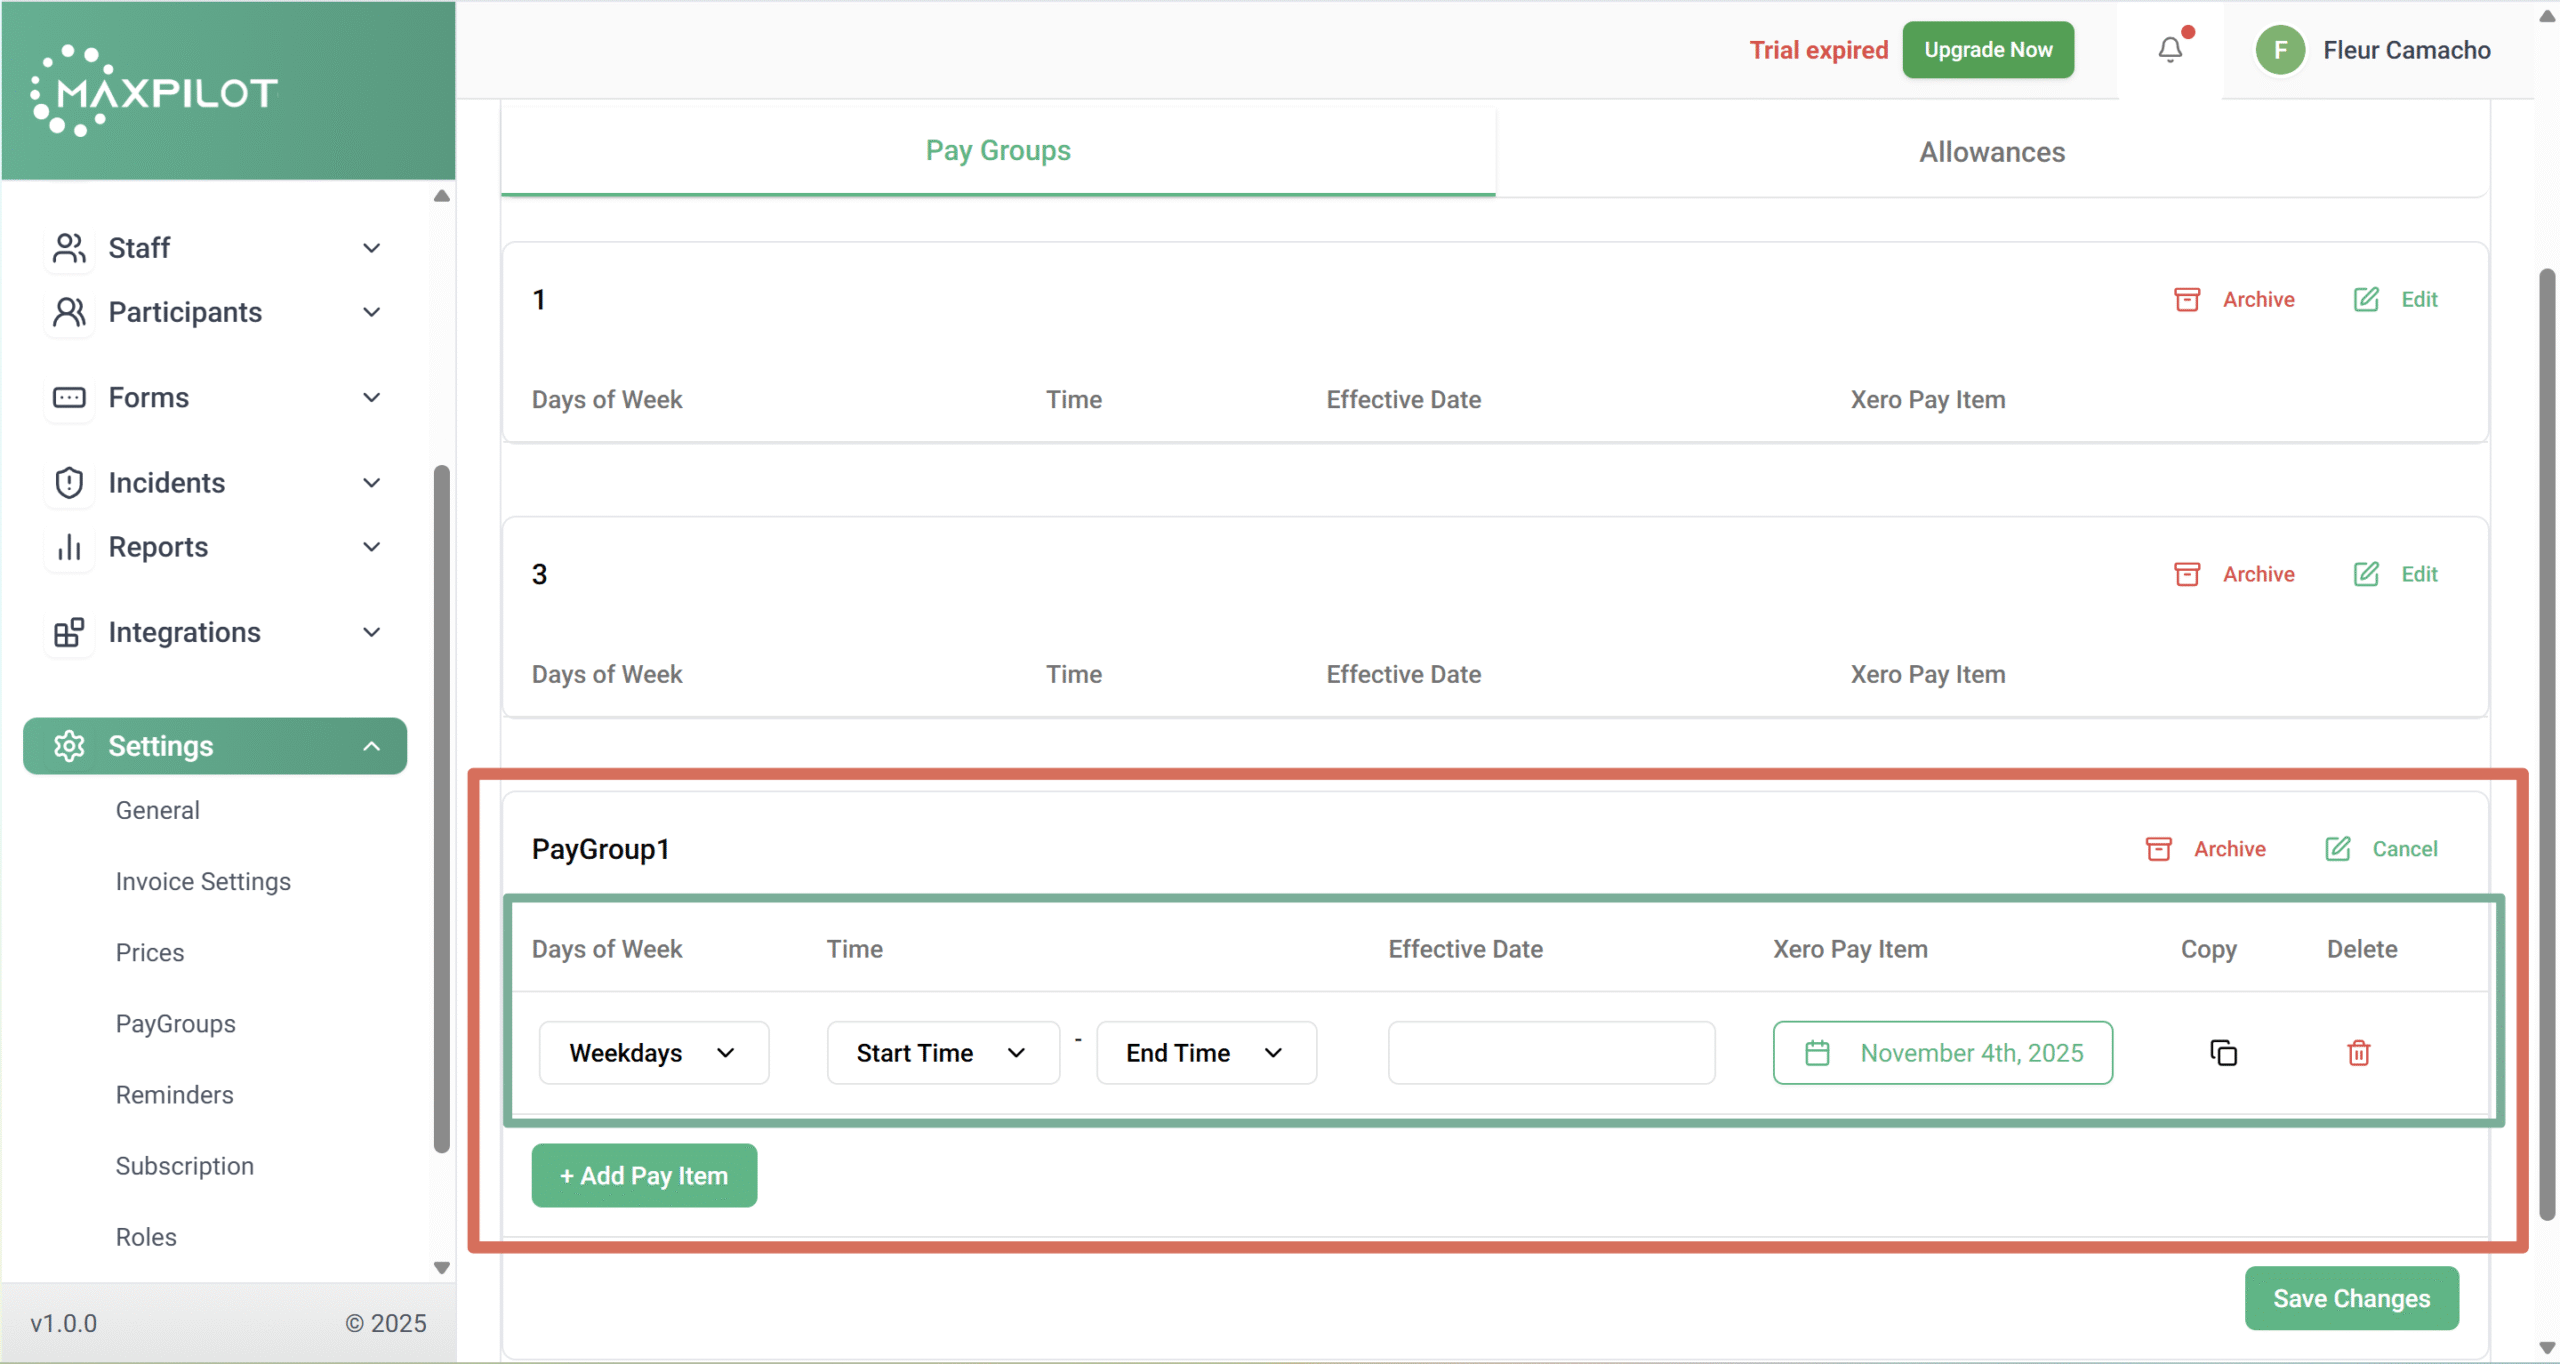
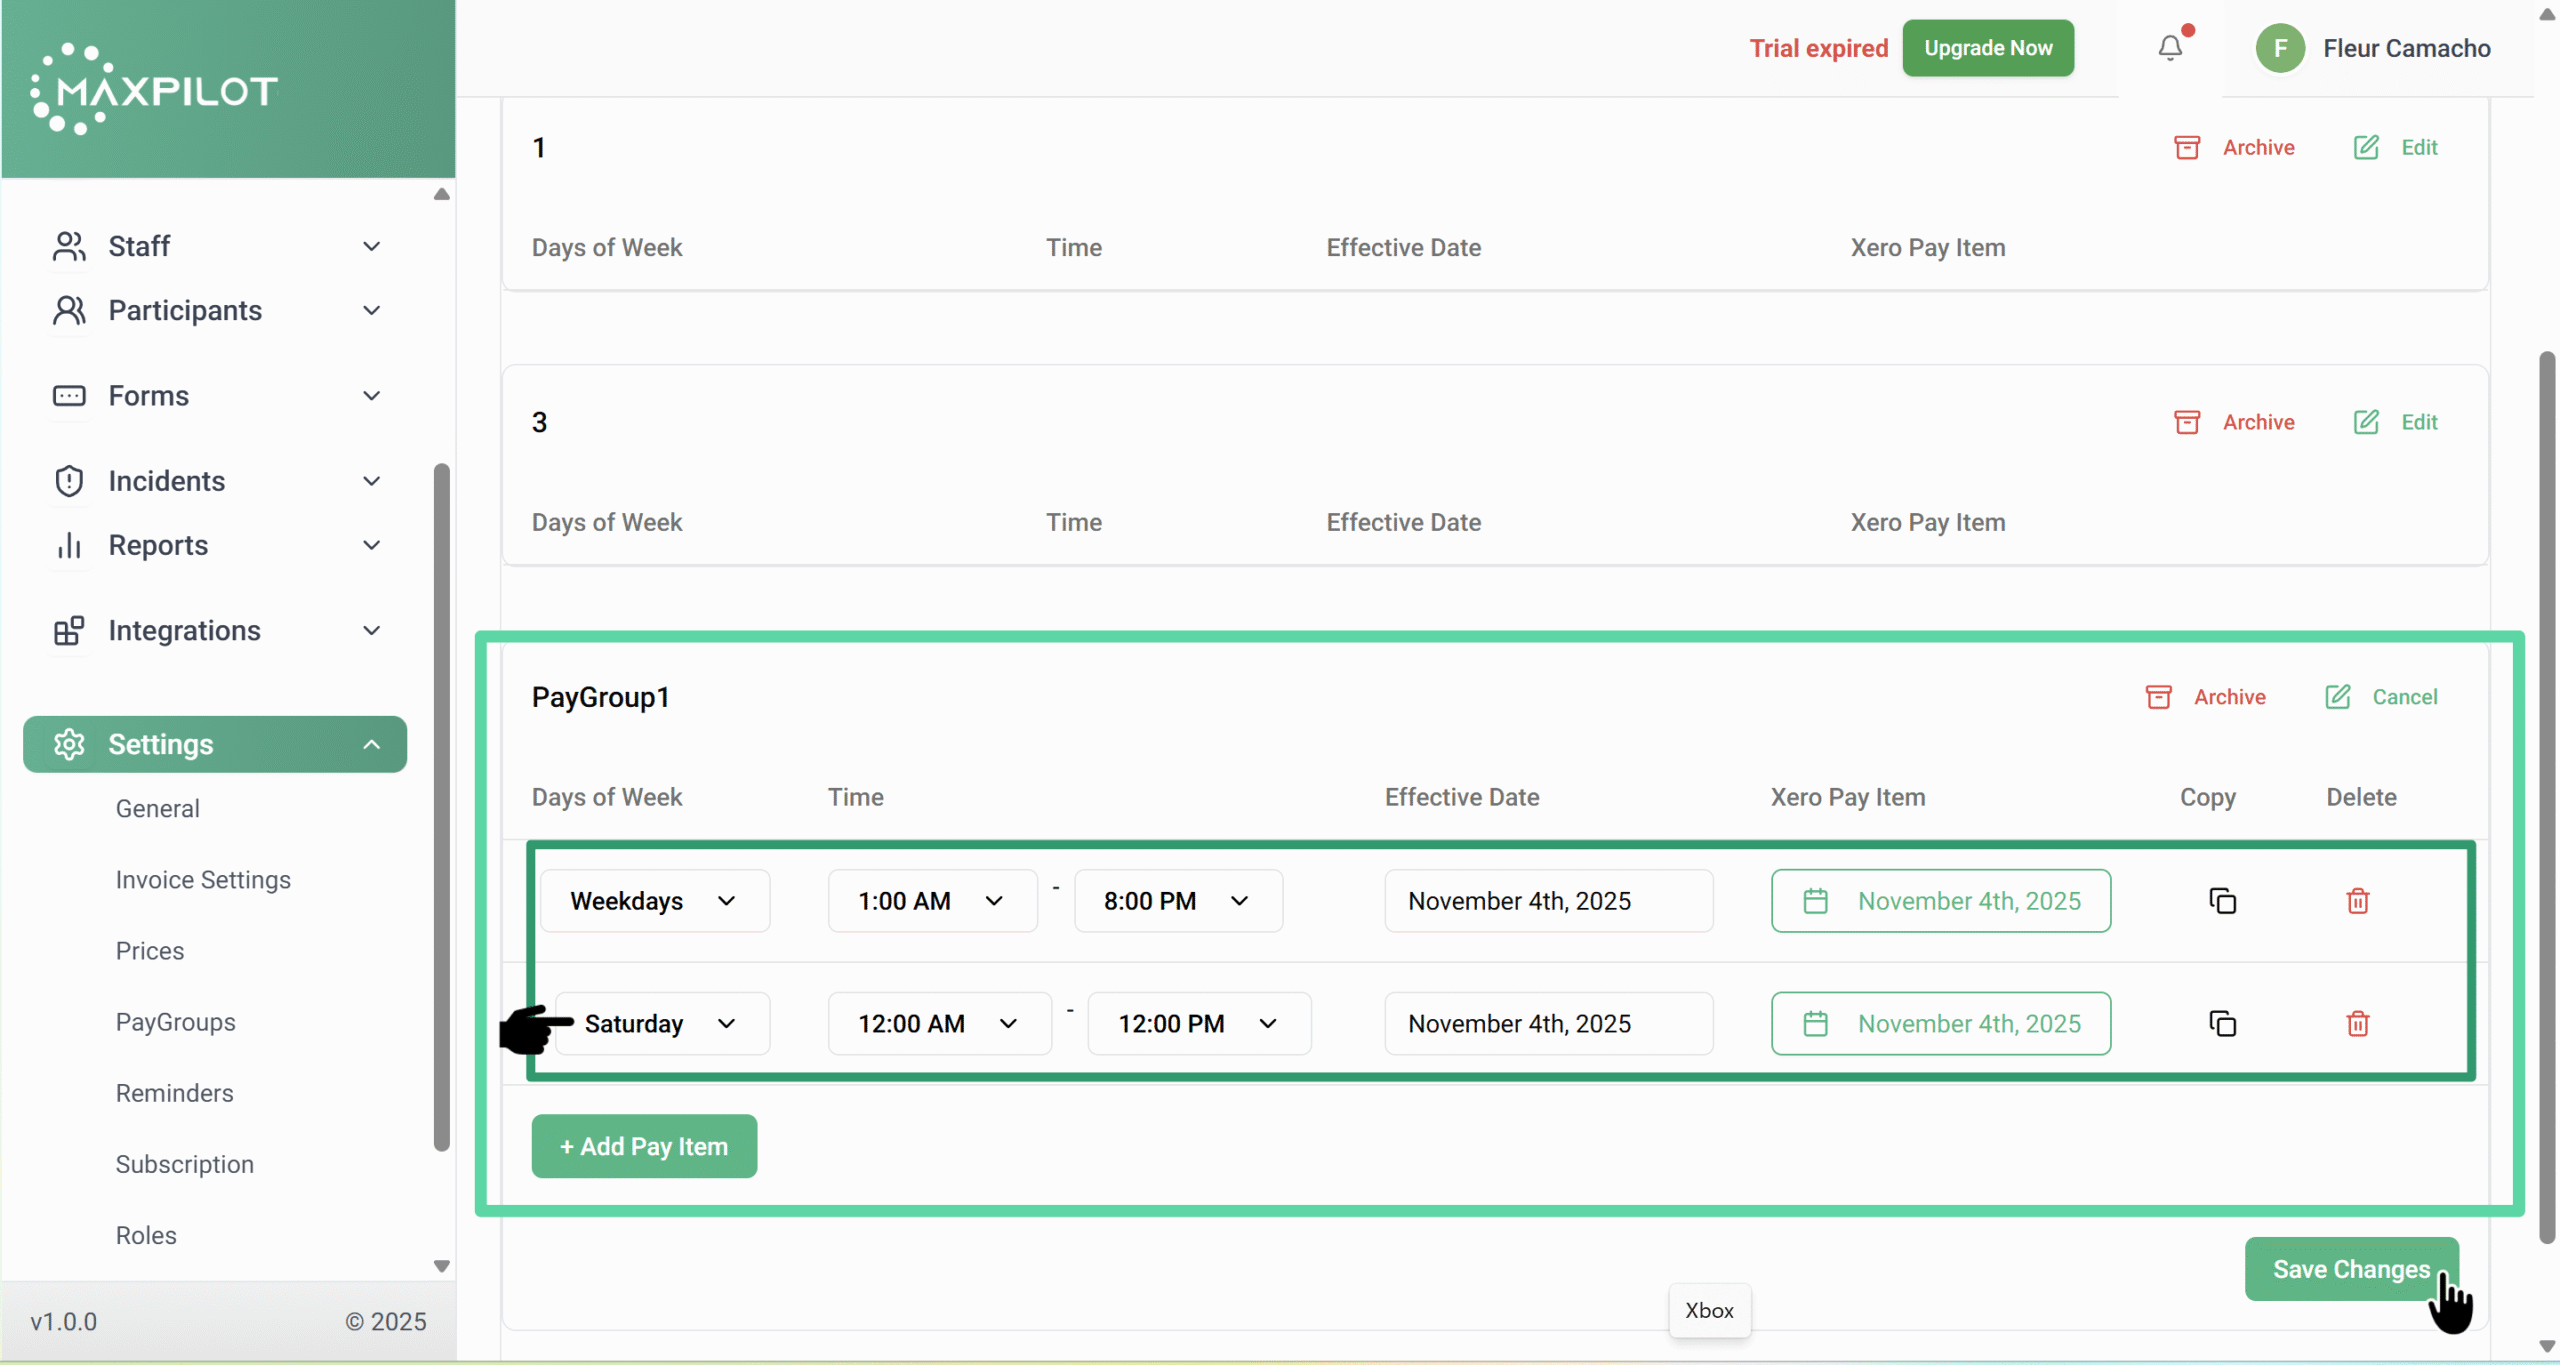
Step 5: Add Pay Items
Inside the pay group, select the Days of Week, Start Time, End Time, and Effective Date.
Click + Add Pay Item to include multiple entries such as weekdays, weekends, or public holidays.
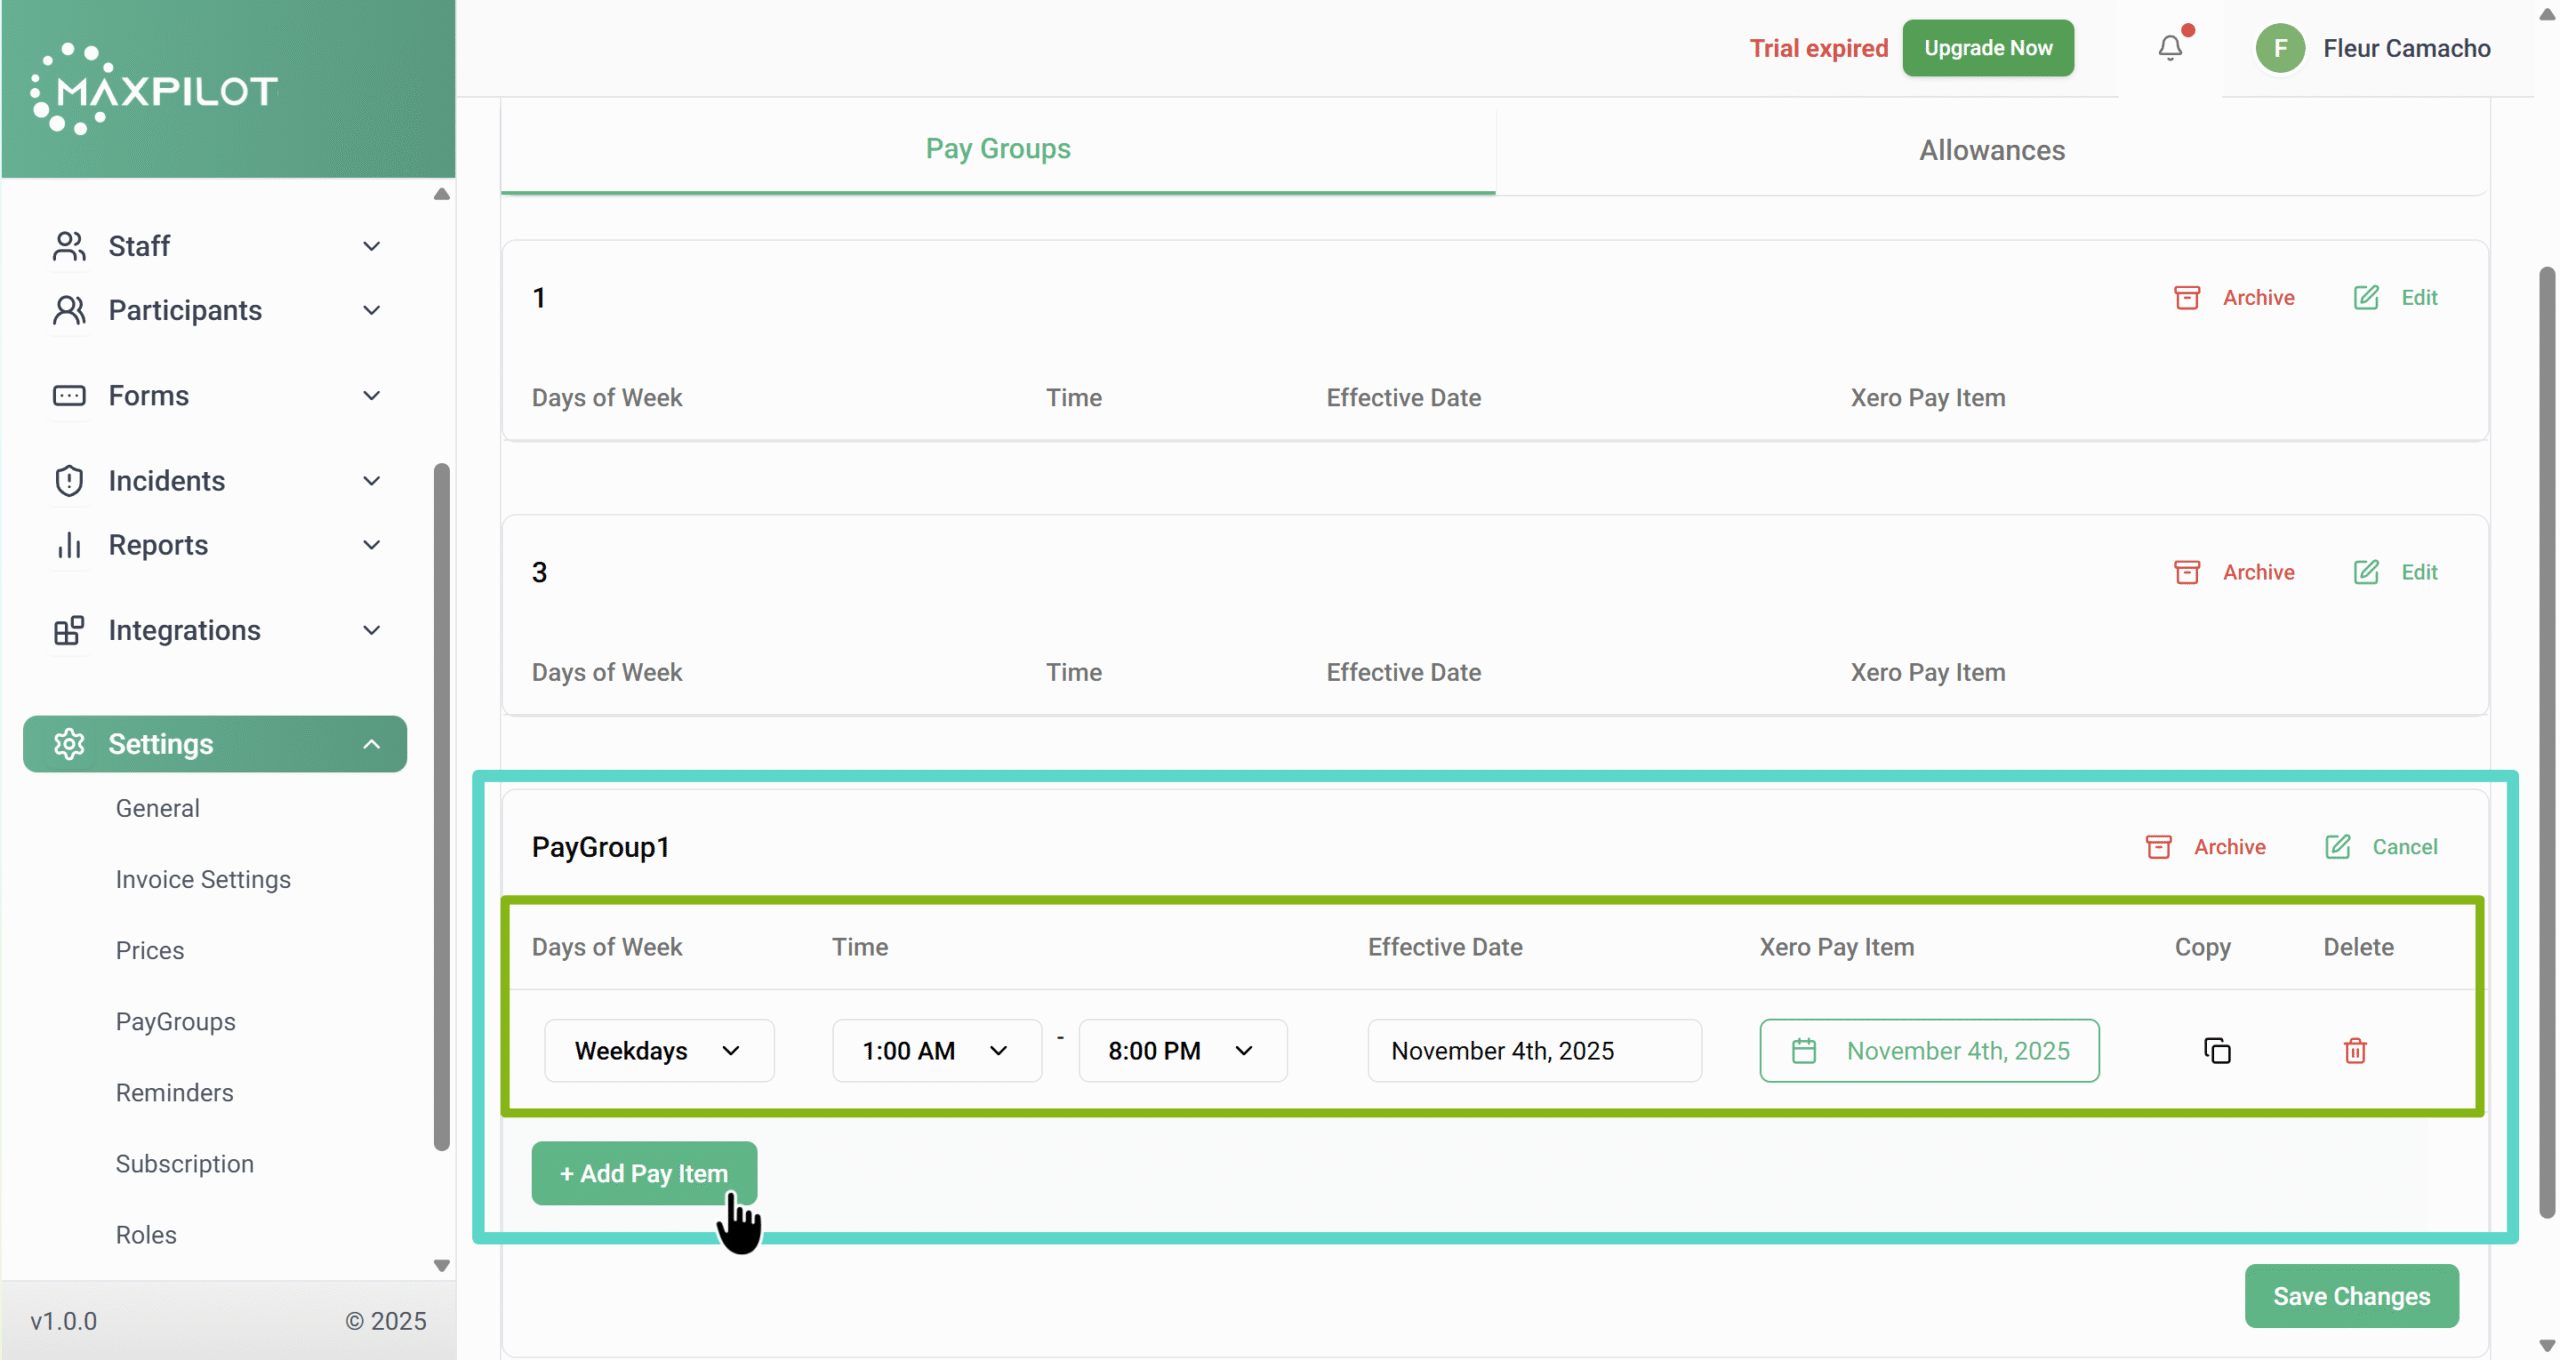
Step 6: Save Changes
Once all entries have been added, click Save Changes at the bottom-right corner to finalize the setup.
A confirmation message — “Pay Group Created Successfully” — will appear at the top of the page.
Tip:
You can use Pay Groups to automate different pay rates and structures for specific shifts, ensuring accurate and efficient payroll management.