Forms are an essential feature in MaxPilot that help teams collect structured information from staff or participants, such as incident details, daily reports, surveys, or entry records. This guide will walk you through the step-by-step process of creating a new form, customizing it, and assigning it to specific recipients.
Step 1: Go to the “Forms” Section
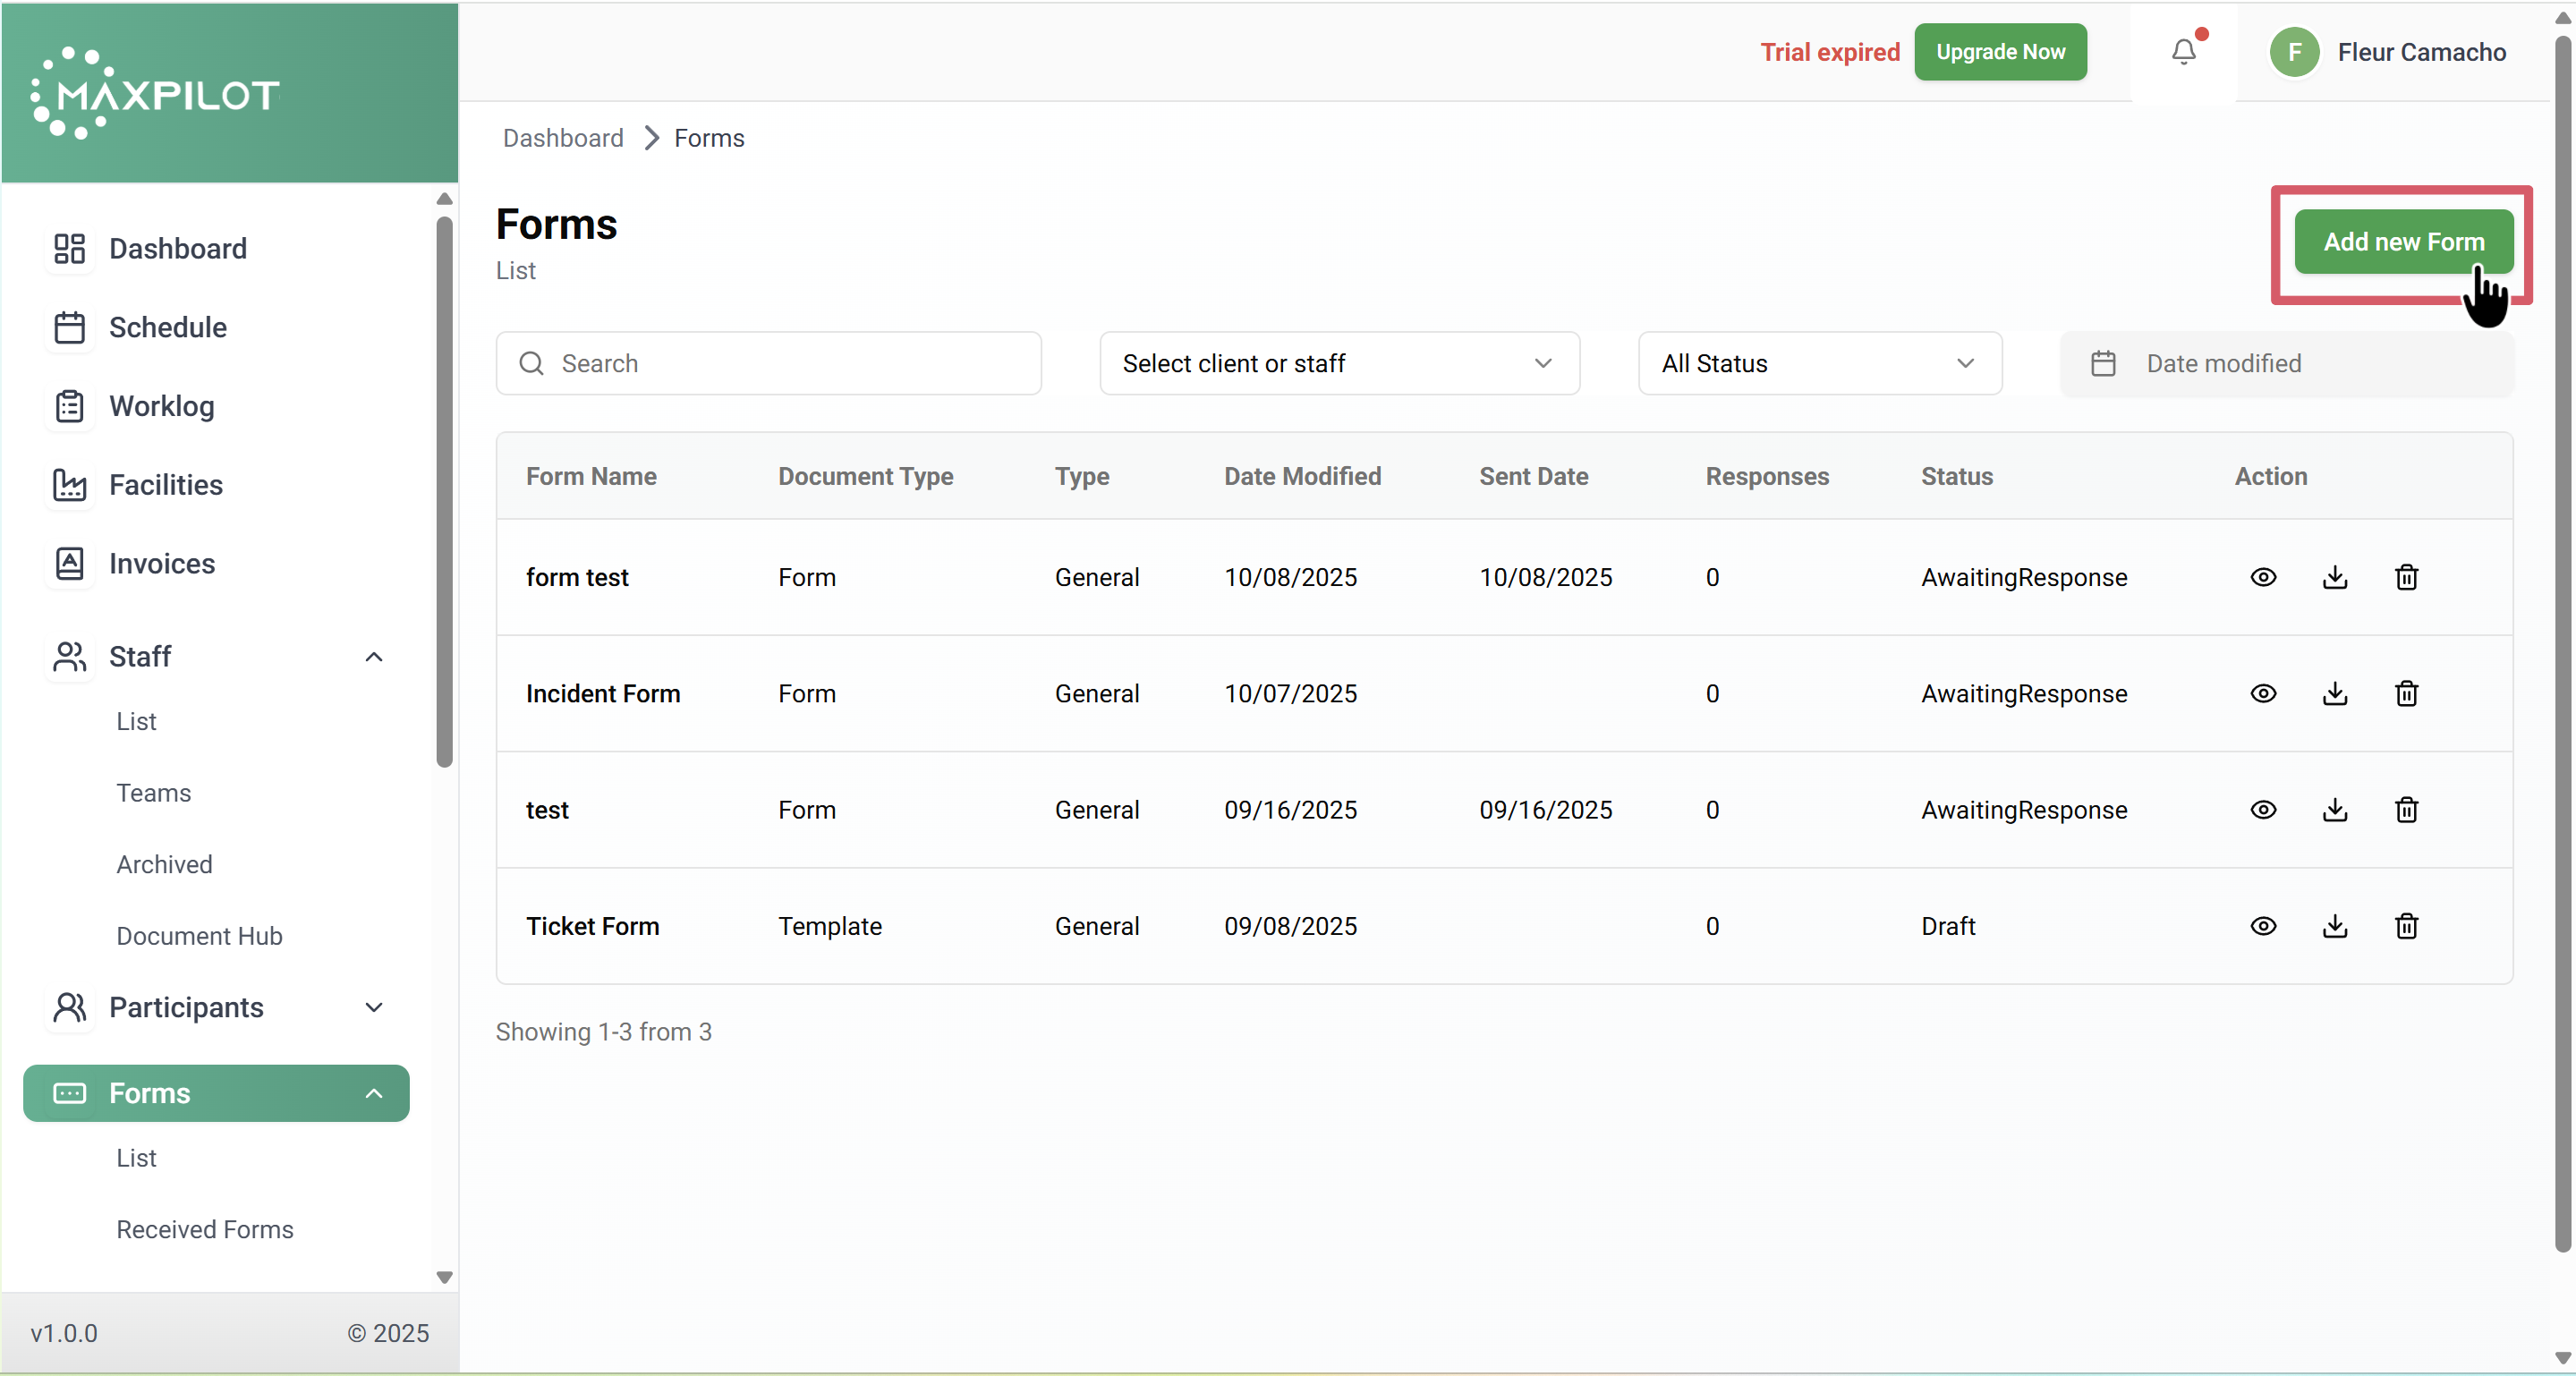
From the sidebar menu, click on Forms → List.
This page displays all forms created so far, showing each form’s name, type, sent date, and response status.
If you want to create a new form, click “Add New Form” at the top right corner.
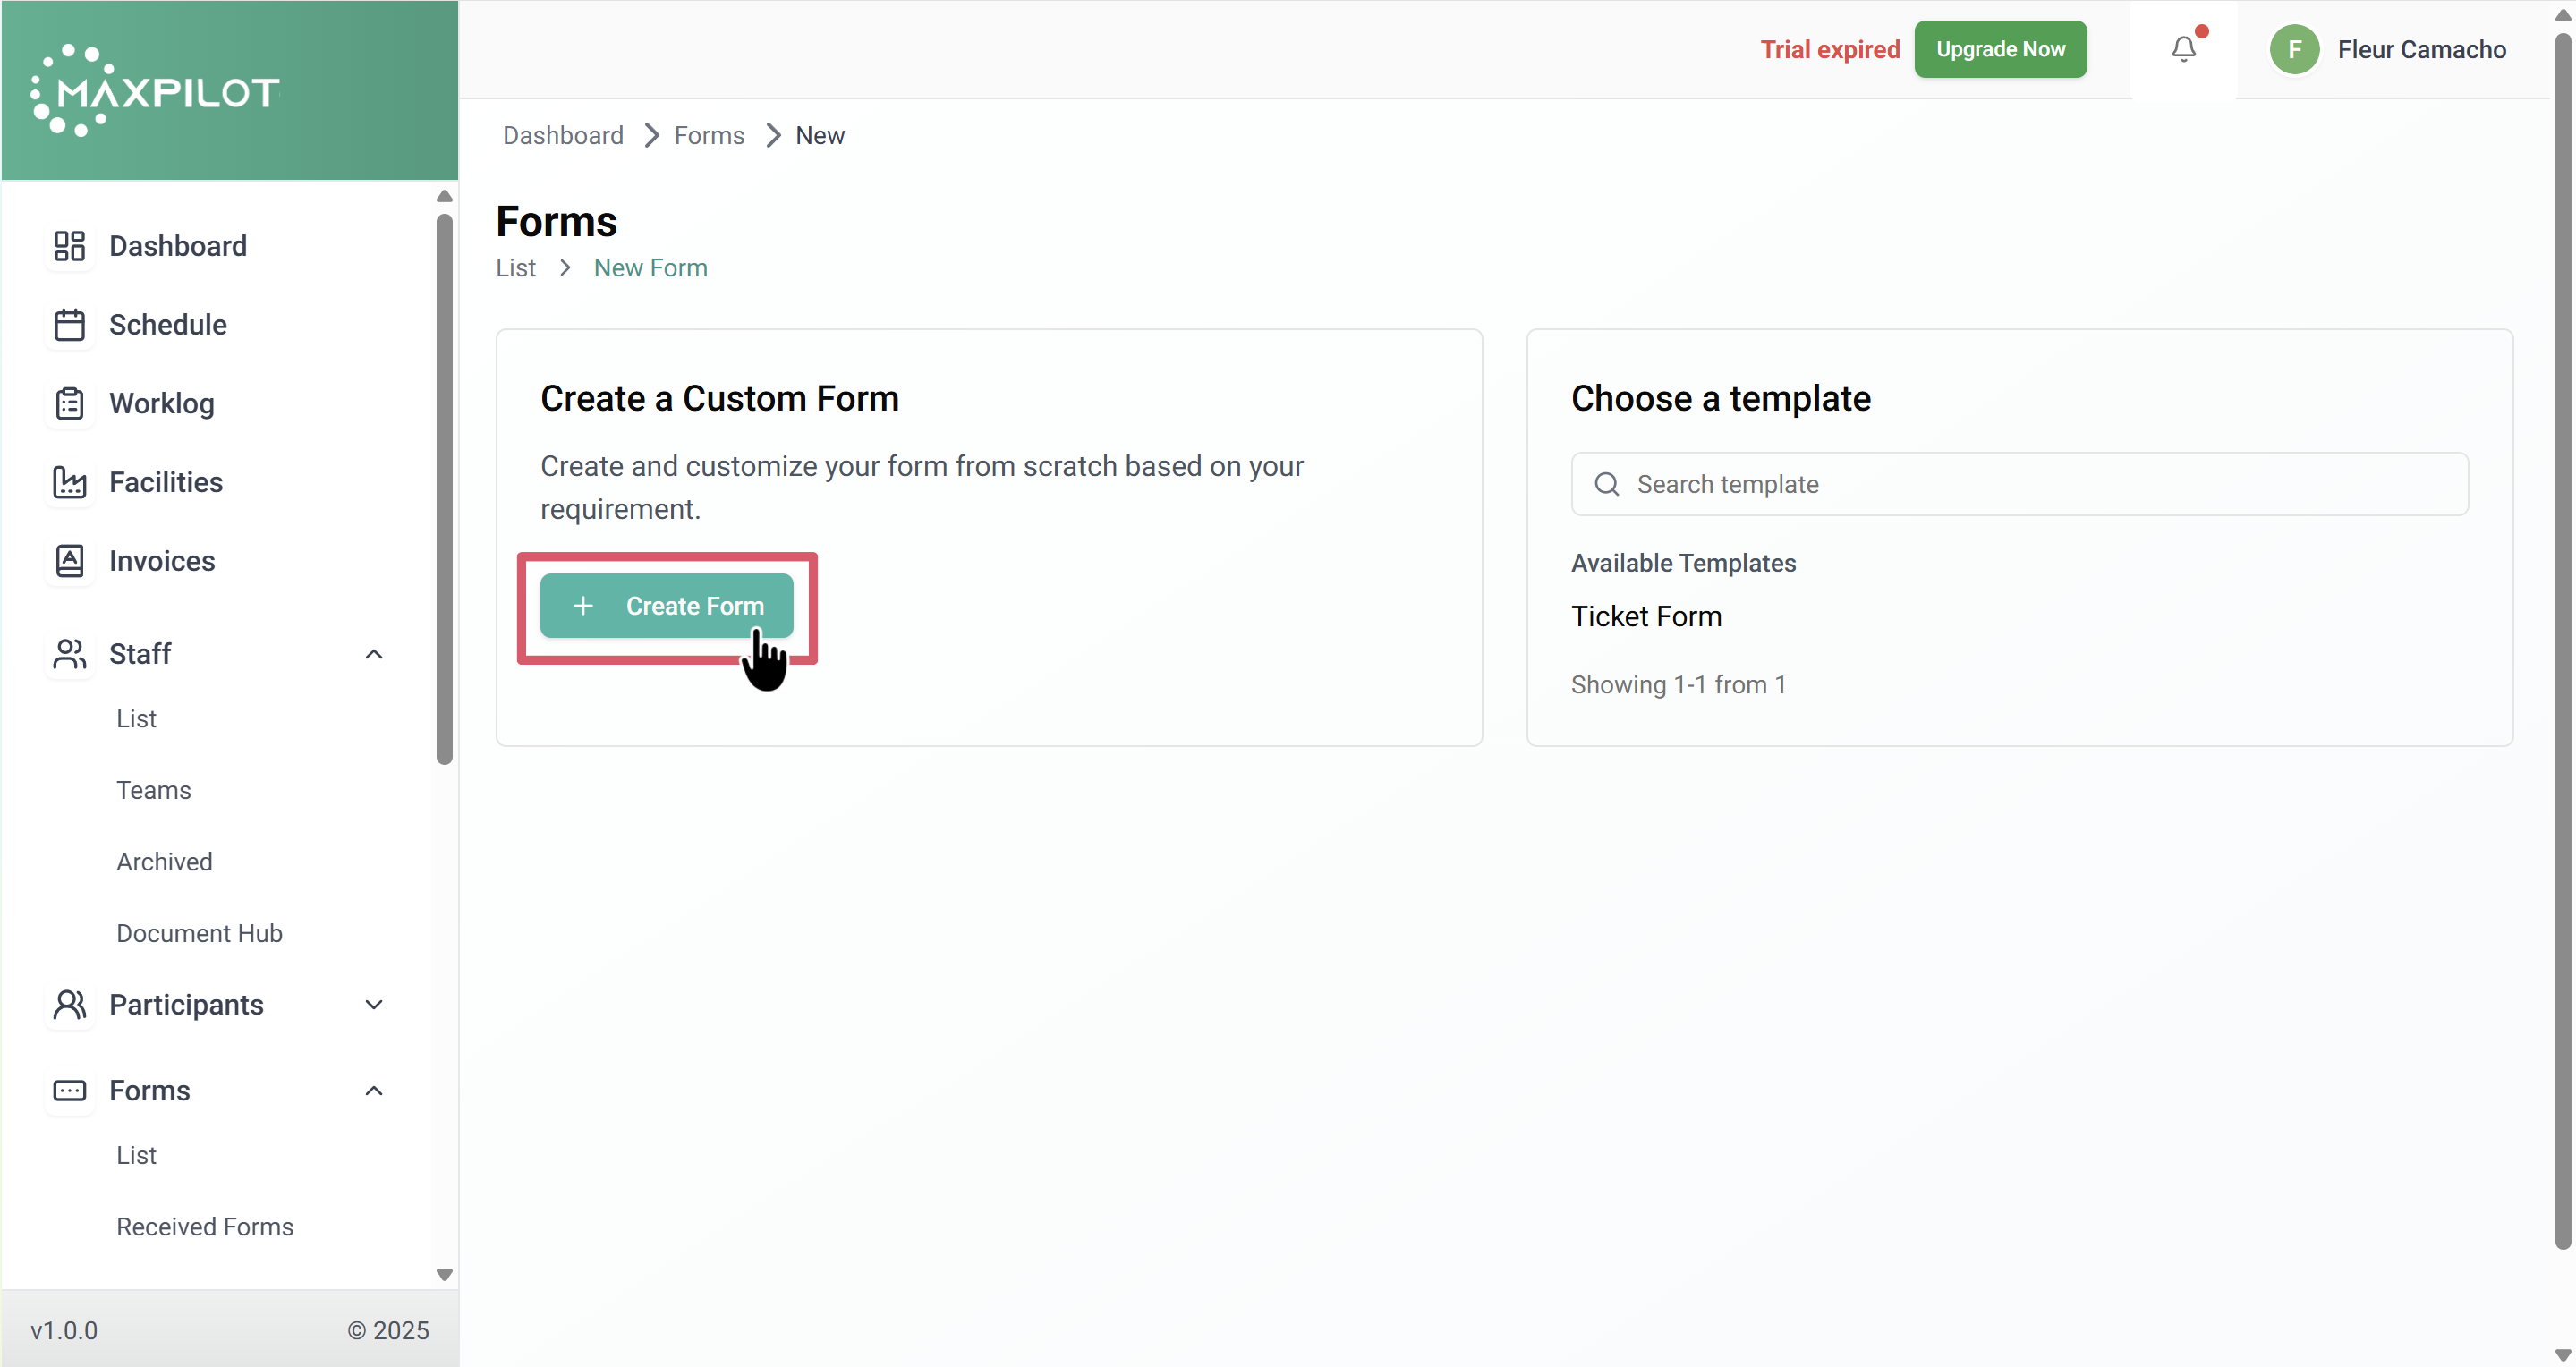
Step 2: Choose Your Creation Method
After clicking “Add New Form,” you’ll be given two options:
For complete control, click “Create Form” under Custom Form.
Step 3: Design Your Form in the Builder
You’ll enter the Form Builder page, which is your workspace.
On the left, you’ll see draggable elements such as:
Simply drag and drop these elements into the right-side canvas to design the form.
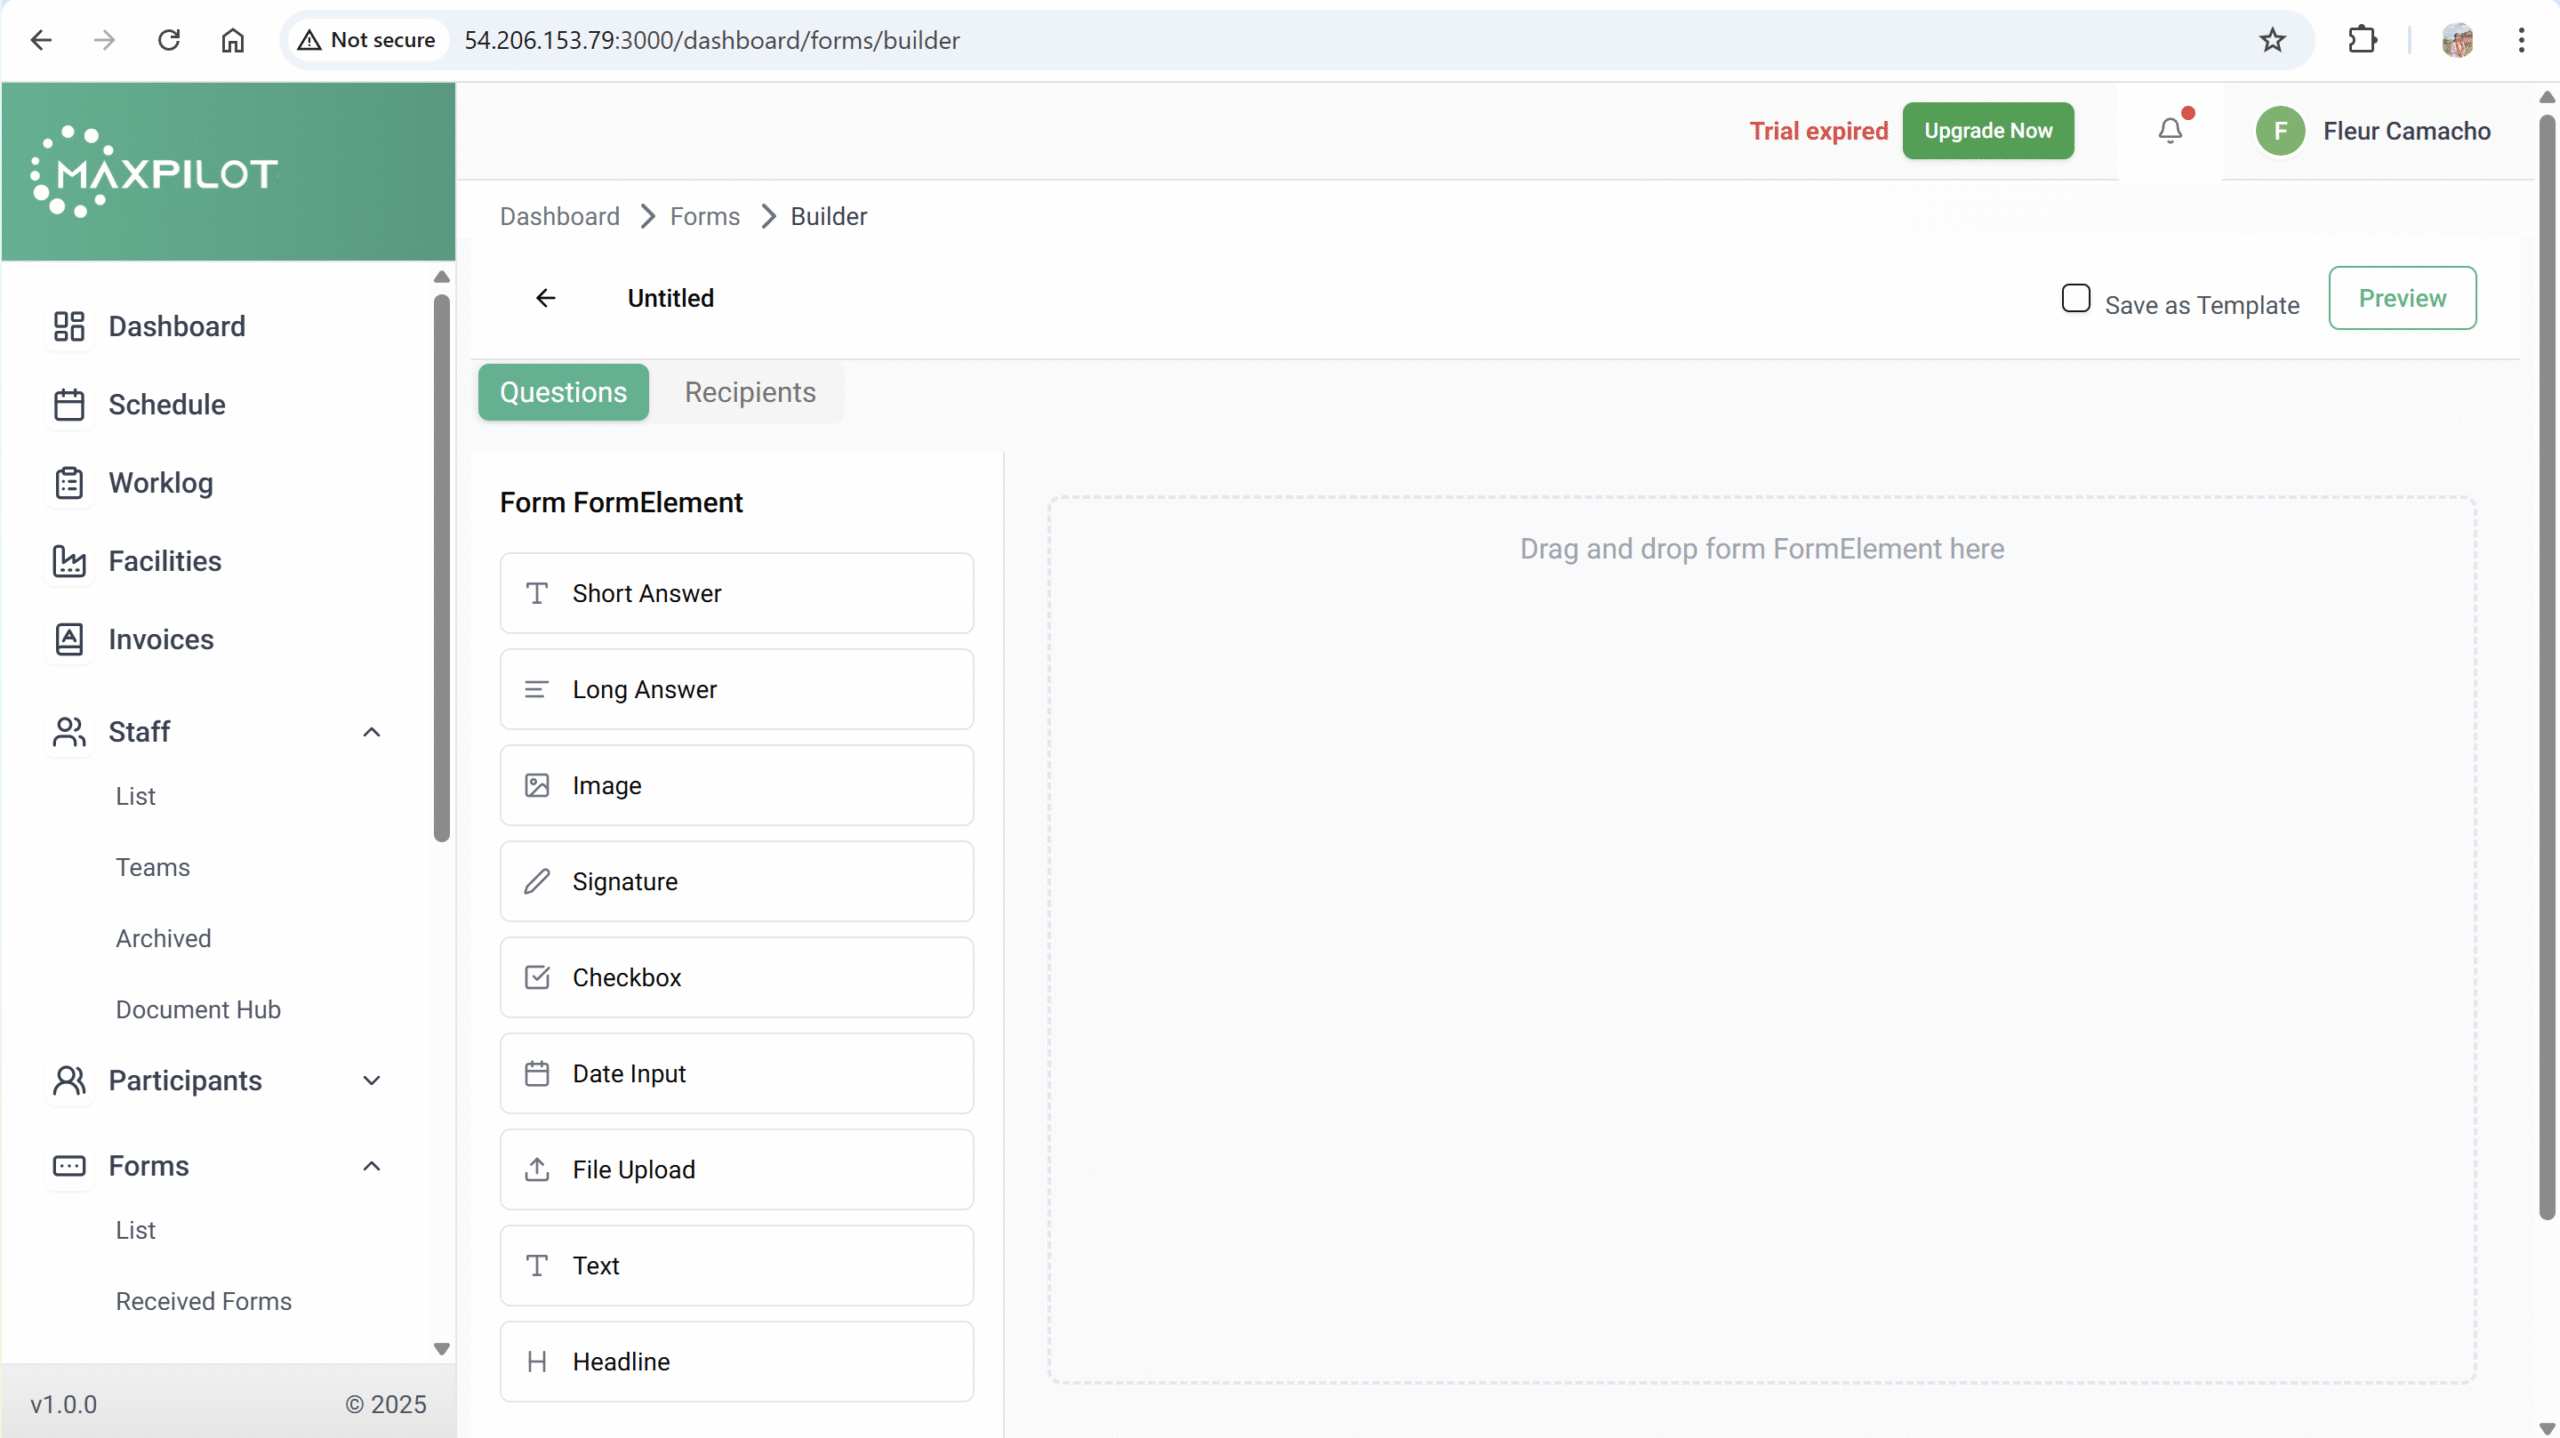
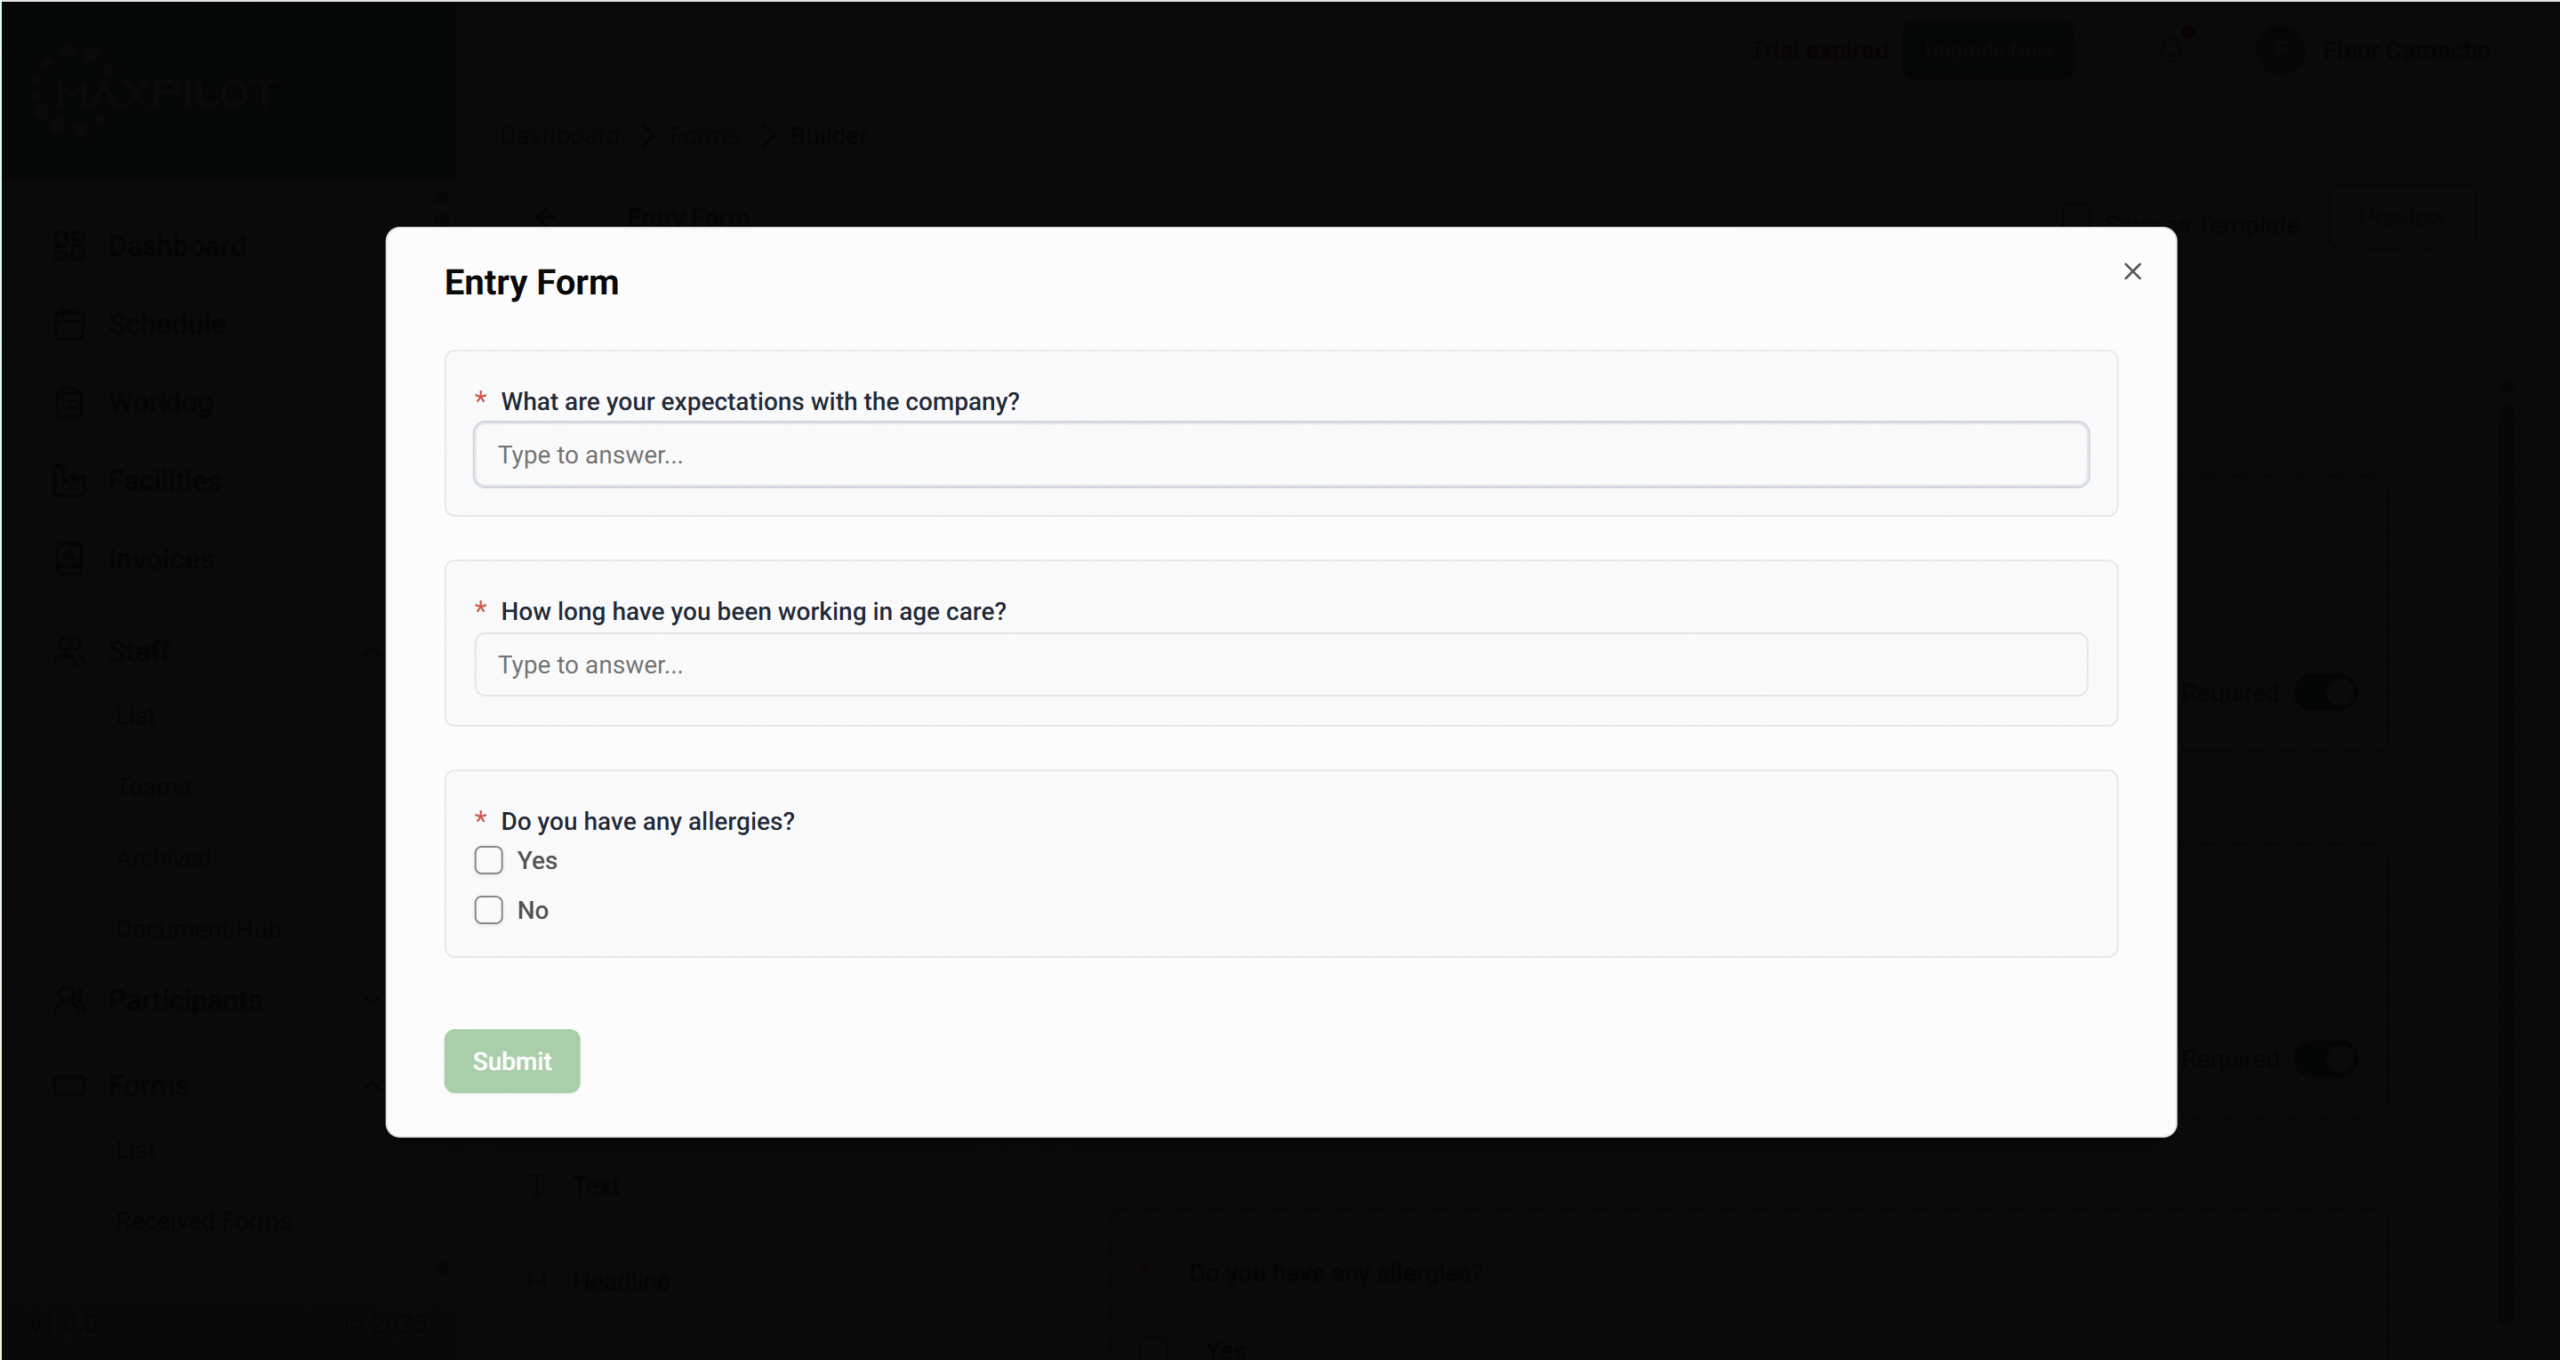
Step 4: Add and Customize Questions
Now, add your actual questions — for example:
Each question can be set as required or optional. You can also preview the form to confirm its structure before publishing.
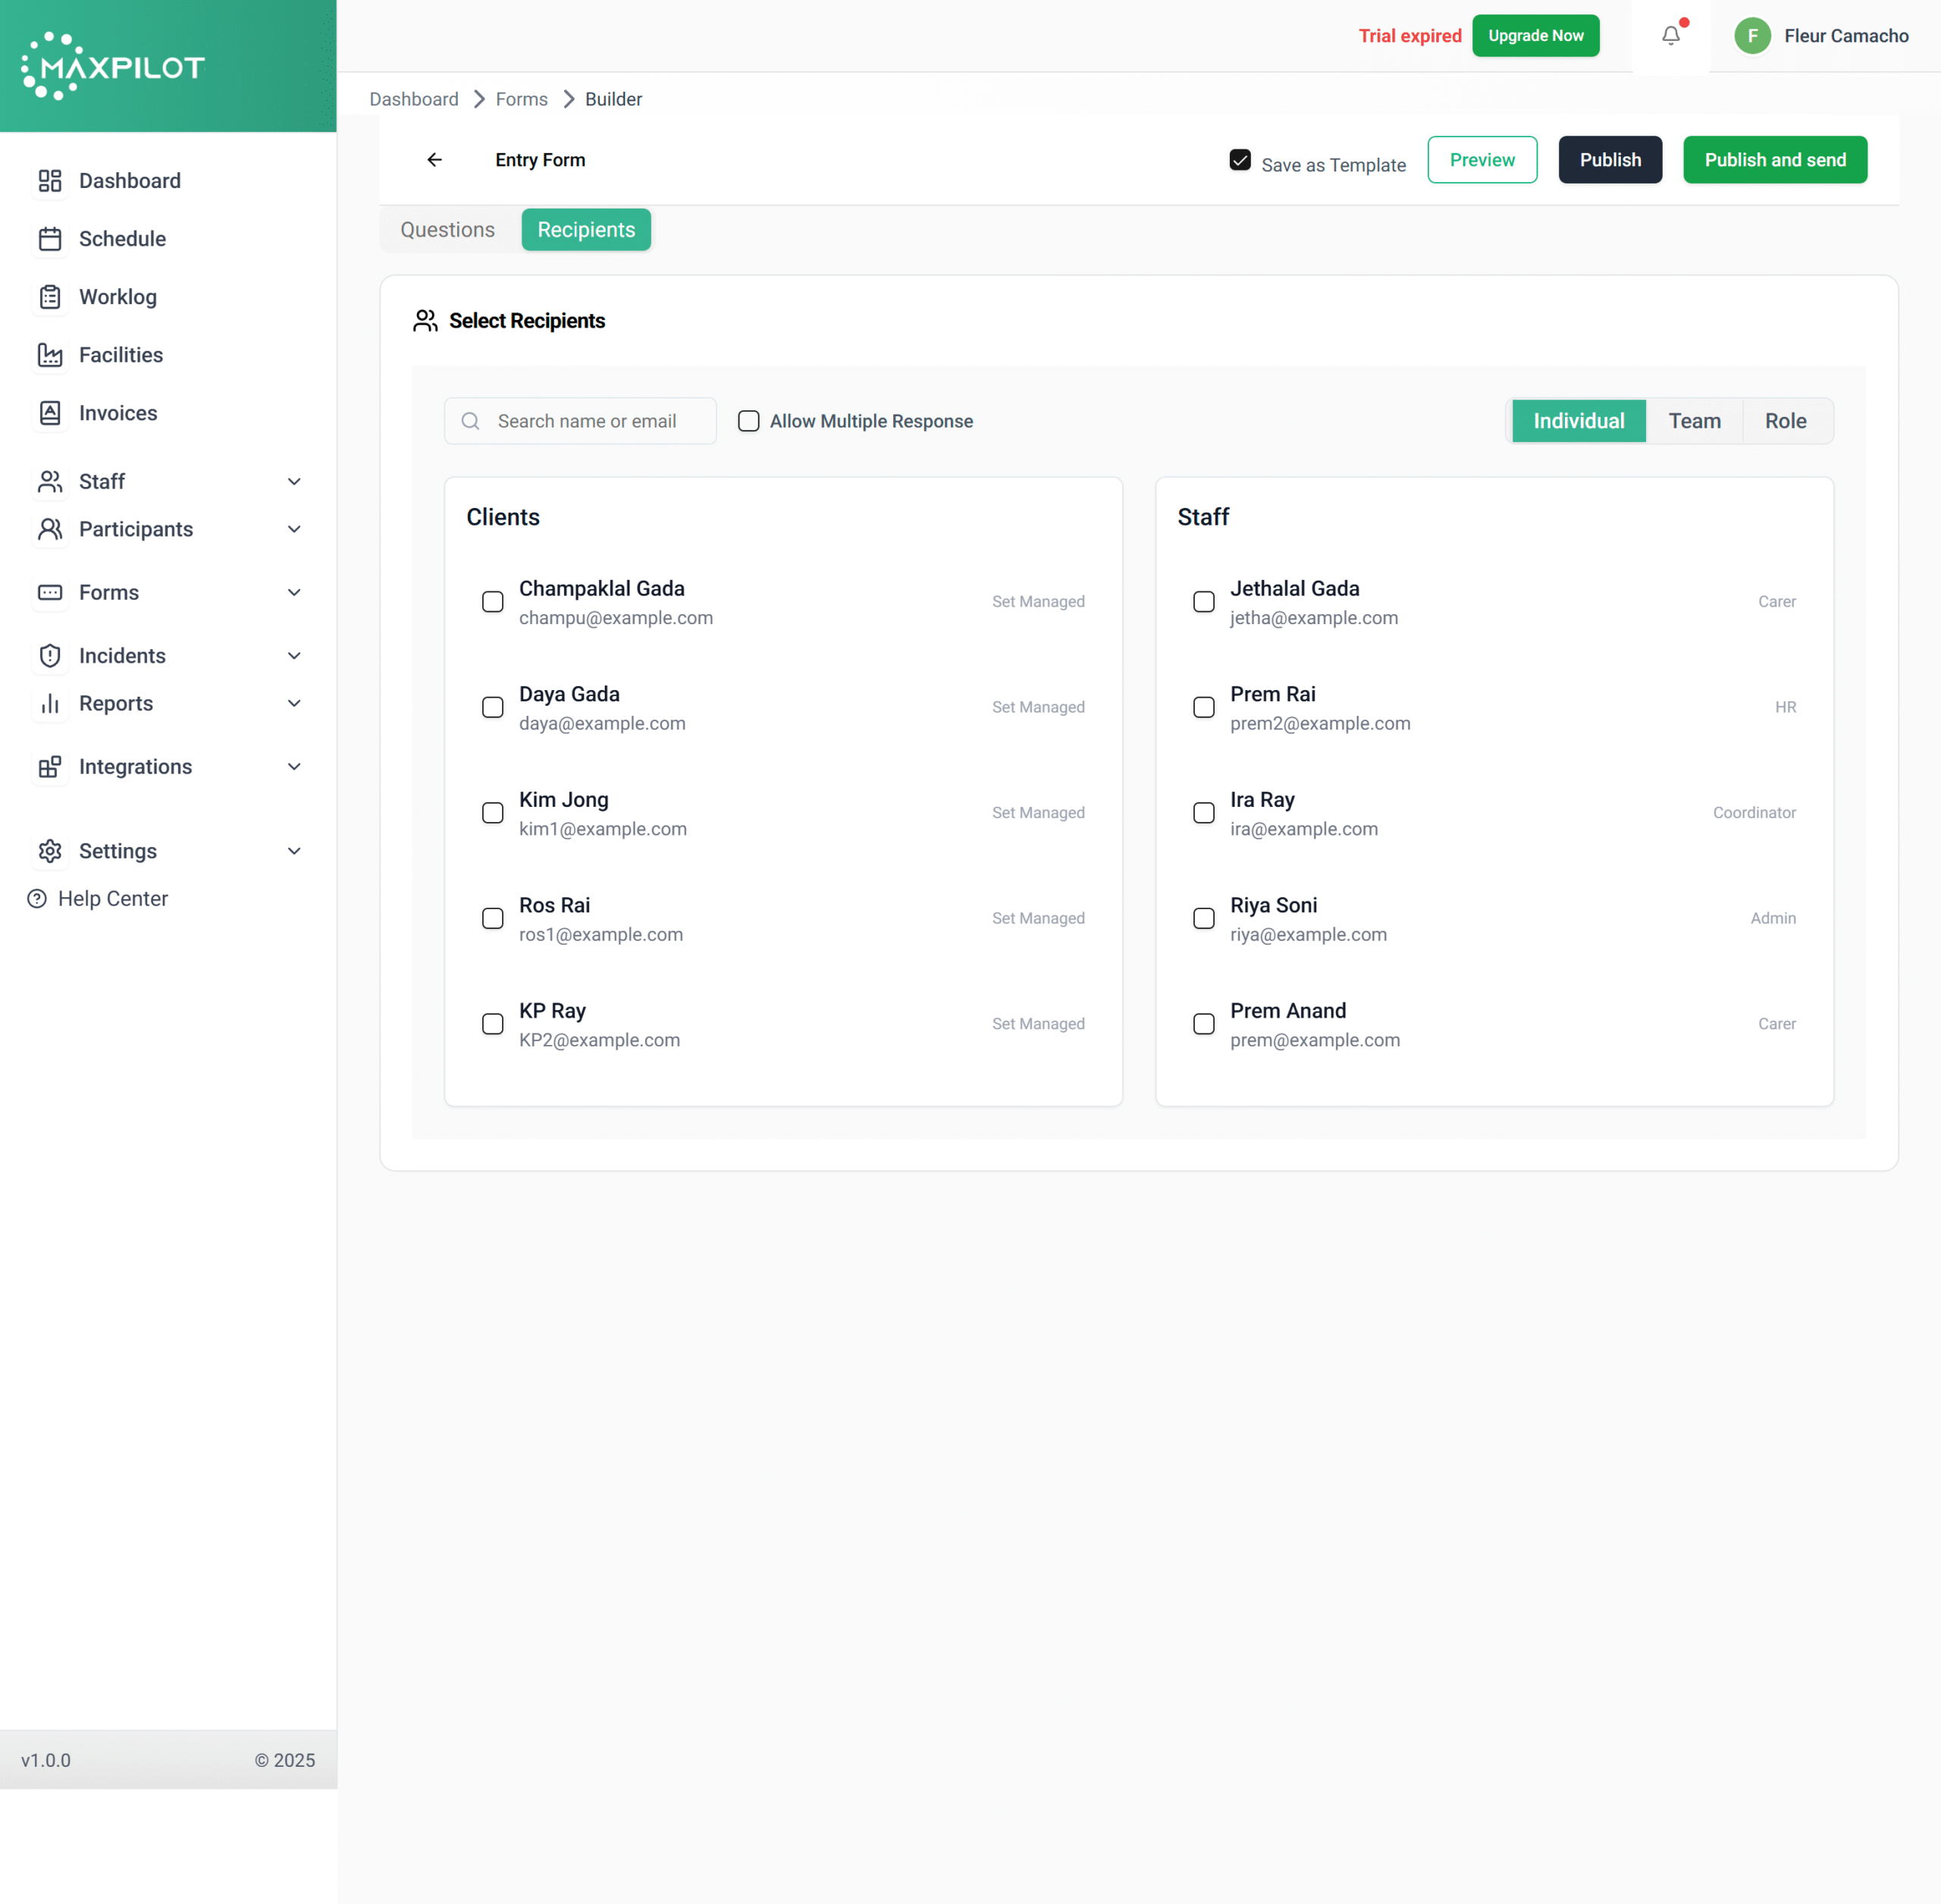
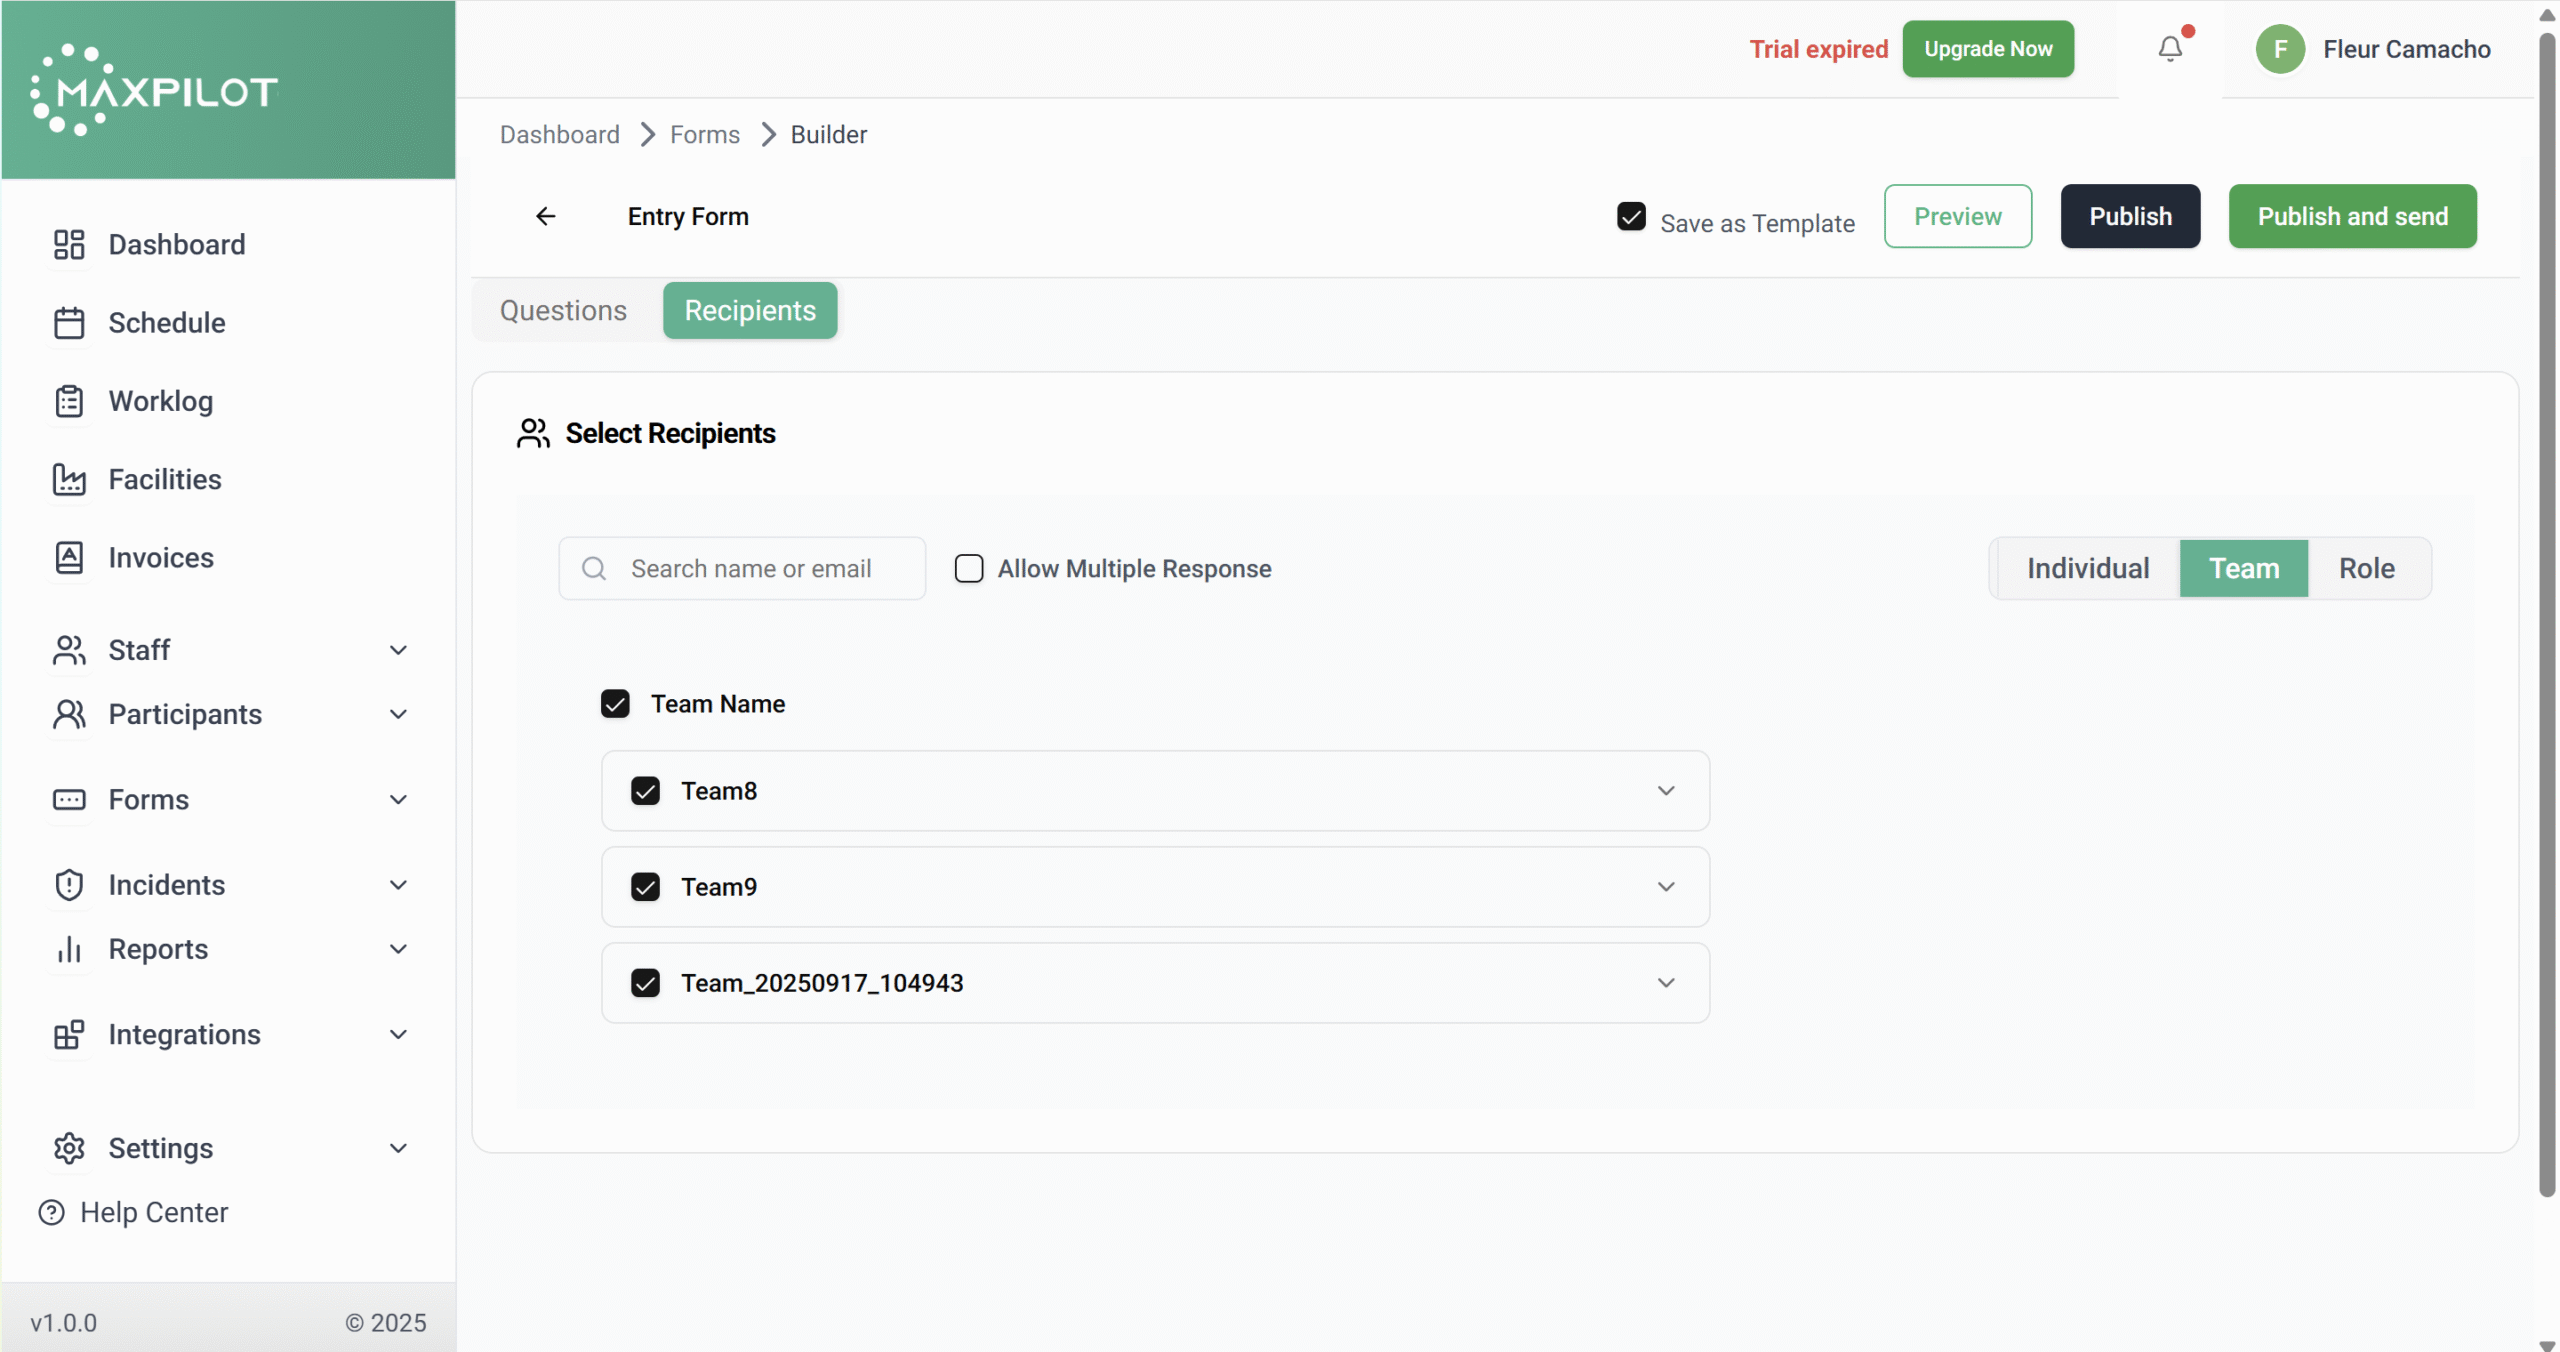
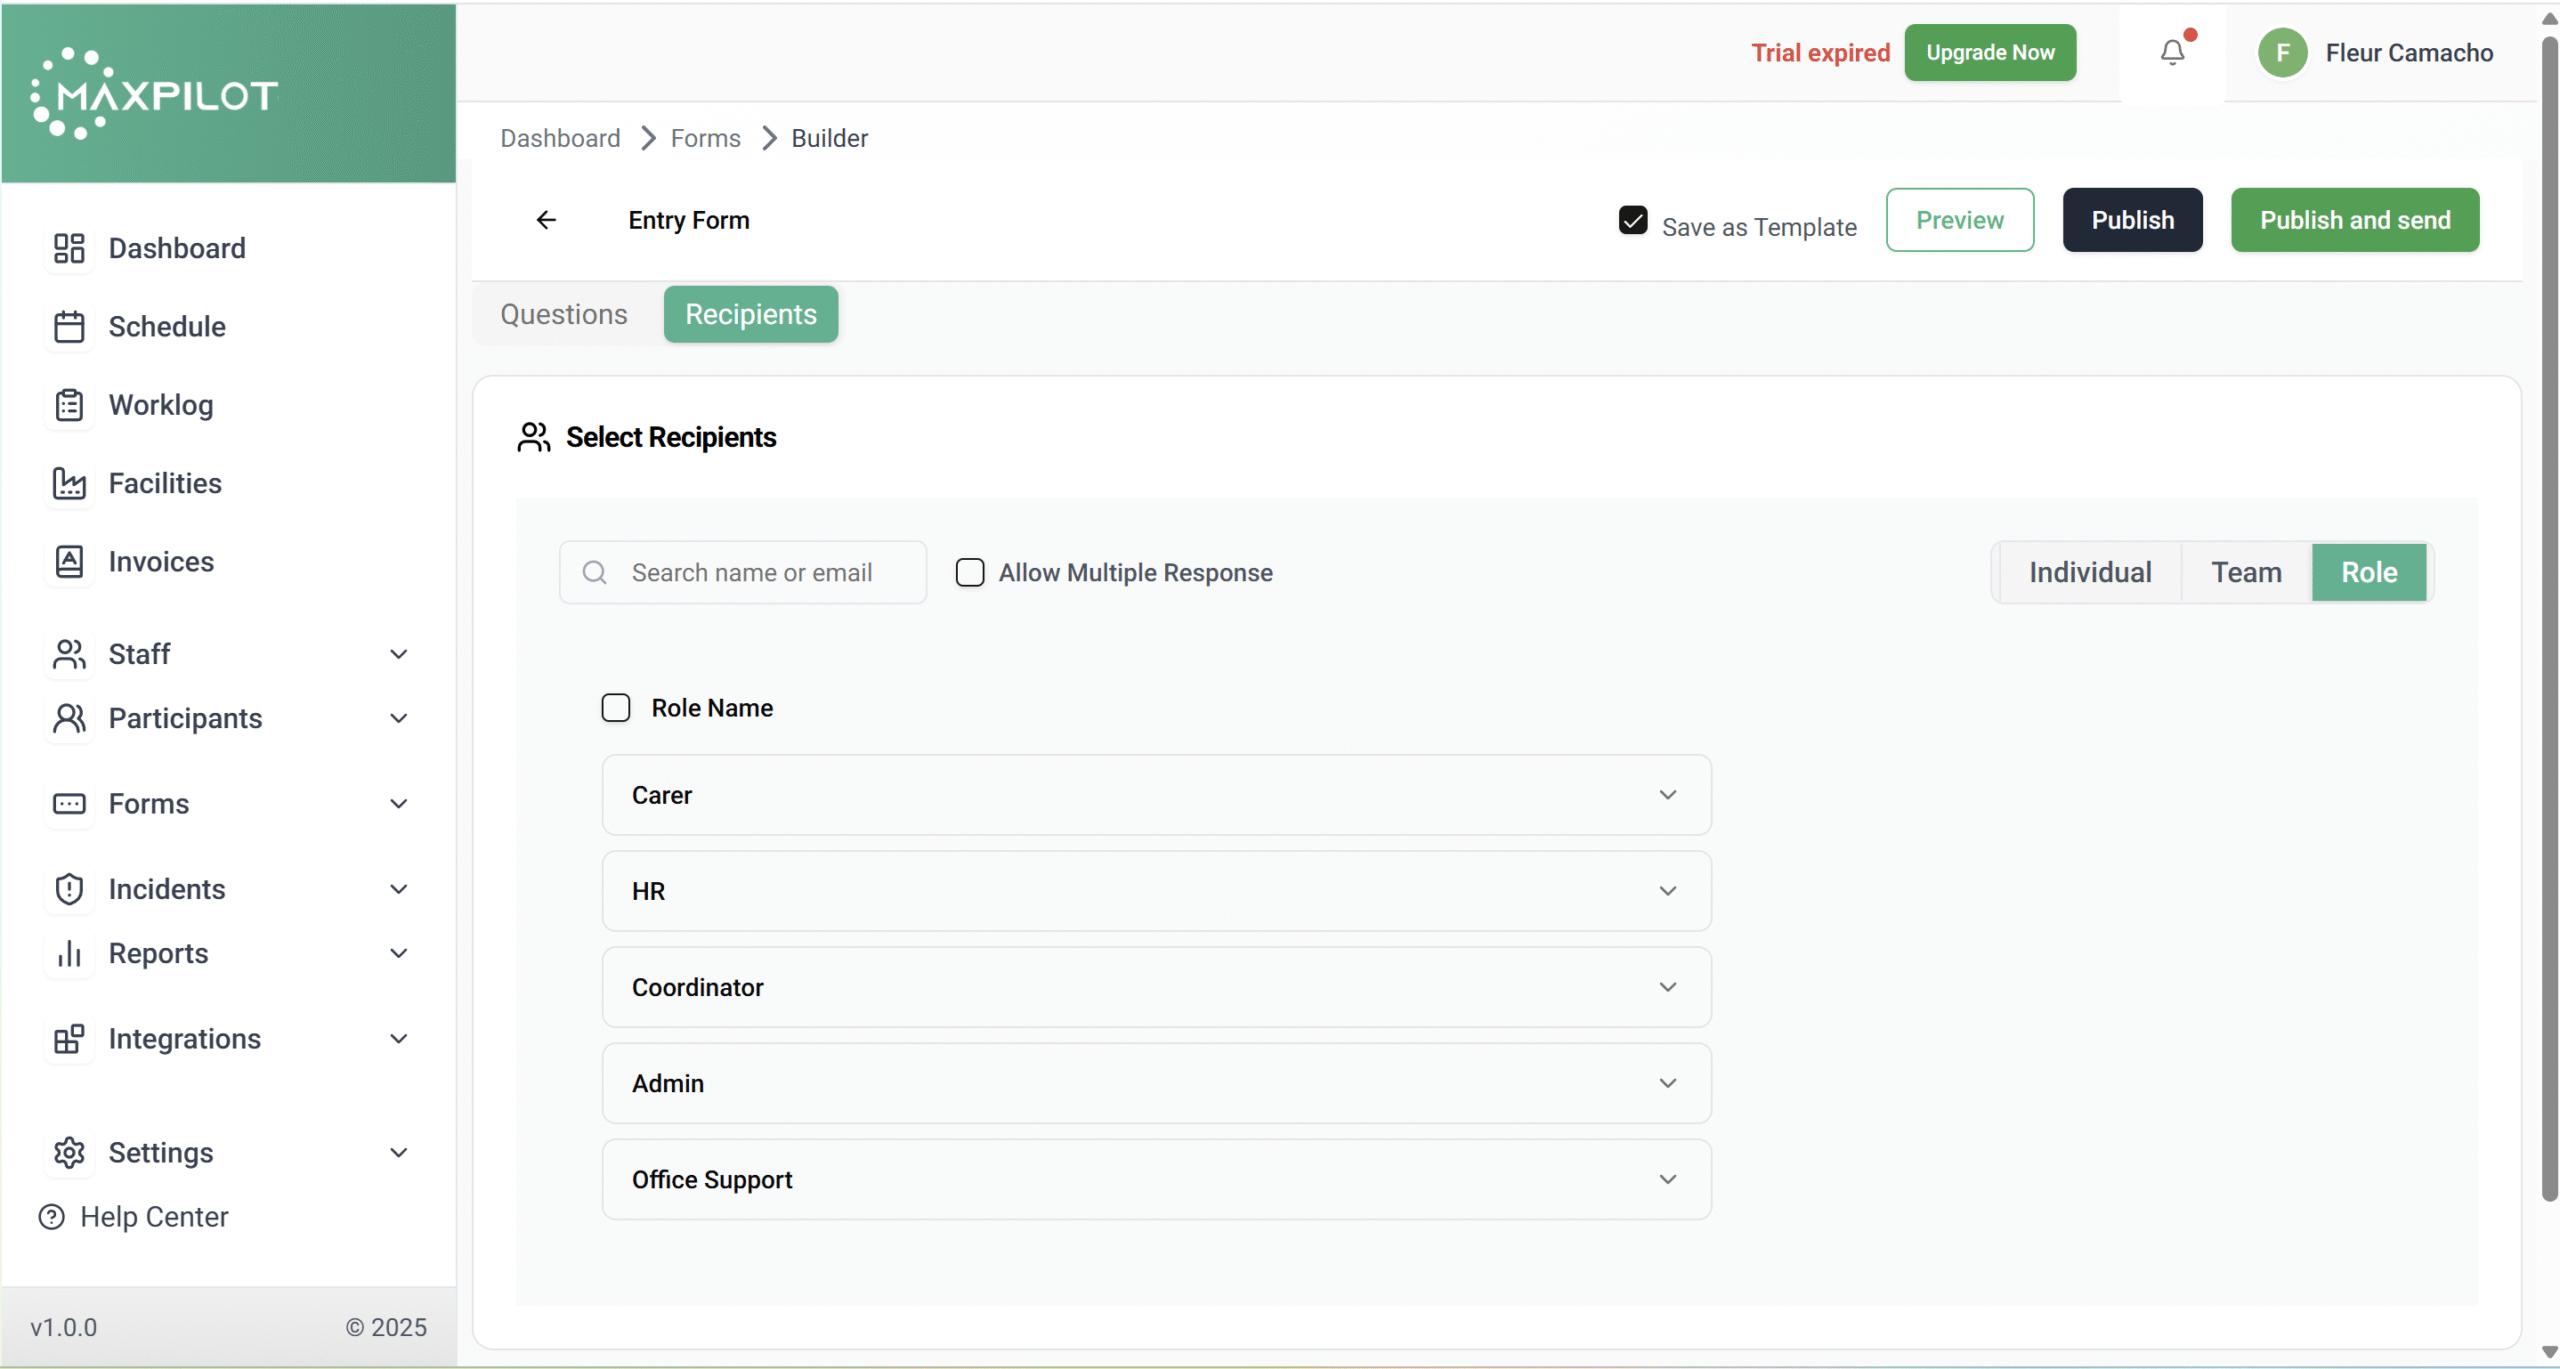
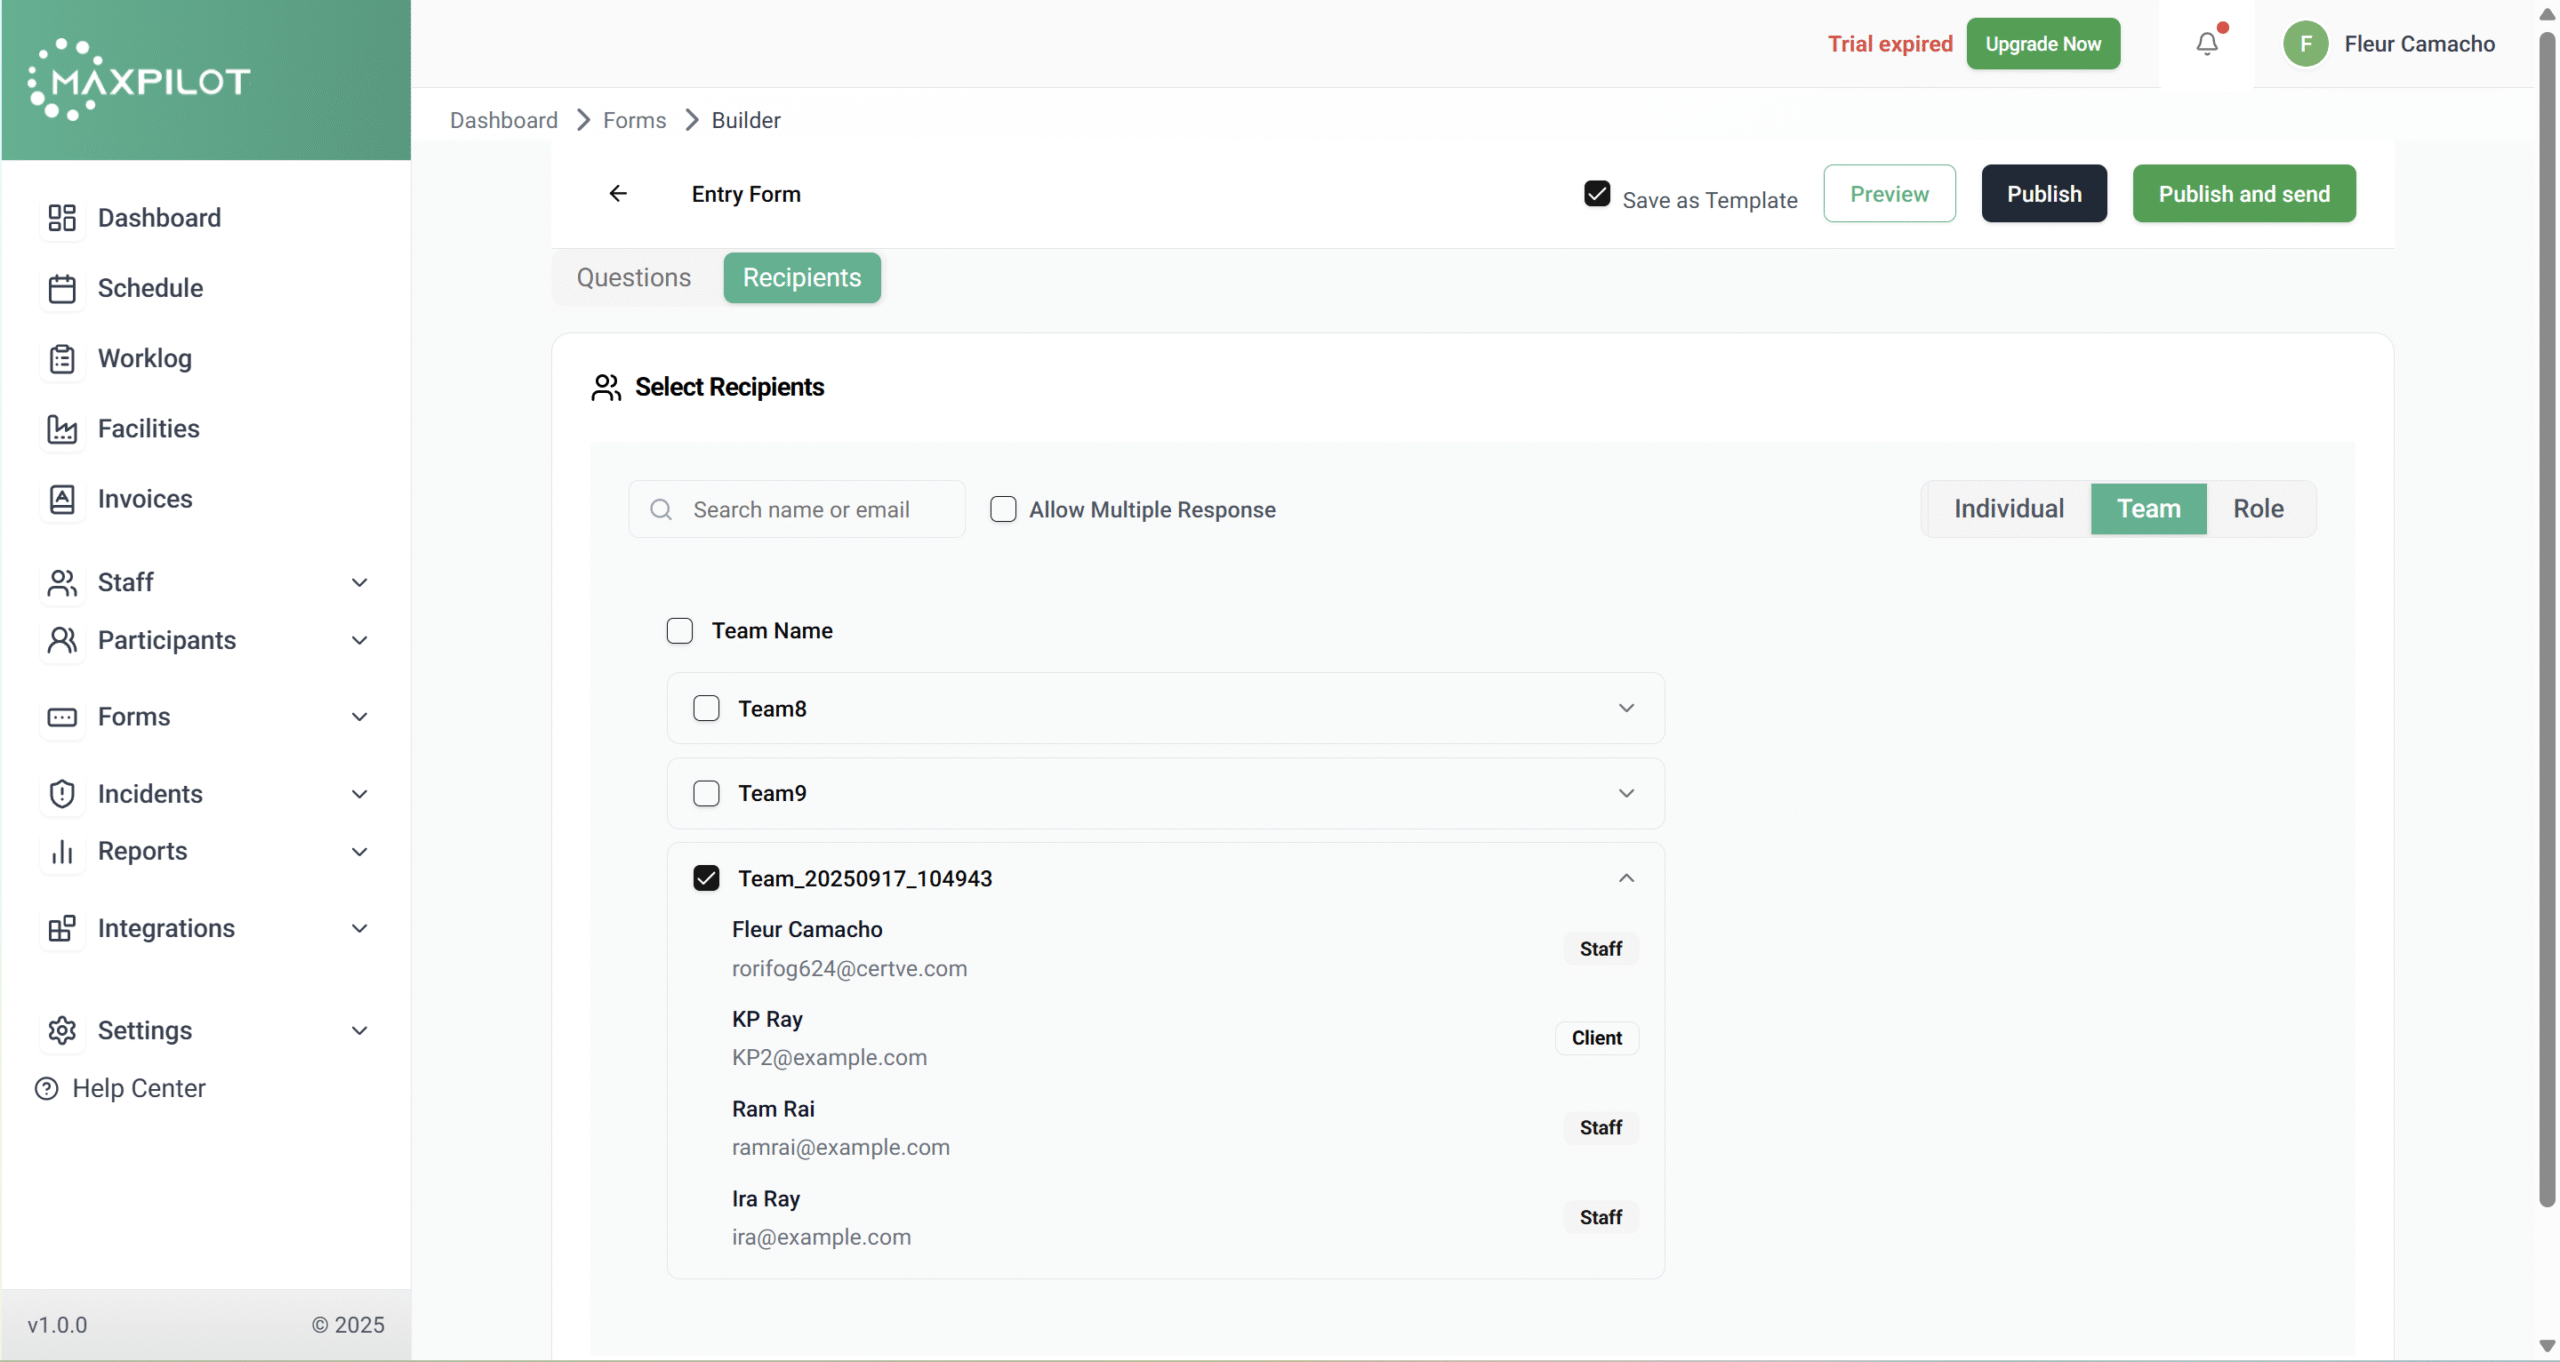
Step 5: Choose Who Will Receive the Form
Switch to the Recipients tab.
Here you can assign the form to:
You can even enable “Allow Multiple Response” if multiple people need to fill it out separately.
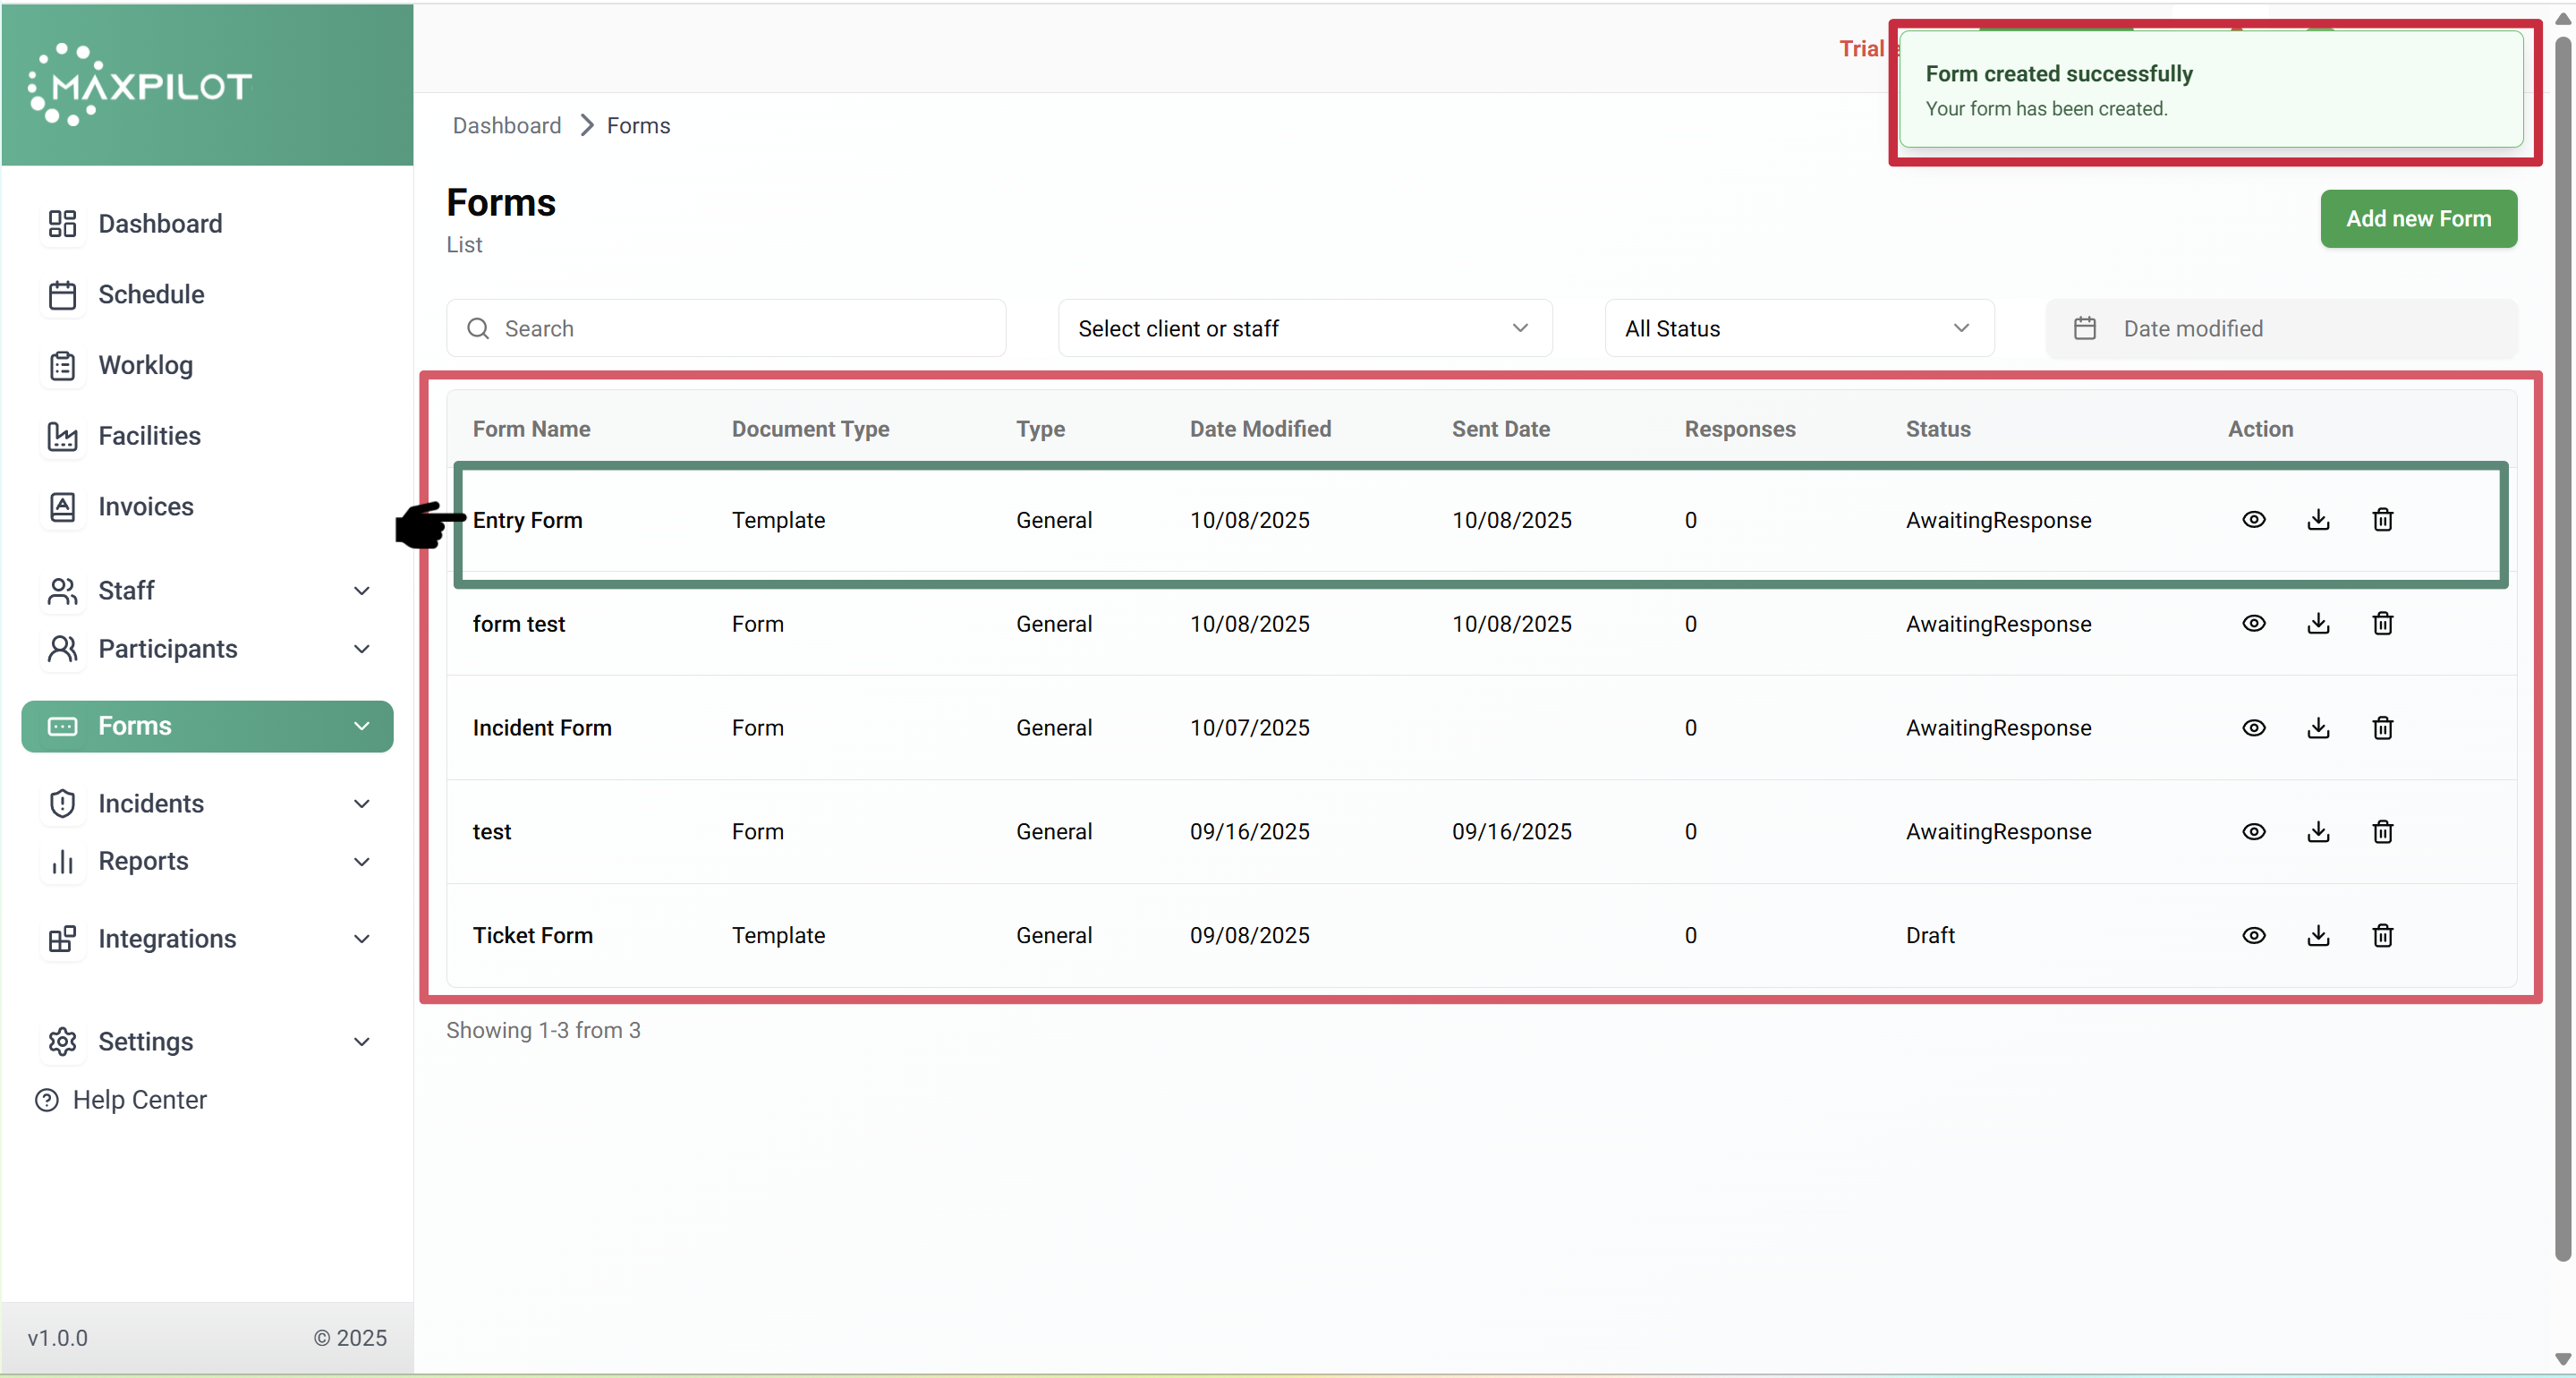
Step 6: Publish or Send the Form
Once satisfied with your design:
After the form is published, a green message will confirm:
✅ “Form created successfully.”
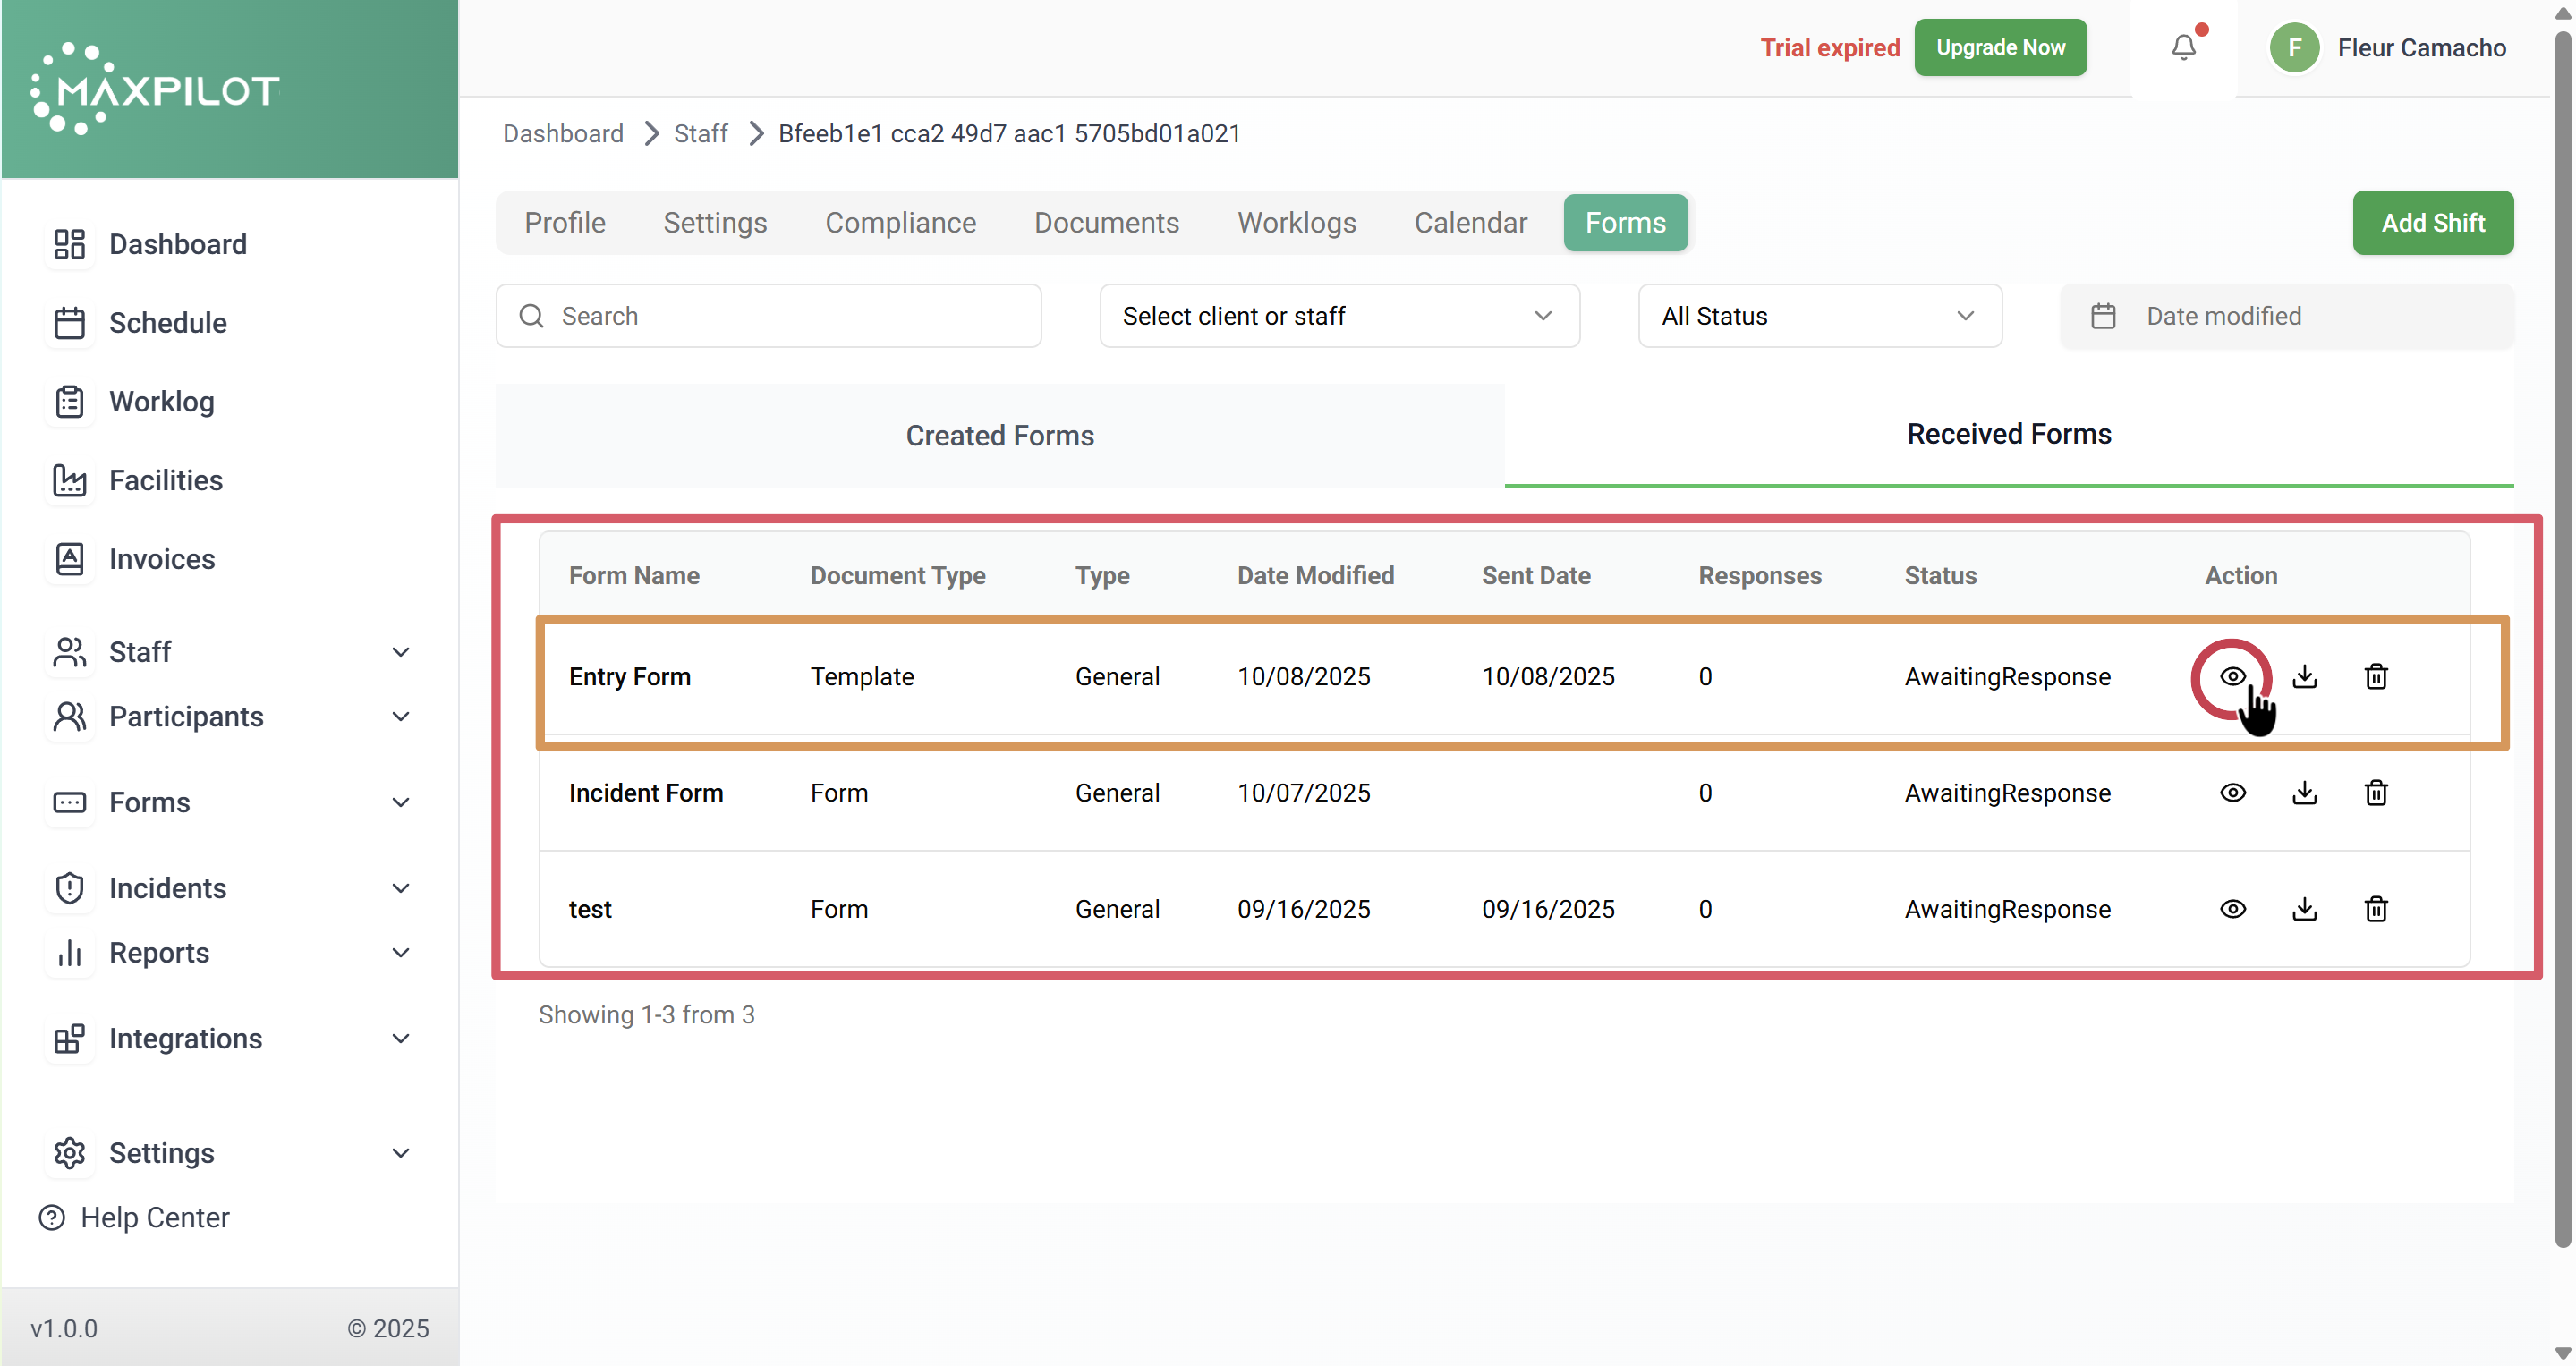
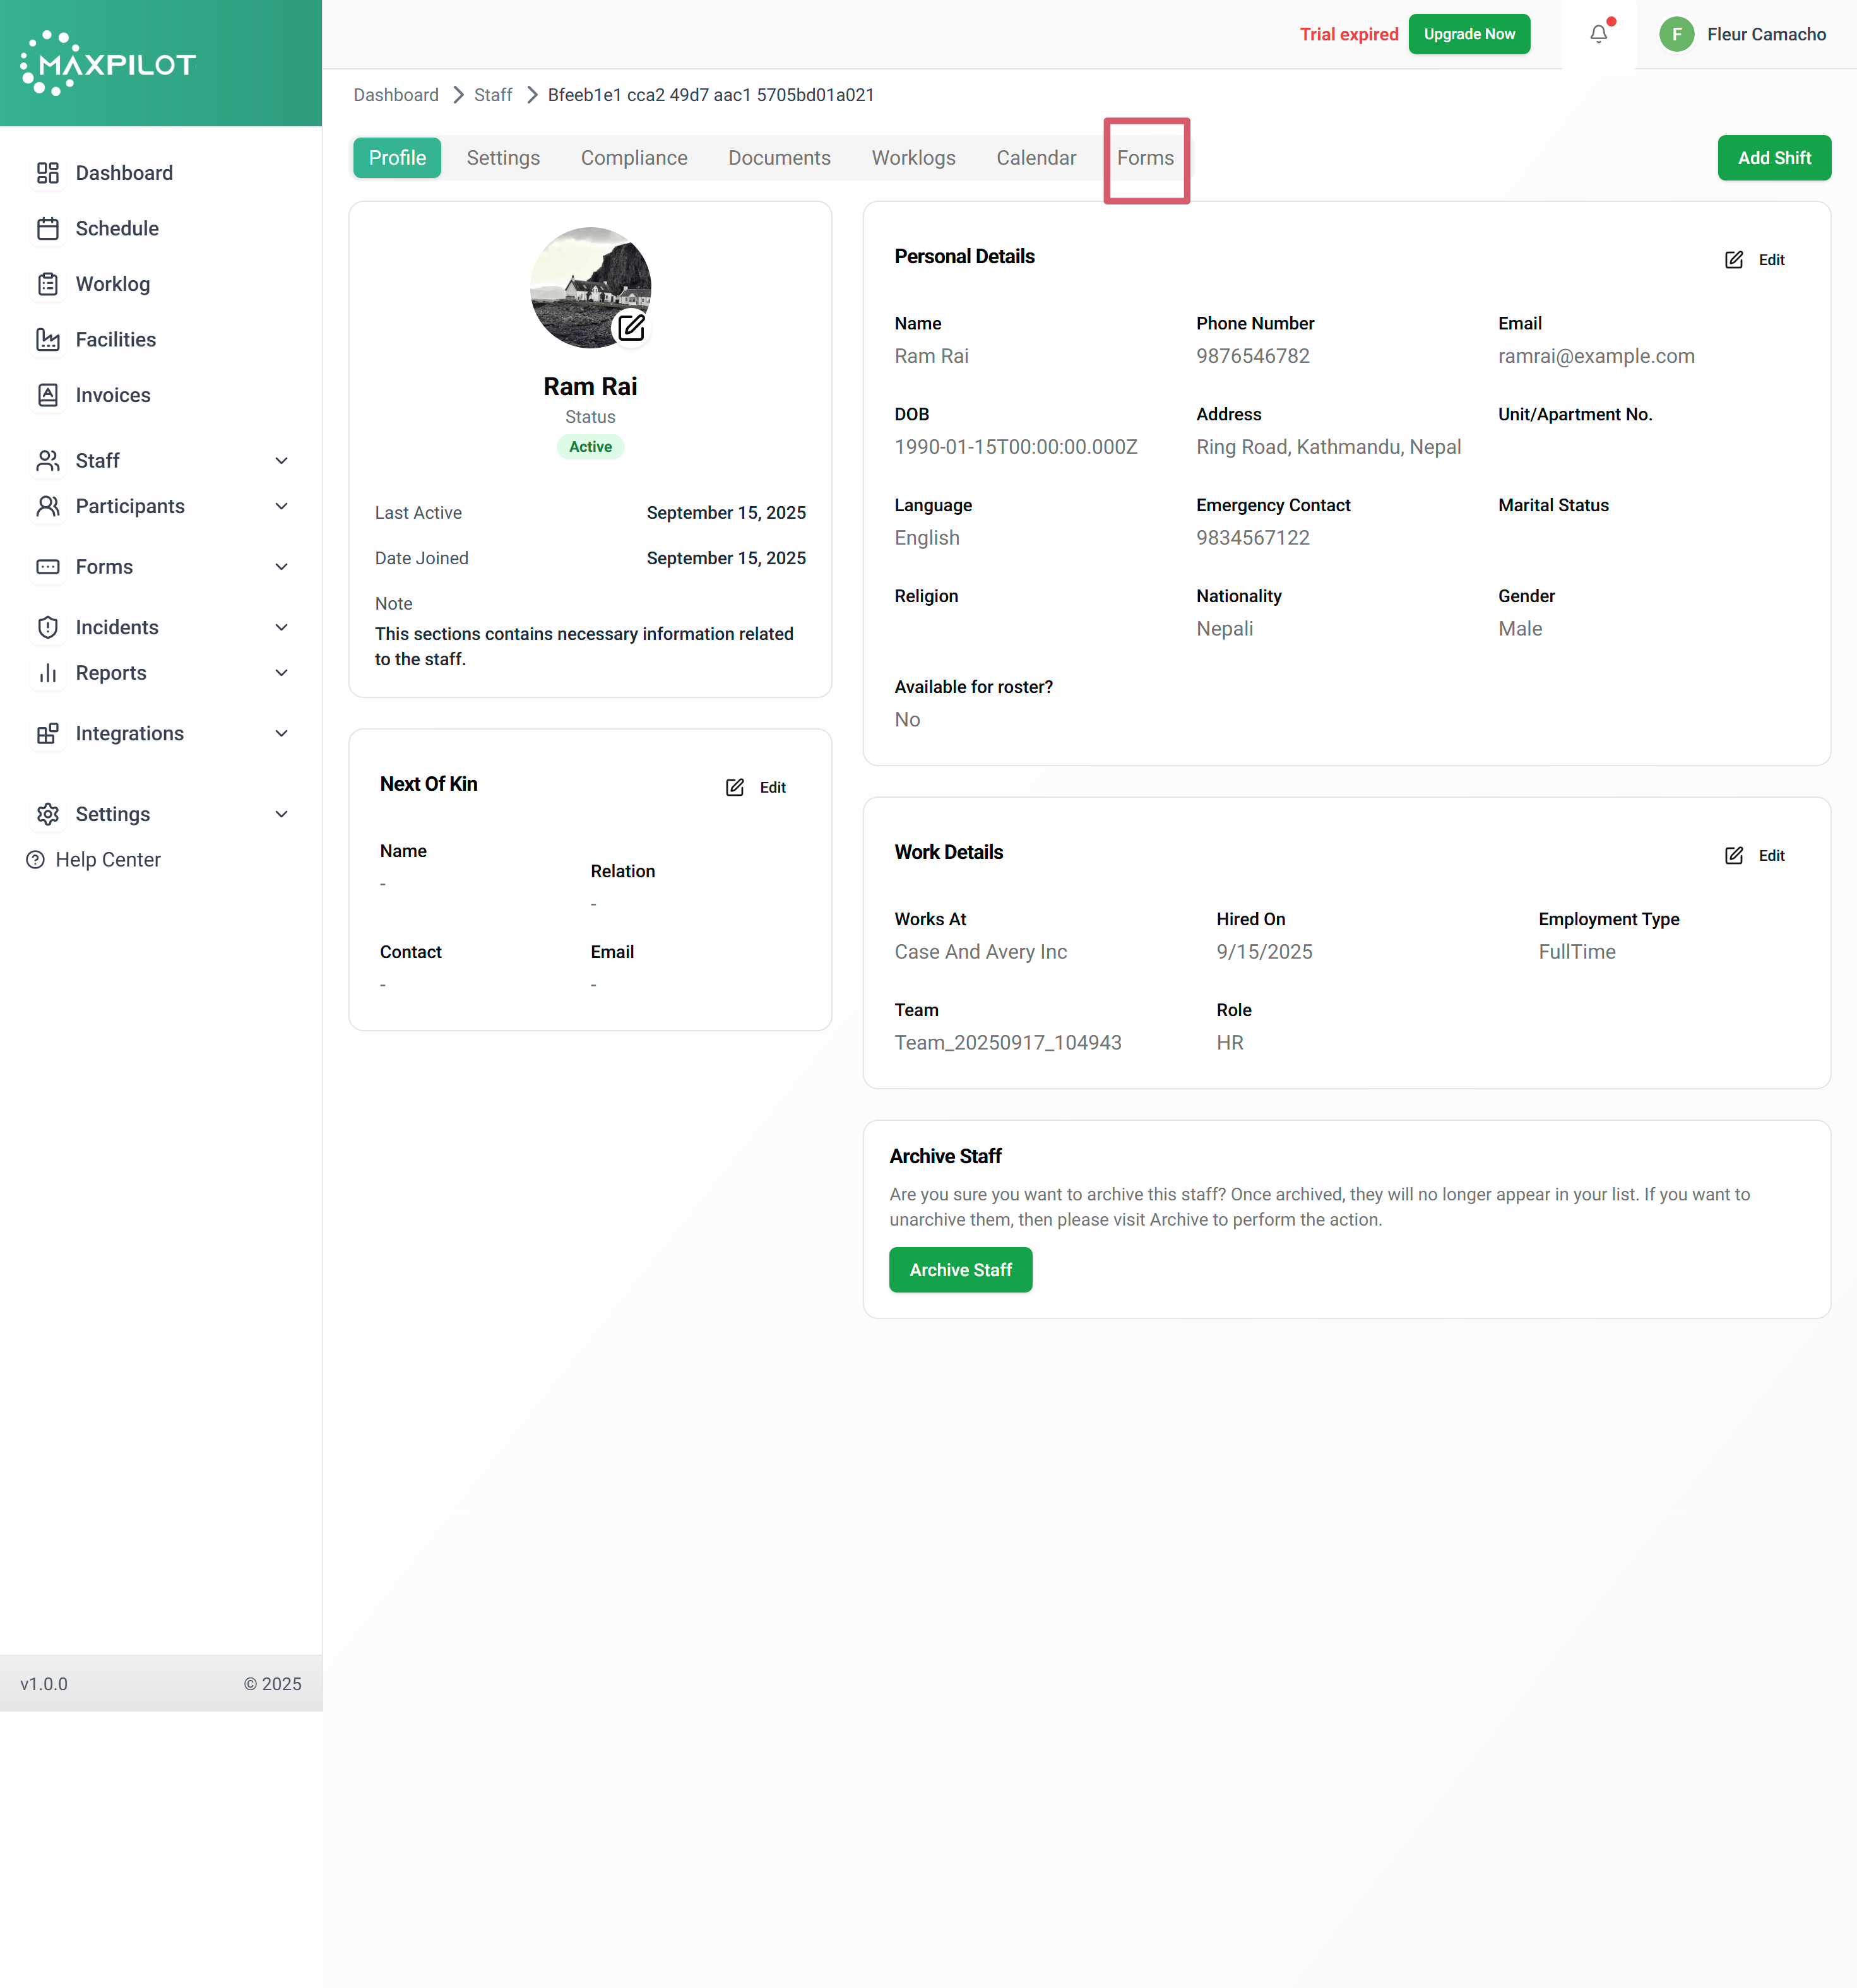
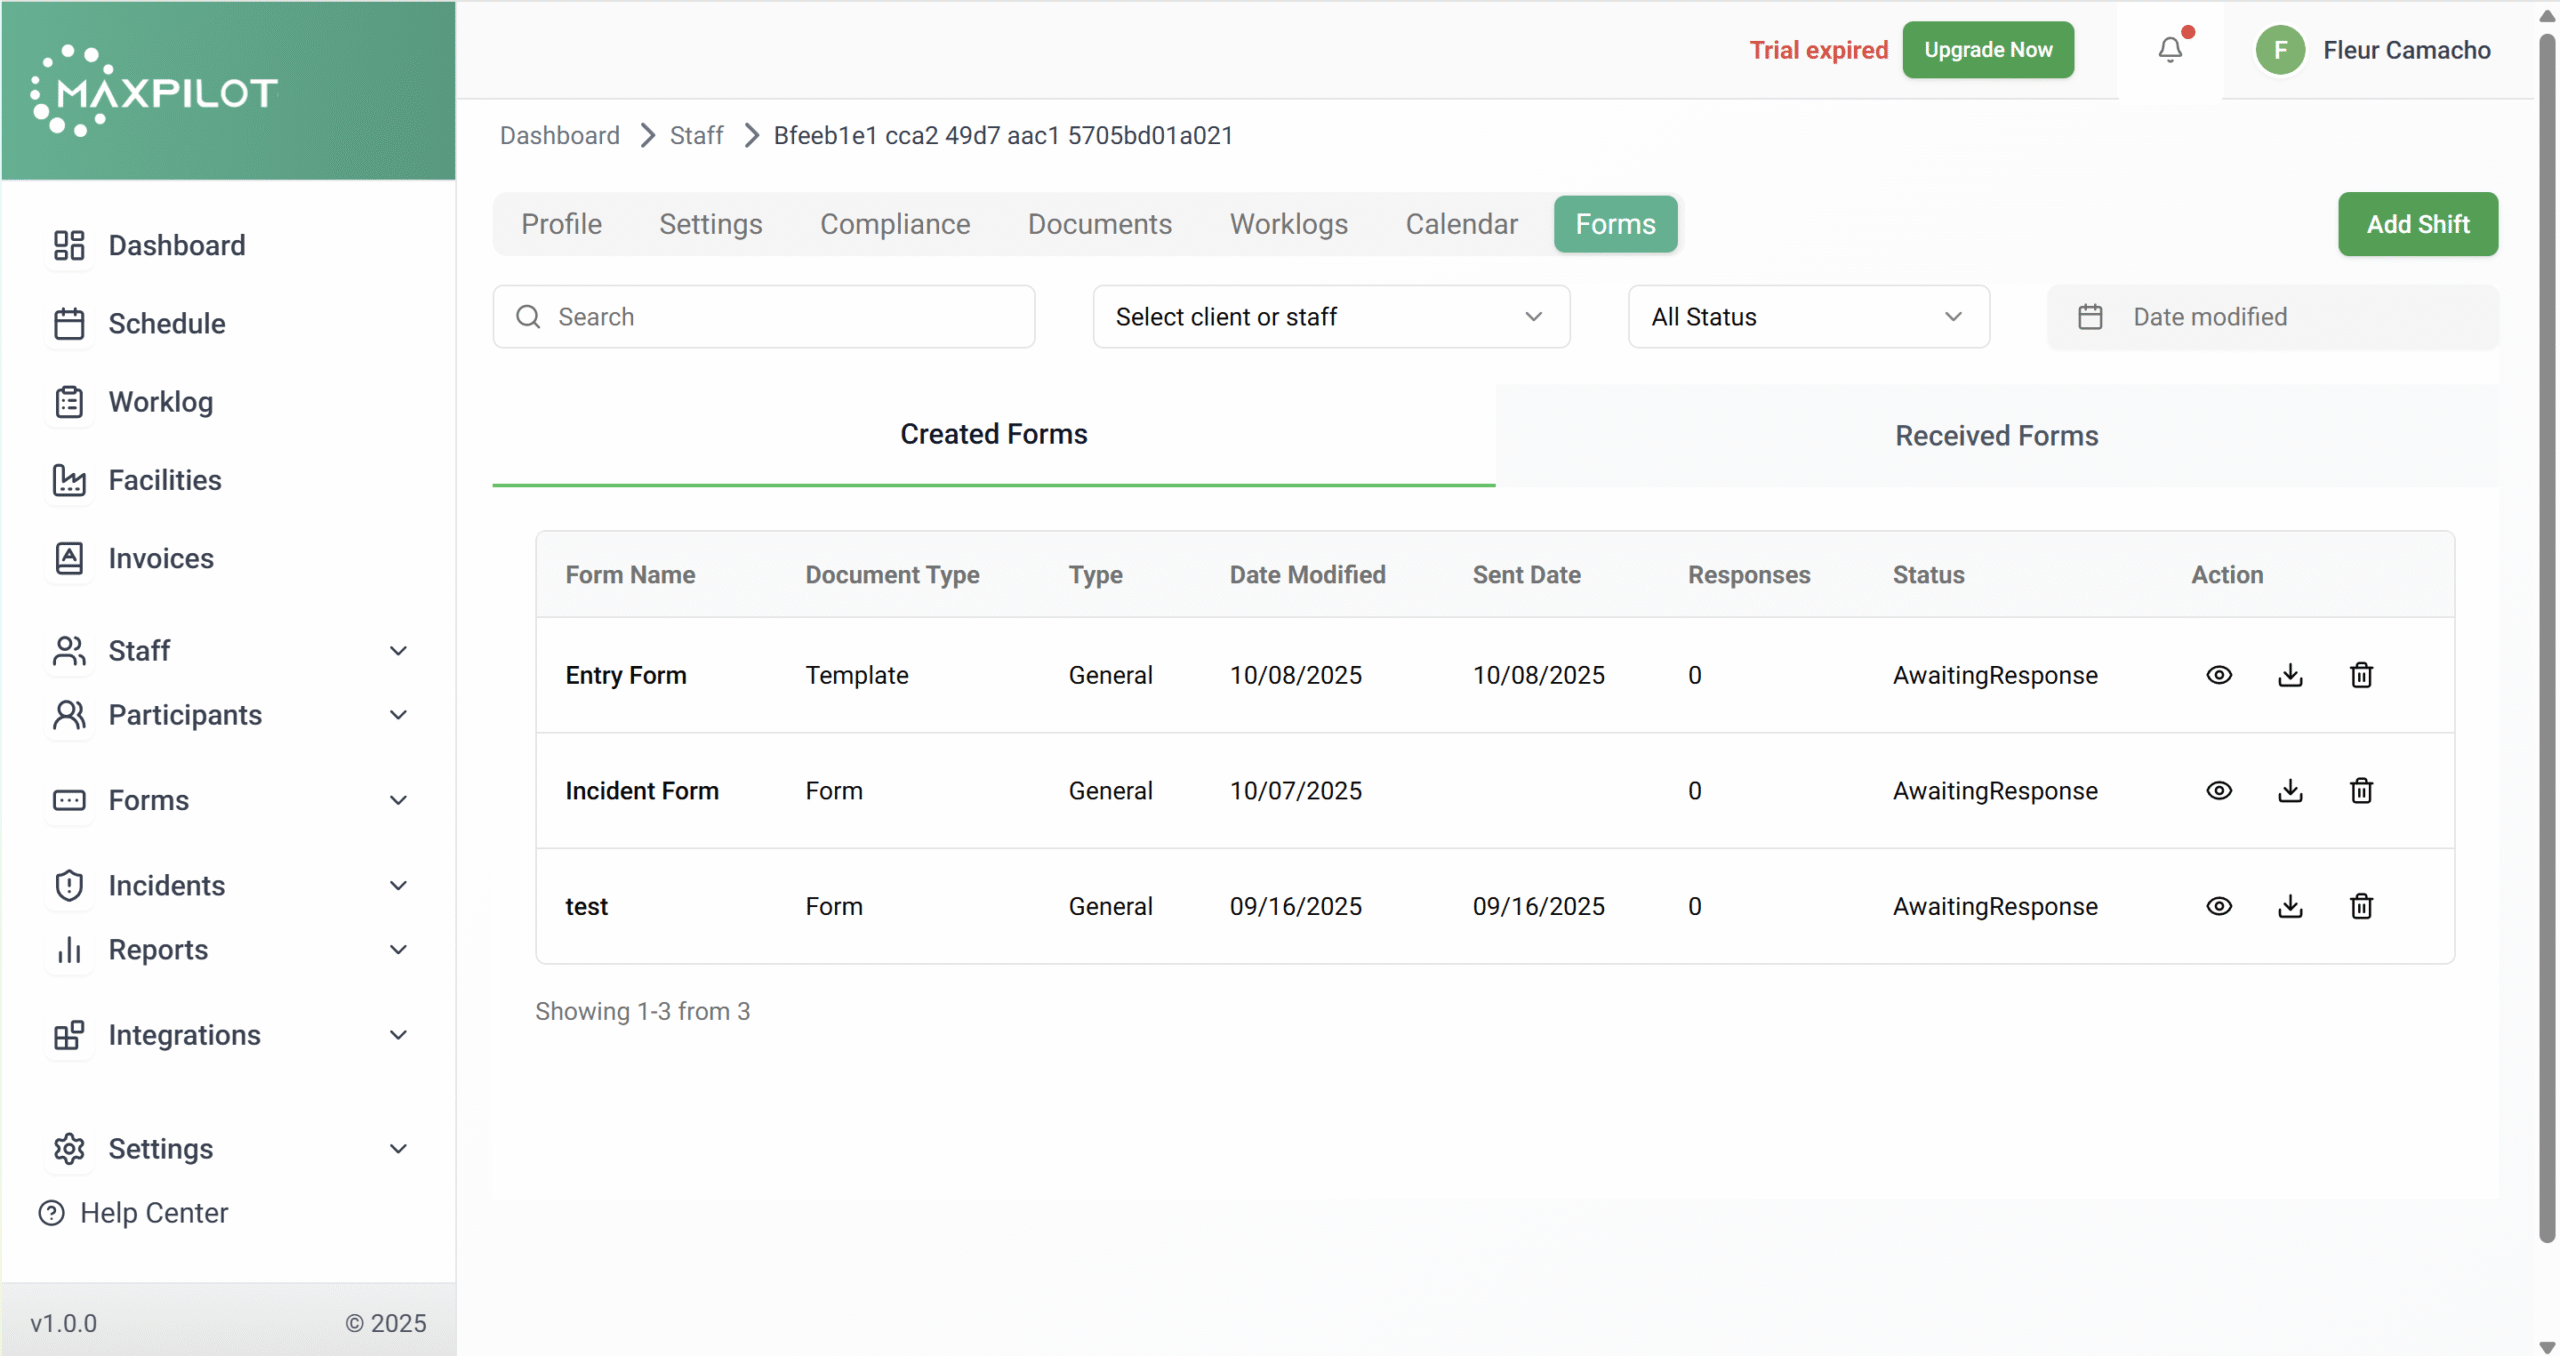
Step 7: View Staff and Assigned Forms
To confirm form delivery or track specific responses:
You’ll see both Created and Received Forms, along with their status (Awaiting Response, Completed, etc.).

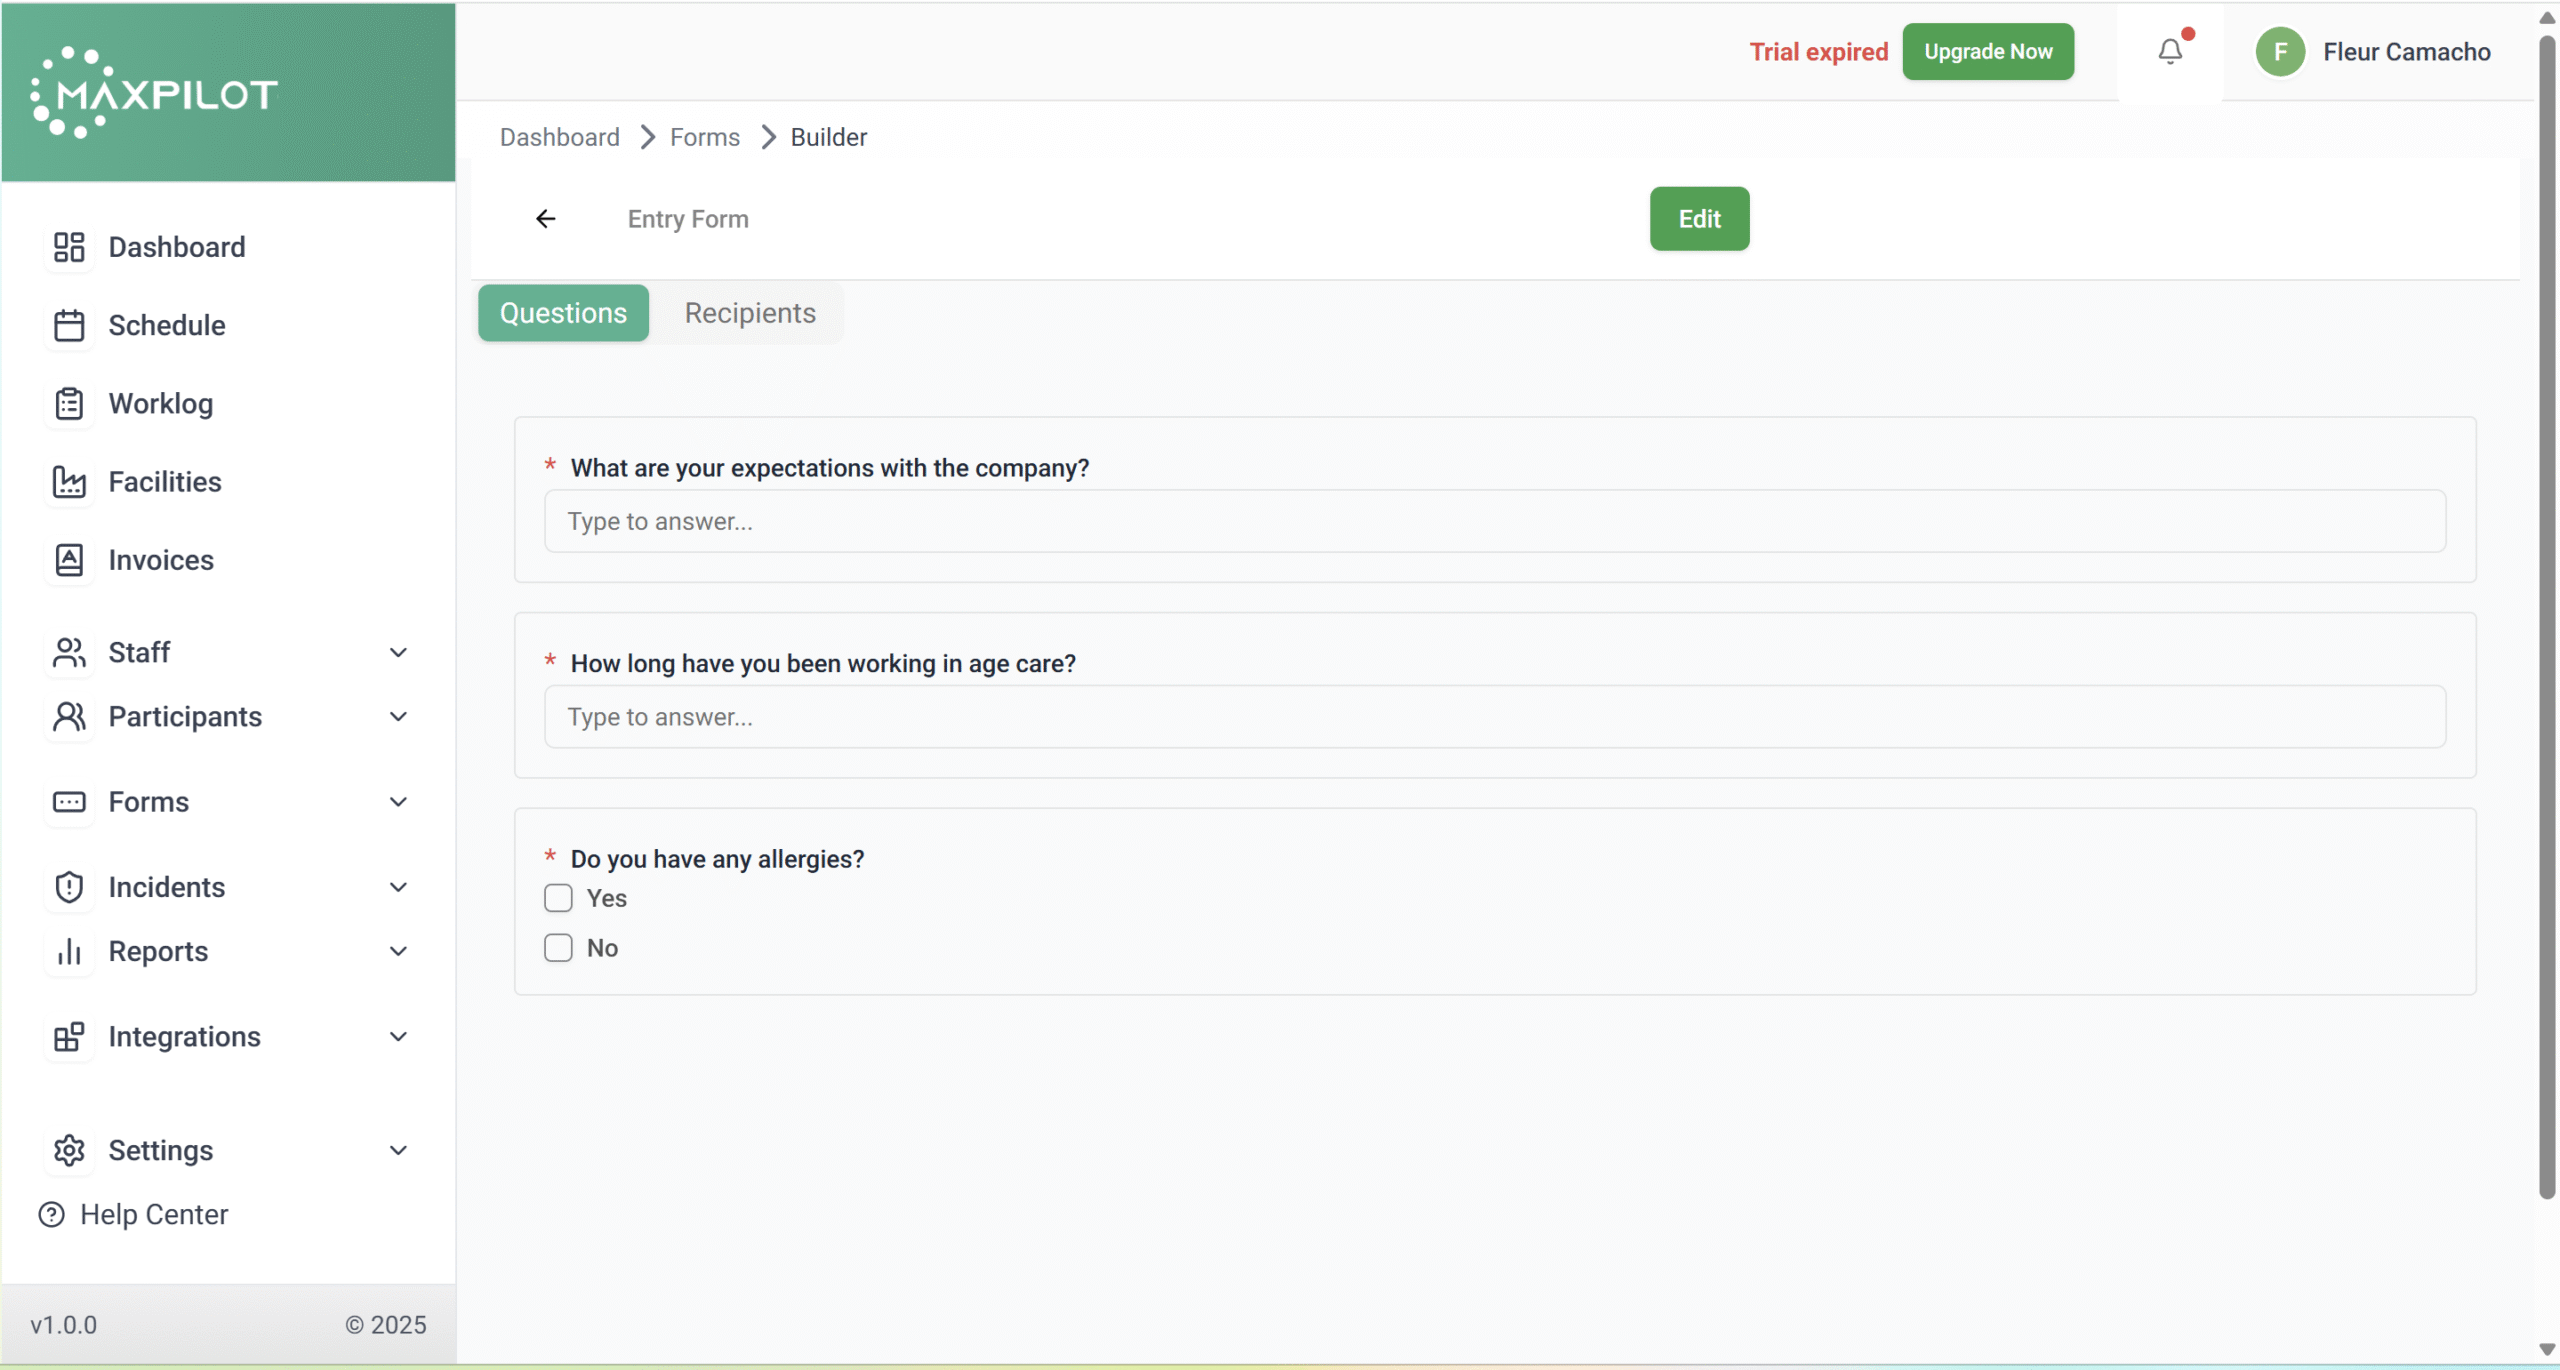
Step 8: Preview or Review Form Responses
Click the eye icon (👁) next to a form to open its details.
This shows all questions and current responses. Admins can verify information or make edits if the form is still in progress.