How to Add Funds in Participants?
To manage participant budgets and track financial allocations, you can easily add funds directly from the Participant’s profile. This feature helps organizations monitor spending limits, start and expiry dates, and set default fund options for billing or scheduling.
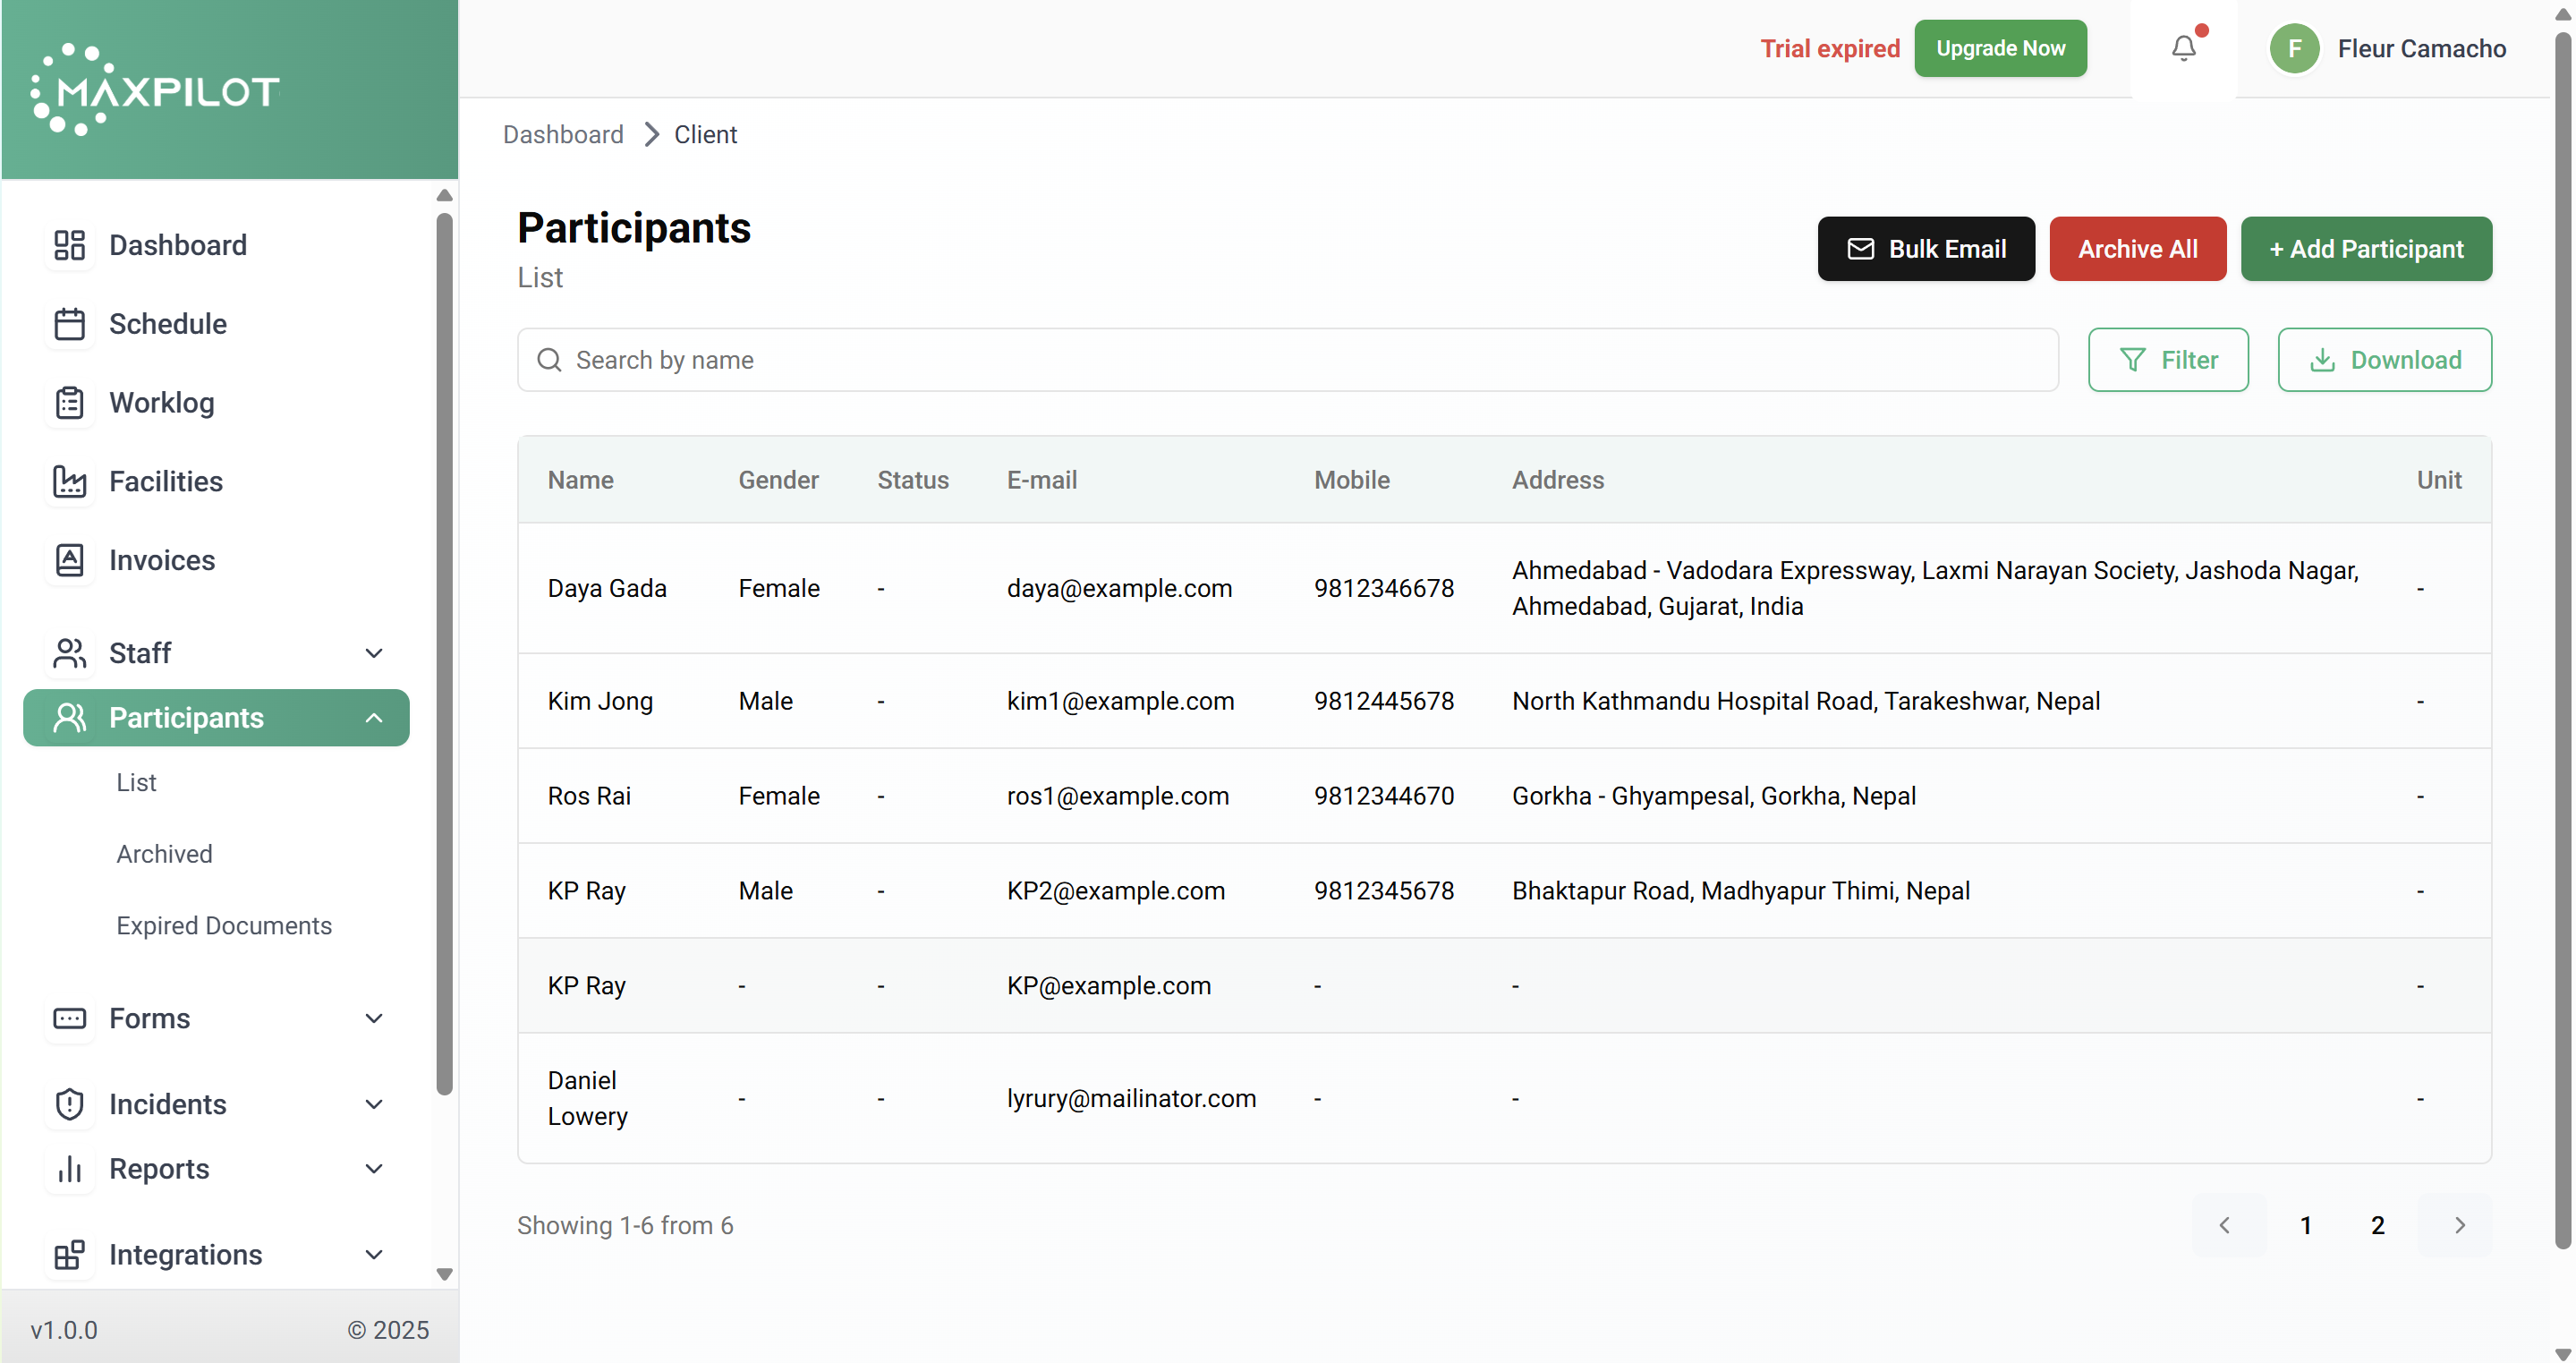
Step 1: Open the Participants Page
Go to the left-hand menu and click Participants → List. You’ll see a list of all participants along with their details such as name, gender, email, phone number, and address.
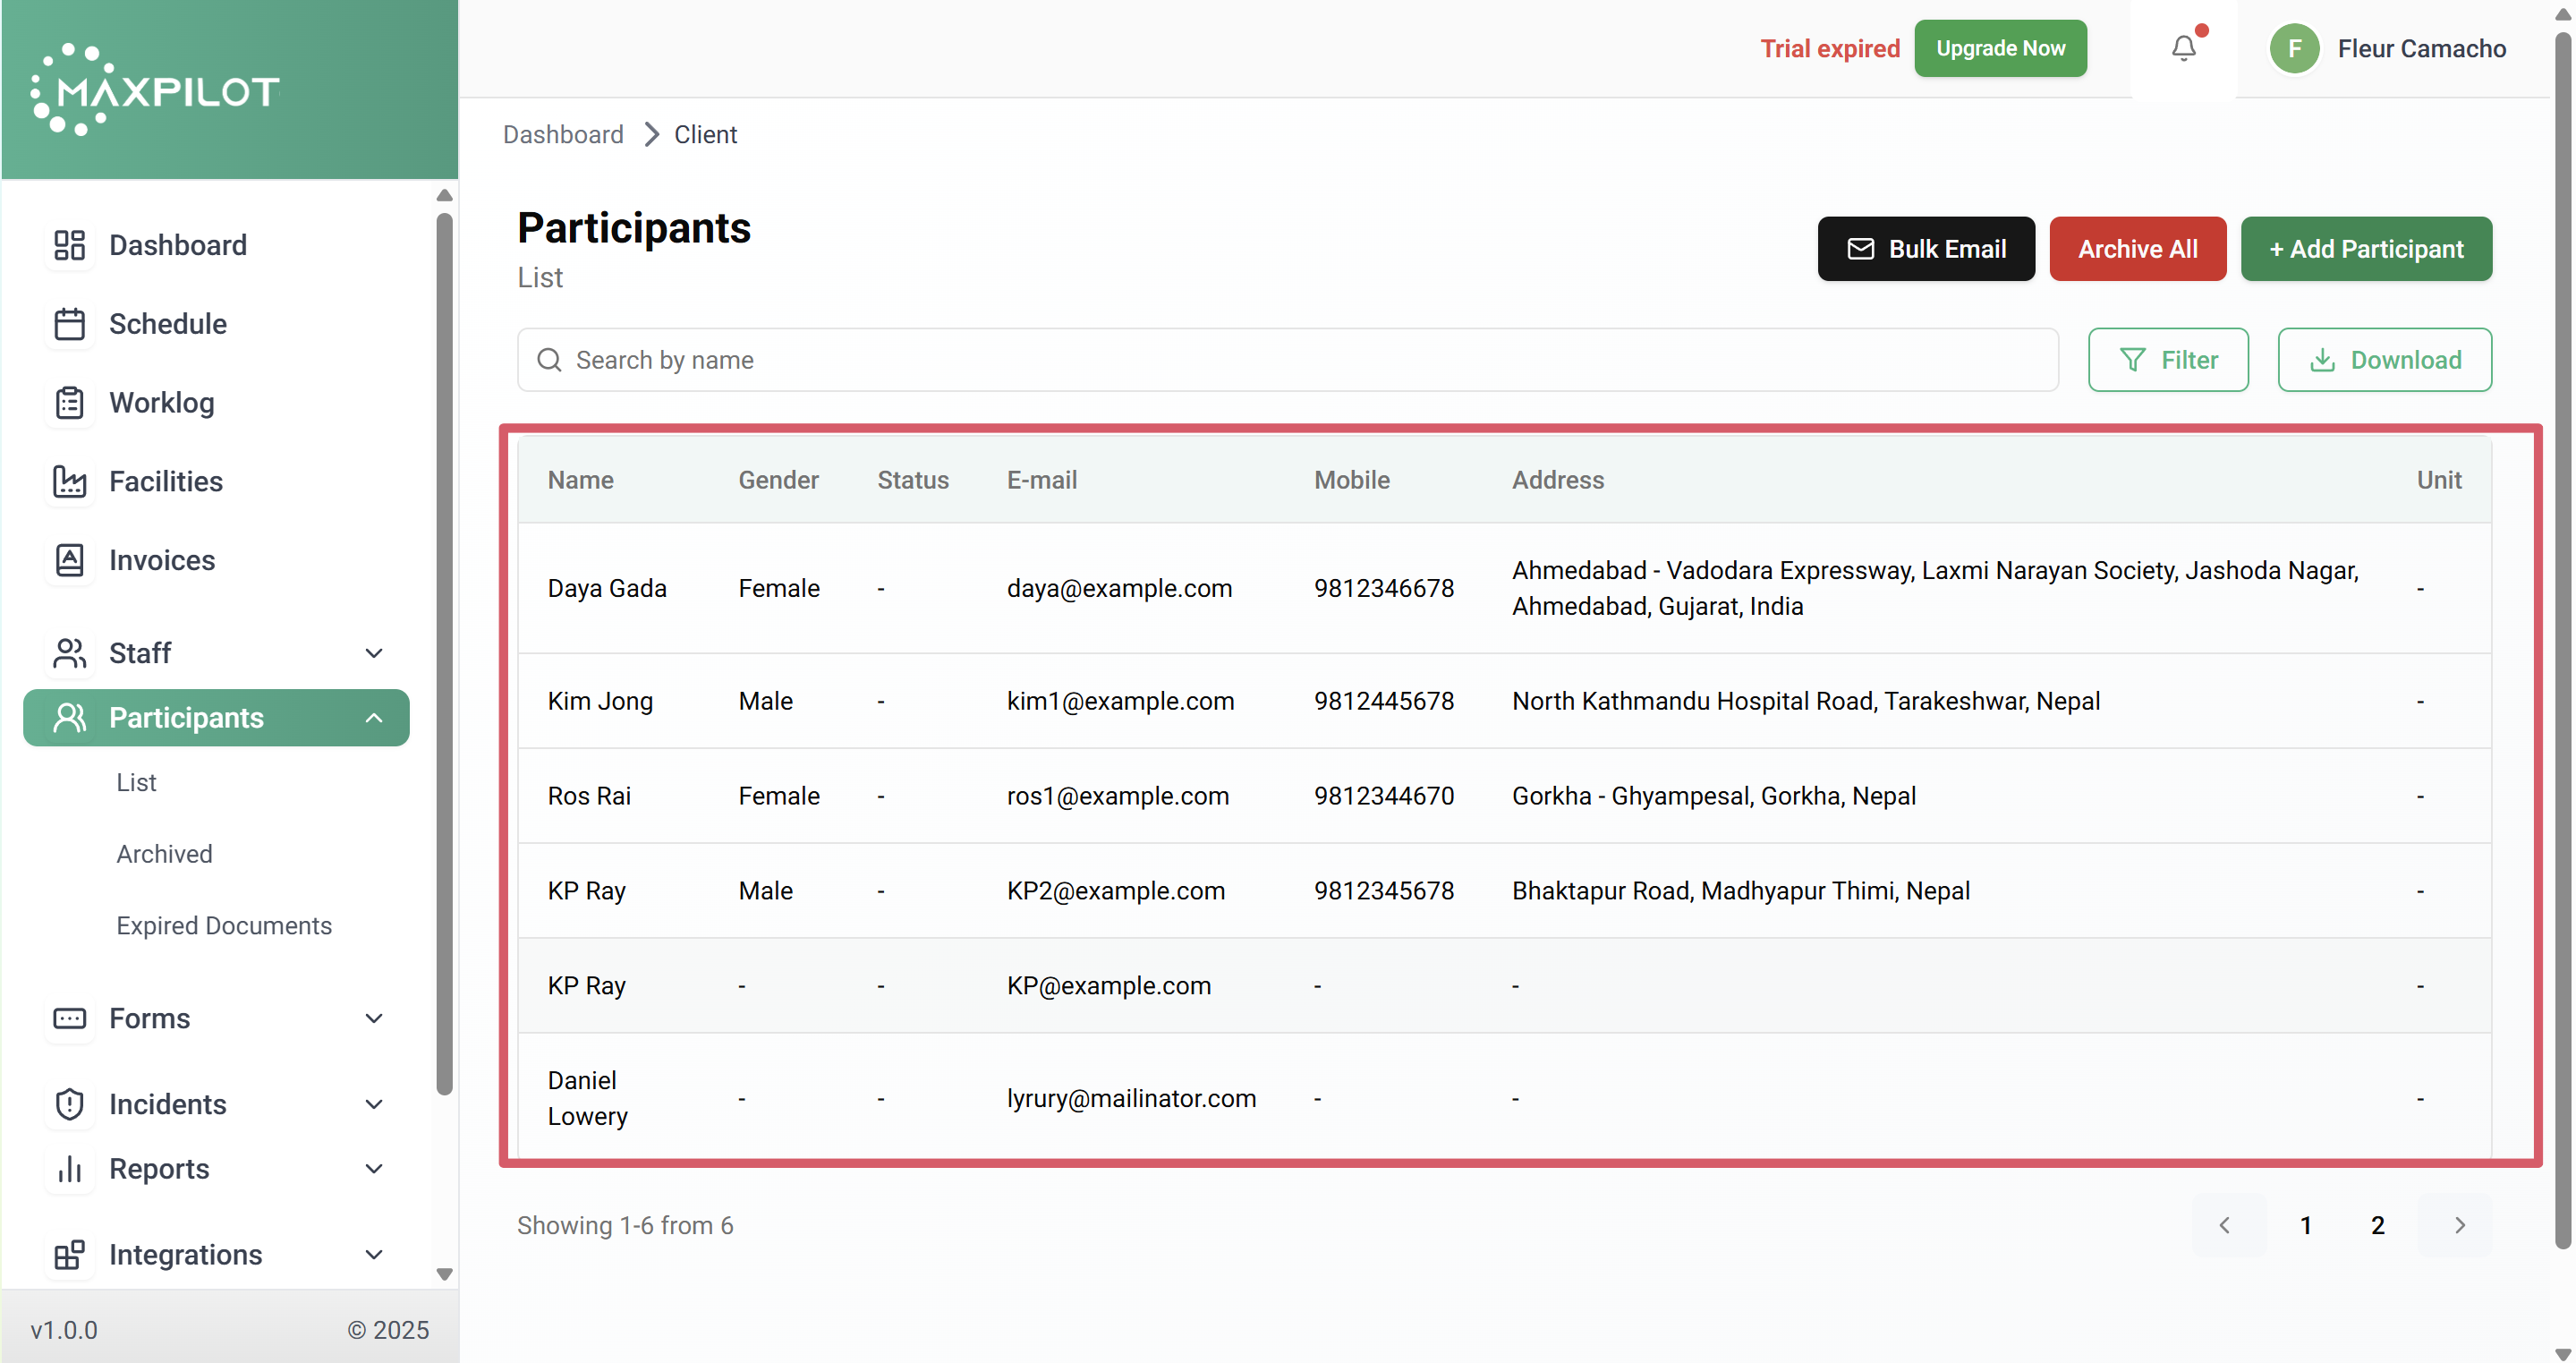
Step 2: Select the Participant
From the list, click on the participant’s name for whom you want to add funds. This will open their profile page displaying personal, public, and financial information.
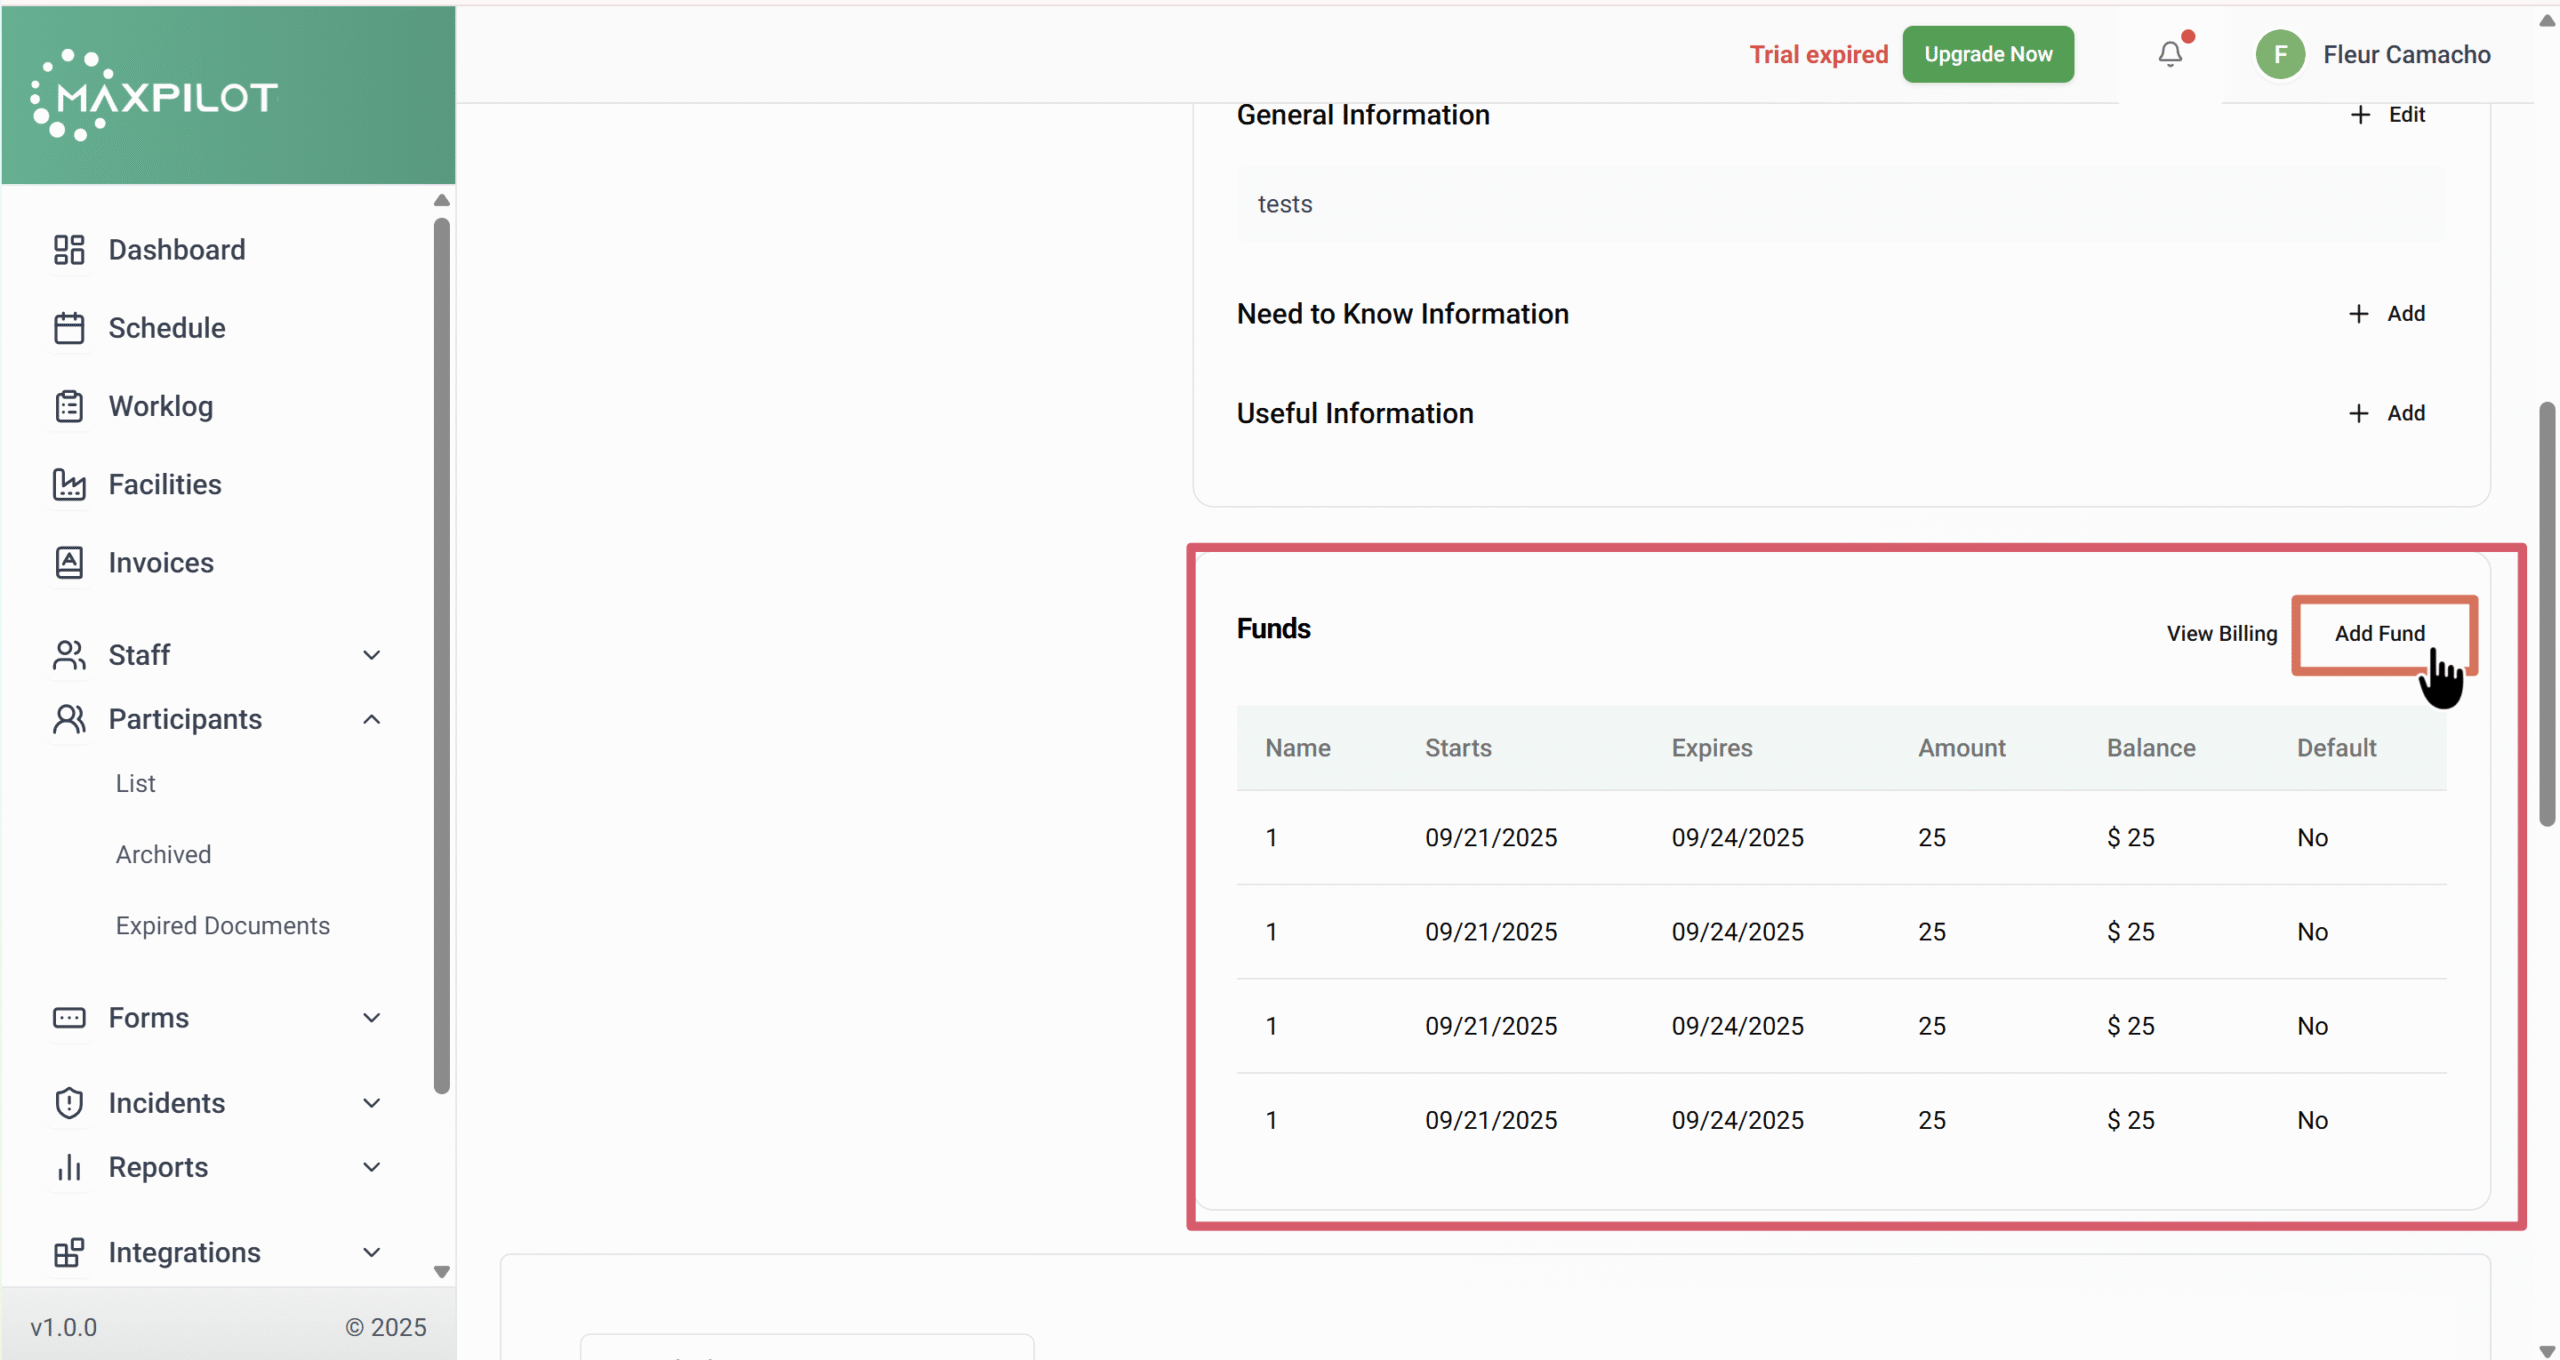
Step 3: Go to the Funds Section
Scroll down to find the Funds section on the participant’s profile. This area lists all the active or previous funds linked to the participant. Click on the Add Fund button on the top-right corner of the section.
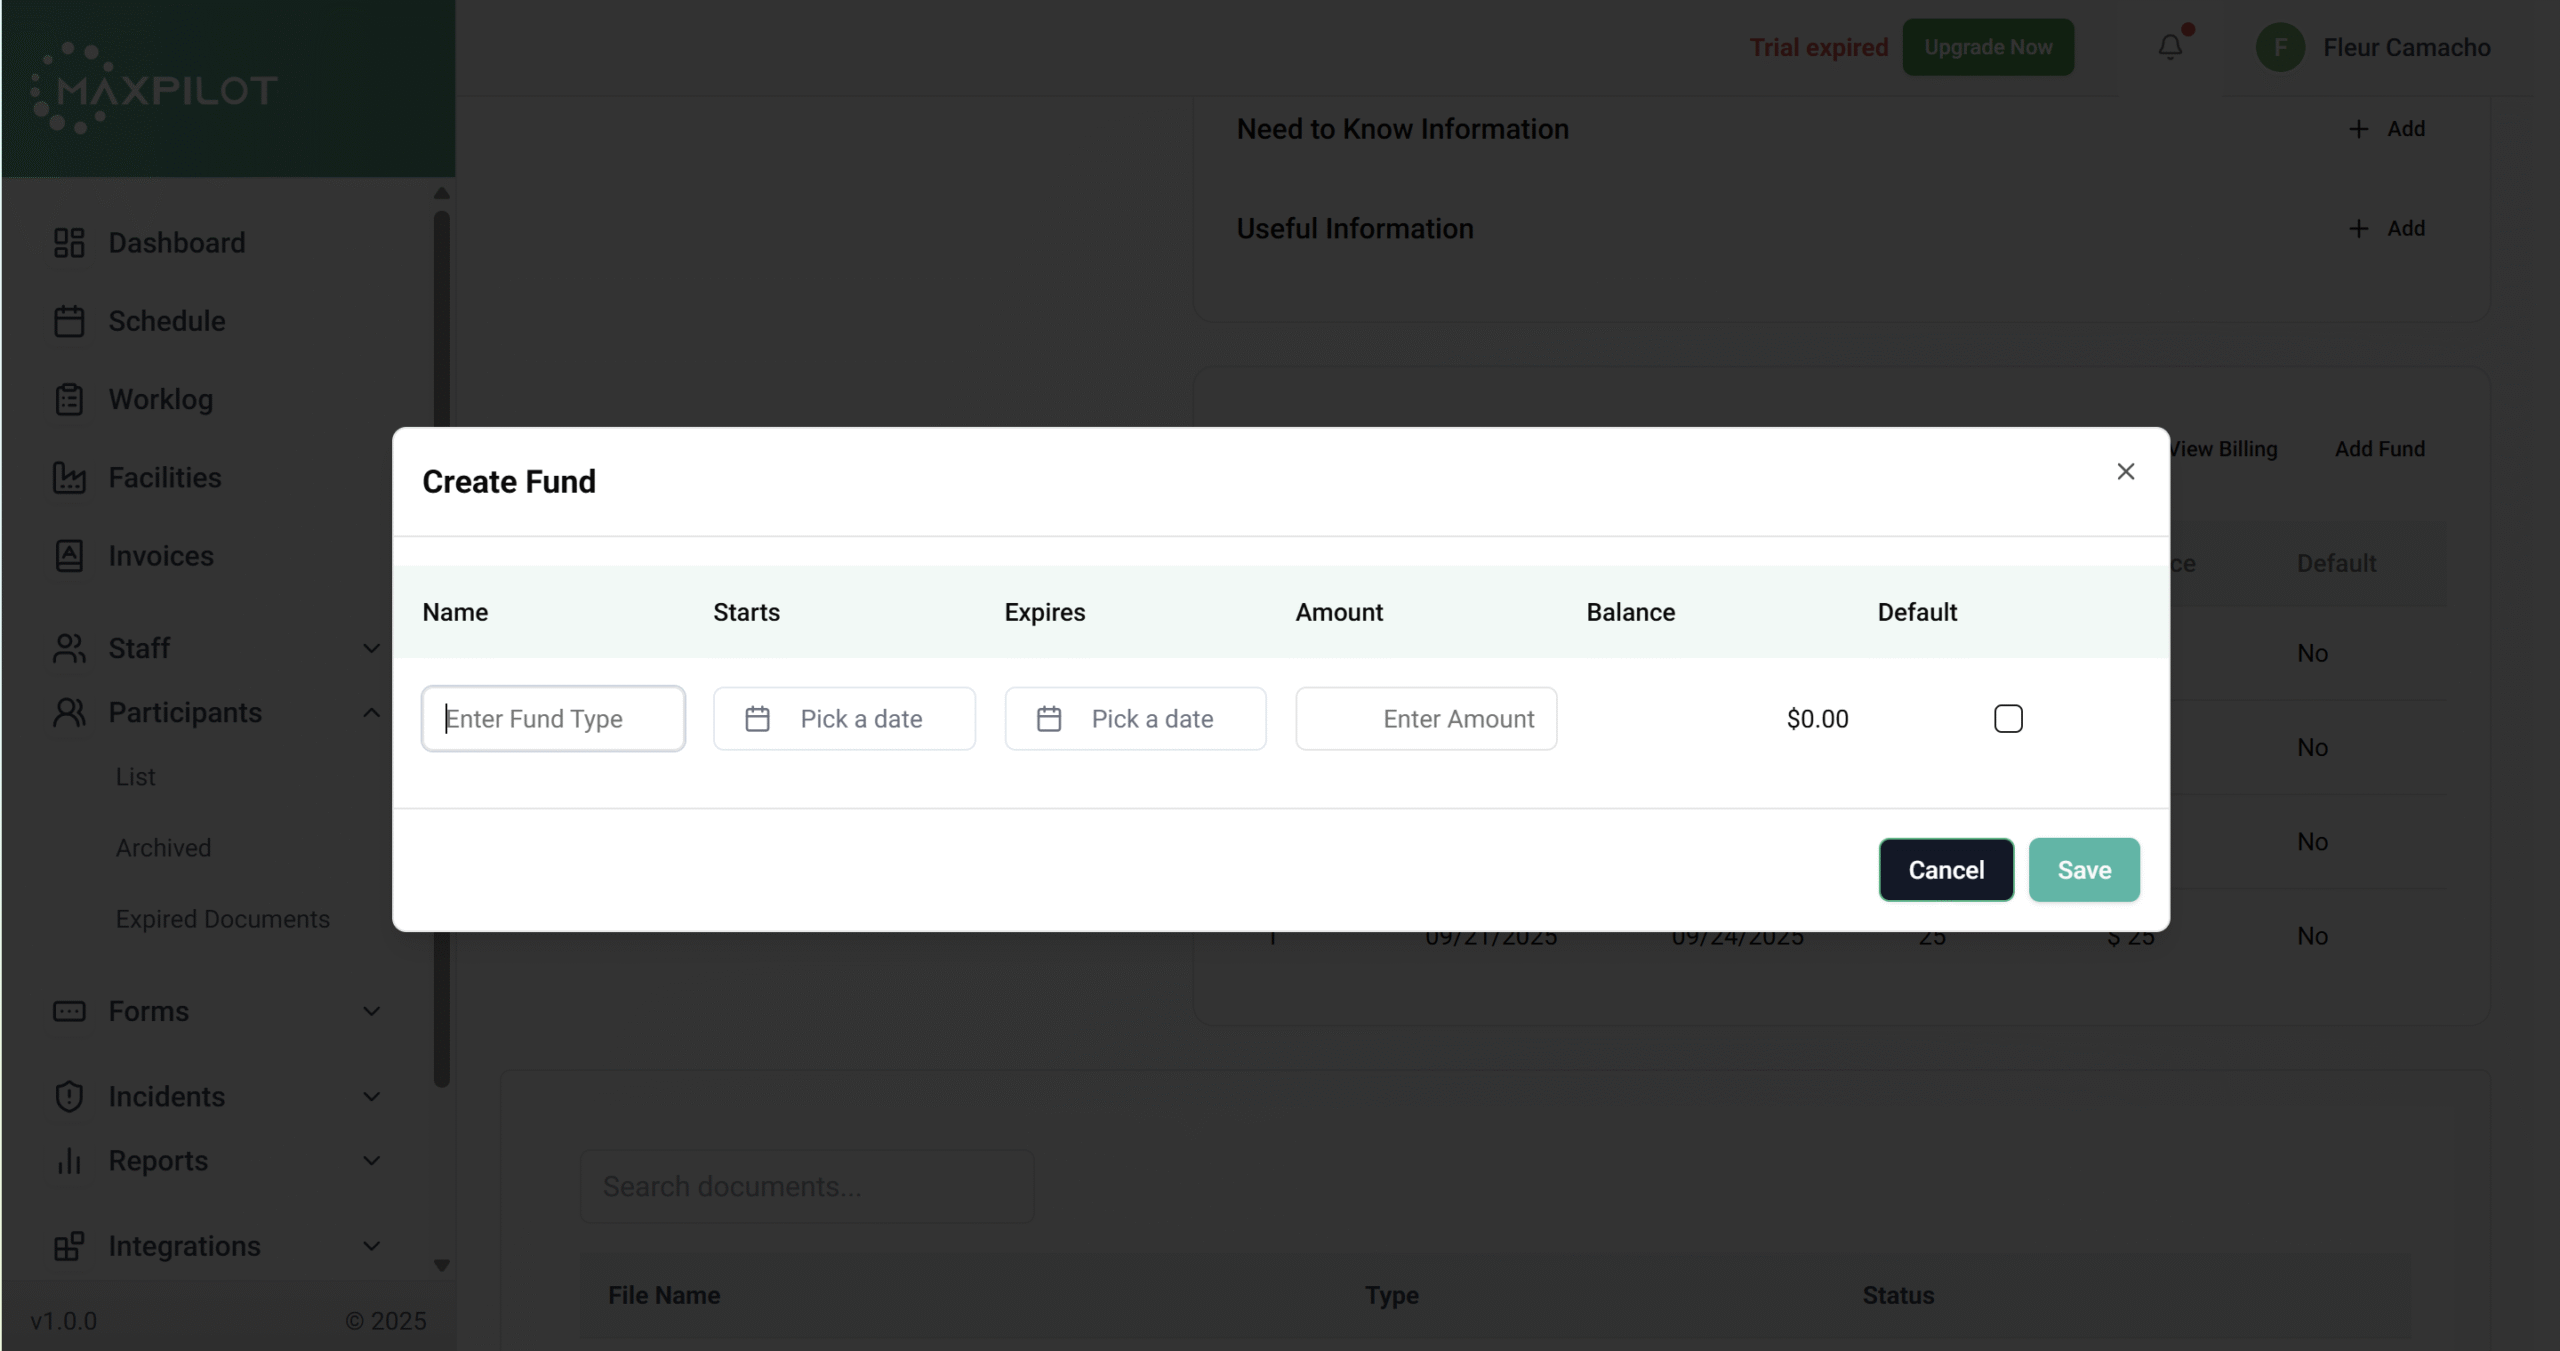
Step 4: Fill the Fund Details
A pop-up window titled Create Fund will appear. Here, enter all the required information:
The Default Fund option helps automate billing and shift allocations. When a default fund is selected, the system automatically uses that fund for any new shift or invoice linked to the participant. If multiple funds exist, ensure only one default fund is active at a time to avoid confusion or billing errors
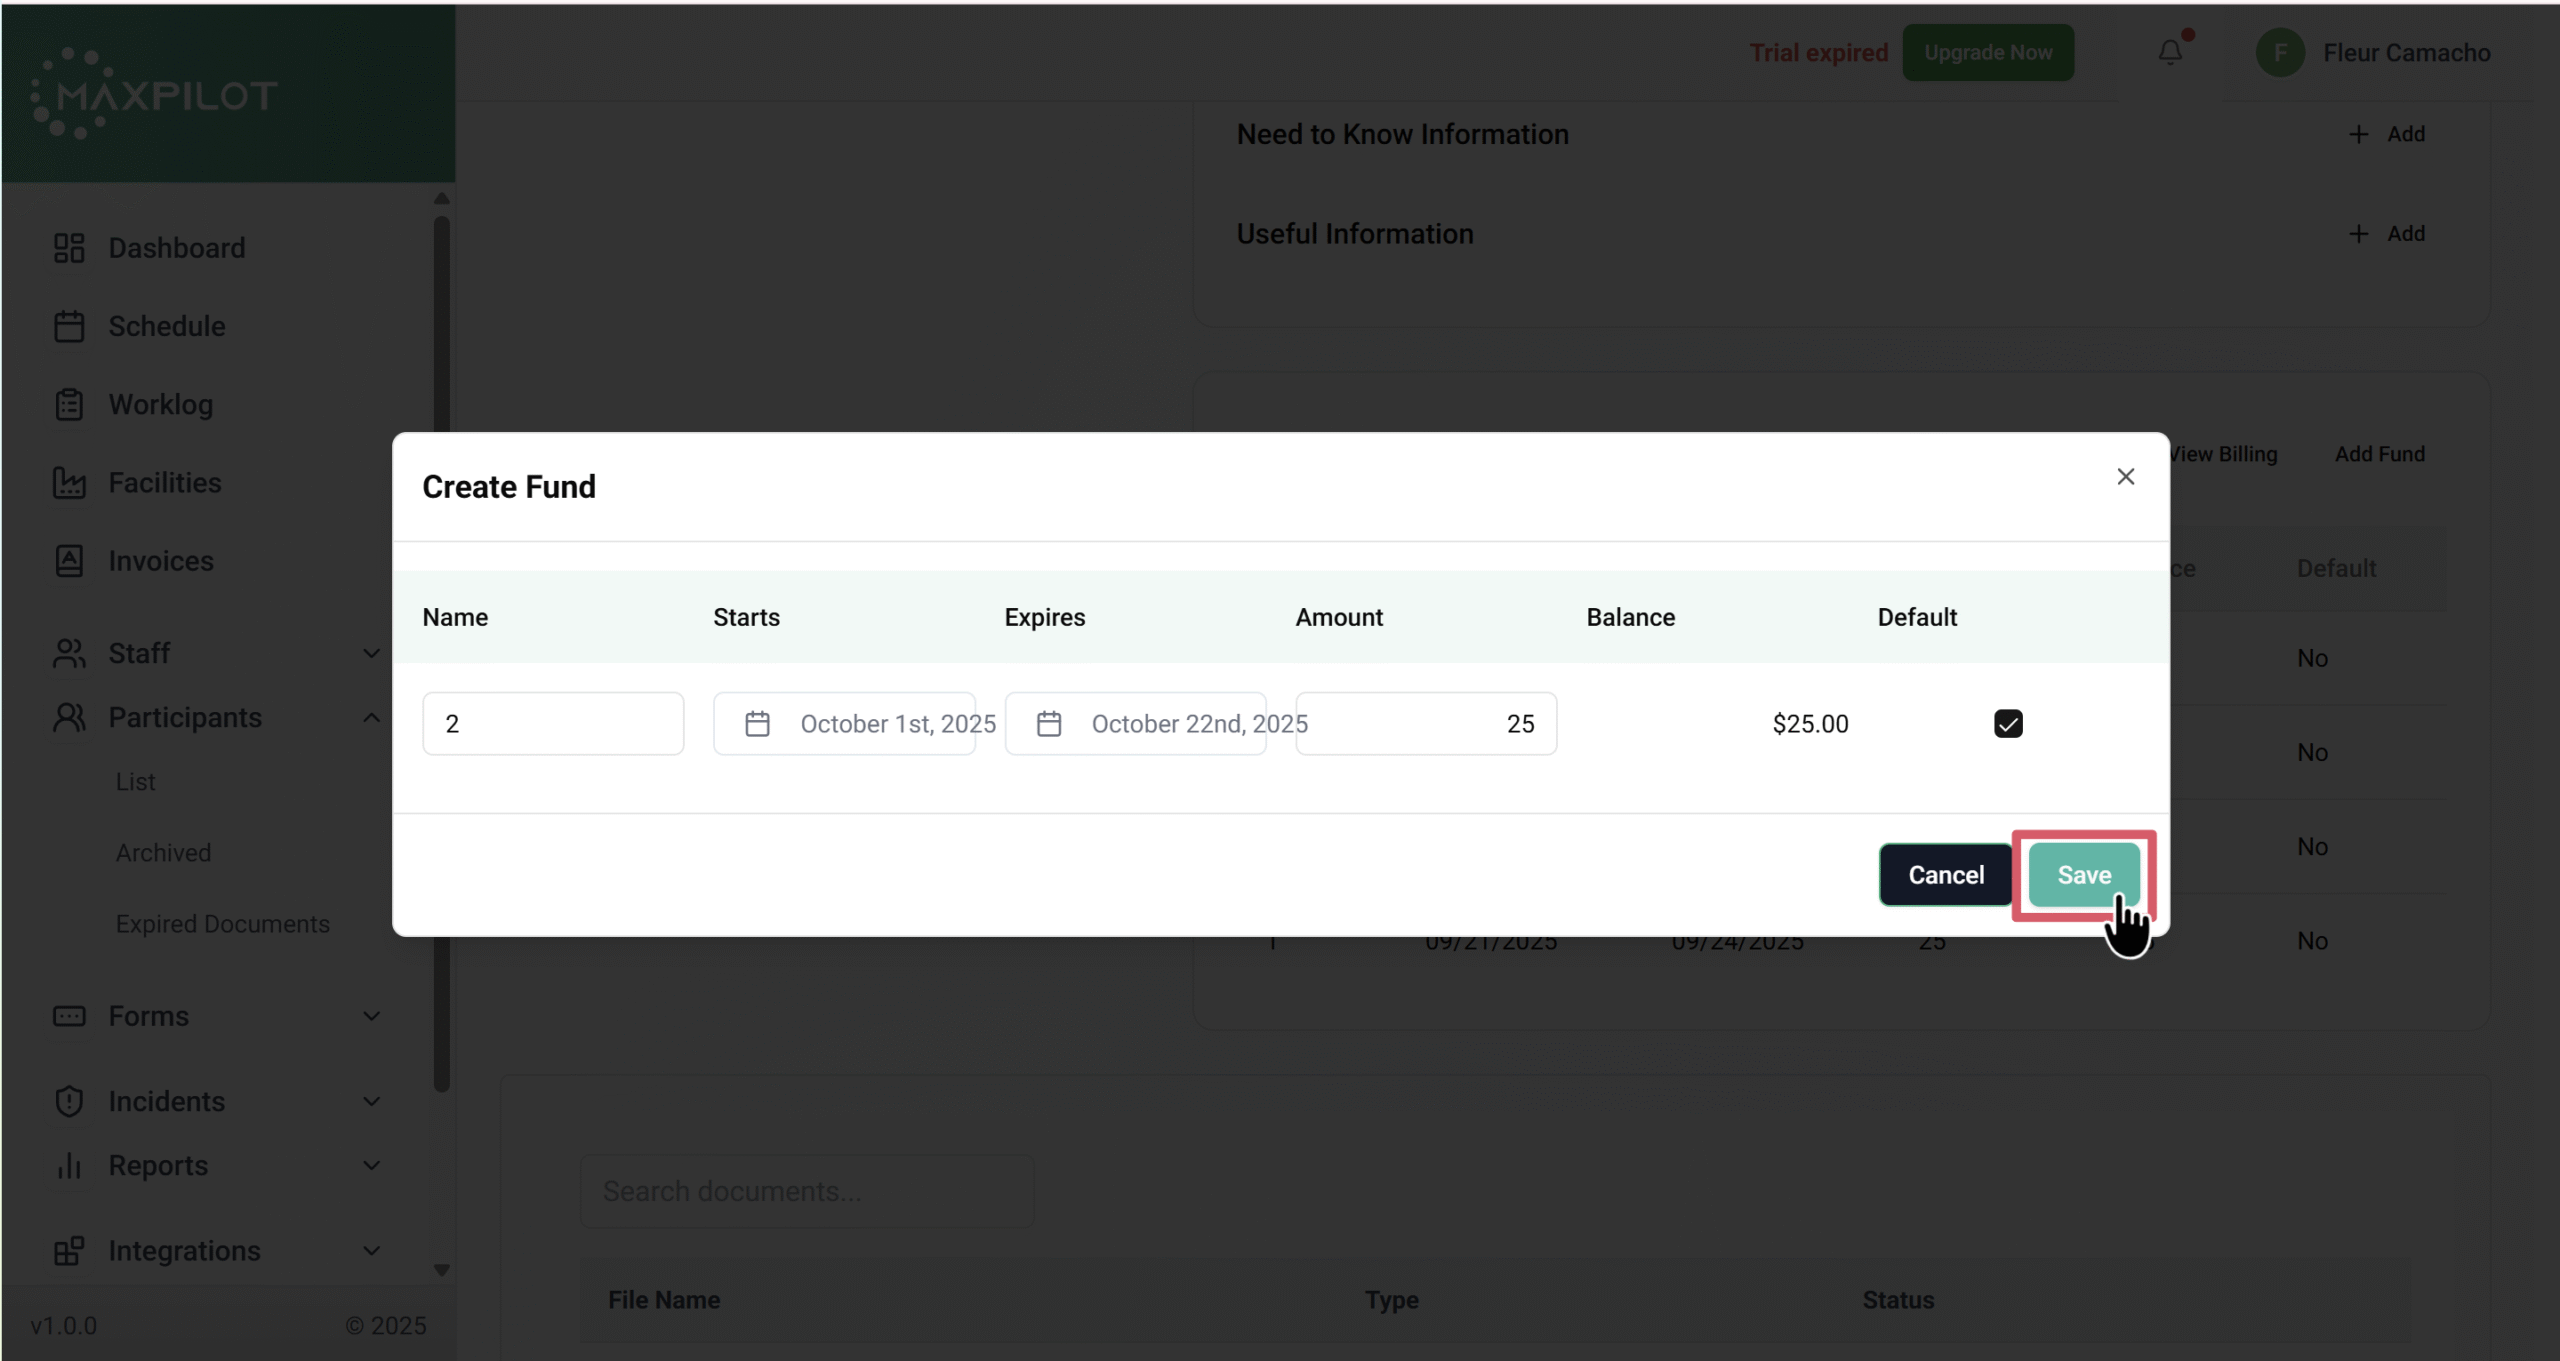
Step 5: Save the Fund
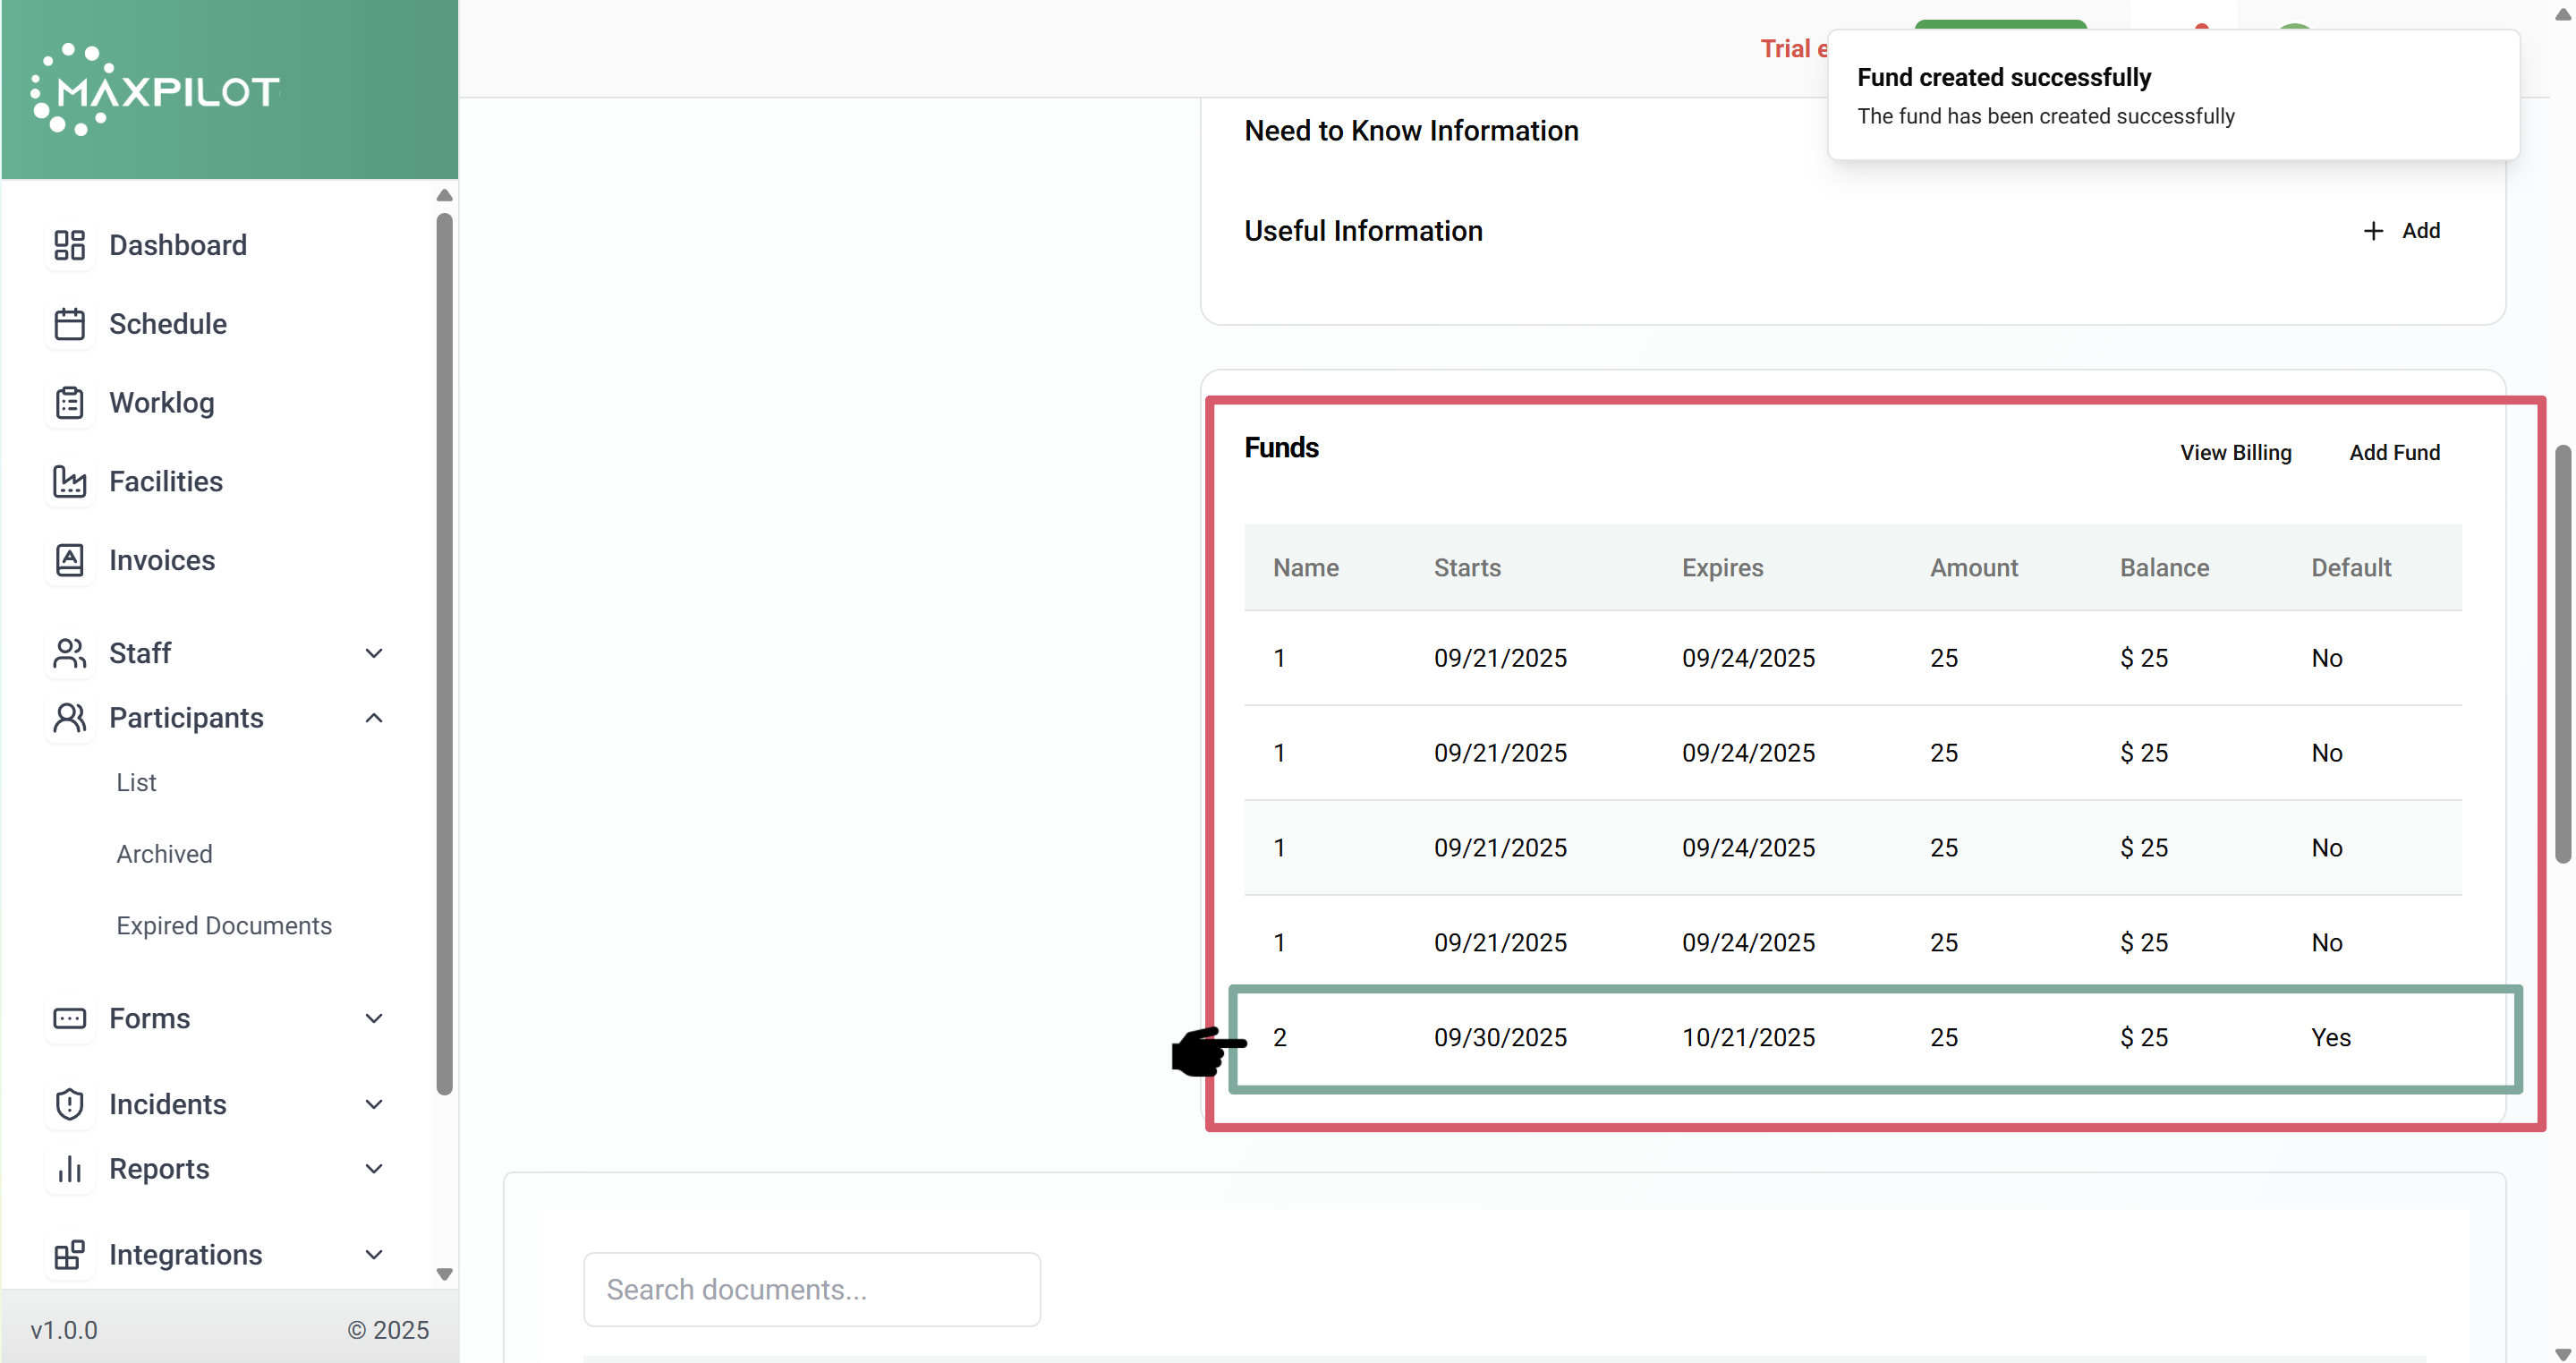
After entering all the details, click Save. A confirmation message will appear at the top of the screen indicating that the fund has been successfully created.
Step 6: Verify the Added Fund
Once saved, the new fund will appear in the Funds list under the participant’s profile, displaying its name, start and expiry dates, total amount, balance, and whether it is set as the default. This confirms that the fund has been added successfully.