Managing shifts in MaxPilot ensures that your staff schedules are organized, gaps are filled, and each team member knows where they should be and what they’re doing. Whether you’re assigning carers, managing client schedules, or tracking availability. Follow the steps below to streamline the process and keep your service running smoothly.
Step 1: Open the Schedule Page
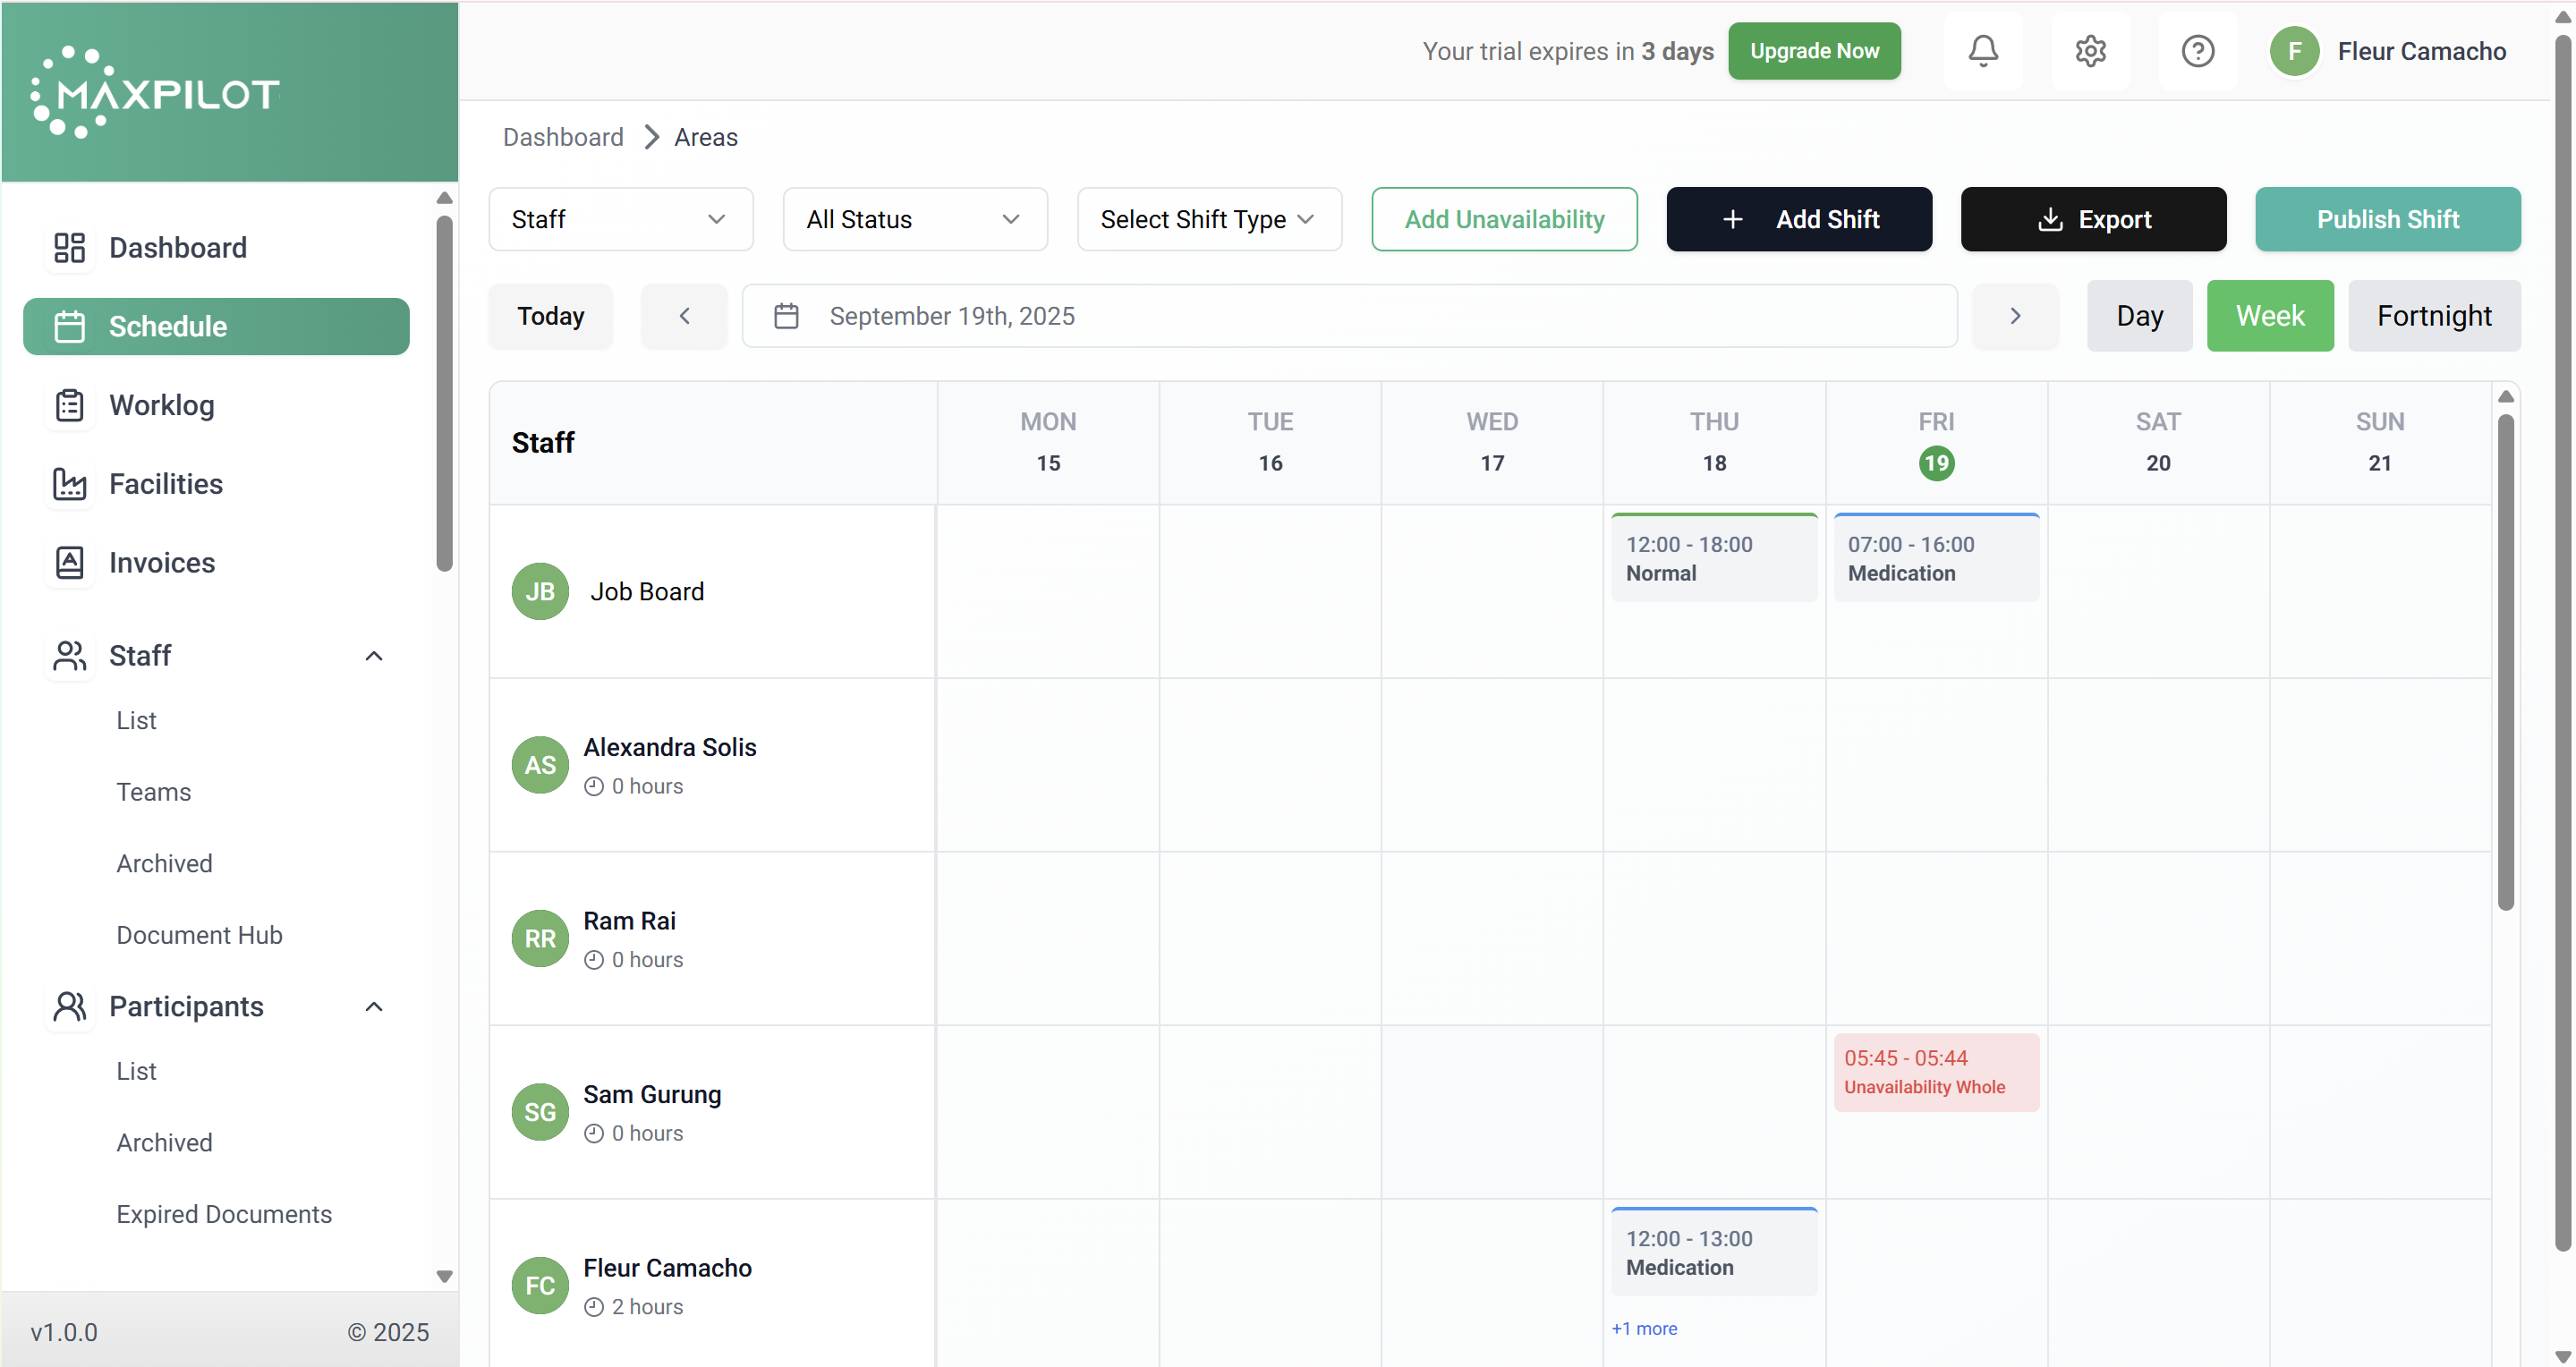
Step 2: Select the Staff View
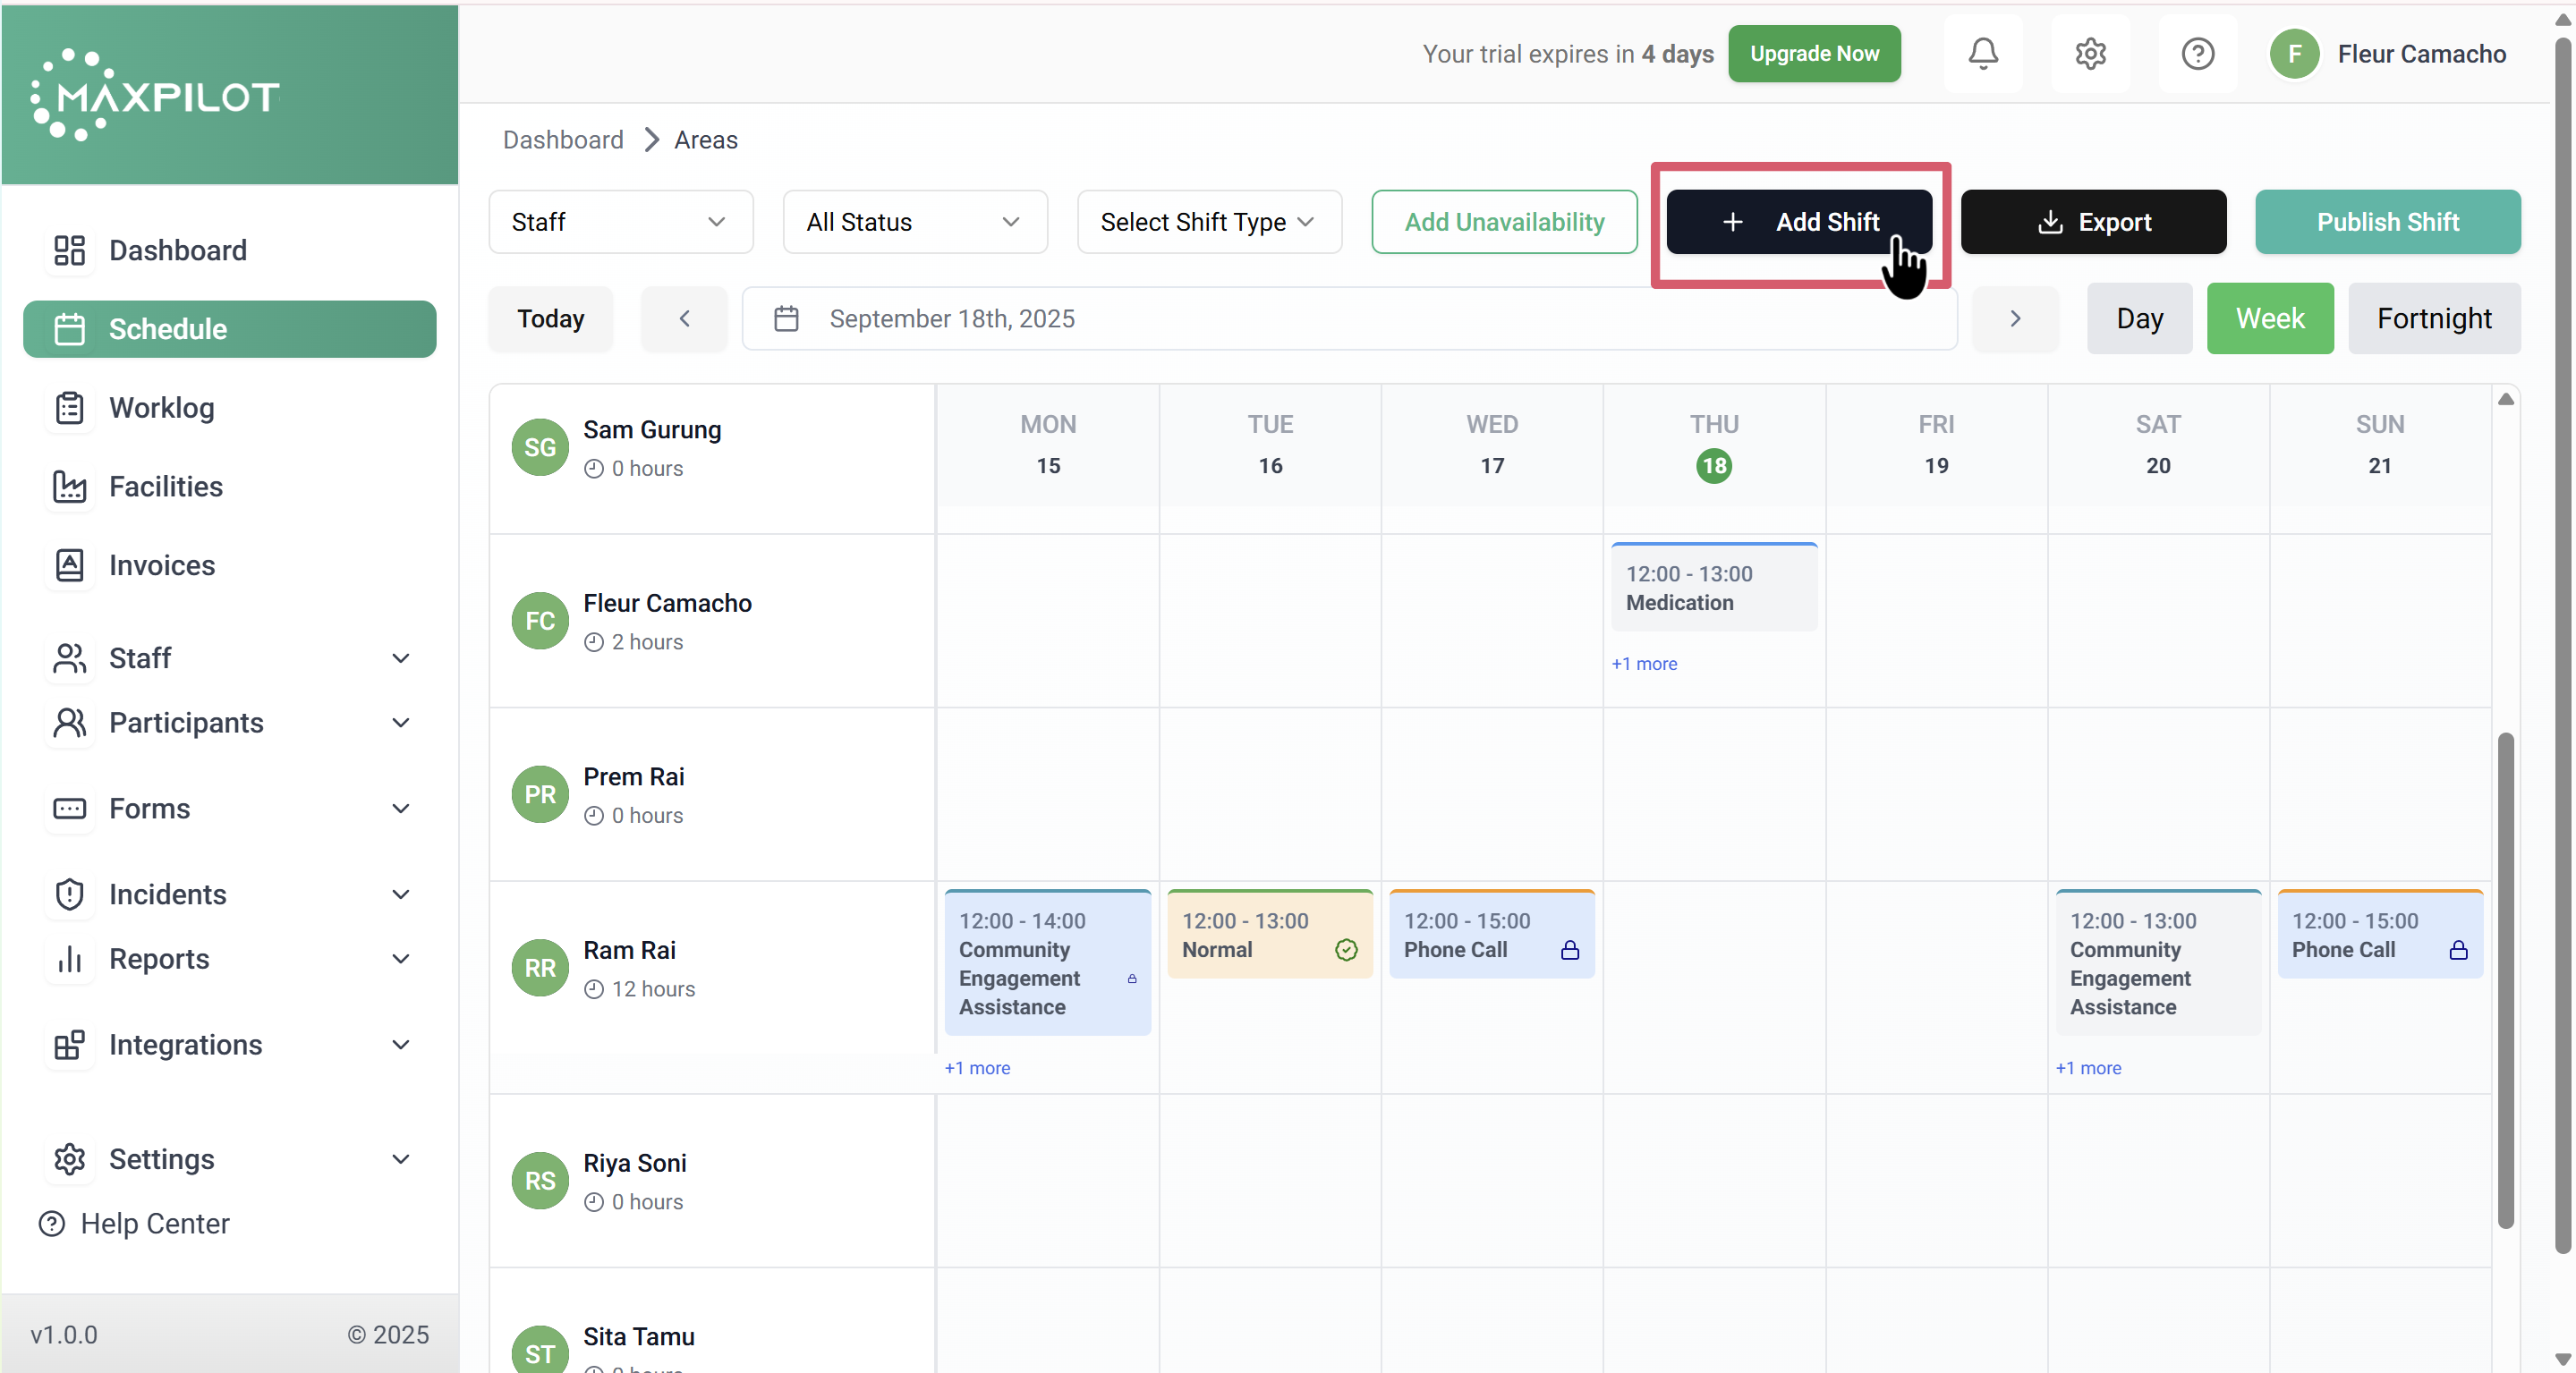
Step 3: Click Add Shift
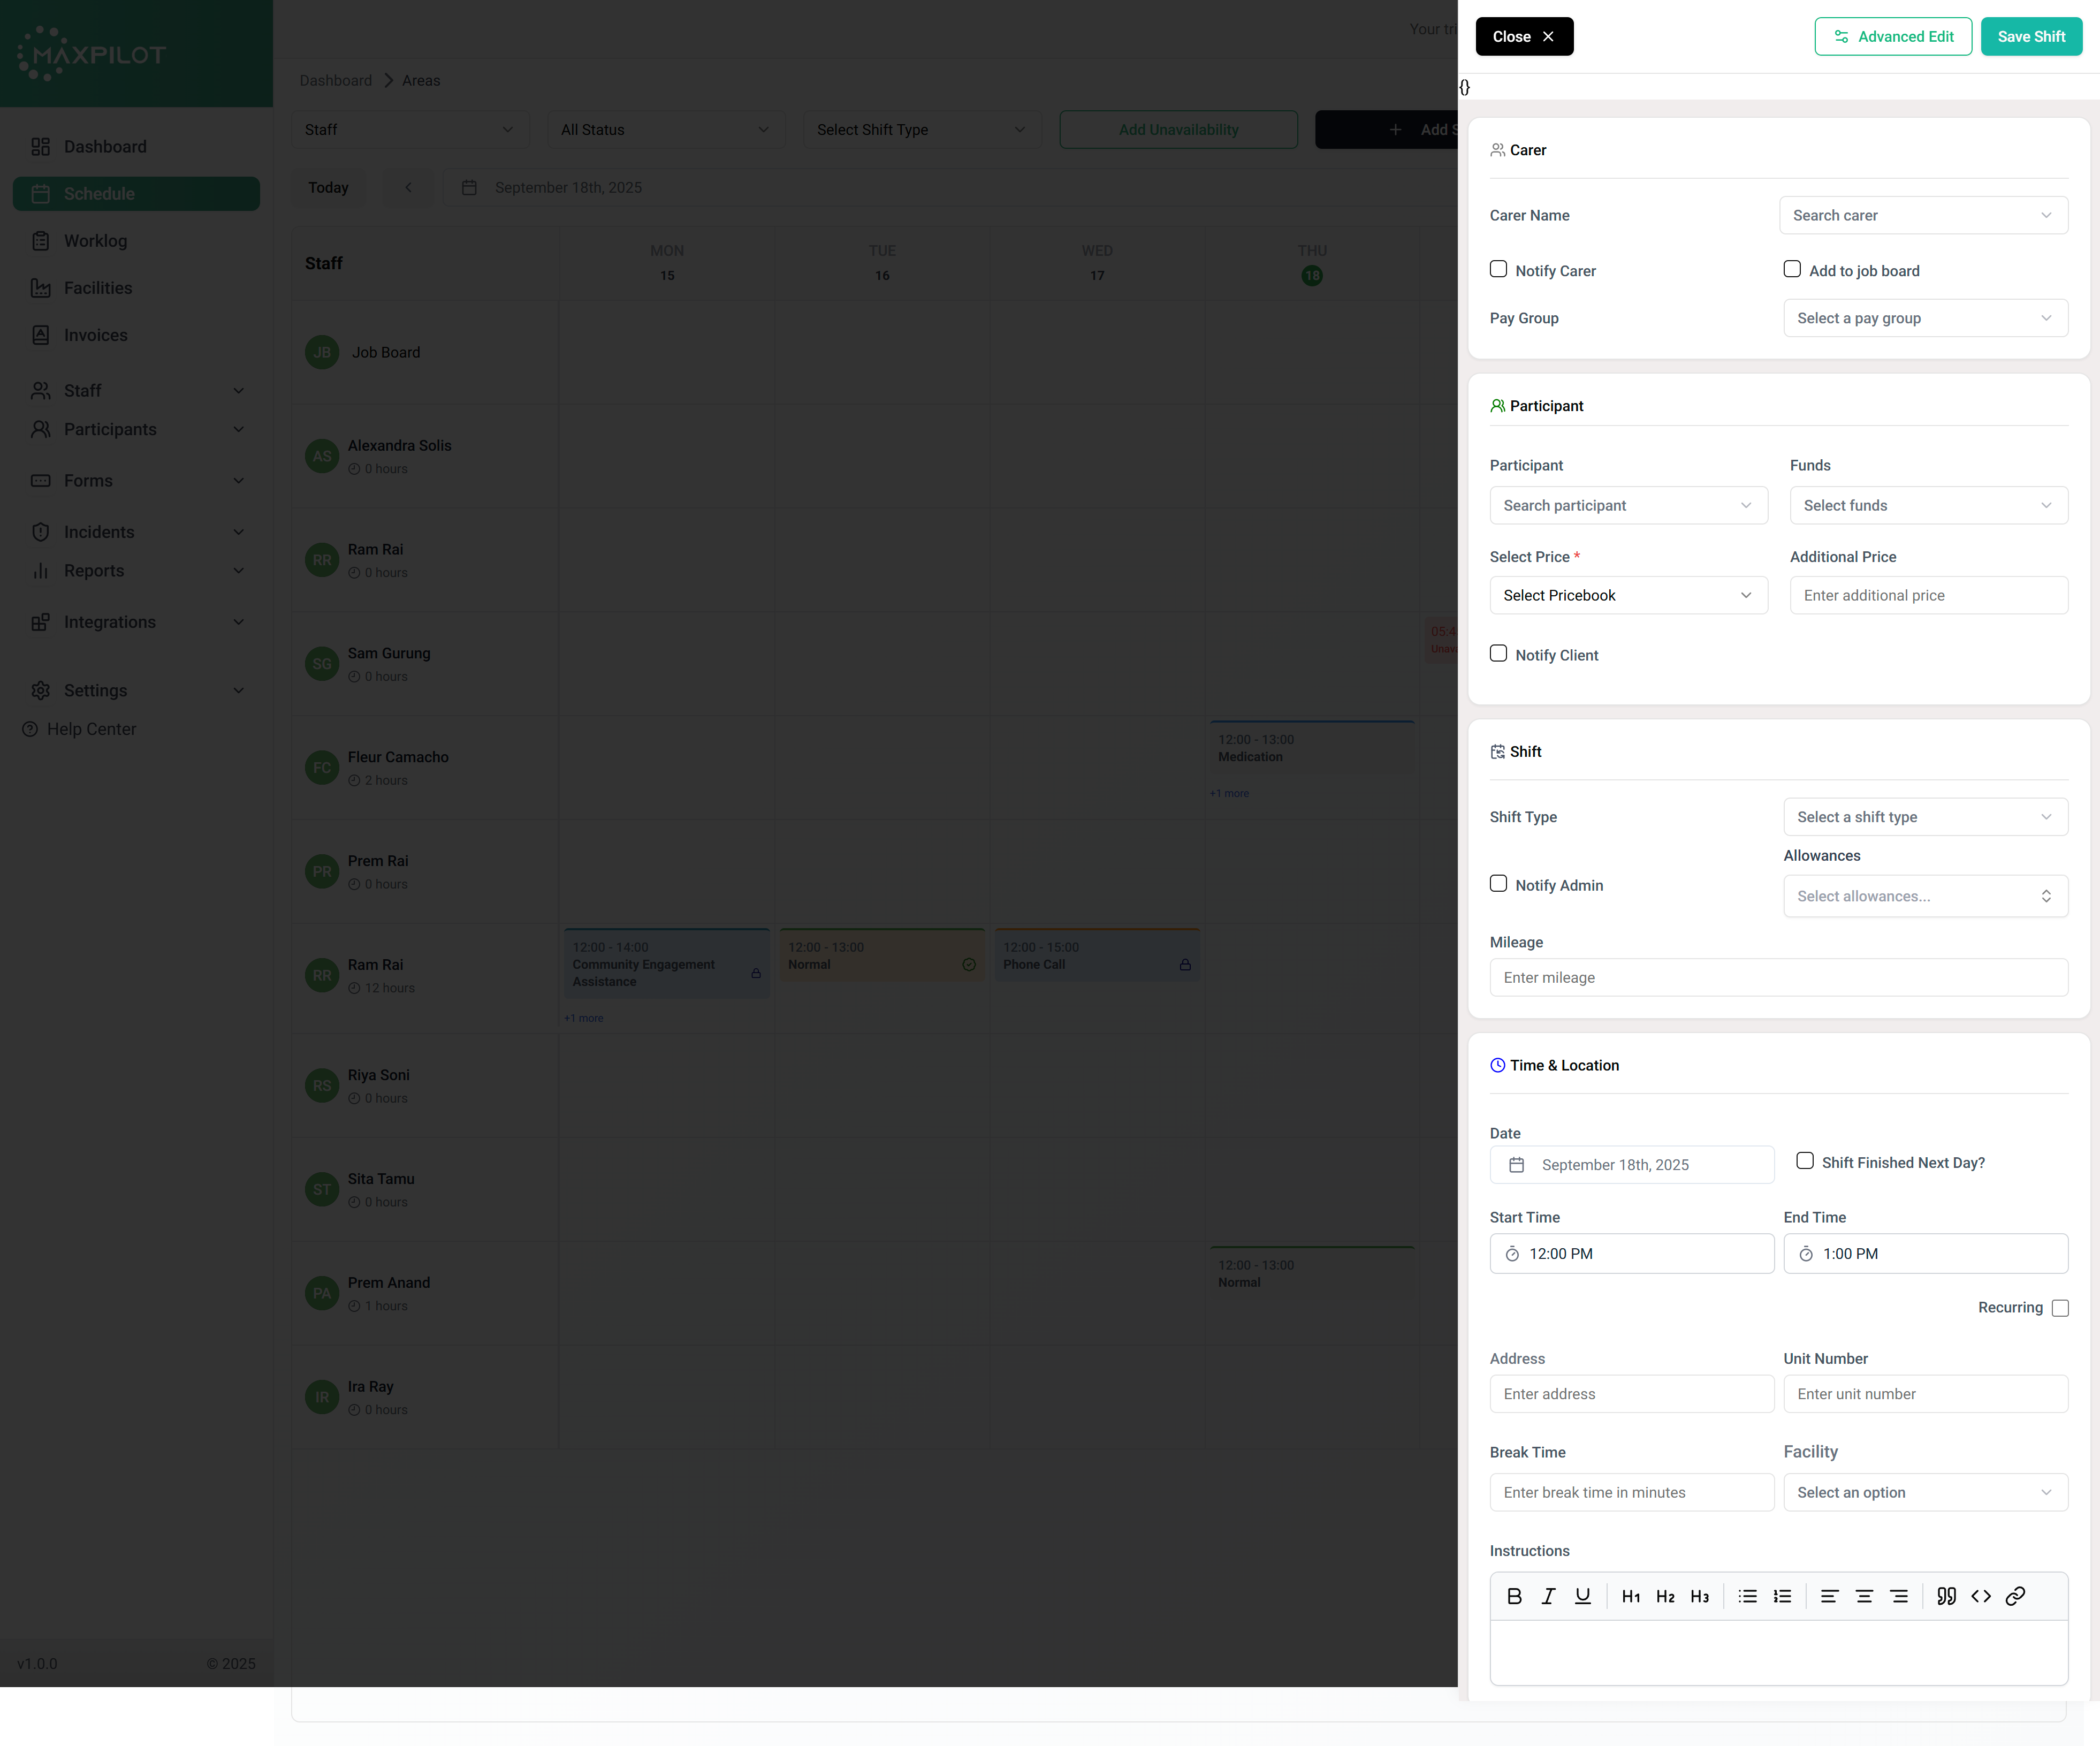
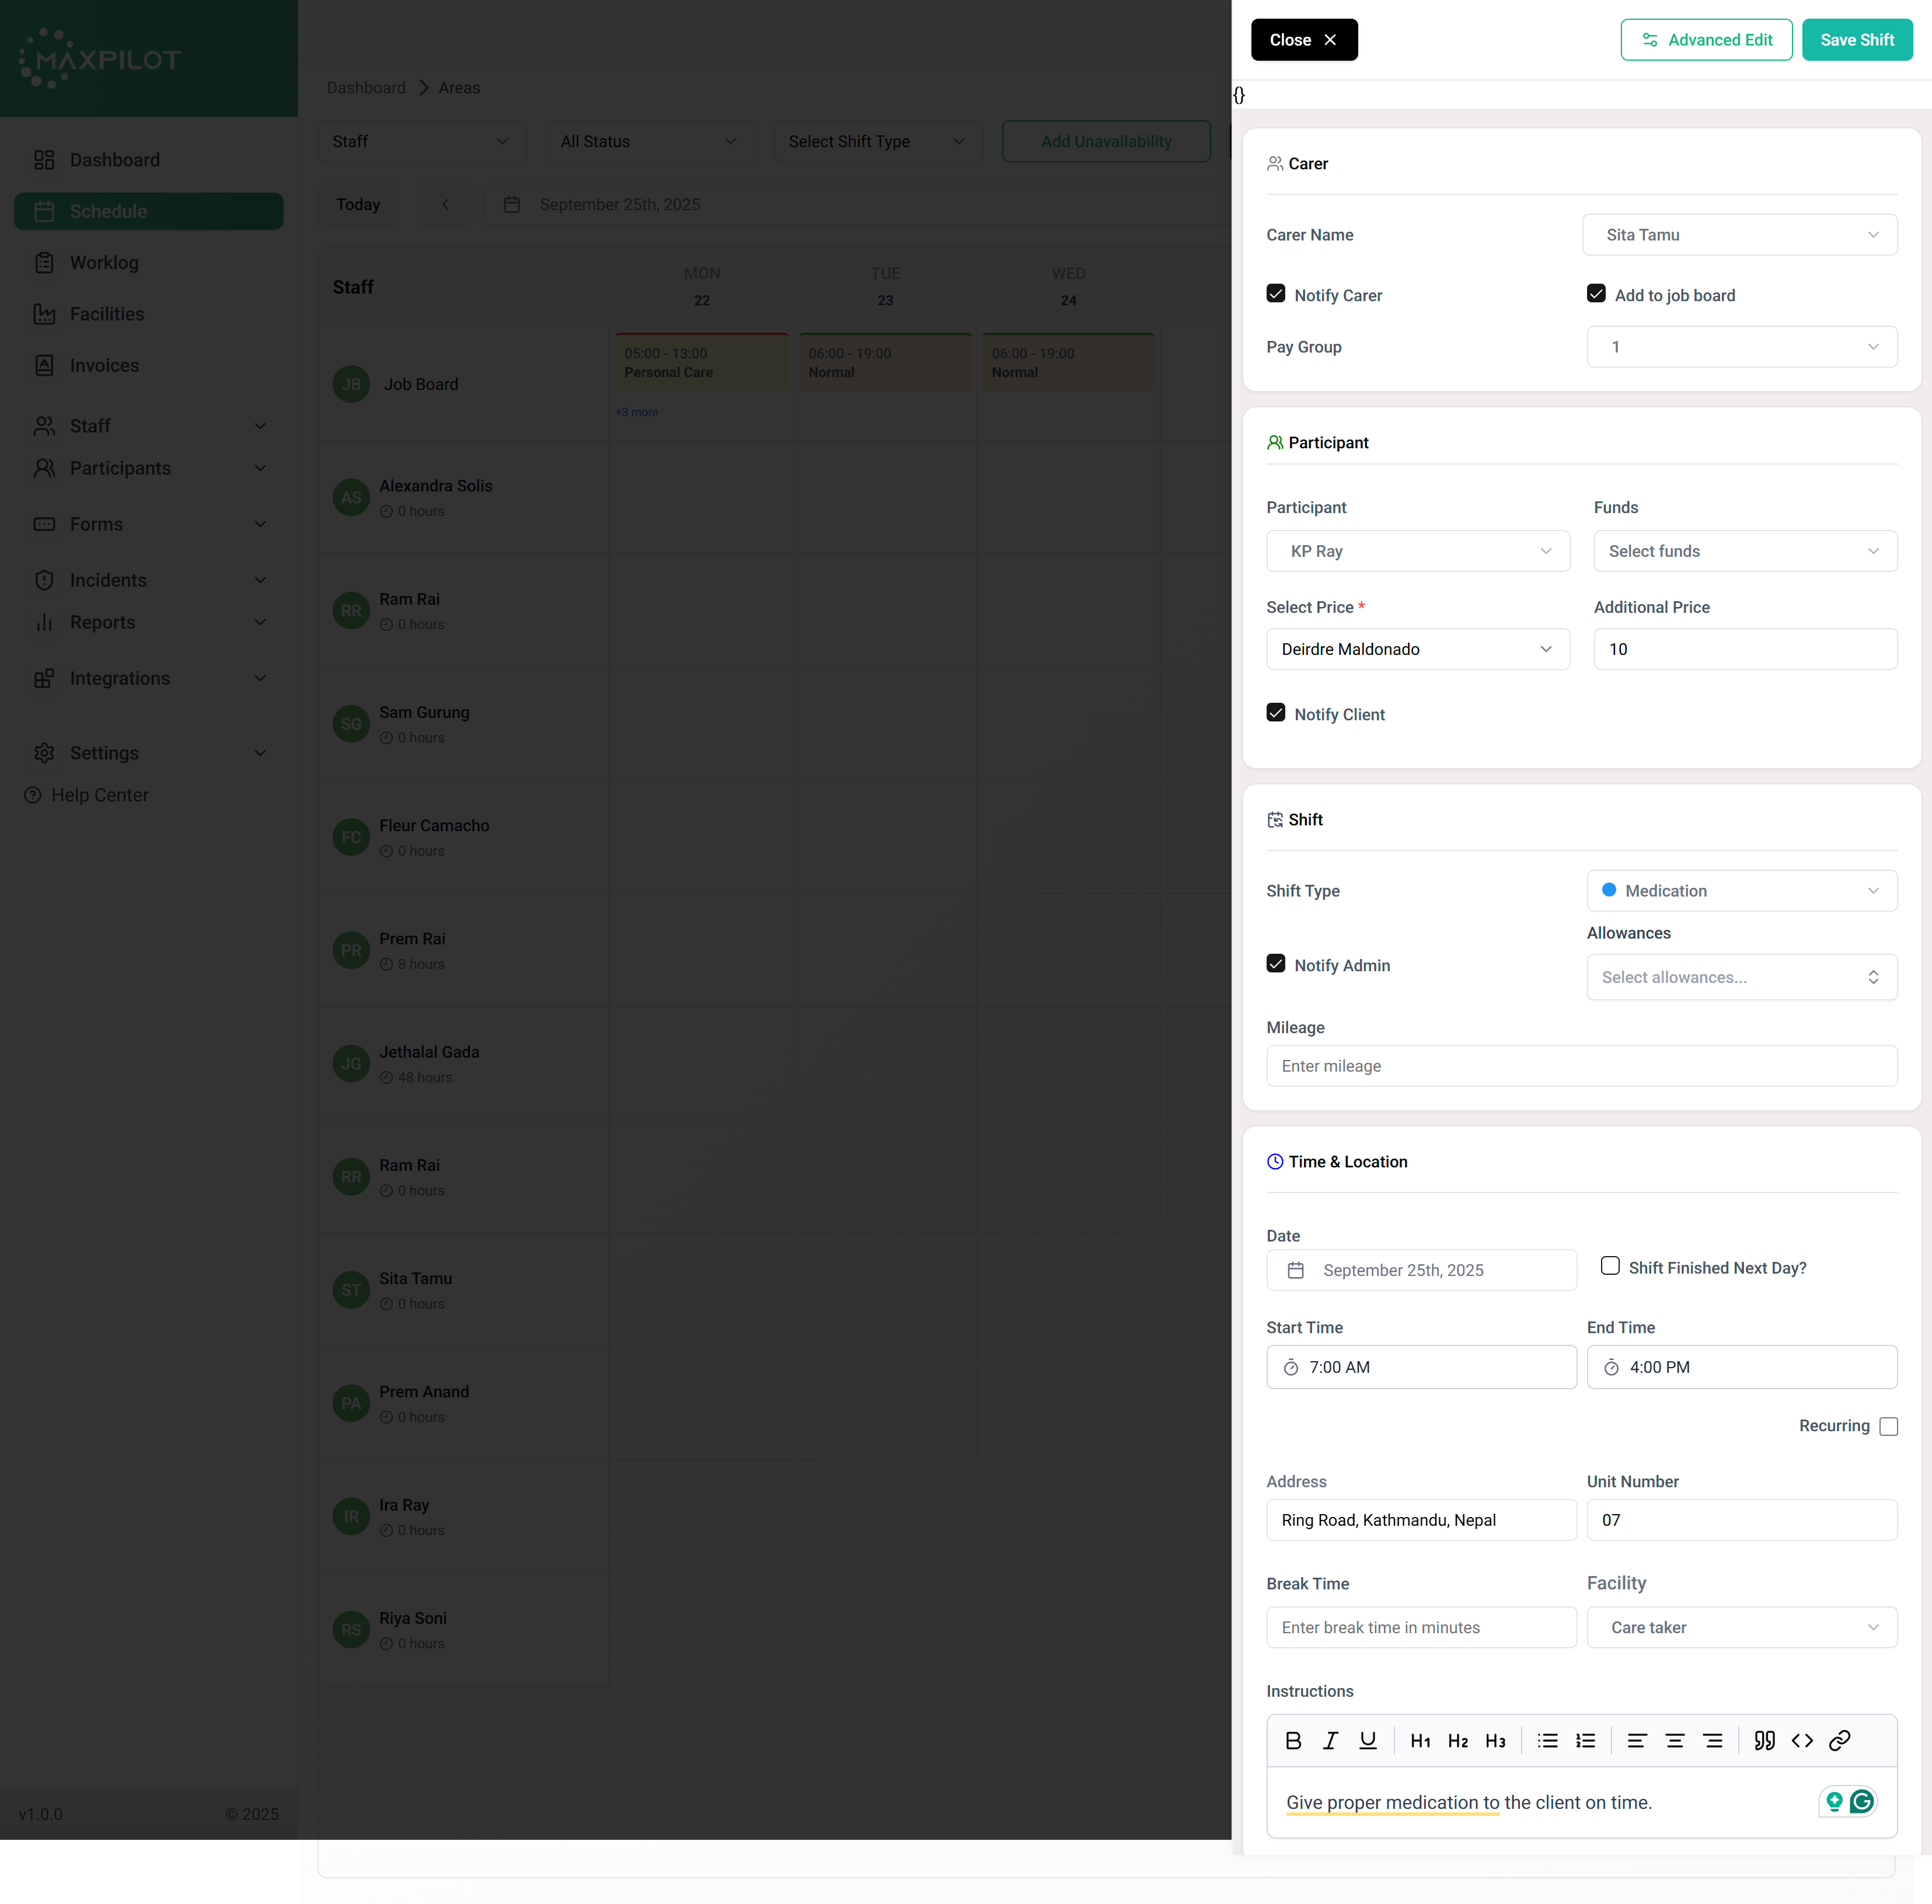
Step 4: Fill the Carer Section
In the Carer section, start by selecting the staff member responsible for the shift. Click the Carer Name dropdown, then search and choose from the available list (e.g., Ira Ray, Riya Soni, Sam Gurung).
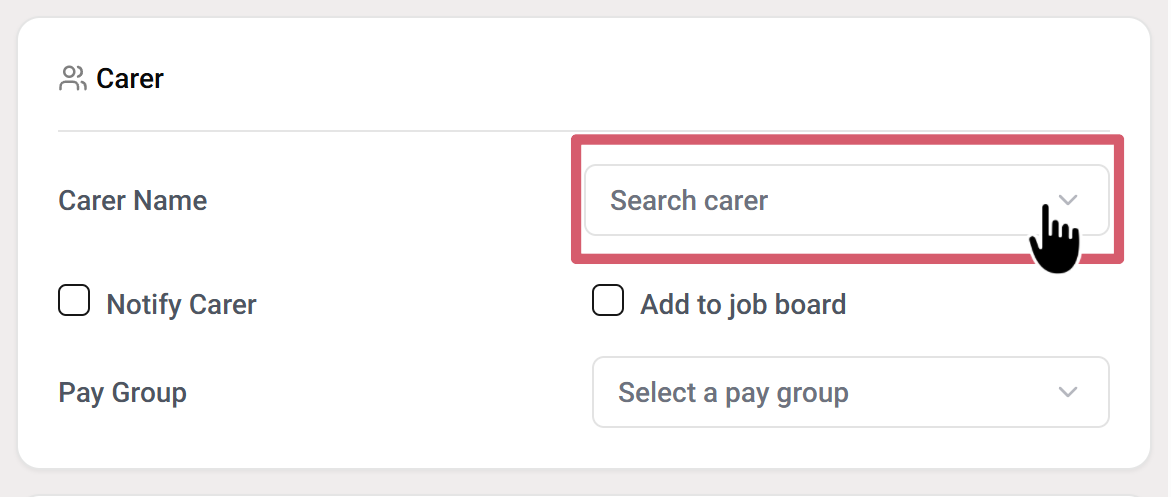
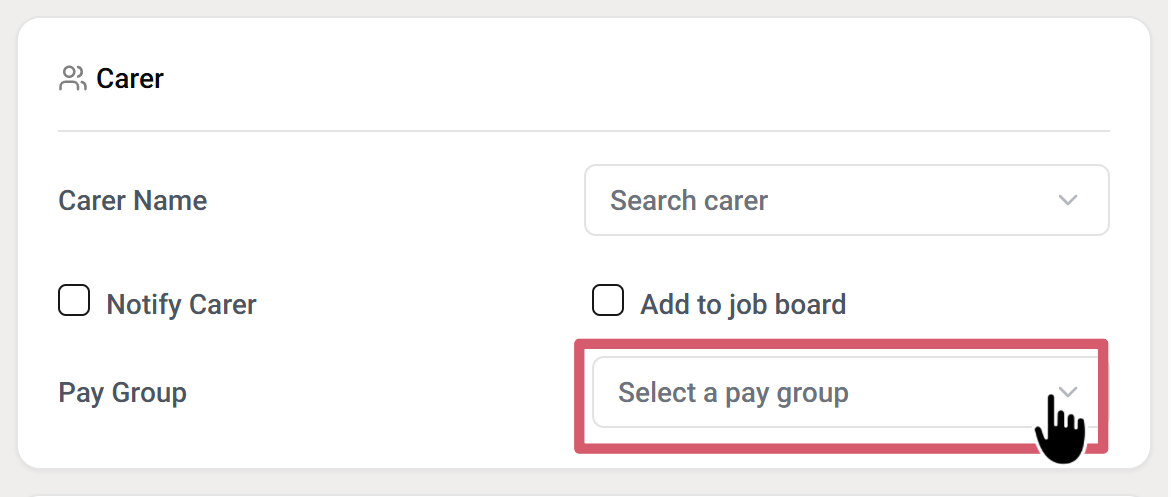
Next, set the Pay Group by selecting the appropriate option from the dropdown. This ensures the staff member is linked to the correct pay rate or category (e.g., Pay Group 1).
Finally, choose whether to enable notifications. Tick Notify Carer if you want the system to automatically inform the staff member about their assigned shift. If you want the shift to appear on the job board for applications, tick Add to Job Board.
Step 5: Fill the Participation Section
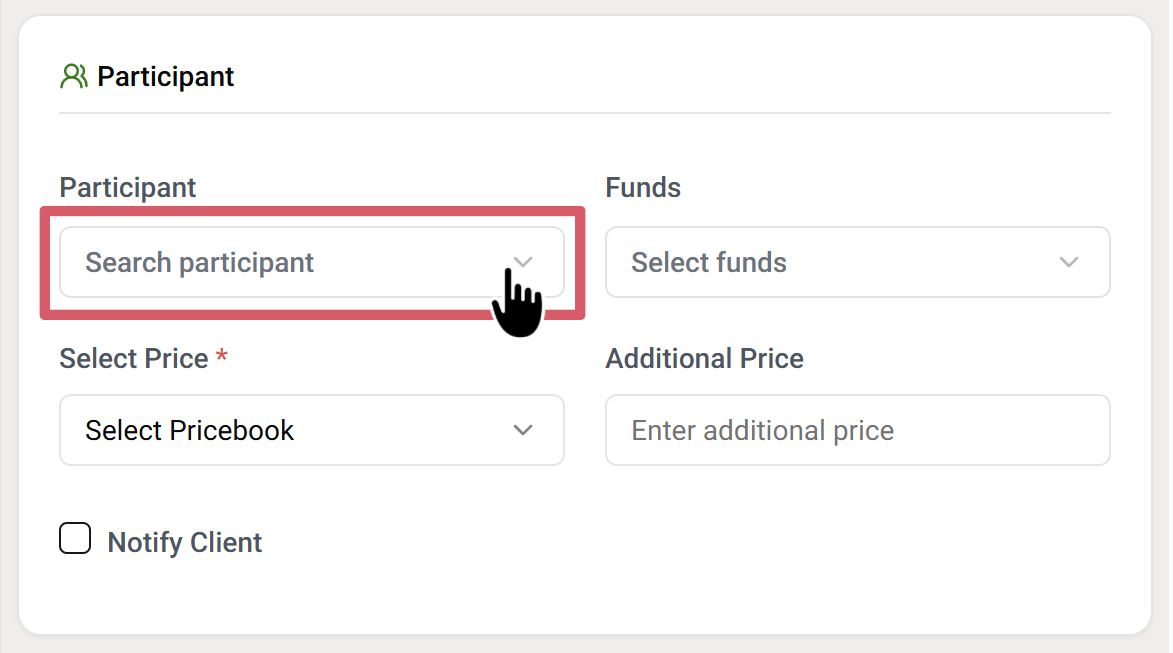
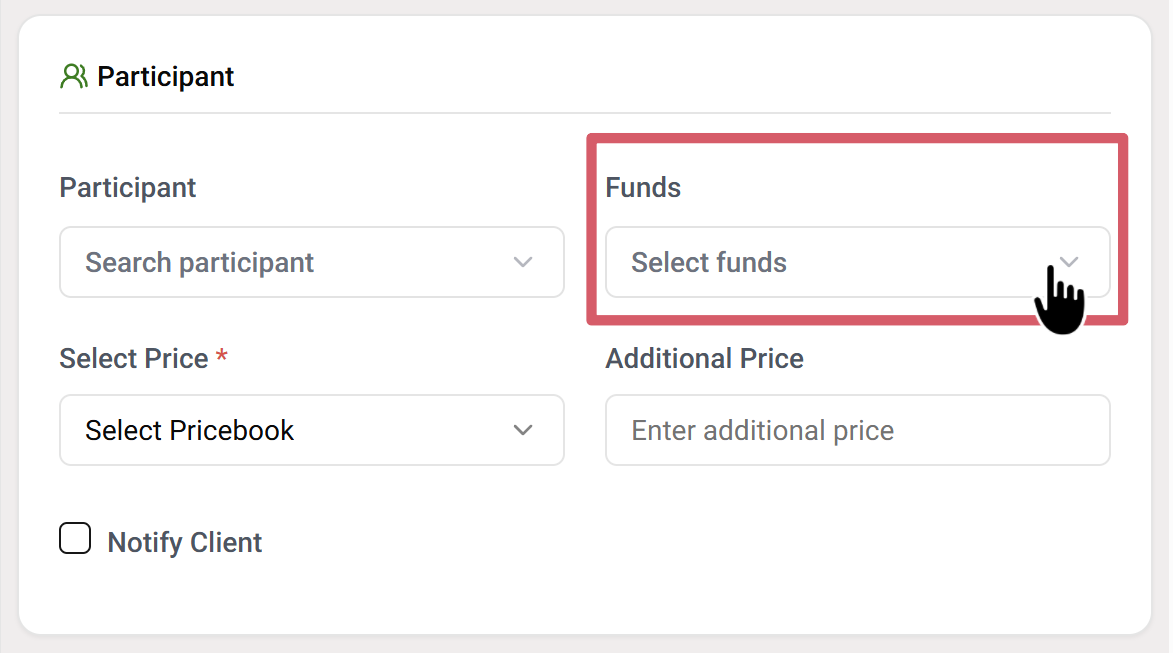
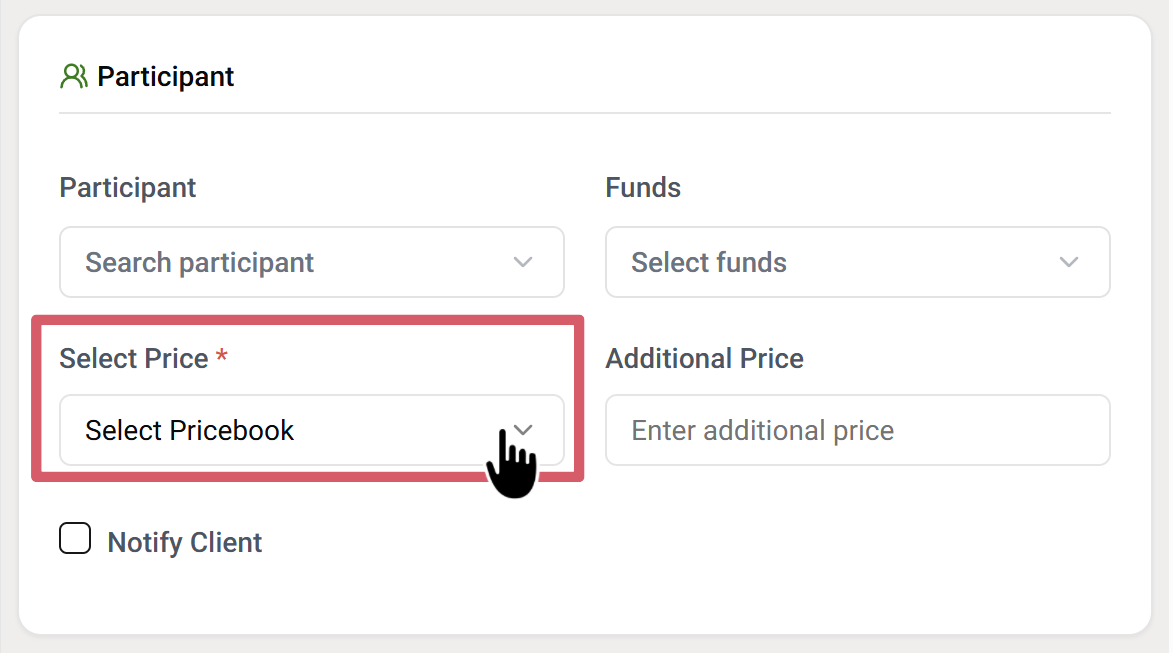
In the Participant section, begin by selecting the client from the Search Participant dropdown to assign the shift to the correct individual (e.g., KP Ray, Kim Jong). If the participant has linked funds, choose them from the Funds dropdown; otherwise, the system will display No options found.
Next, select the appropriate Pricebook from the dropdown (e.g., Deirdre Maldonado, Test Price) and add any Additional Price if required. Finally, tick the Notify Client checkbox if you wish to send the participant a notification about the shift.
Step 6: Choose Shift Type
In the Shift section, start by selecting the Shift Type from the dropdown menu, such as Normal, Phone Call, Personal Care, or other available options, depending on the nature of the work. If the shift includes any additional Allowances (like meal or travel allowances), choose the appropriate ones from the dropdown. You can also enter the Mileage if travel distance is part of the shift, ensuring it is recorded for reimbursement or tracking. Lastly, tick the Notify Admin checkbox if you want the system to send a notification to the admin about this new shift.
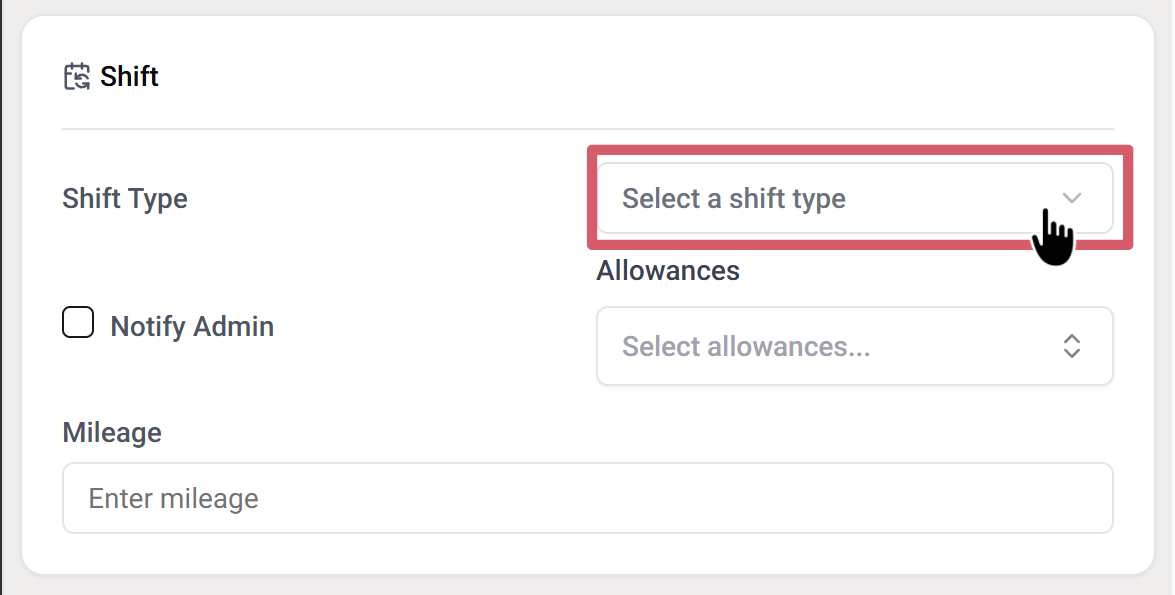
If required, you can also add extra details to the shift. In the Allowances field, select any applicable allowances from the dropdown menu, such as travel or meal support, to ensure the carer receives the correct benefits. If the shift involves travel, enter the Mileage by typing the total number of kilometers or miles that should be recorded. Finally, you can choose to Notify Admin by ticking the checkbox, which will send a notification to the administrator about the newly created shift.
Step 7: Select Date and Time
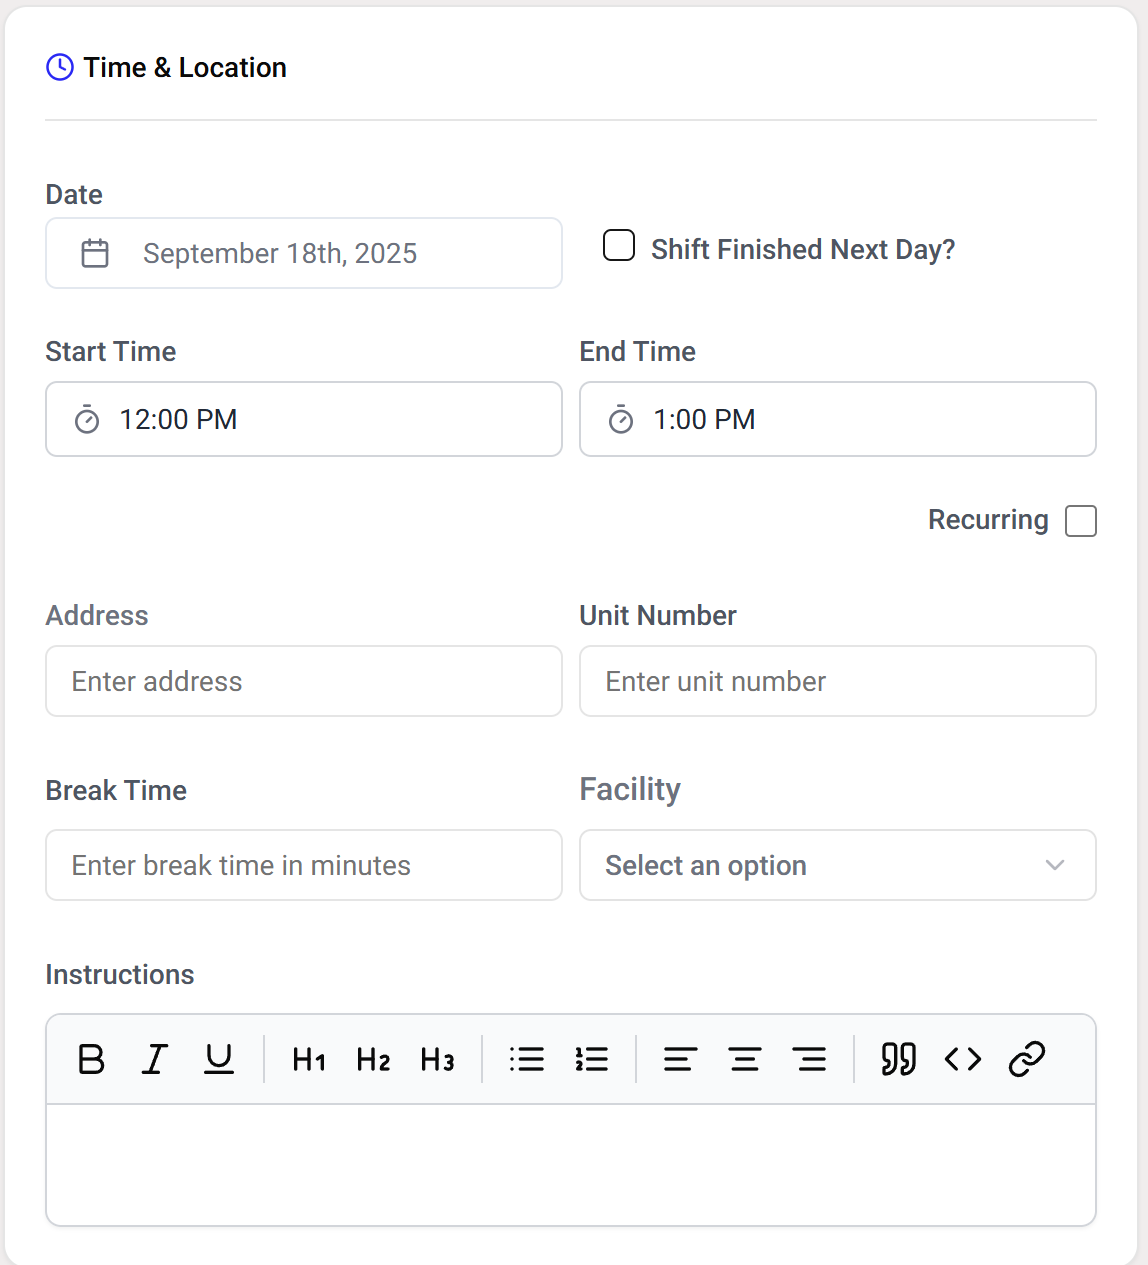
The Date field is used to select the exact day on which the shift will take place. This ensures that the schedule is tied to a specific calendar date. If the shift extends past midnight and ends on the following day, you can enable the Shift Finished Next Day option, which helps record overnight duties accurately.
The Start Time and End Time fields define the duration of the shift. For example, you may set a start time of 12:00 PM and an end time of 1:00 PM. These fields allow you to plan the working hours precisely. Additionally, if the same shift needs to be repeated regularly, the Recurring option can be selected to make scheduling more efficient.
The Address and Unit Number fields capture the location details of the shift. The address specifies the street or main location, while the unit number provides more accuracy by identifying an apartment, suite, or floor. This ensures staff members know exactly where they are required to report.
The Break Time field is used to enter the number of minutes allocated for breaks during the shift. For example, entering 30 would provide a half-hour break period. The Facility dropdown allows you to associate the shift with a specific facility, such as a hospital, day care, or community center, which helps in organizing and managing multiple locations.
Finally, the Instructions section provides space to write any additional details or guidance for the staff. This can include task descriptions, safety notes, or special requirements for the shift. The formatting options (bold, italics, bullet points, etc.) make it easy to highlight key points and keep instructions clear.
Once all the required fields in the Carer, Participant, Shift, and Time & Location sections are filled out, the shift can be saved. Review the details to ensure accuracy, such as the carer’s name, participant, shift type, date, time, and location. If everything is correct, go to the top-right corner of the form and click the Save Shift button. This will store the shift in the system and display it on the schedule calendar for the assigned carer and participant. If changes are needed before saving, you can also use the Advanced Edit option to adjust details further.